Transactions
Journal Entry
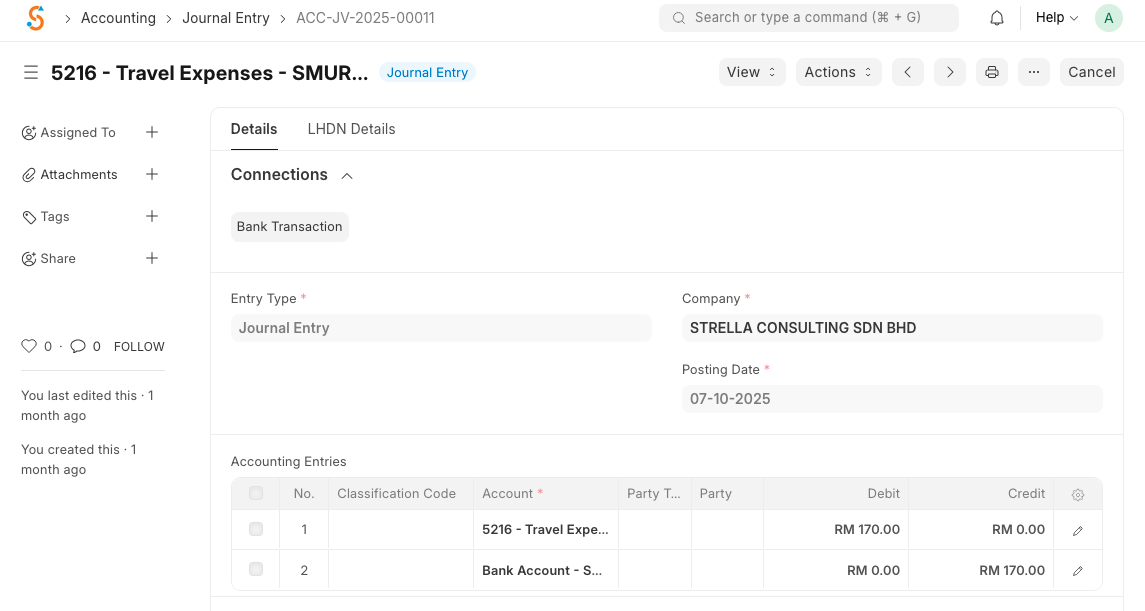
A Journal Entry in SMURPS is a generic transaction used to record accounting events that aren’t handled by invoices or payment entries. Each journal entry affects at least two accounts, and the sum of debits must equal the sum of credits.
To create a Journal Entry:
- Go to Home → Accounting → General Ledger → Journal Entry and click New.
- The Entry Type defaults to Journal Entry; change it if needed.
- Set the Posting Date.
- In the Accounting Entries table, add rows for each account being debited or credited. Specify the Account, Party Type (for receivables/payables), Party, and amounts. The total debit must match the total credit.
- Click Save and then Submit to post the entry.
The Quick Entry button lets you create simple journal entries by entering an amount, choosing the debit and credit accounts and adding a remark; it auto‑fills the entries table. You can also link the journal entry to another document via the Reference Type and Reference Name fields, reverse an entry using Reverse Journal Entry, or have the system automatically add a balancing line with Make Difference Entry. For multi‑currency transactions, tick Multi Currency and specify the exchange rates.

Payment Entry
A Payment Entry records money received from customers or paid to suppliers. You typically create a payment entry against a sales or purchase invoice, but you can also record standalone payments like employee reimbursements.

To record a payment against an invoice:
- Go to Home → Accounting → Accounts Receivable/Payable → Payment Entry and click New.
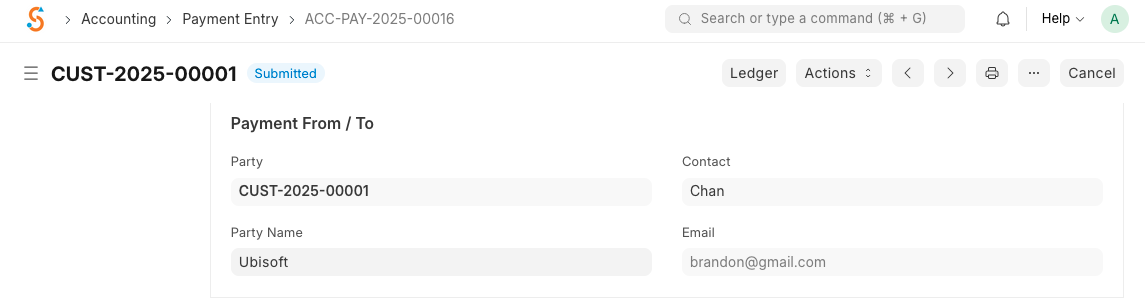
- Select the Party Type (Customer or Supplier), Party, and the invoice. The system sets the Payment Type automatically (Receive for customers, Pay for suppliers).
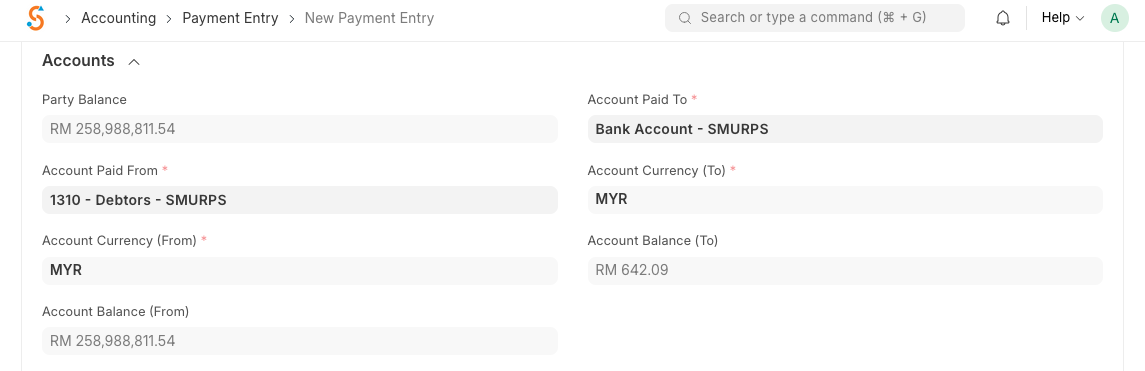
- Set the Posting Date and Mode of Payment. The Paid From/To accounts are pulled from your company settings.
- The outstanding invoice amount appears; edit Paid Amount if you’re making a partial payment. Allocate the payment to specific invoices if multiple are listed.
- Save and Submit to update the ledger and the invoice’s outstanding amount.
You can also create a payment entry without linking an invoice. Choose the party and account, enter the amount in the Allocated Amount column, and specify any deductions or write‑offs (such as currency exchange differences). The Difference Amount must be zero for submission; use the Make Difference Entry button to book the difference into a write‑off account. After submitting, the system updates the related invoice or order and reflects the payment in accounts receivable/payable.
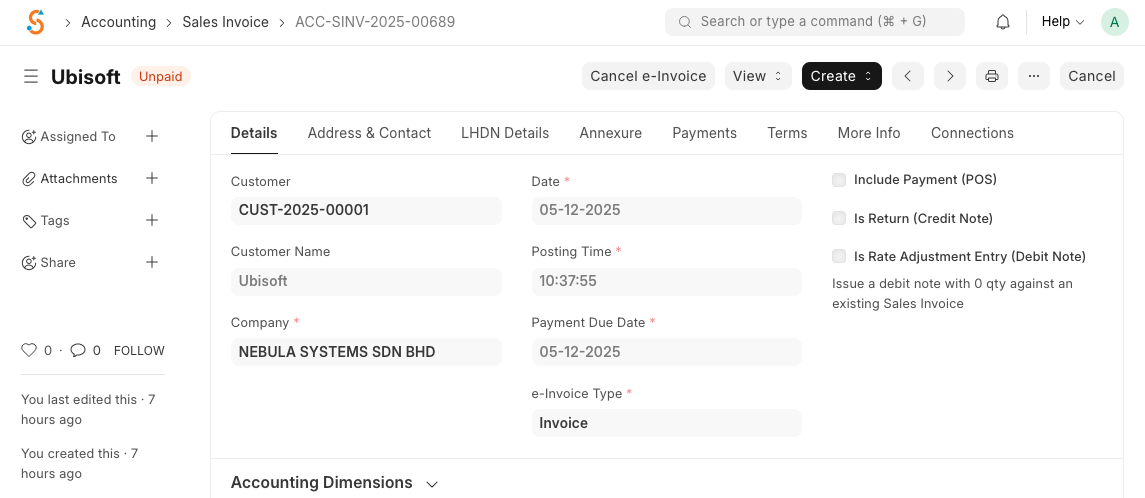
Sales Invoice
A Sales Invoice is issued to a customer after delivering goods or services. Submitting a sales invoice records income and creates a receivable entry.
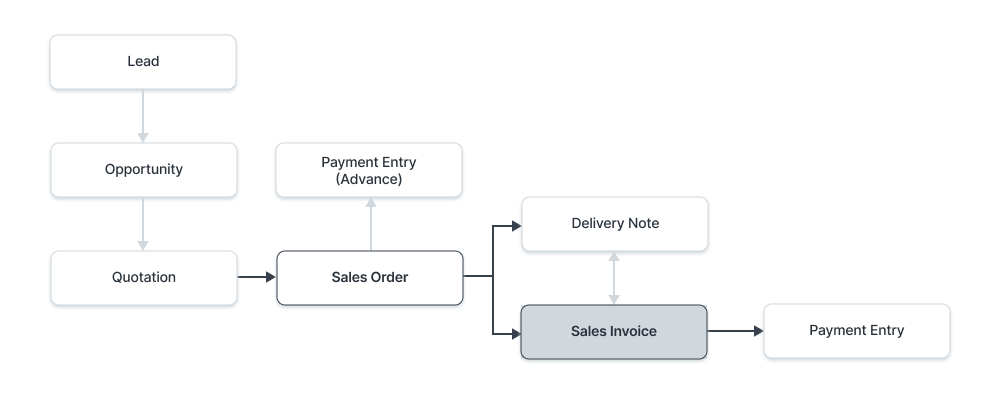
Steps to create a sales invoice:
Purchase Invoice
A Purchase Invoice represents a bill received from a supplier. Submitting a purchase invoice accrues expenses and creates a payable entry.
To create a purchase invoice:
- Go to Home → Accounting → Accounts Payable → Purchase Invoice and click New.
- Select the Supplier; default address and payment terms will be loaded.
- Set the Posting Date and Due Date.
- Add items and quantities; rates and taxes are fetched from the supplier’s price list.
- Save and Submit to record the liability. The invoice status will change from Draft to Submitted. If you tick Is Paid, a payment entry will be created automatically.
- To record a return to a supplier, tick Is Return (Debit Note) and link the original purchase invoice.
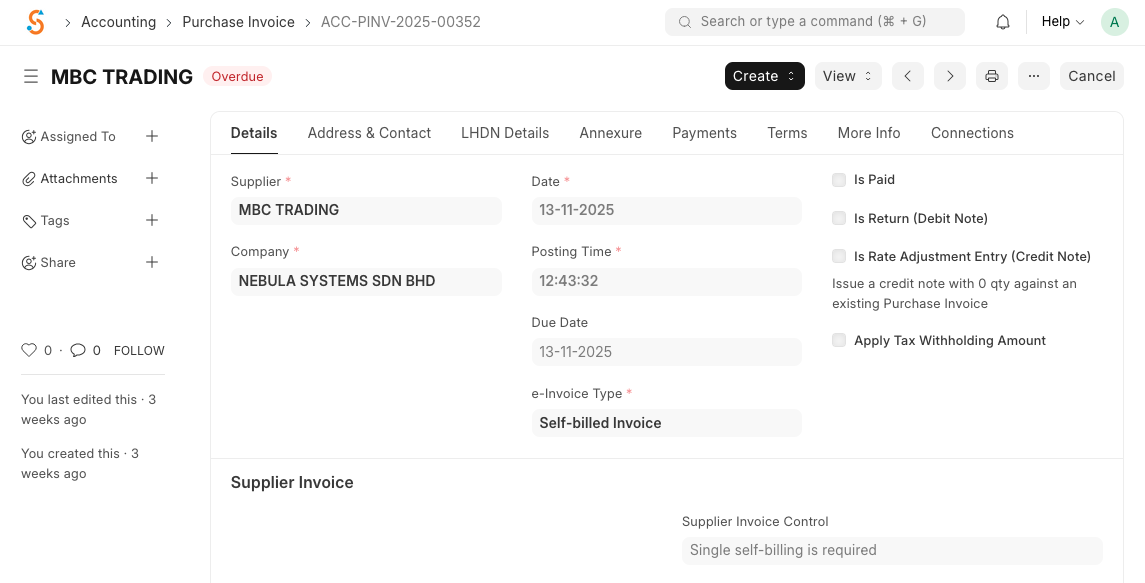
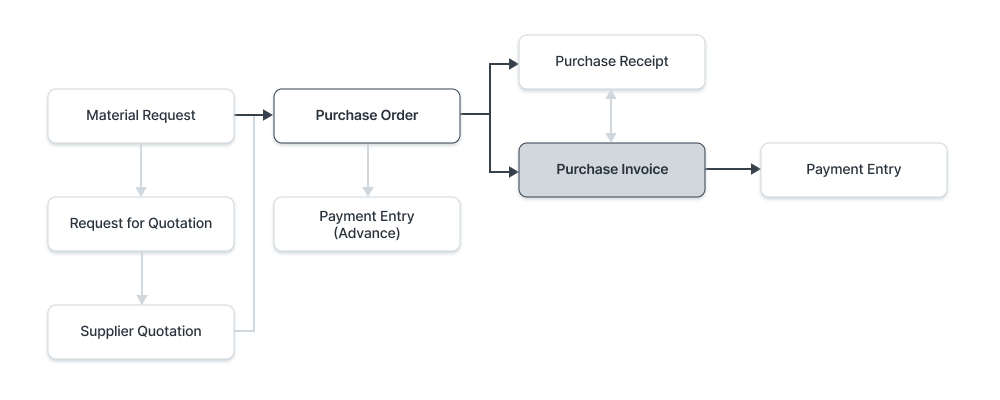
The following process flow diagram shows the typical purchasing process: Material Request → Purchase Order → Purchase Receipt → Purchase Invoice → Payment Entry. You can hold or block a purchase invoice using the Hold Invoice button if there are issues such as quality inspection failures or credit limits.