Sales and Service Tax (SST)
SST Overview
Tax Structure
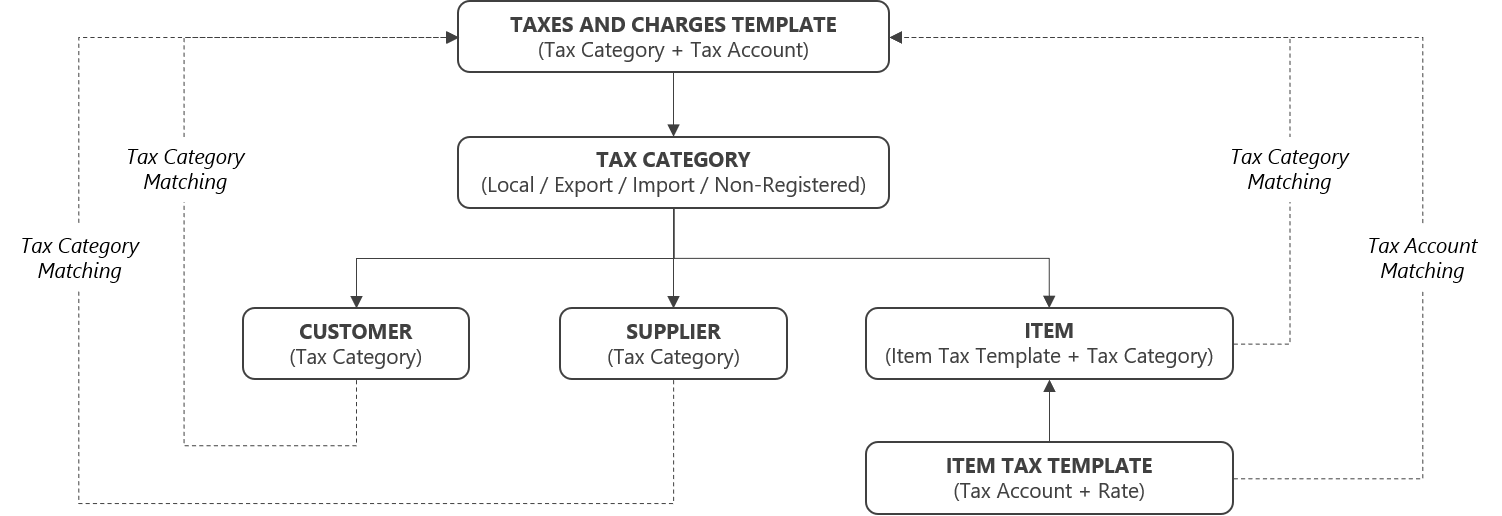
The main components that form the Taxes and Charges function in the system are the Tax Category and Item Tax Template.
- Tax Categories are used to define the different tax scenarios and can be assigned to a specific Customer, Supplier or Item
- Item Tax Templates are used to set the applicable Tax Rate for a particular Tax Account and can be assigned to a specific Item
- Taxes and Charges Templates are used to define the different taxes and charges required for a particular Tax Category
Tax Data Mapping
SMURPS: Accounting > Taxes > Tax Category
SMURPS: Accounting > Taxes > Item Tax Template
SMURPS: Accounting > Taxes > Purchase Taxes and Charges Template
SMURPS: Accounting > Taxes > Sales Taxes and Charges Template
The application of the Malaysian Sales and Service Tax (SST) should be automated in any purchase or sales transaction based on the mapping in the table below.
| TAXES AND CHARGES TEMPLATE | PARTY TAX CATEGORY | ITEM TAX TEMPLATE | ITEM TAX CATEGORY |
TAX RATE |
SCENARIO |
| SST Standard Rated Purchase | Local Taxable Purchase |
Buying TX Sales |
Local Taxable Purchase | 5%, 10% | Buy Taxable Goods from Local Registered Supplier |
| Buying TX Service | Local Taxable Purchase | 8%, 6% | Buy Taxable Services from Local Registered Supplier | ||
| Buying ZR Sales | Local Taxable Purchase | 0% | Buy Non-Taxable Goods from Local Registered Supplier | ||
| Buying ZR Service | Local Taxable Purchase | 0% | Buy Non-Taxable Services from Local Registered Supplier | ||
| SST Non-Registered Purchase | Local Exempted | Buying NR Sales | Local Exempted | 0% | Buy Taxable/Non-Taxable Goods from Local Non-Registered Supplier *All product items |
| Buying NR Service | Local Exempted | 0% | Buy Taxable/Non-Taxable Services from Local Non-Registered Supplier *All service items |
||
| SST Exempted Import Purchase | Import Exempted | Buying IM Sales | Import Exempted | 0% | Buy Taxable/Non-Taxable Goods from Foreign Supplier *All product items |
| Buying IM Service | Import Exempted | 0% | Buy Taxable/Non-Taxable Services from Foreign Supplier *All service items |
||
| SST Local Exempted Purchase | Local Exempted | EPC-1 | Local Exempted | 0% |
Buy Exempted Goods from Registered Local Supplier excluding petroleum. *All product items |
| EPC-2 | Local Exempted | 0% |
Buy Exempted Petroleum Goods from Registered Local Supplier. *All product items |
||
| EPC-3 | Local Exempted | 0% |
Buy Exempted Goods on behalf of a Registered Local Supplier excluding petroleum. *All product items |
||
| EPC-4 | Local Exempted | 0% |
Buy Exempted Petroleum Goods on behalf of a Registered Local Supplier. *All product items |
||
| EPC-5 | Local Exempted | 0% |
Buy Exempted Service from Registered Local Supplier who holds DG Approval *All service items |
||
| SST Standard Rated Local Sales | Local Taxable Sales | Selling TX Sales | Local Taxable Sales | 5%, 10% | Sell Taxable Goods to Local Customer |
| Selling TX Service | Local Taxable Sales | 8%, 6% | Sell Taxable Services to Local Customer | ||
| Selling ZR Sales | Local Taxable Sales | 0% | Sell Non-Taxable Goods to Local Customer | ||
| Selling ZR Service | Local Taxable Sales | 0% | Sell Non-Taxable Services to Local Customer | ||
| SST Standard Rated Export Sales | Local Taxable Sales | Selling TX Sales | Local Taxable Sales | 5%, 10% | Sell Taxable Goods to Foreign Customer |
| Selling TX Service | Local Taxable Sales | 8%, 6% | Sell Taxable Services to Foreign Customer | ||
| Selling ZR Sales | Local Taxable Sales | 0% | Sell Non-Taxable Goods to Foreign Customer | ||
| Selling ZR Service | Local Taxable Sales | 0% | Sell Non-Taxable Services to Foreign Customer | ||
| SST Exempted Export Sales | Export Exempted | Selling EX Sales | Export Exempted | 0% | Sell Taxable/Non-Taxable Goods to Foreign Customer *All product items |
| Selling EX Service | Export Exempted | 0% | Sell Taxable/Non-Taxable Services to Foreign | ||
| SST Local Exempted Sales |
Local Exempted |
ESA | Local Exempted | 0% | Sell Exempted Goods to Schedule A (Class of Person) — Government, diplomats, charities. |
| ESB | Local Exempted | 0% | Sell Exempted Goods to Manufacturer of non-taxable goods | ||
| ESC-1 | Local Exempted | 0% |
Sell Exempted Goods to Local Customer excluding petroleum. *All product items |
||
| ESC-2 | Local Exempted | 0% |
Sell Exempted Petroleum Goods to Local Customer. *All product items |
||
| ESC-3 | Local Exempted | 0% |
Sell Acrual Goods to Local Approved Agent on Behalf of a Registered Manufacturer excluding petroleum. *All product items |
||
| ESC-4 | Local Exempted | 0% |
Sell Acrual Petroleum Goods to Local Approved Agent on Behalf of a Registered Manufacturer. *All product items |
||
| ESC-5 | Local Exempted | 0% |
Sell Accrual Goods to Local Customer who holds DG Approval. *All product items |
Item Tax Data Maintenance
SMURPS: Stock > Items and Pricing > Item
The Item Tax Template and Item Tax Category assignment in the Item Master Data depends on the other attributes of the product.
- Purchase Item -This Item is purchased from a third-party Supplier and not manufactured
- Sales Item - This Item can be sold to Customers
- Applicable for Purchase Tax - This Item is subject to input tax if purchased from a SST-registered Supplier
- Applicable for Sales Tax - This Item is subject to output tax if sold to a local Customer
| NO. | PURCHASE ITEM |
SALES ITEM |
APPLICABLE FOR PURCHASE TAX |
APPLICABLE FOR SALES TAX |
ITEM TAX TEMPLATE | ITEM TAX CATEGORY |
| 1 | Yes | Yes | Yes | Yes | Buying TX Sales Buying NR Sales Buying IM Sales Selling TX Sales Selling EX Sales |
Local Taxable Purchase Local Exempted Import Exempted Local Taxable Sales Export Exempted |
| Buying TX Service Buying NR Service Buying IM Service Selling TX Service Selling EX Service |
Local Taxable Purchase Local Exempted Import Exempted Local Taxable Sales Export Exempted |
|||||
| 2 | Yes | Yes | Yes | No | Buying TX Sales Buying NR Sales Buying IM Sales Selling ZR Sales Selling EX Sales |
Local Taxable Purchase Local Exempted Import Exempted Local Taxable Sales Export Exempted |
| Buying TX Service Buying NR Service Buying IM Service Selling ZR Service Selling EX Service |
Local Taxable Purchase Local Exempted Import Exempted Local Taxable Sales Export Exempted |
|||||
| 3 | Yes | Yes | No | Yes | Buying ZR Sales Buying NR Sales Buying IM Sales Selling TX Sales Selling EX Sales |
Local Taxable Purchase Local Exempted Import Exempted Local Taxable Sales Export Exempted |
| Buying ZR Service Buying NR Service Buying IM Service Selling TX Service Selling EX Service |
Local Taxable Purchase Local Exempted Import Exempted Local Taxable Sales Export Exempted |
|||||
| 4 | Yes | Yes | No | No | Buying ZR Sales Buying NR Sales Buying IM Sales Selling ZR Sales Selling EX Sales |
Local Taxable Purchase Local Exempted Import Exempted Local Taxable Sales Export Exempted |
| Buying ZR Service Buying NR Service Buying IM Service Selling ZR Service Selling EX Service |
Local Taxable Purchase Local Exempted Import Exempted Local Taxable Sales Export Exempted |
|||||
| 5 | Yes | No | Yes | No | Buying TX Sales Buying NR Sales Buying IM Sales |
Local Taxable Purchase Local Exempted Import Exempted |
| Buying TX Service Buying NR Service Buying IM Service |
Local Taxable Purchase Local Exempted Import Exempted |
|||||
| 6 | Yes | No | No | No | Buying ZR Sales Buying NR Sales Buying IM Sales |
Local Taxable Purchase Local Exempted Import Exempted |
| Buying ZR Service Buying NR Service Buying IM Service |
Local Taxable Purchase Local Exempted Import Exempted |
|||||
| 7 | No | Yes | Yes | Yes | Selling TX Sales Selling EX Sales |
Local Taxable Sales Export Exempted |
| Selling TX Service Selling EX Service |
Local Taxable Sales Export Exempted |
|||||
| 8 | No | Yes | Yes | No | Selling ZR Sales Selling EX Sales |
Local Taxable Sales Export Exempted |
| Selling ZR Service Selling EX Service |
Local Taxable Sales Export Exempted |
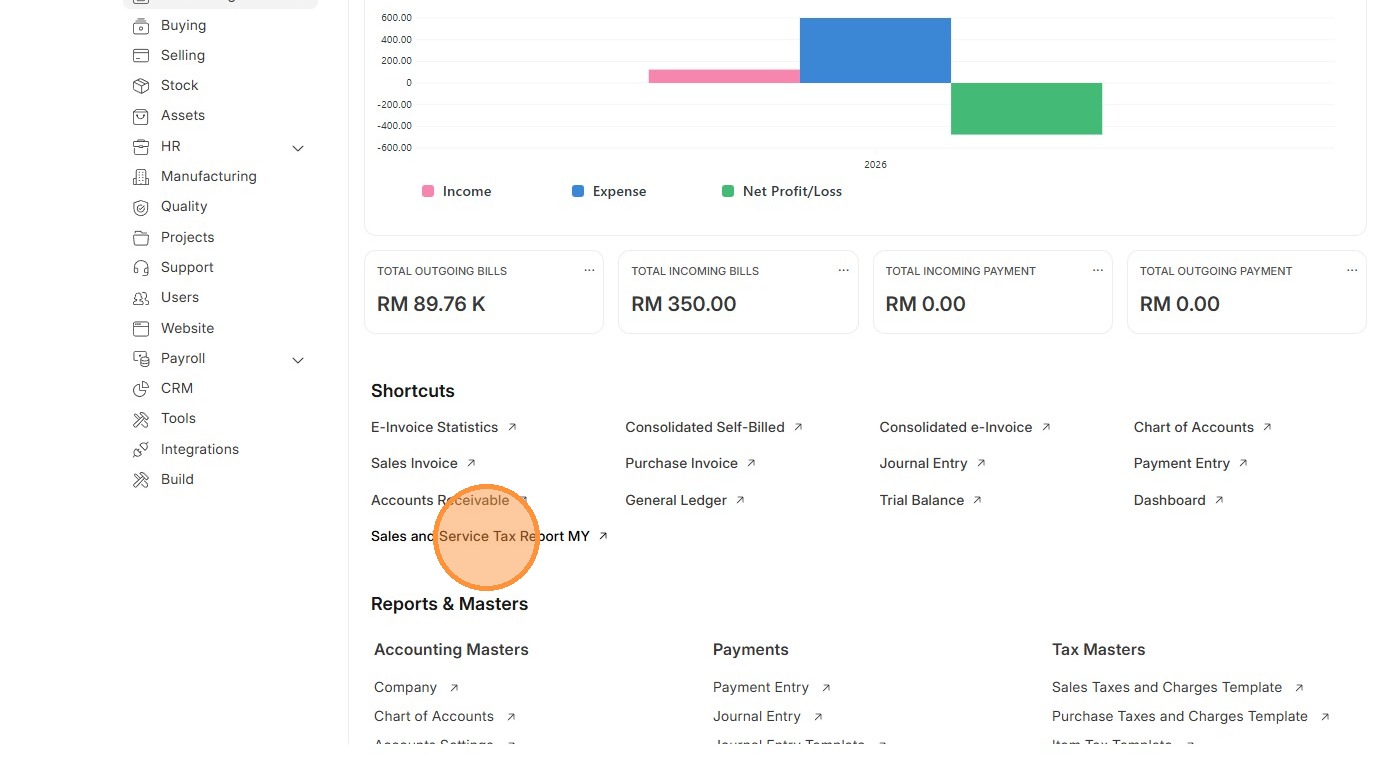
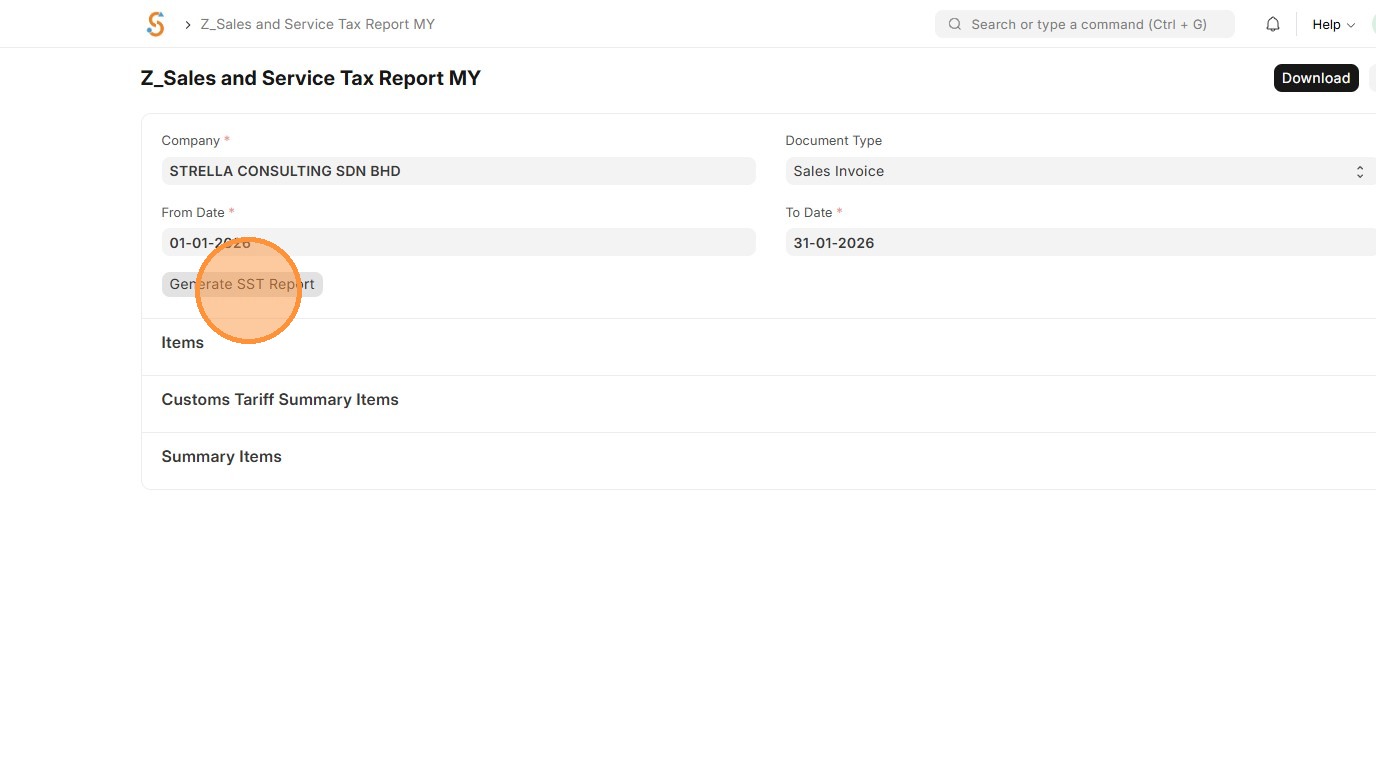
SST Report
SMURPS: Sales and Service Tax Report SMURPS
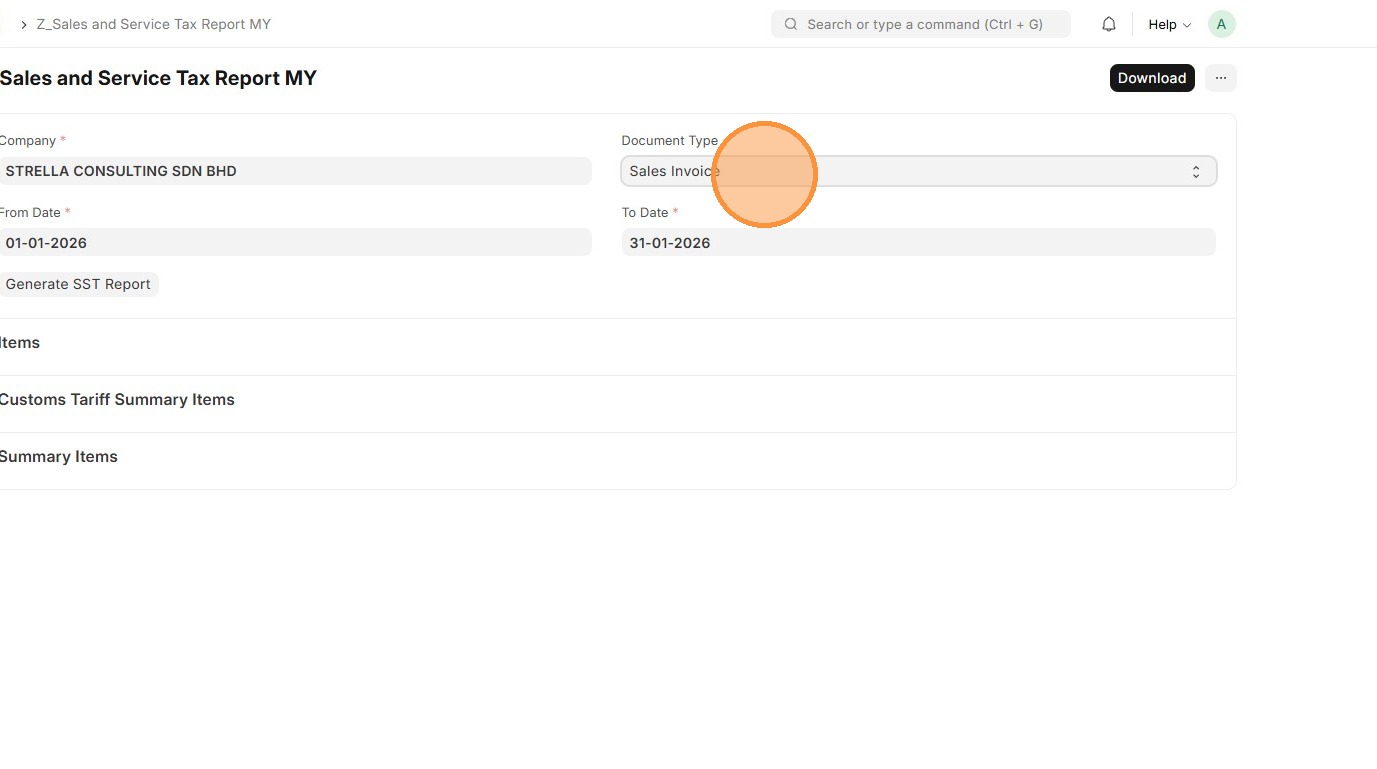
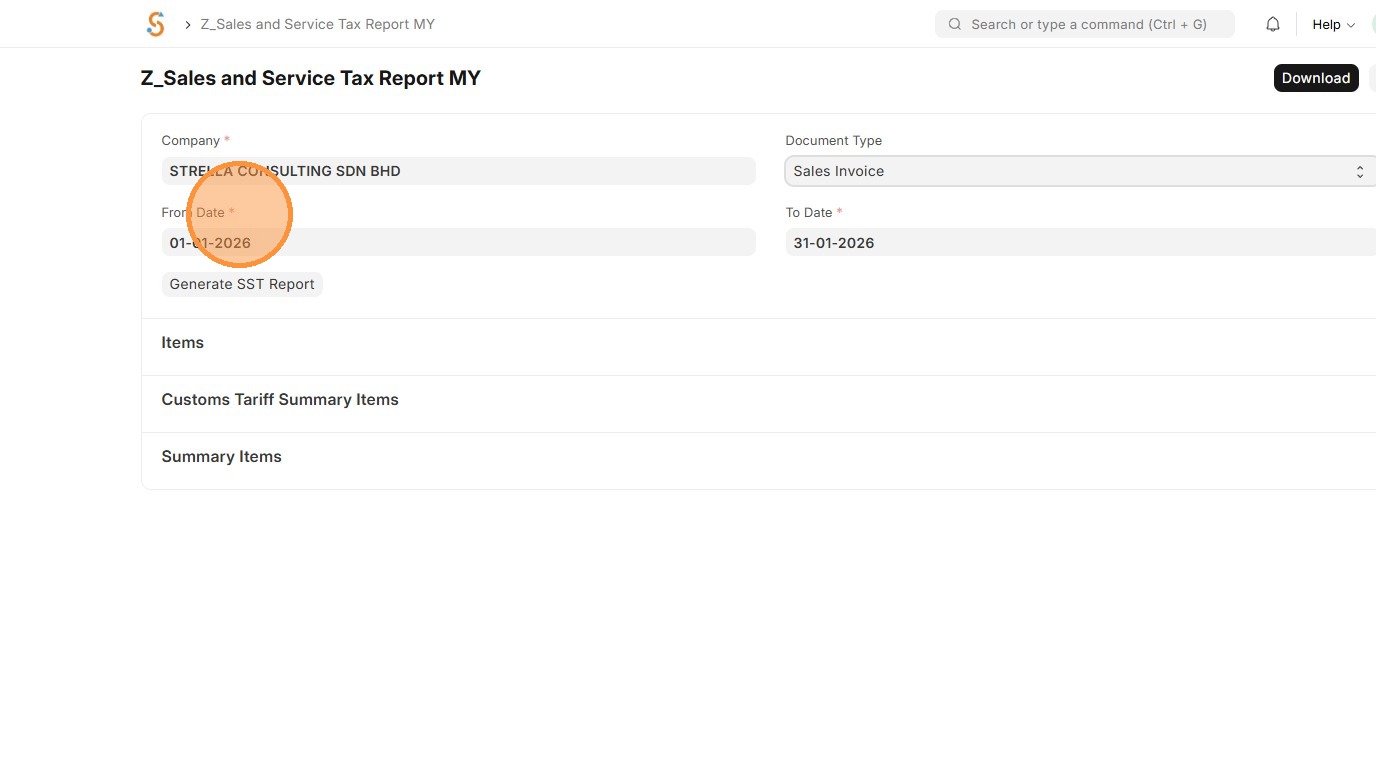
To generate the SST Report, make the following selection and click Generate SST Report.
- Company - Company that is SST registered
- Document Type - Sales Invoice
- From Date - Start date of the SST reporting period, typically bi-monthly
- To Date - End date of the SST reporting period, typically bi-monthly
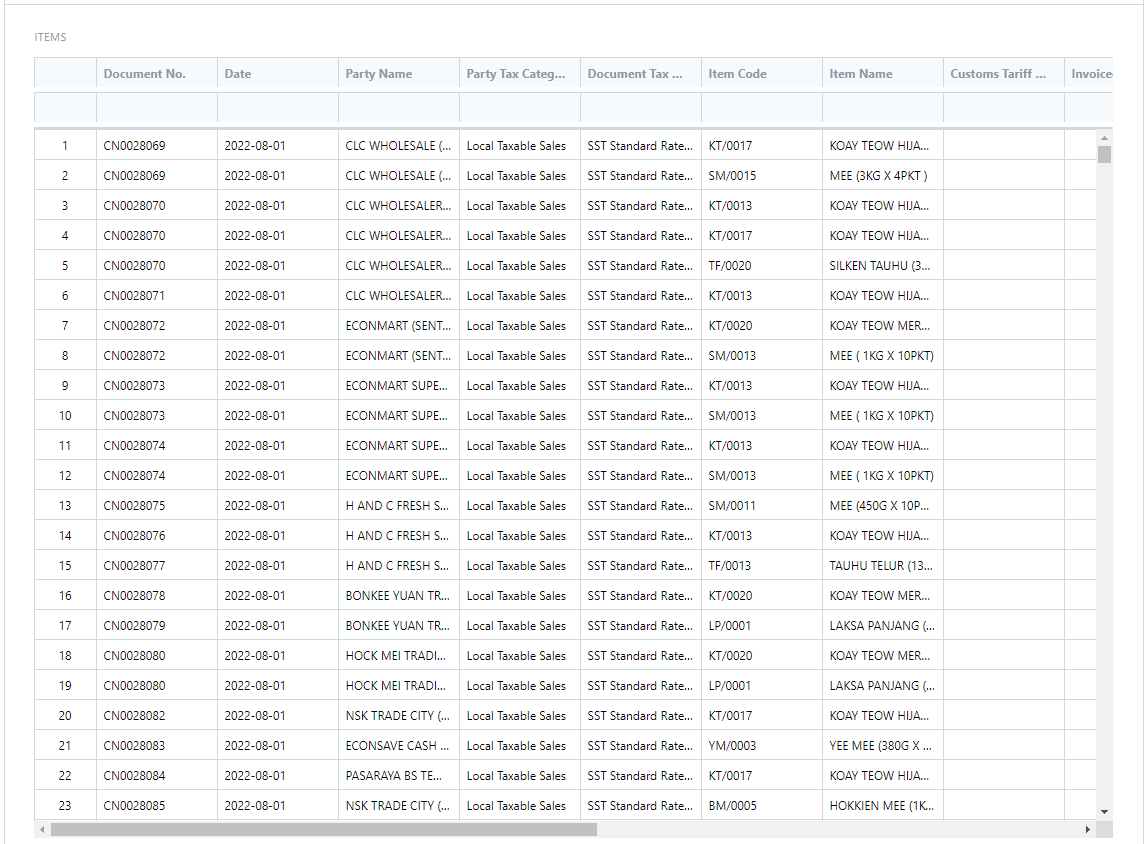
Items Section
Detailed breakdown of taxable Sales Invoice transactions by Item whereby the following fields are not blank: -
- Sales Taxes and Charges Template
- Tax Category
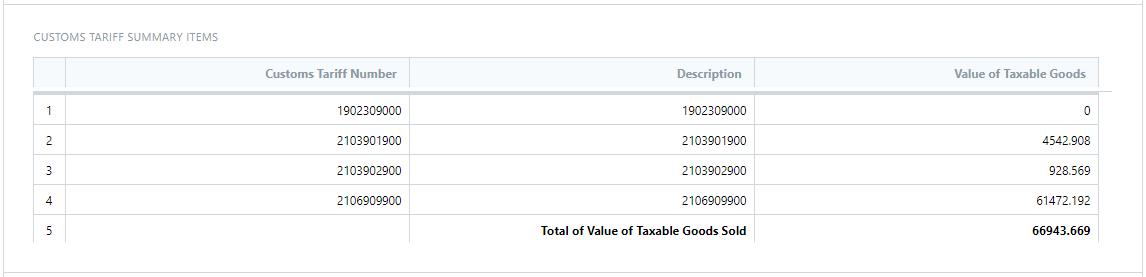
Customs Tariff Summary Items Section
Summarized information of the taxable Sales Invoice transactions by the Item Customs Tariff Number.
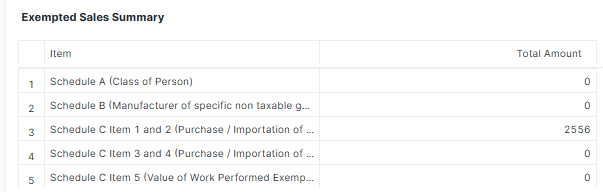
Exempted Sales Summary Section
Summarized information of the exempted Sales Invoice transaction by the Item Tax under Schedule A, B, C1 and C2, C3 and C4 and C5
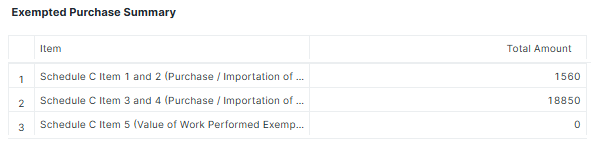
Exempted Purchase Summary Section
Summarized information of the Purchase Invoice transaction by the Item Tax under Schedule C1 and C2, C3 and C4 and C5
Summary Items Section
Summarized information of the taxable Sales Invoice transactions based on the Sales and Service Tax Configuration setup.
- Value of Taxable Goods Sold (MYR)
- Value of Sales Tax Payable (MYR)
- Value of Taxable Services Sold (MYR)
- Value of Service Tax Payable (MYR)
- Total Value of Tax Payable (MYR)
- Value of Exported Goods Sold (MYR)
- Value of Exempted Services Sold (MYR)
- Value of Exempted Goods Purchased (MYR)
- Value of Exempted Services Purchased (MYR)

Setup and Master Data Maintenance
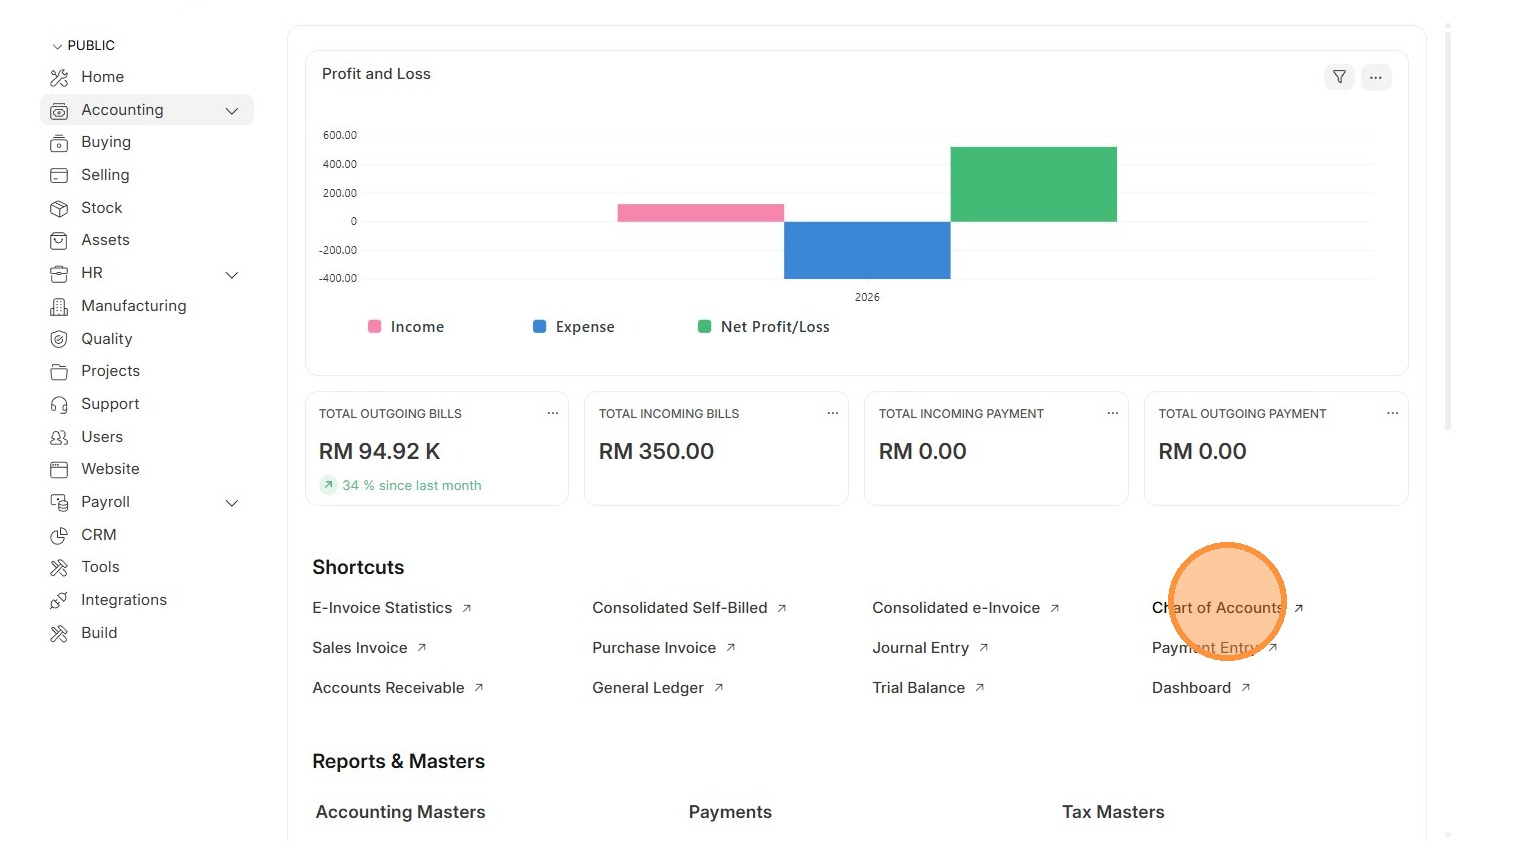
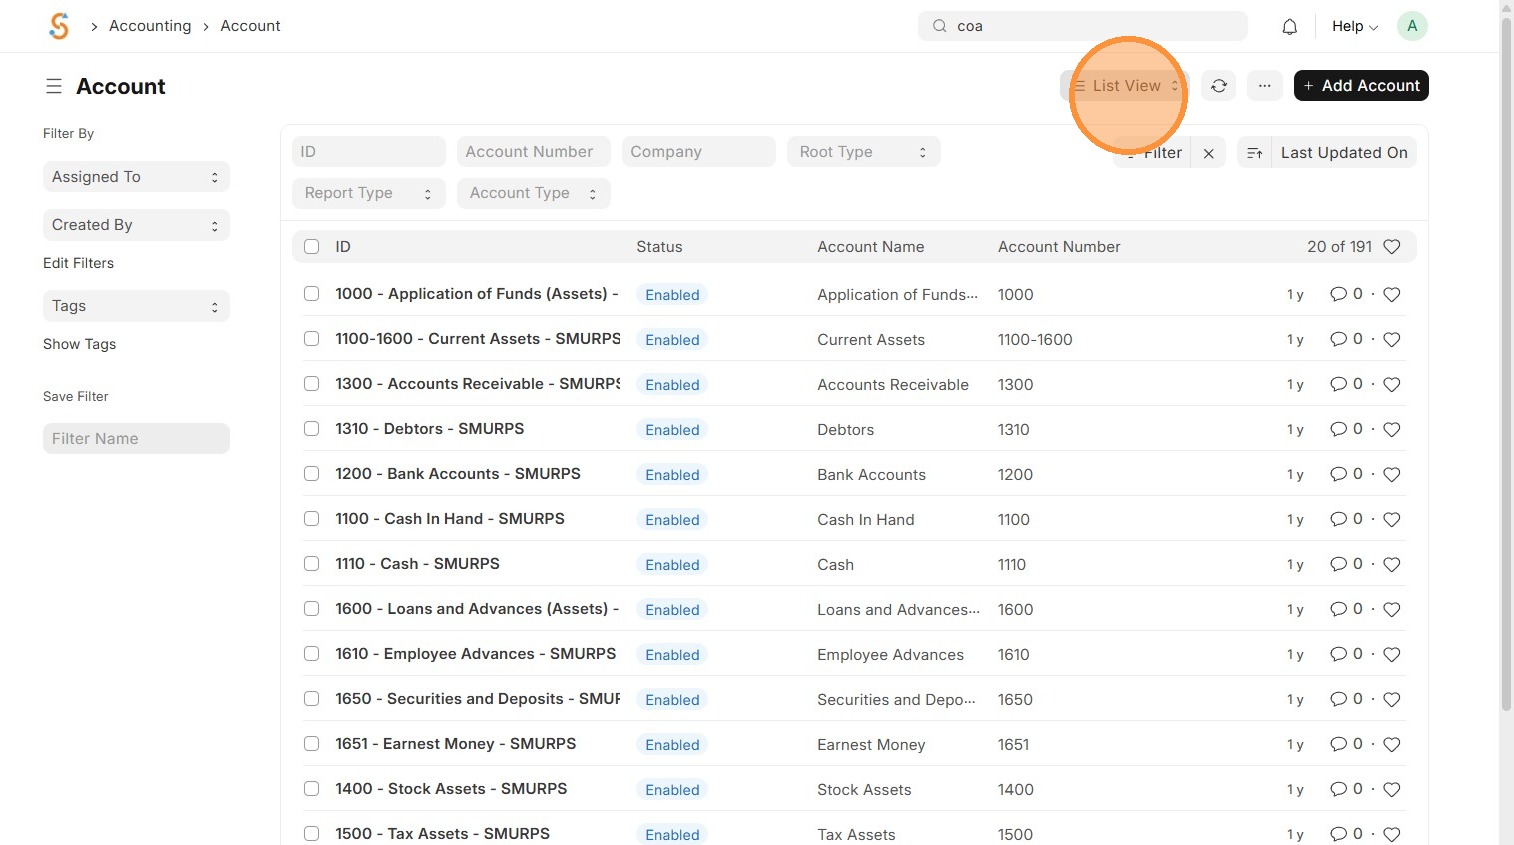
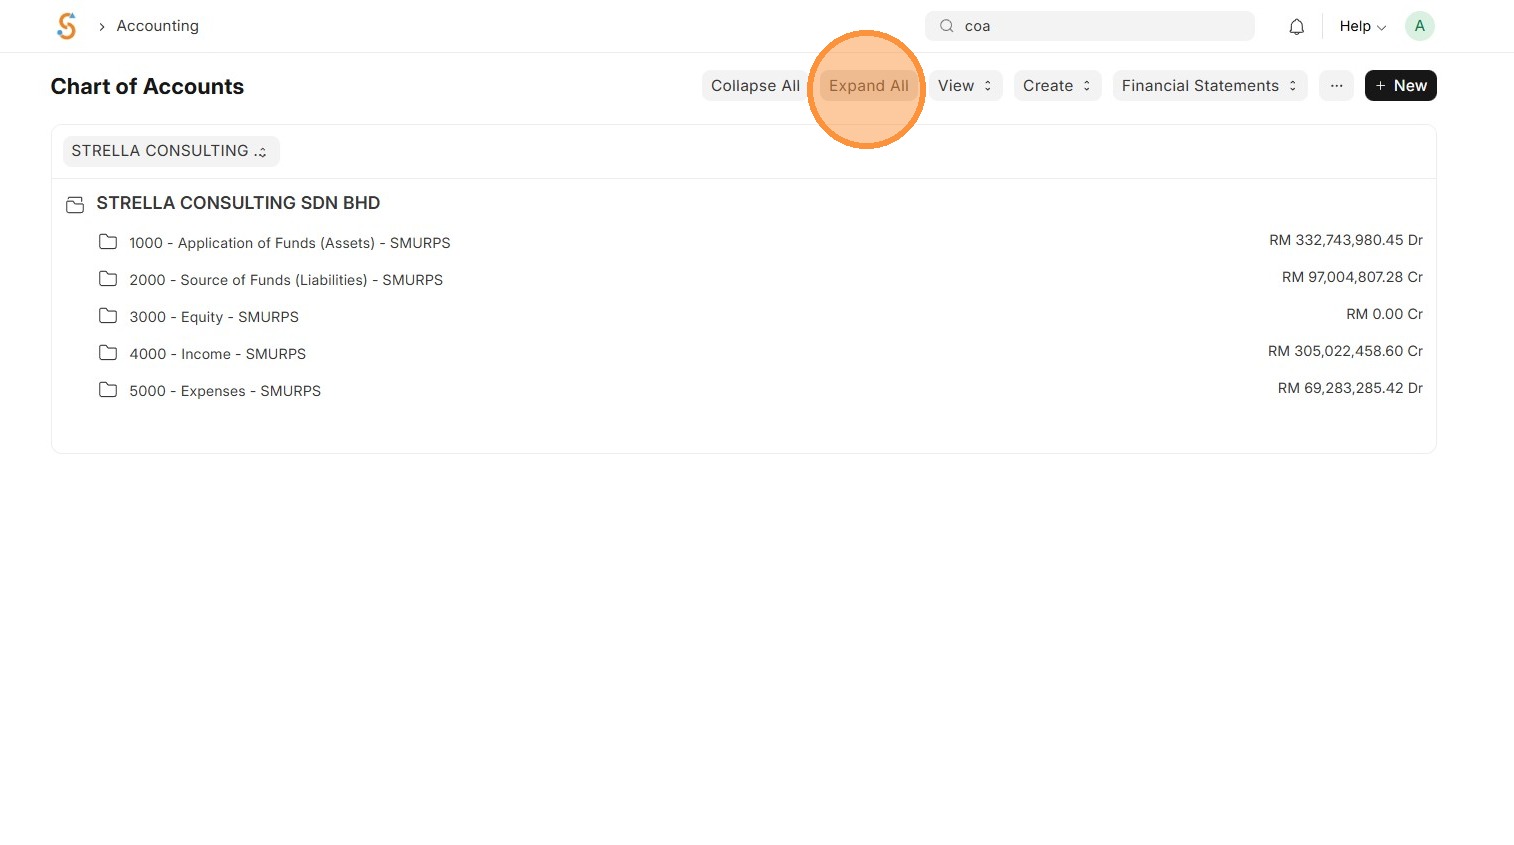
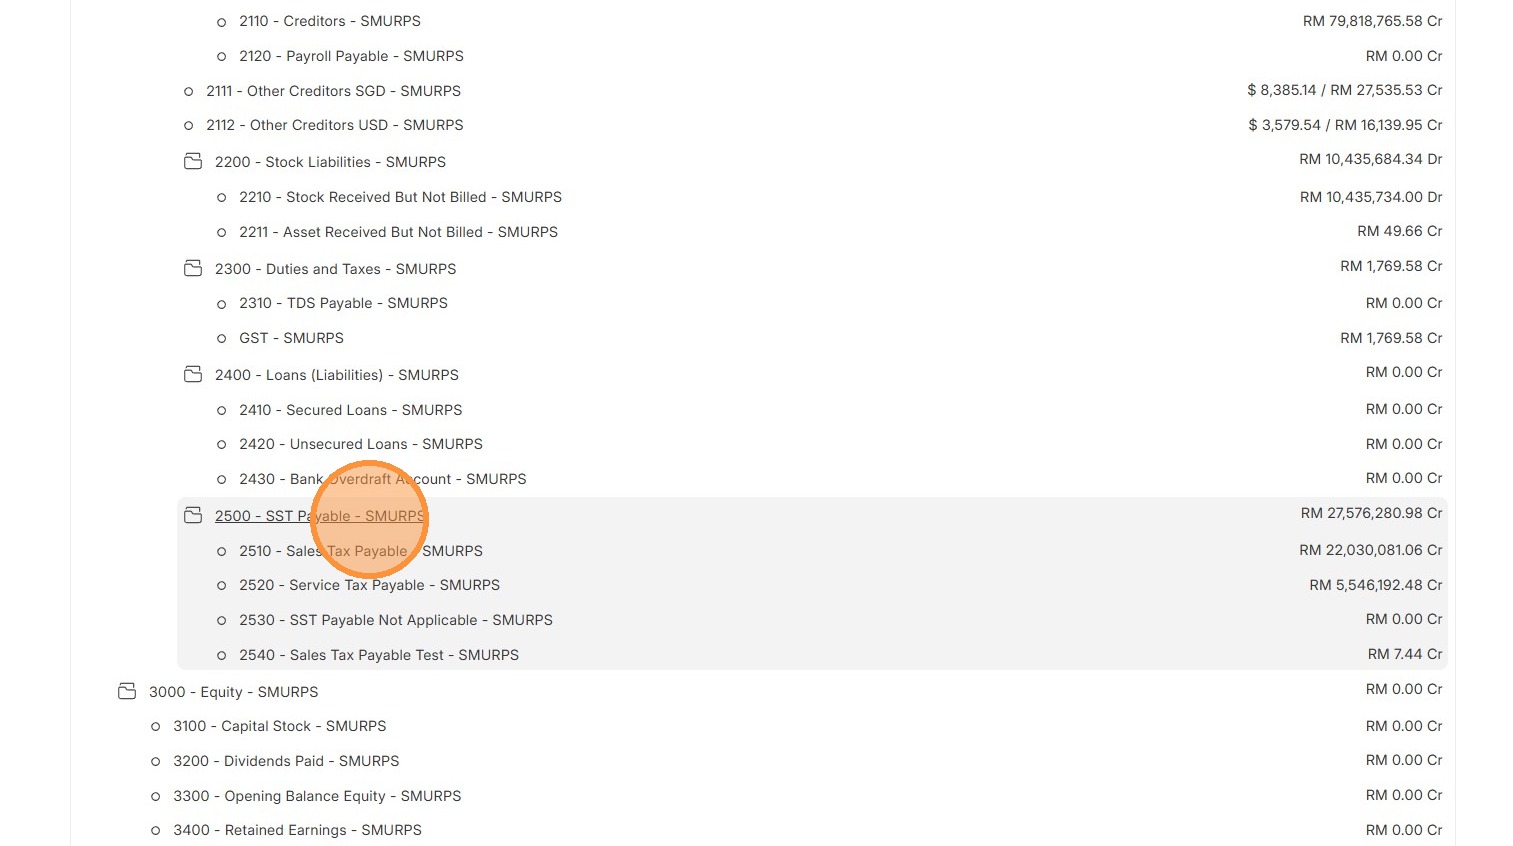
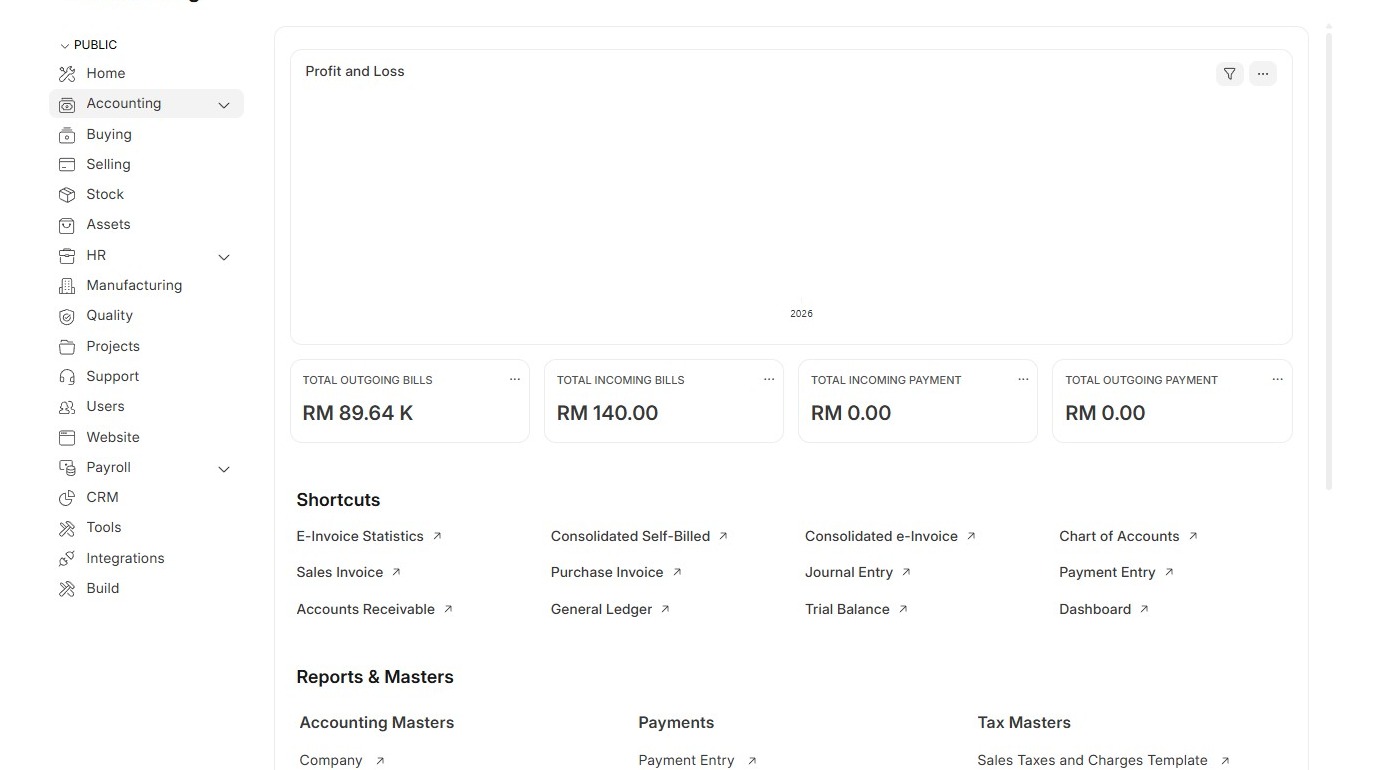
Chart of Accounts
The Chart of Accounts is like the backbone of your accounting system. It’s a list of all the accounts where money in your business is tracked what you earn, what you spend, and what you own. Every sale, purchase, or expense gets recorded into these accounts, so at any time, you can review how much money you have, how much you owe, and how much you’ve earned.
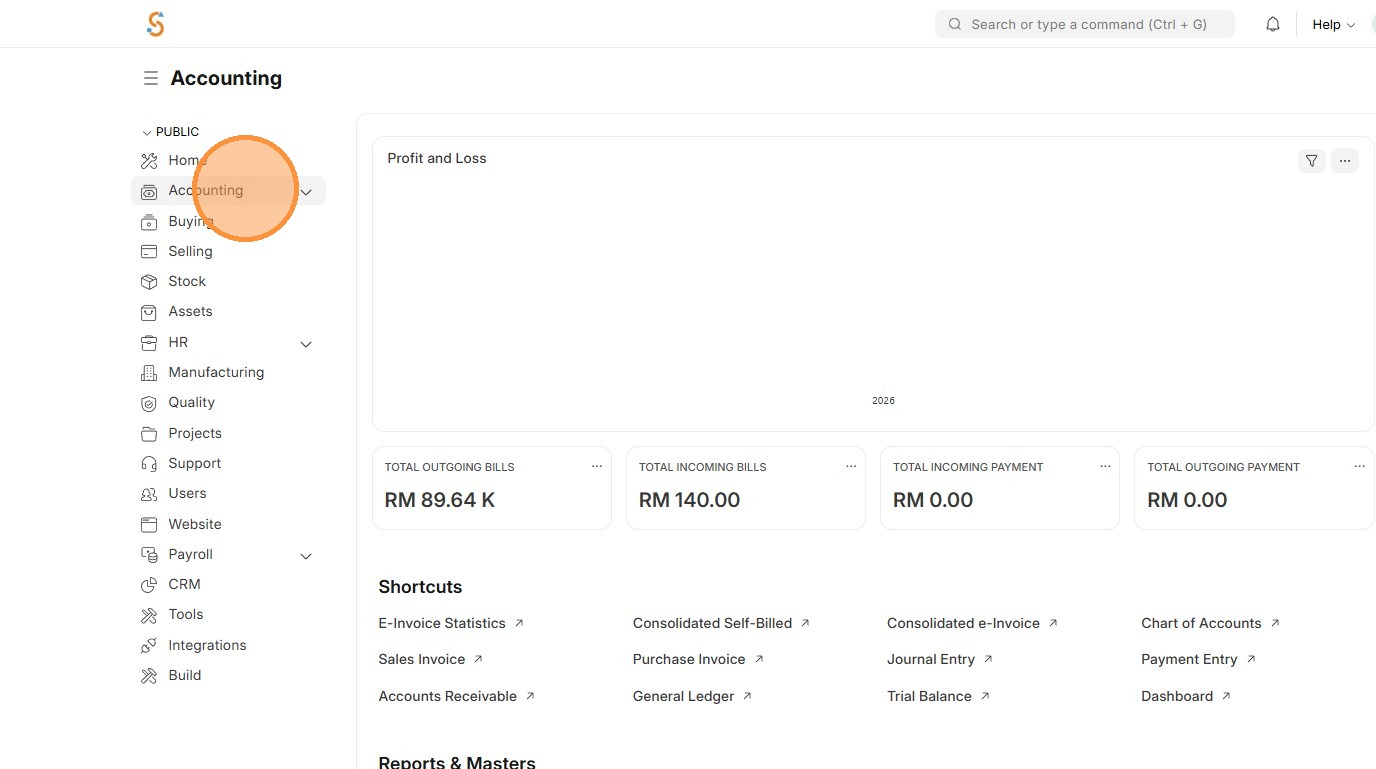
1. Click "Accounting"
2. Click "Chart of Accounts"
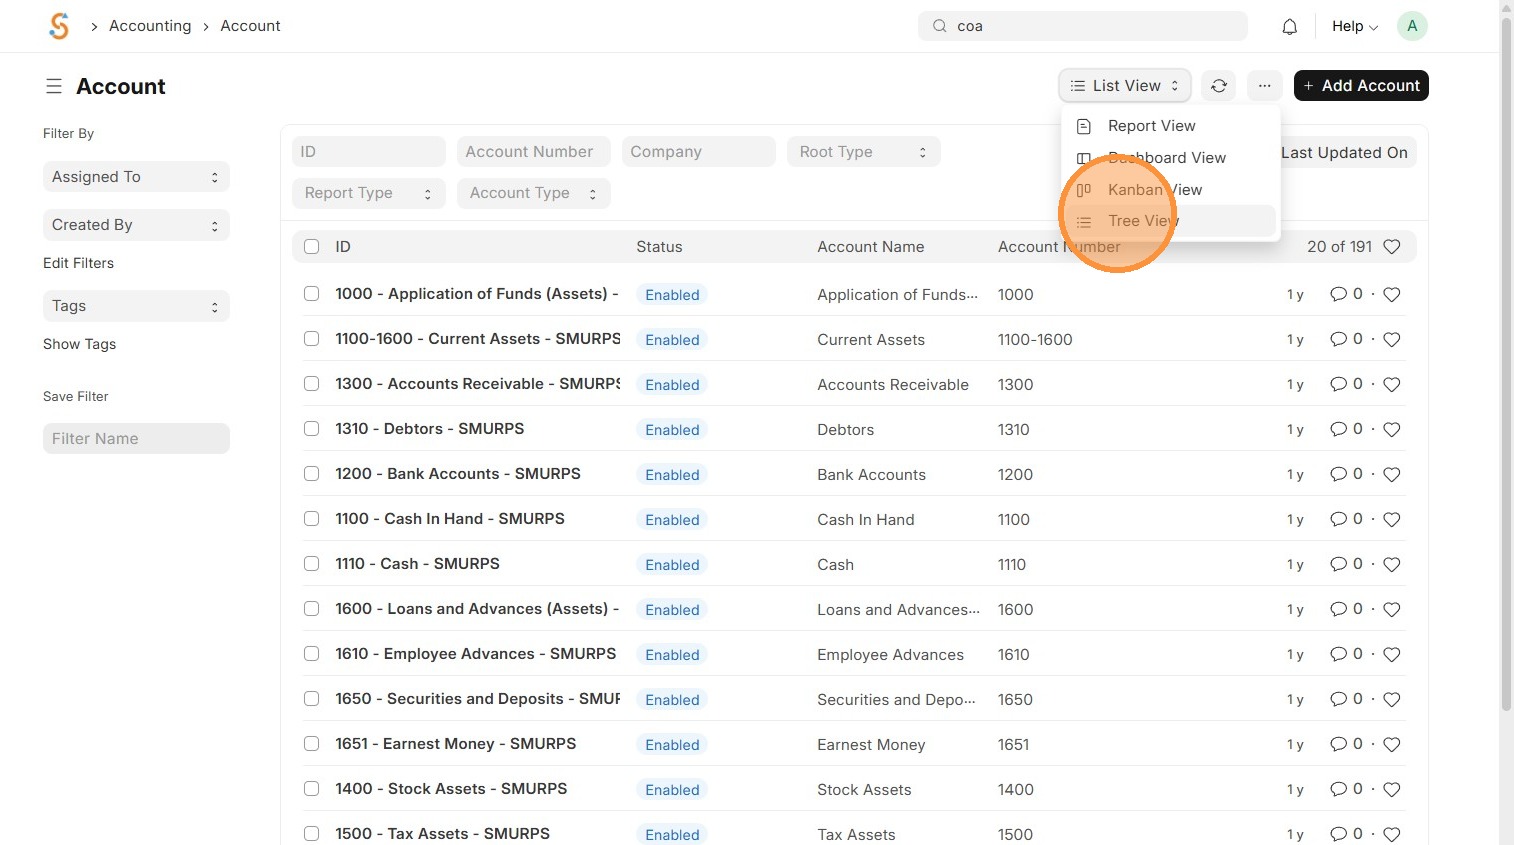
3. Click "List View"
4. Click "Tree View"
5. Click "Expand All" and review Chart of Accounts Structure
6. Click desired Parent Account to create an account
7. Click "Add Child"
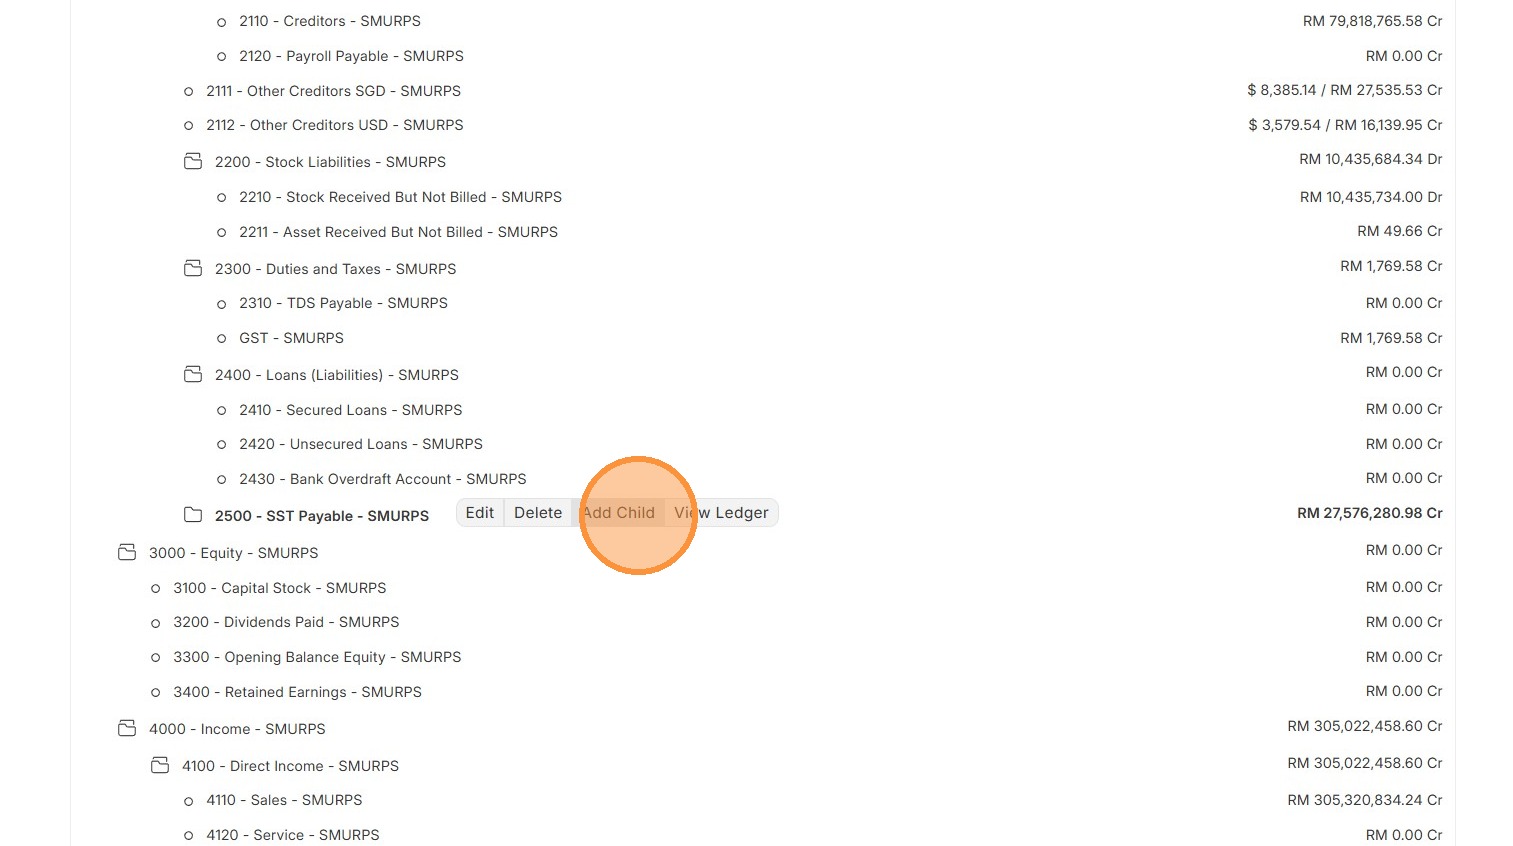
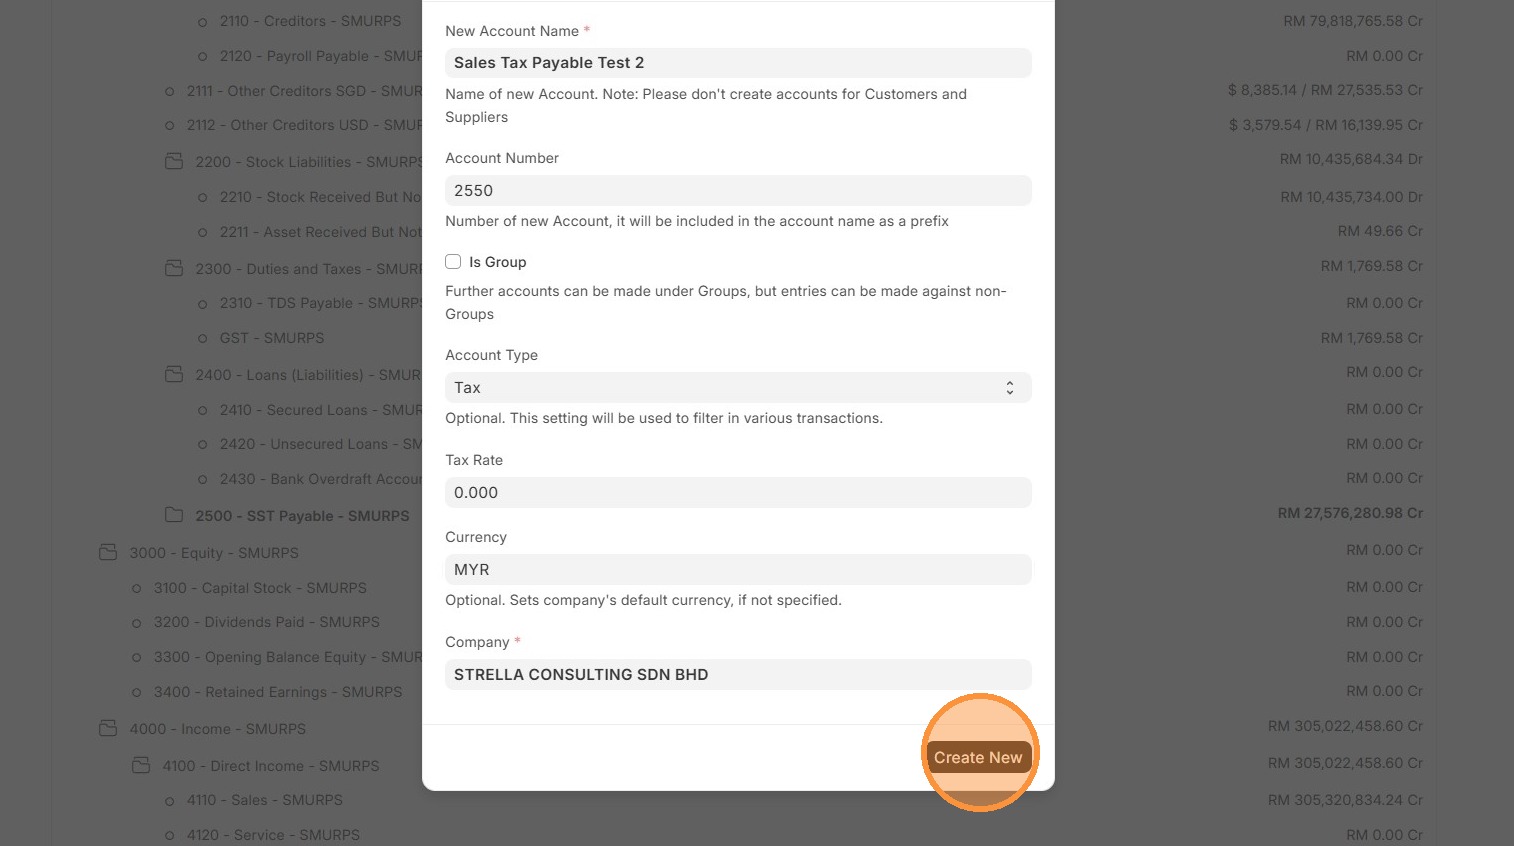
8. Enter "Account Name" and "Account Number"
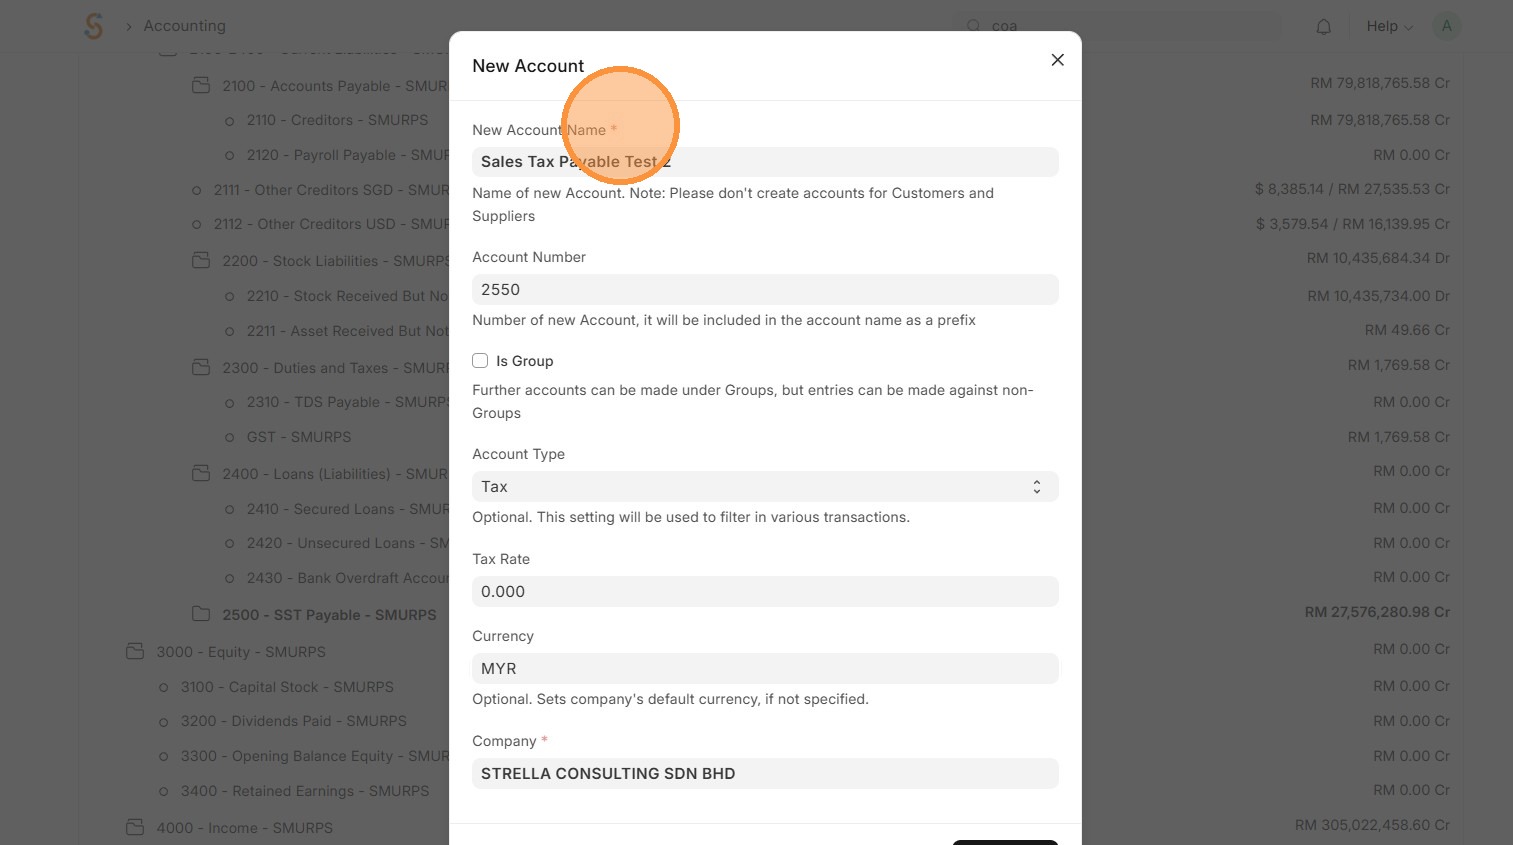
9. Check 'Is Group' only if its a Parent Account and Select appropriate "Account Type"

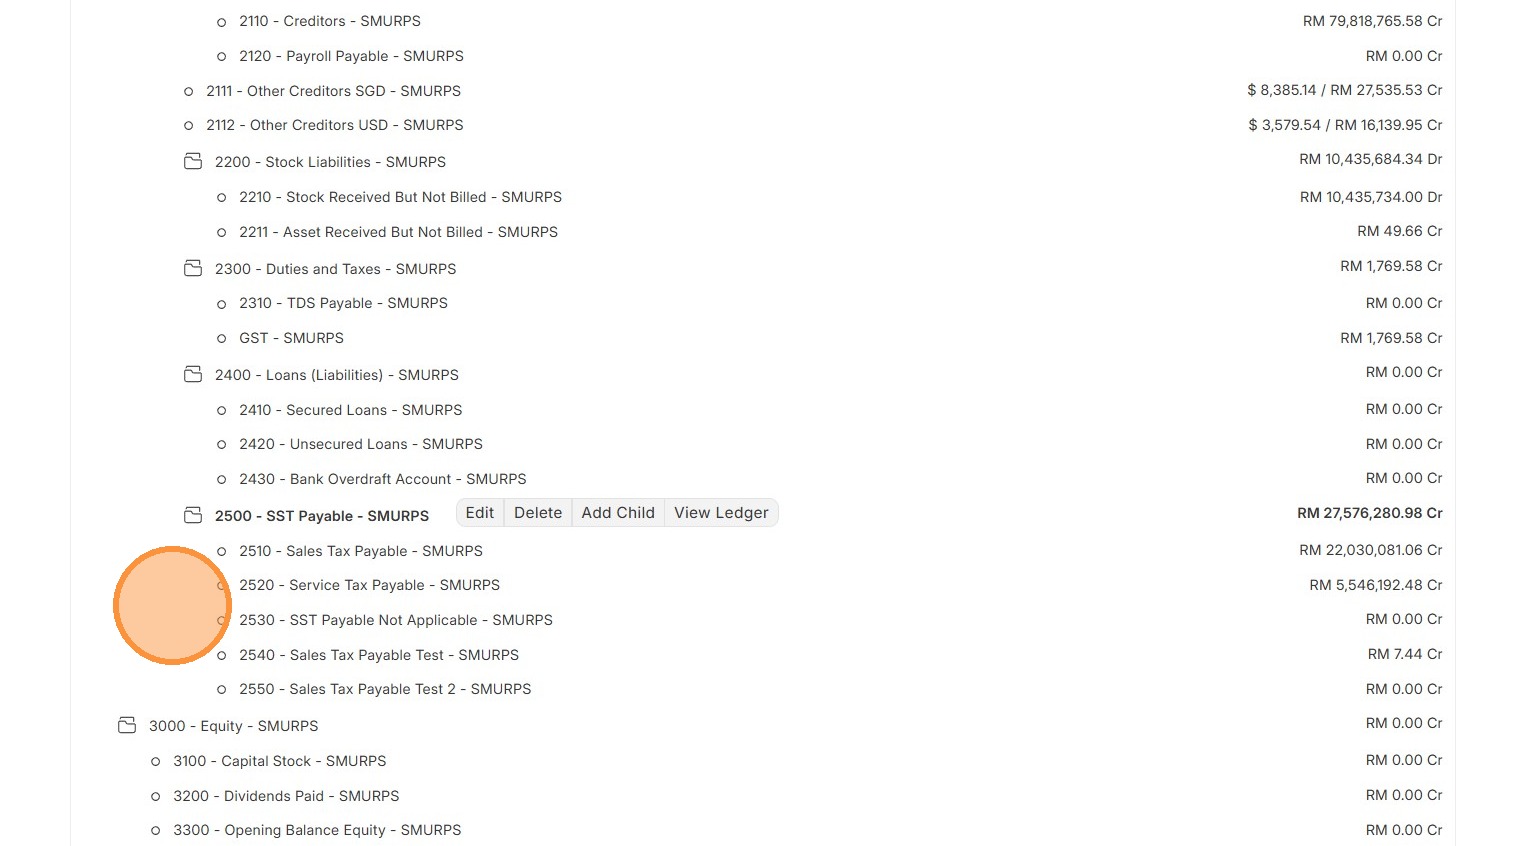
10. Click "Create New" to create Chart of Accounts
11. Verify account tree that newly created account is updated accordingly
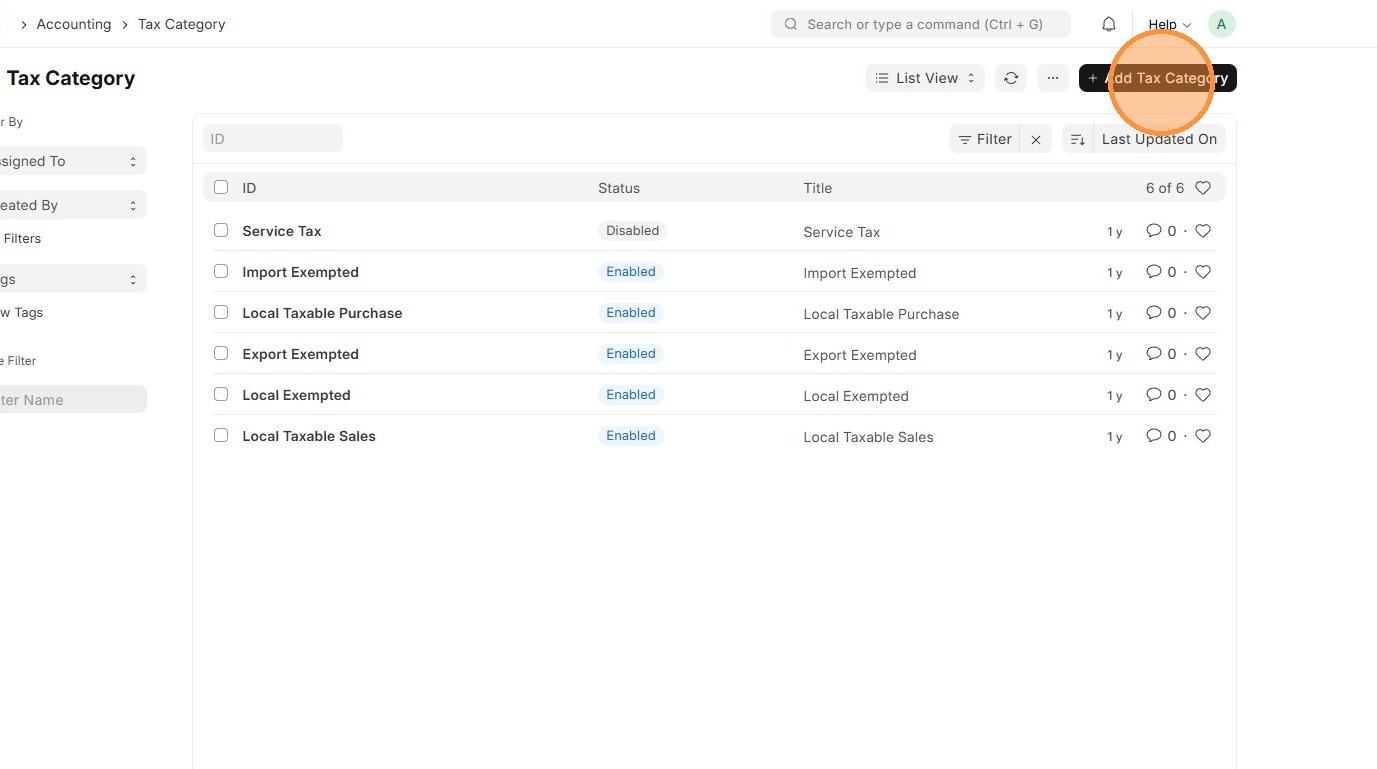
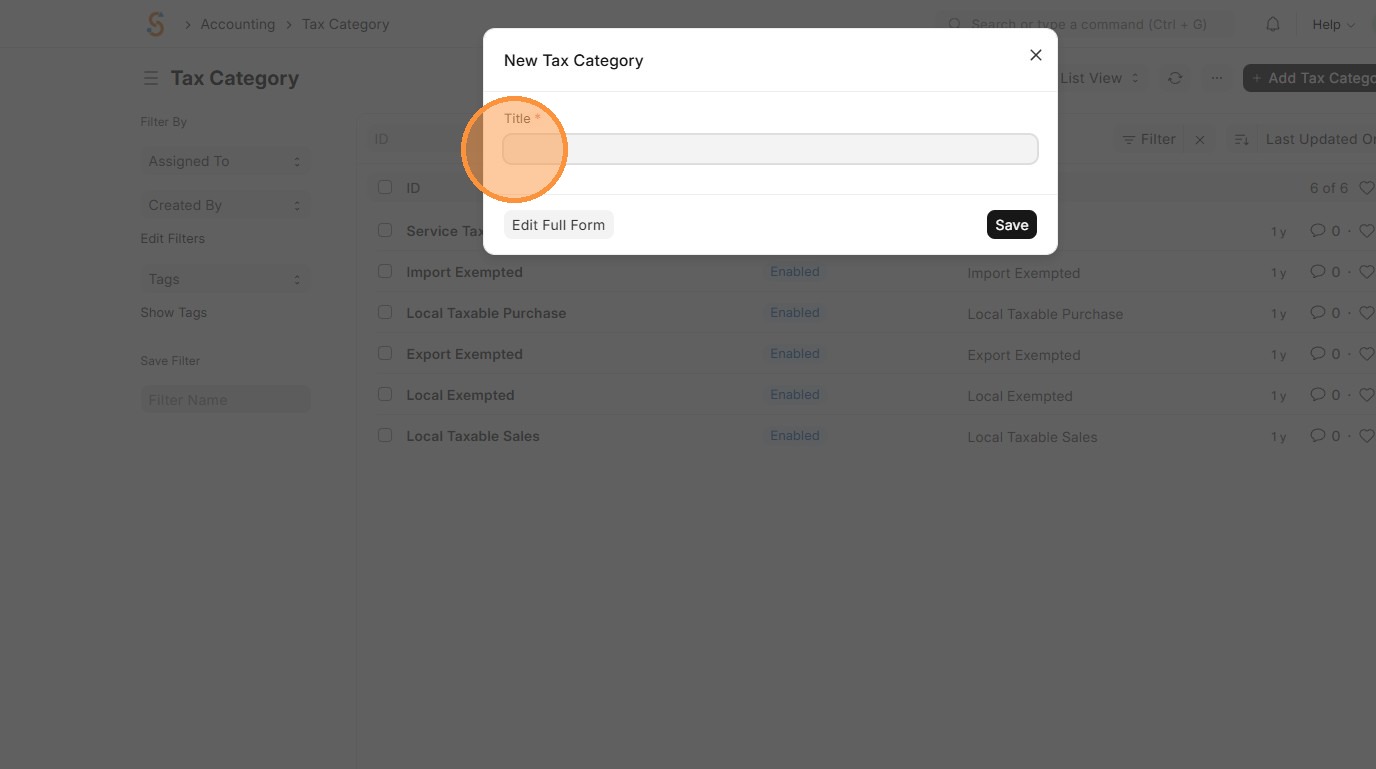
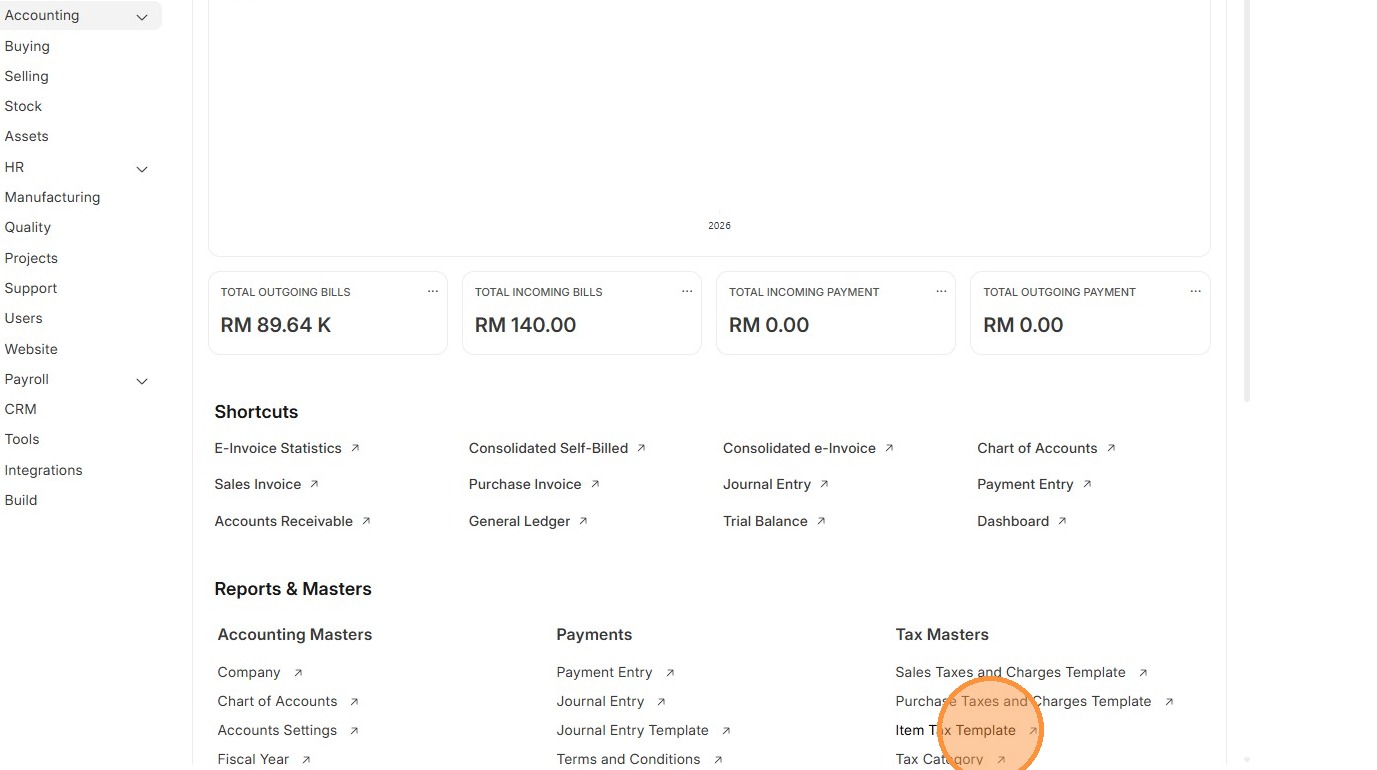
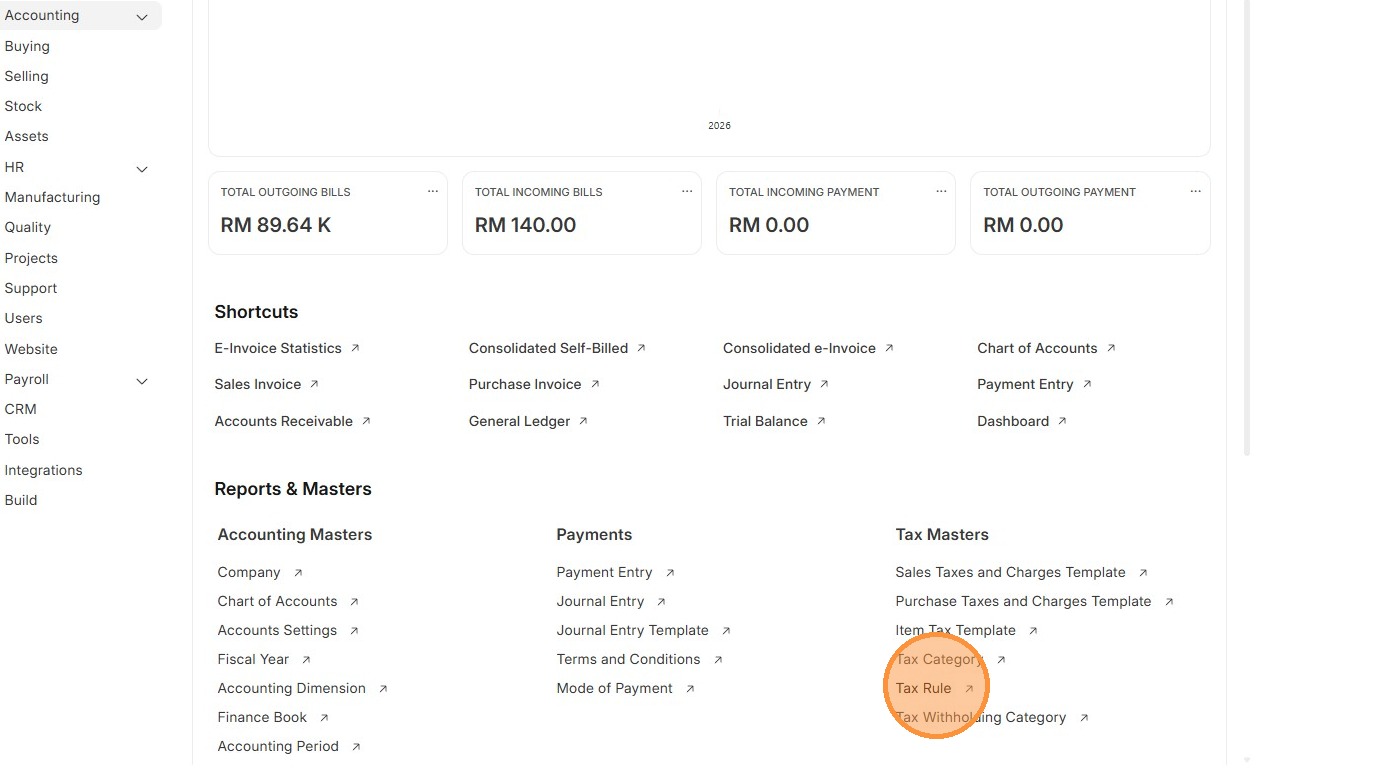
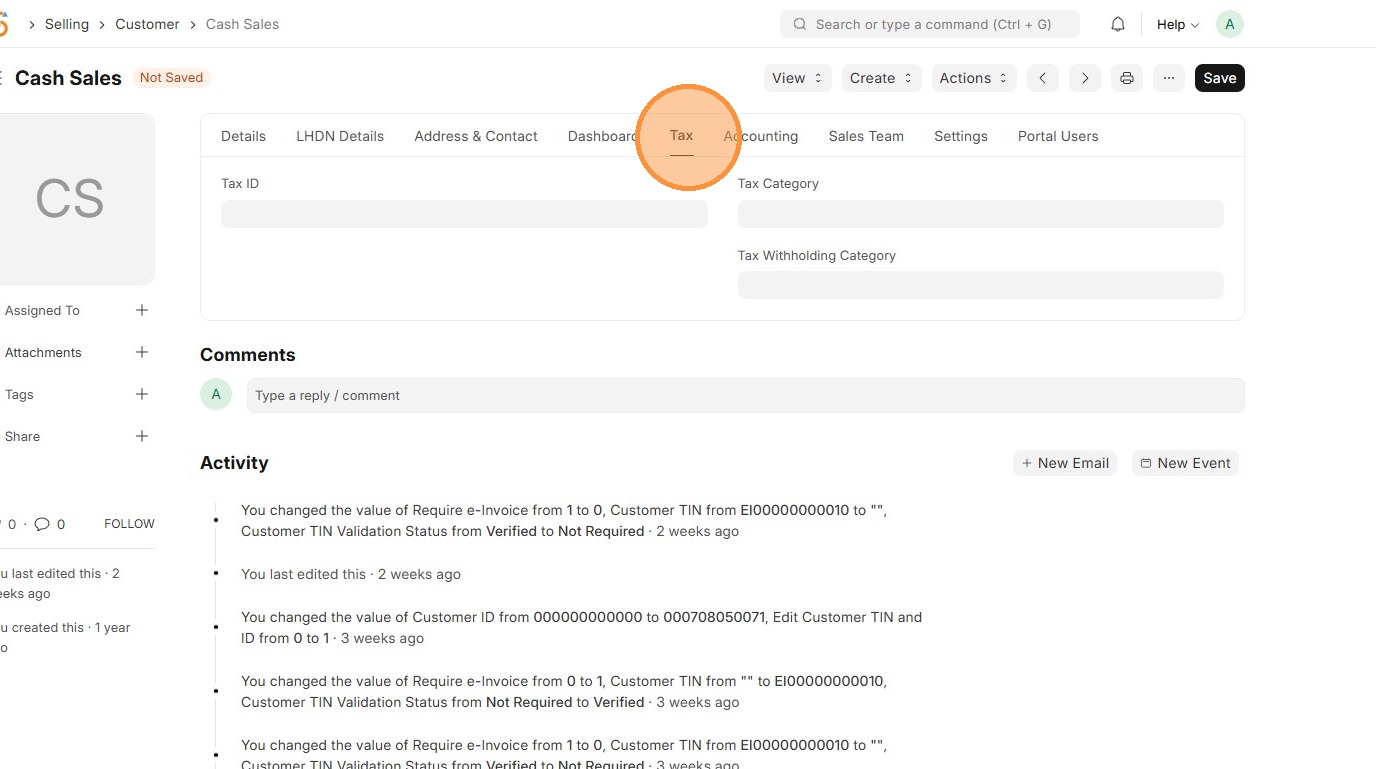
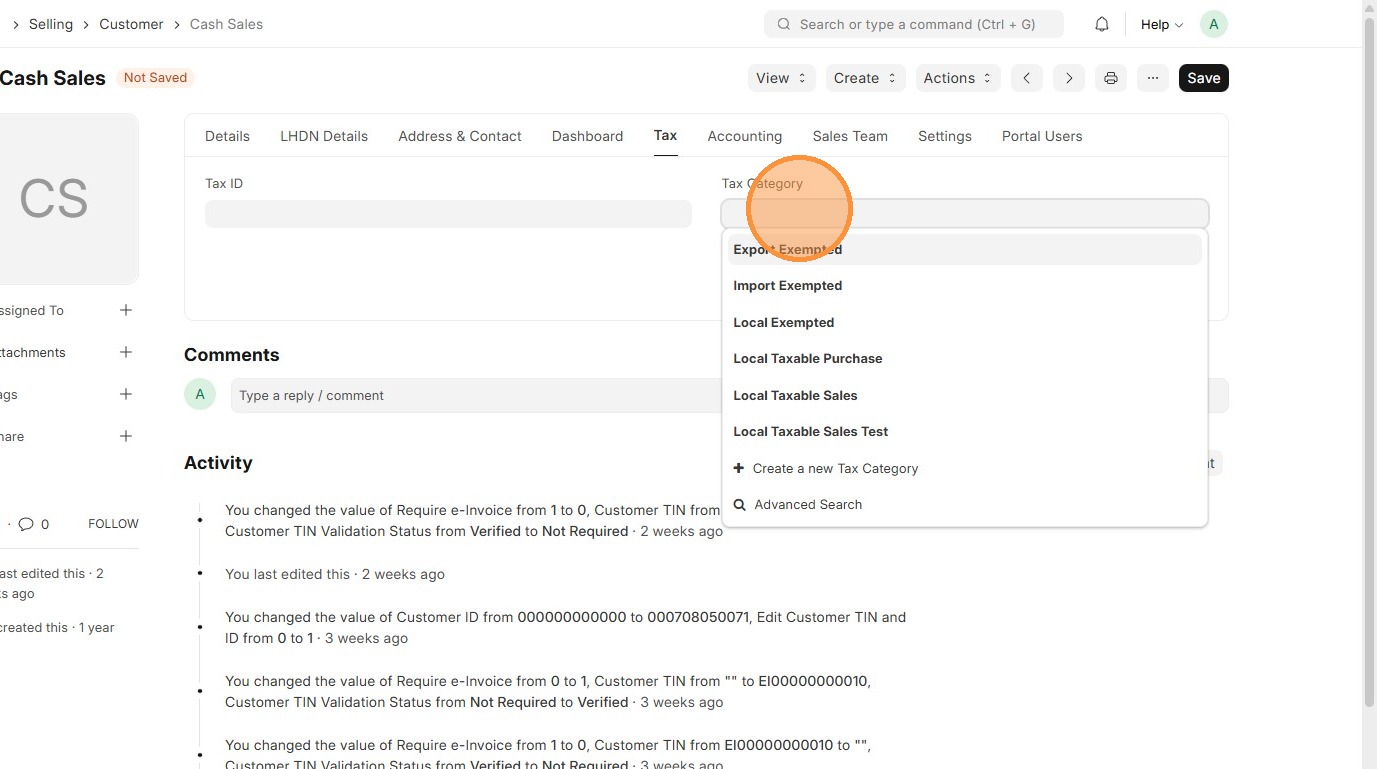
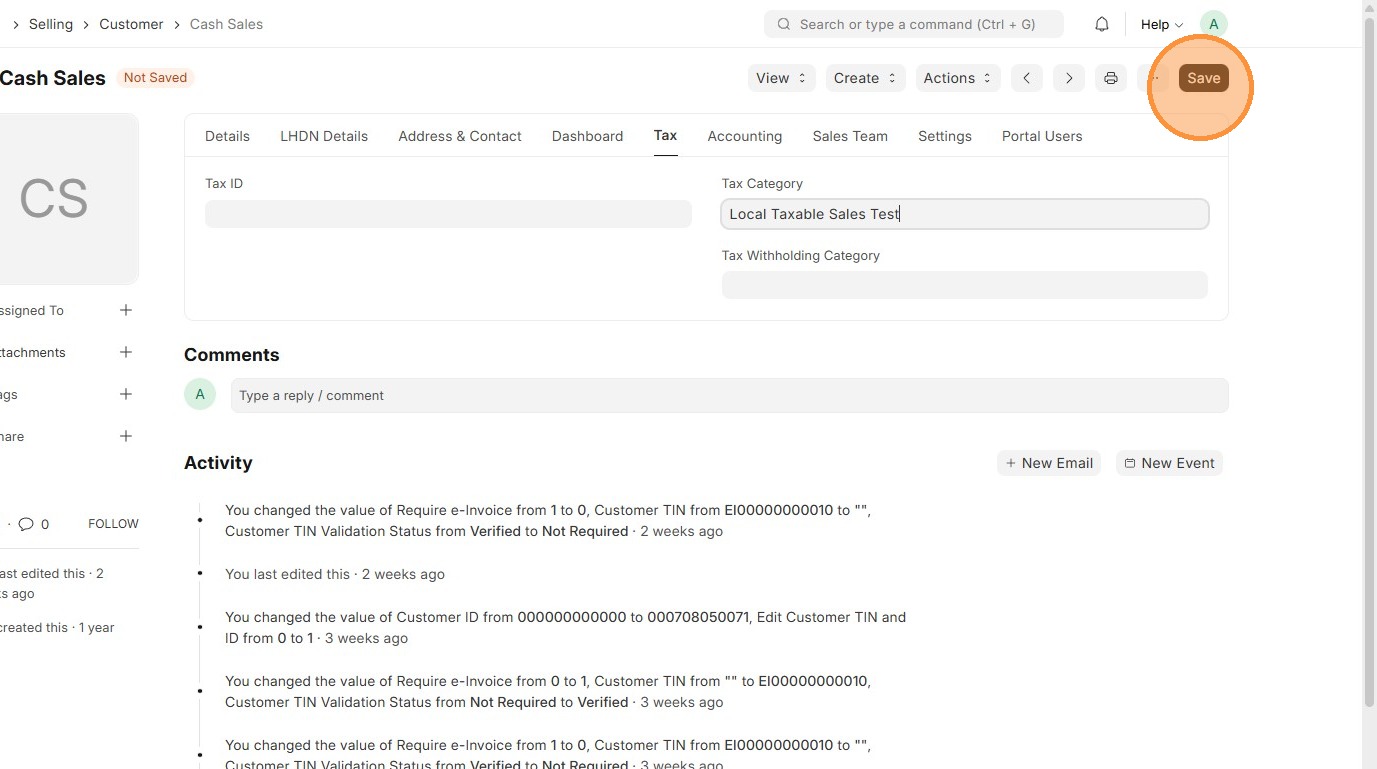
Tax Category
Tax Categories are used to define different tax scenarios and can be assigned to specific Customers, Suppliers, or Items.
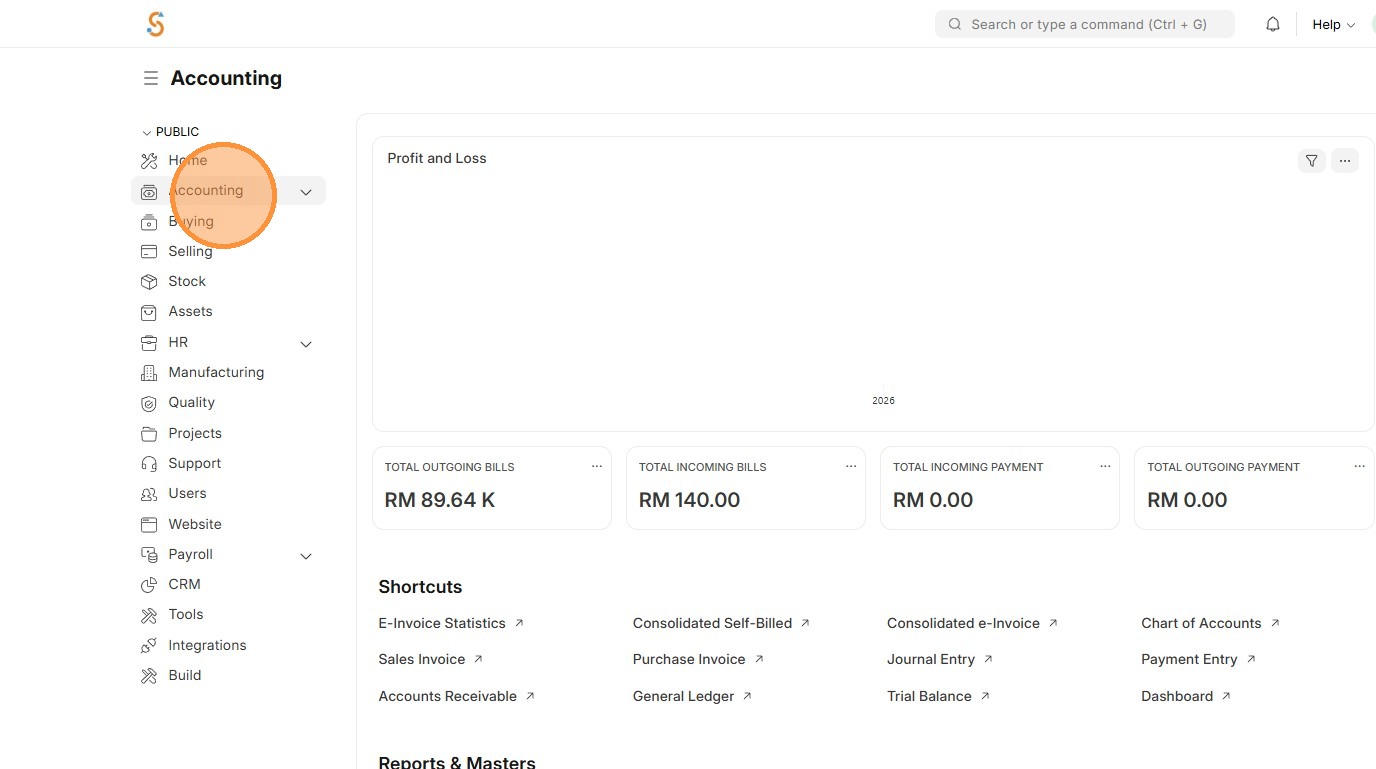
1. Click "Accounting"
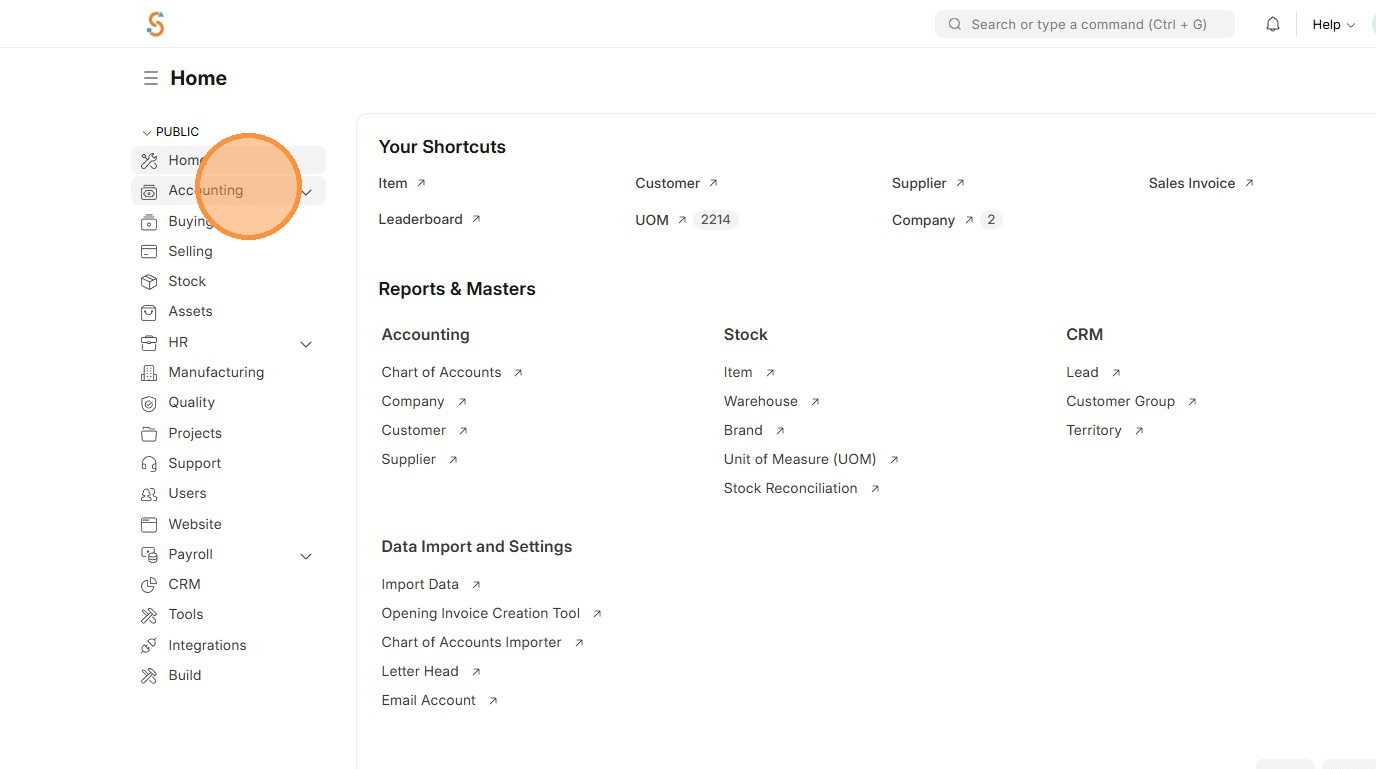
2. Click "Tax Category"

3. Click "Add Tax Category"
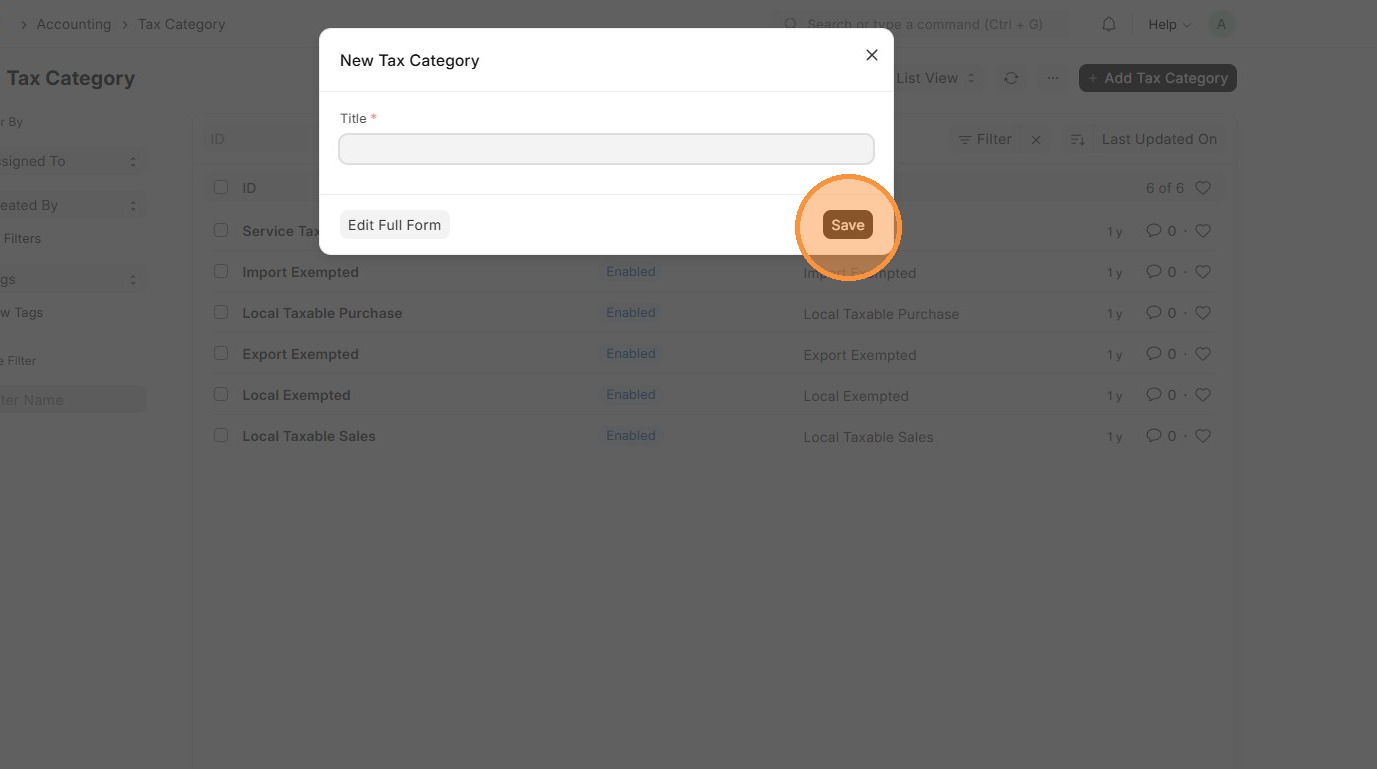
4. Enter Tax Category.
5. Click "Save" and Tax Category is created.
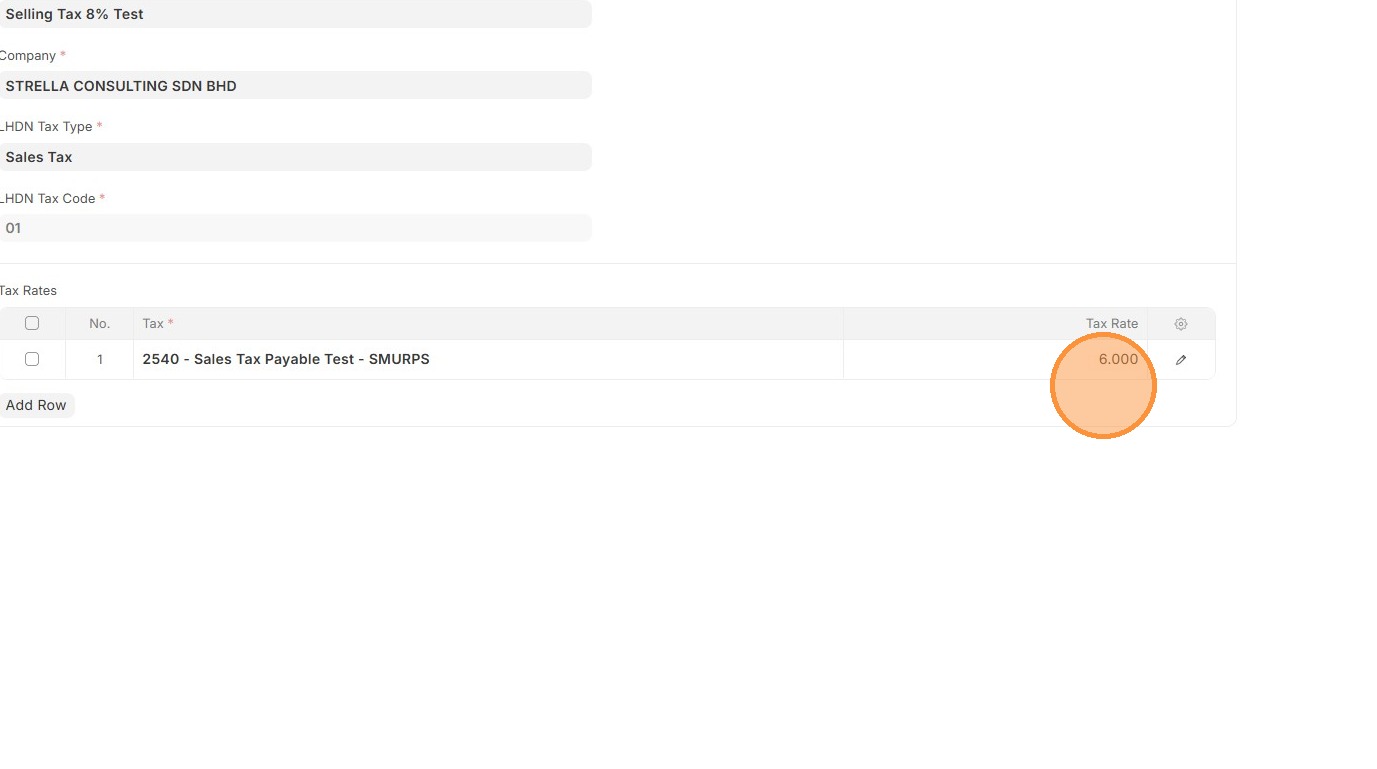
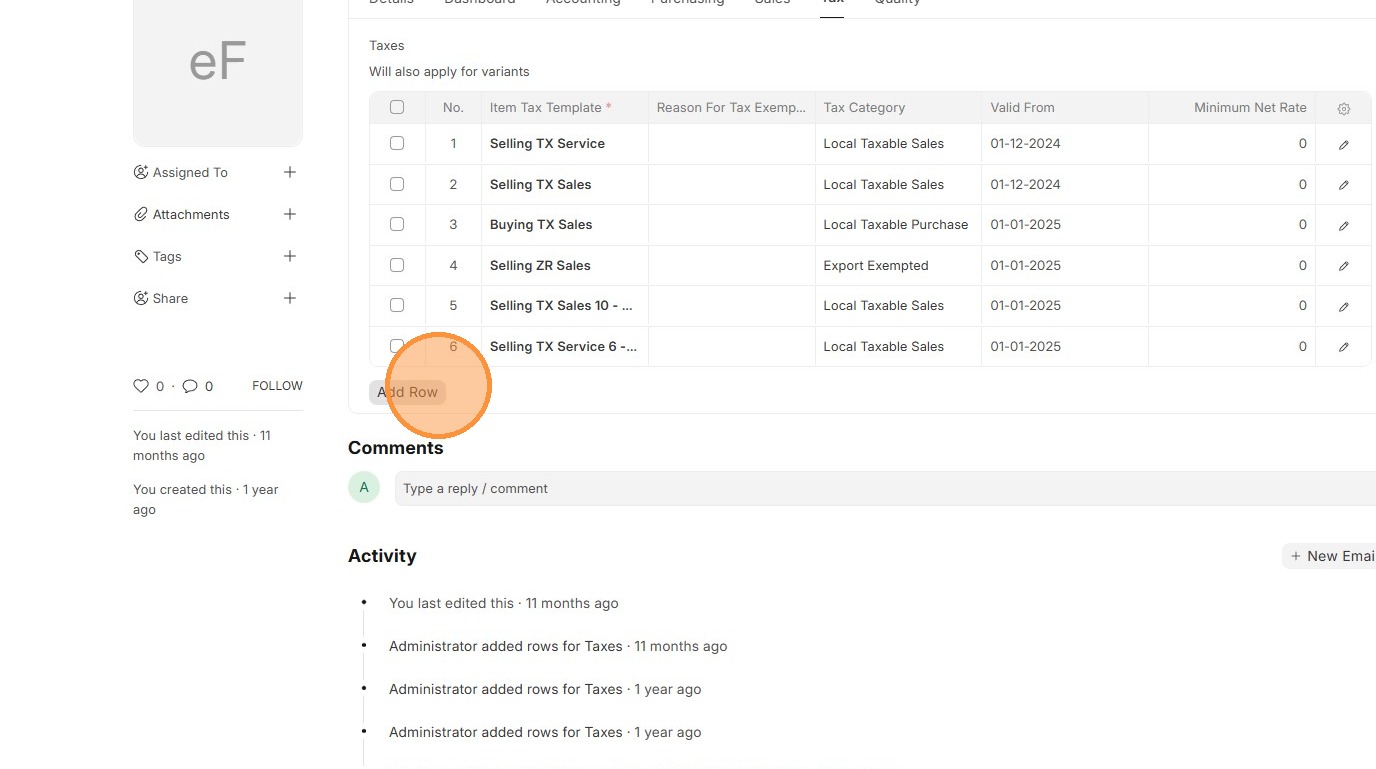
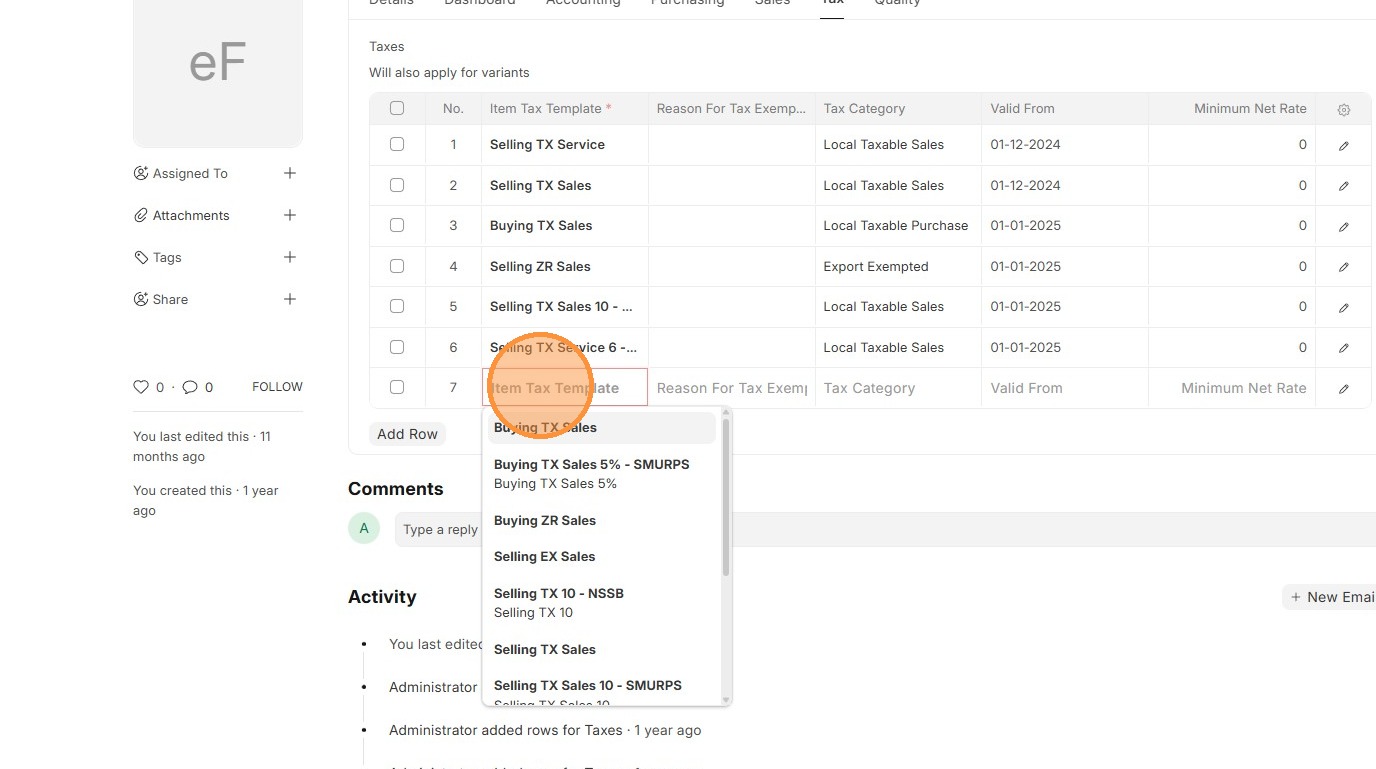
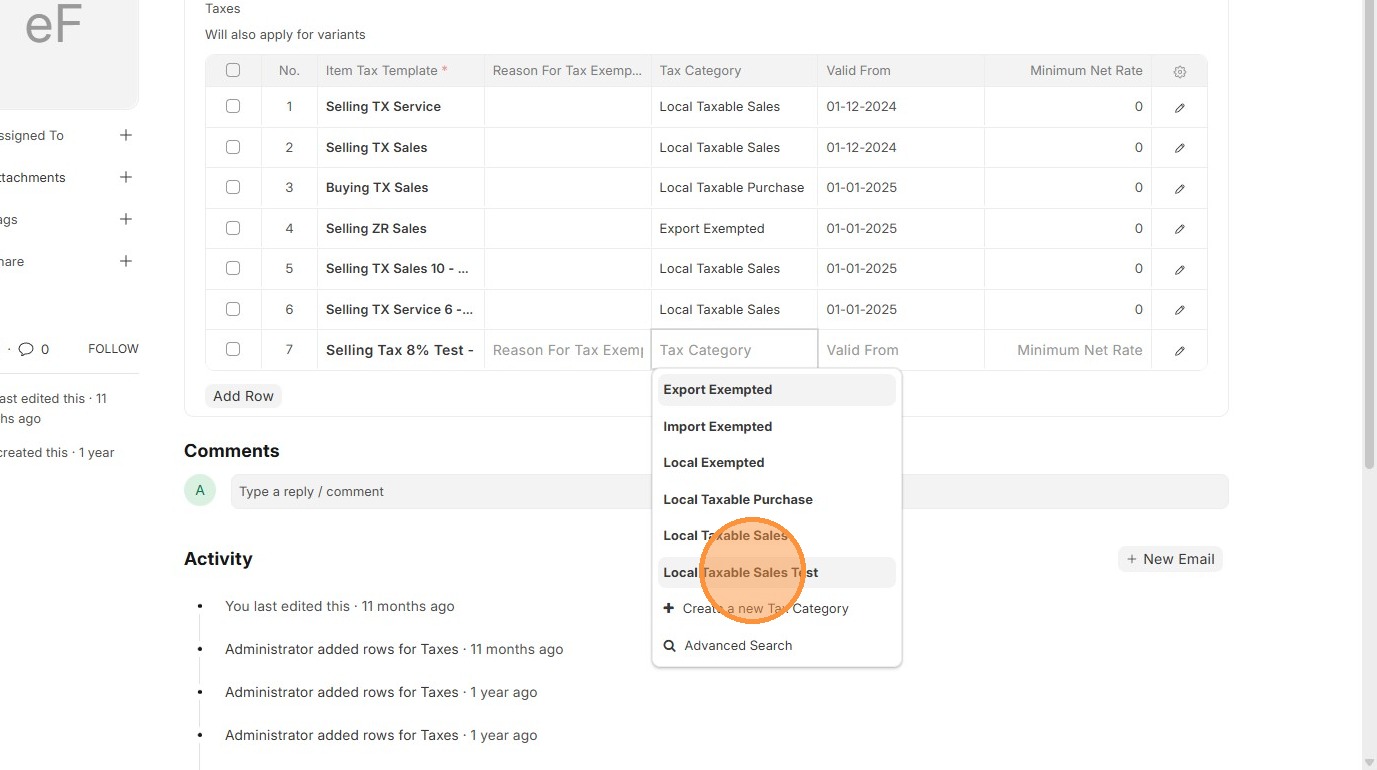
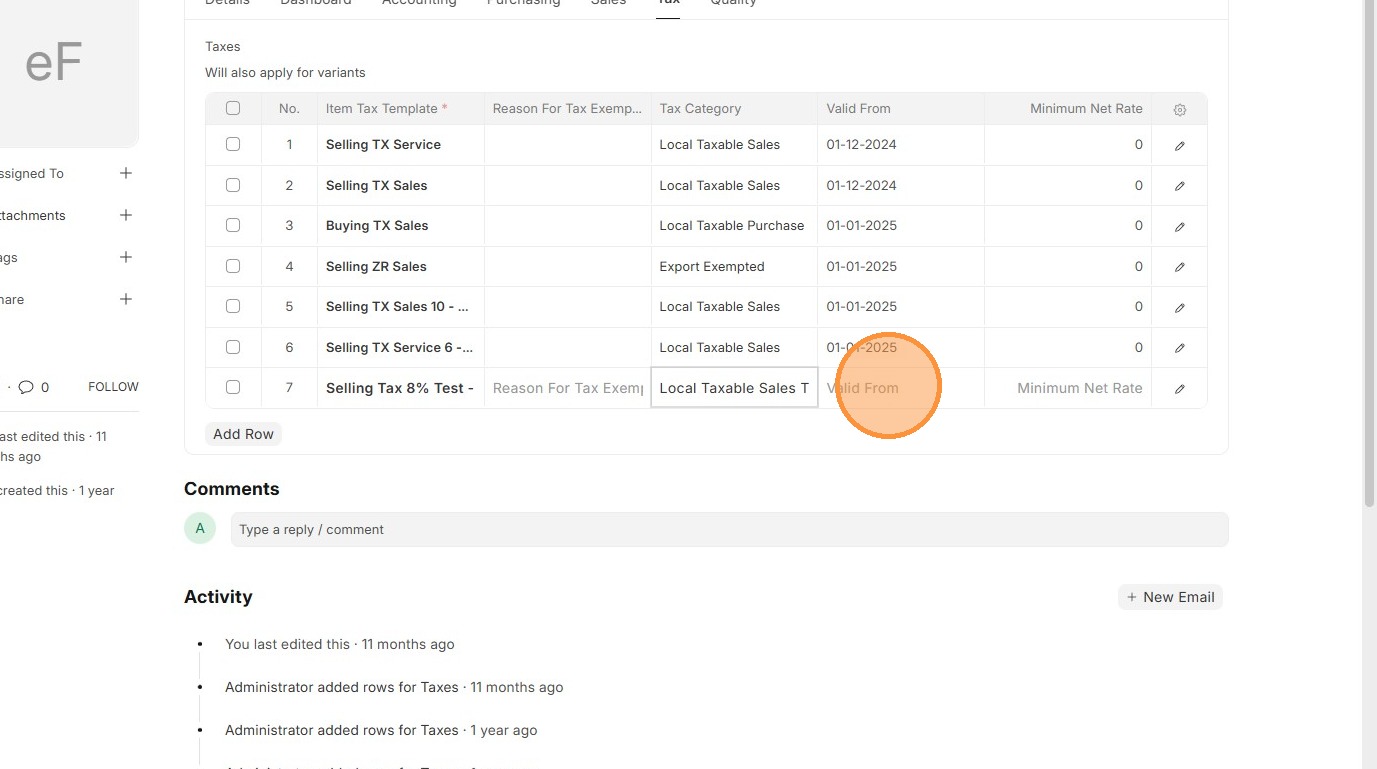
Item Tax Template
Item Tax Templates are used to define the applicable tax rate for a specific tax account and can be assigned to individual items.
1. Click "Accounting"
2. Click "Item Tax Template"
3. Click "Add Item Tax Template"

4. Enter Item Tax Template title.
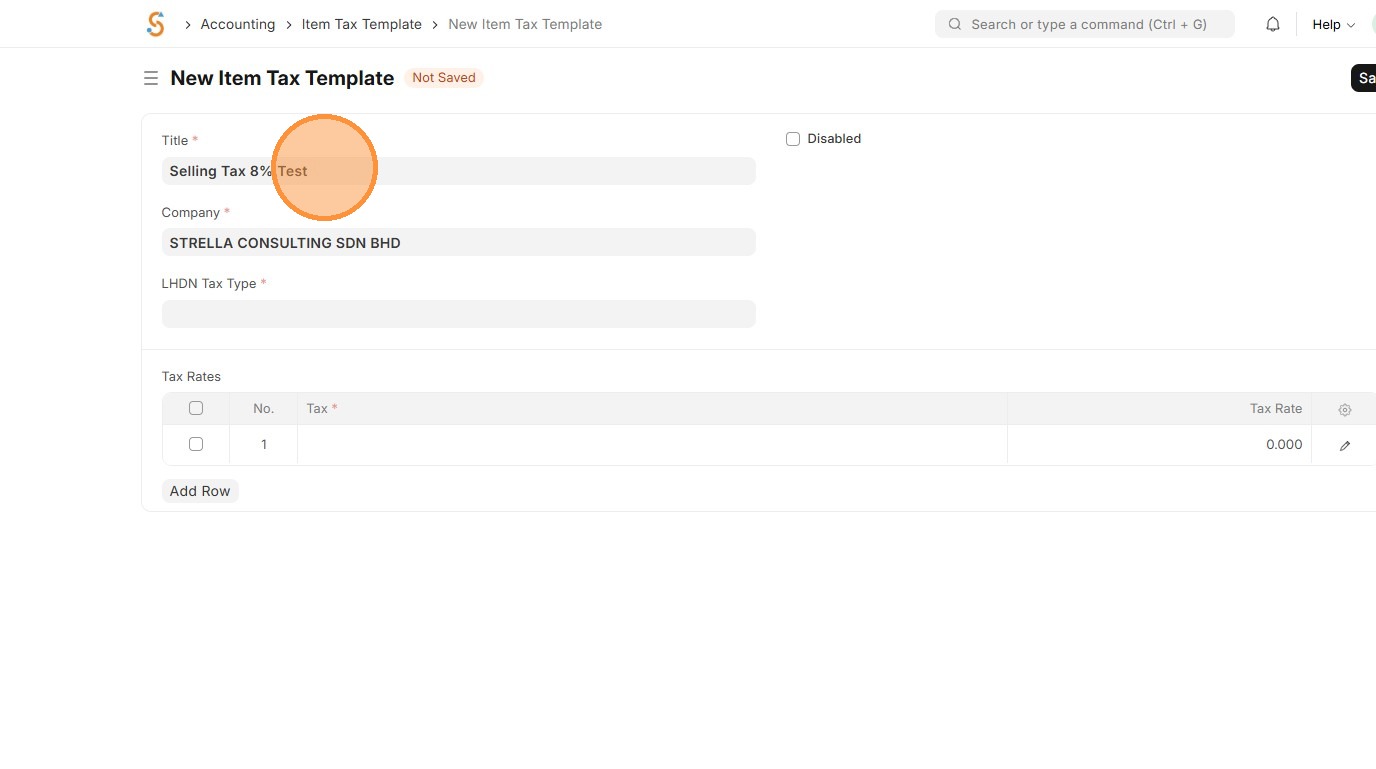
5. Select "LHDN Tax Type"
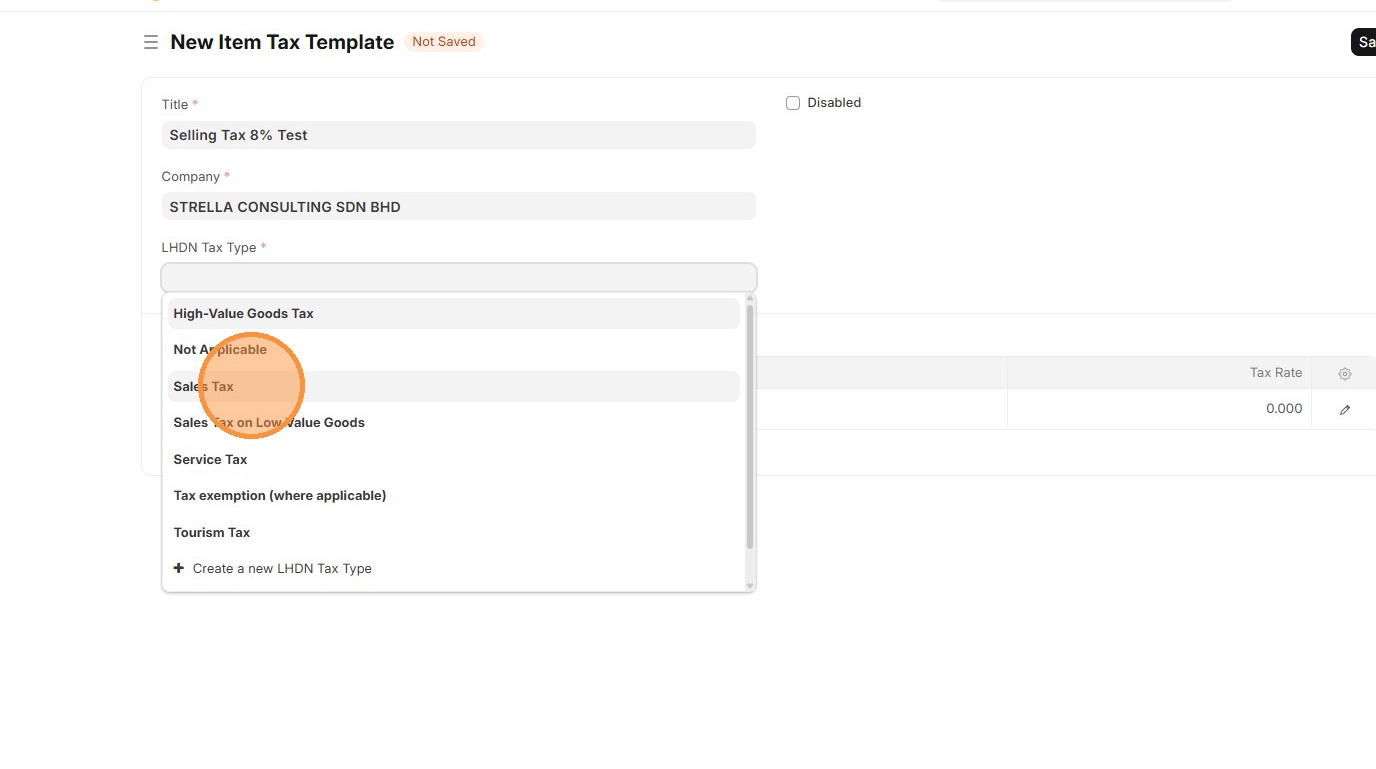
6. Verify that LHDN Tax Code is populated.
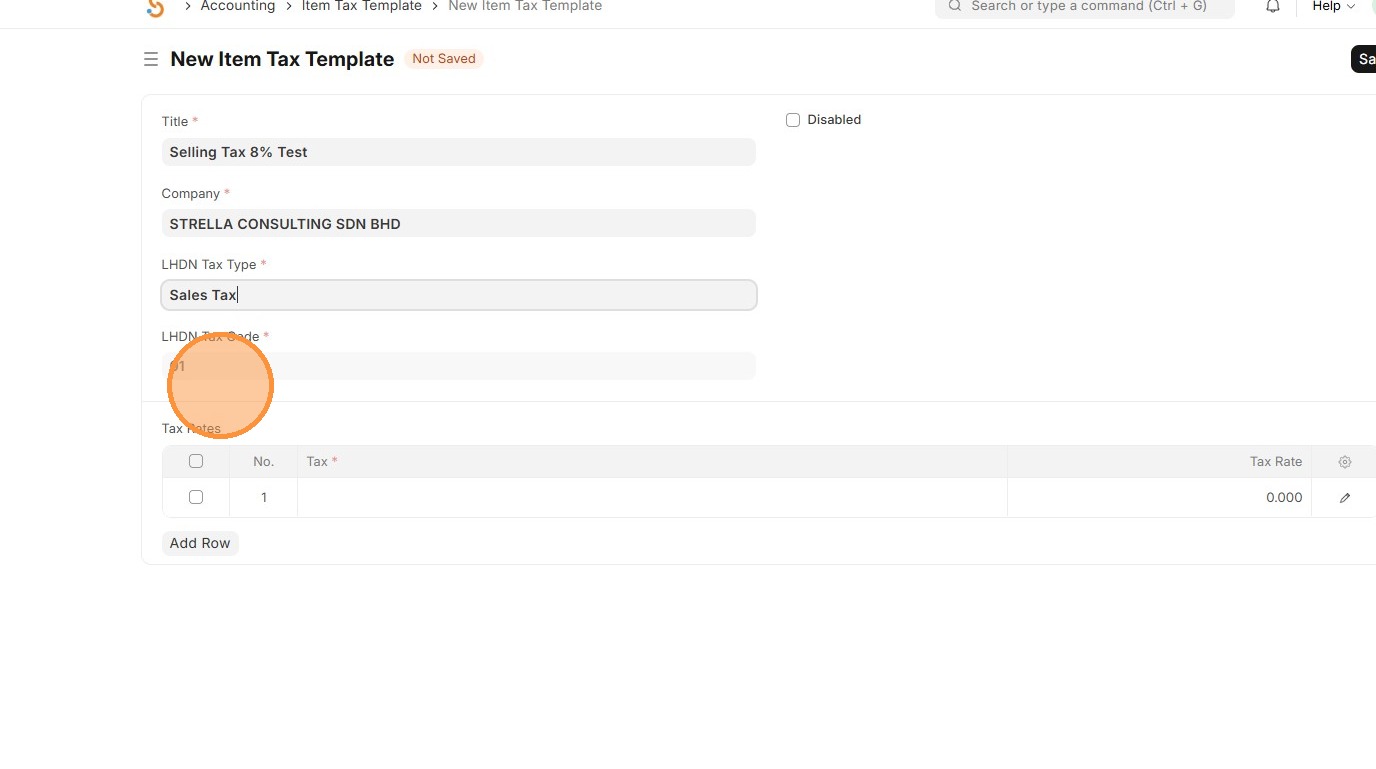
7. Select Chart of Accounts associated with Item Tax Template.

8. Enter Tax Rate in %
9. Click "Save"
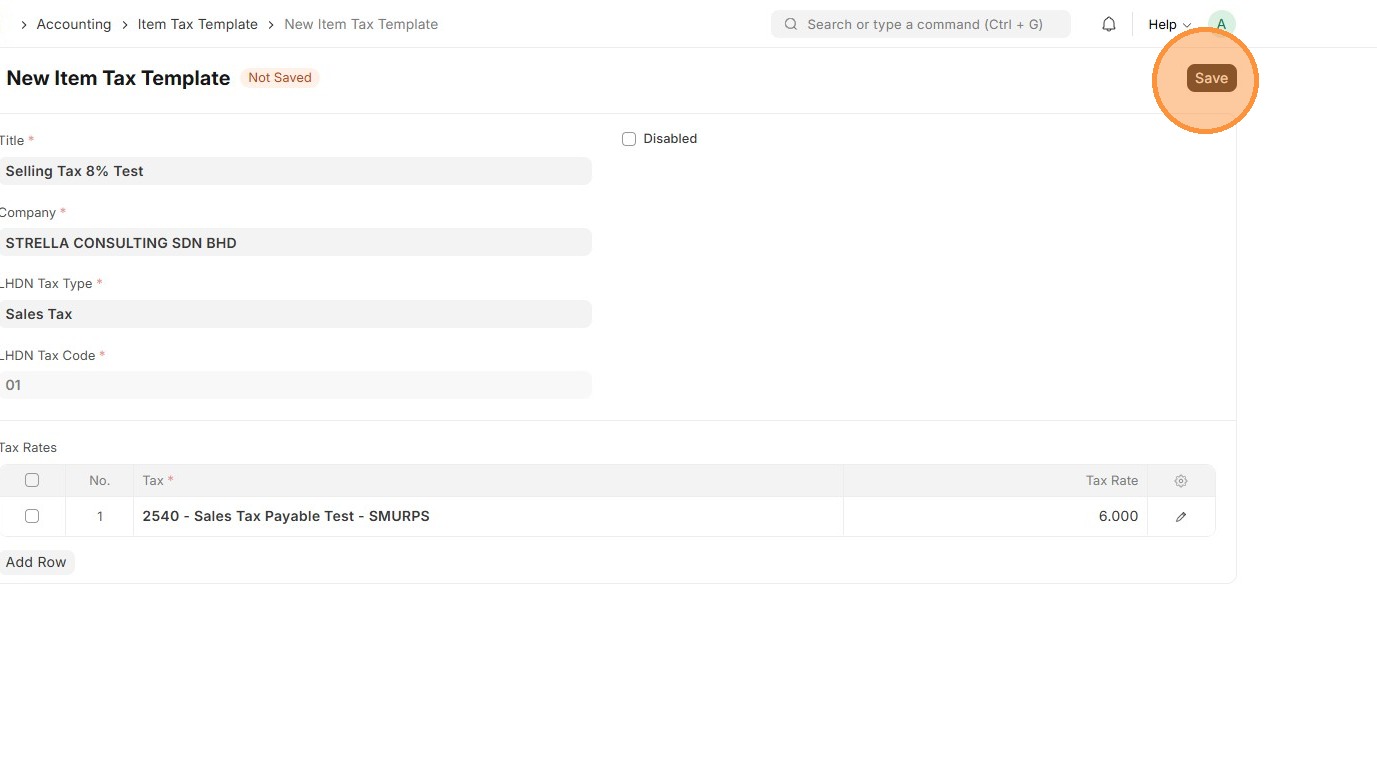
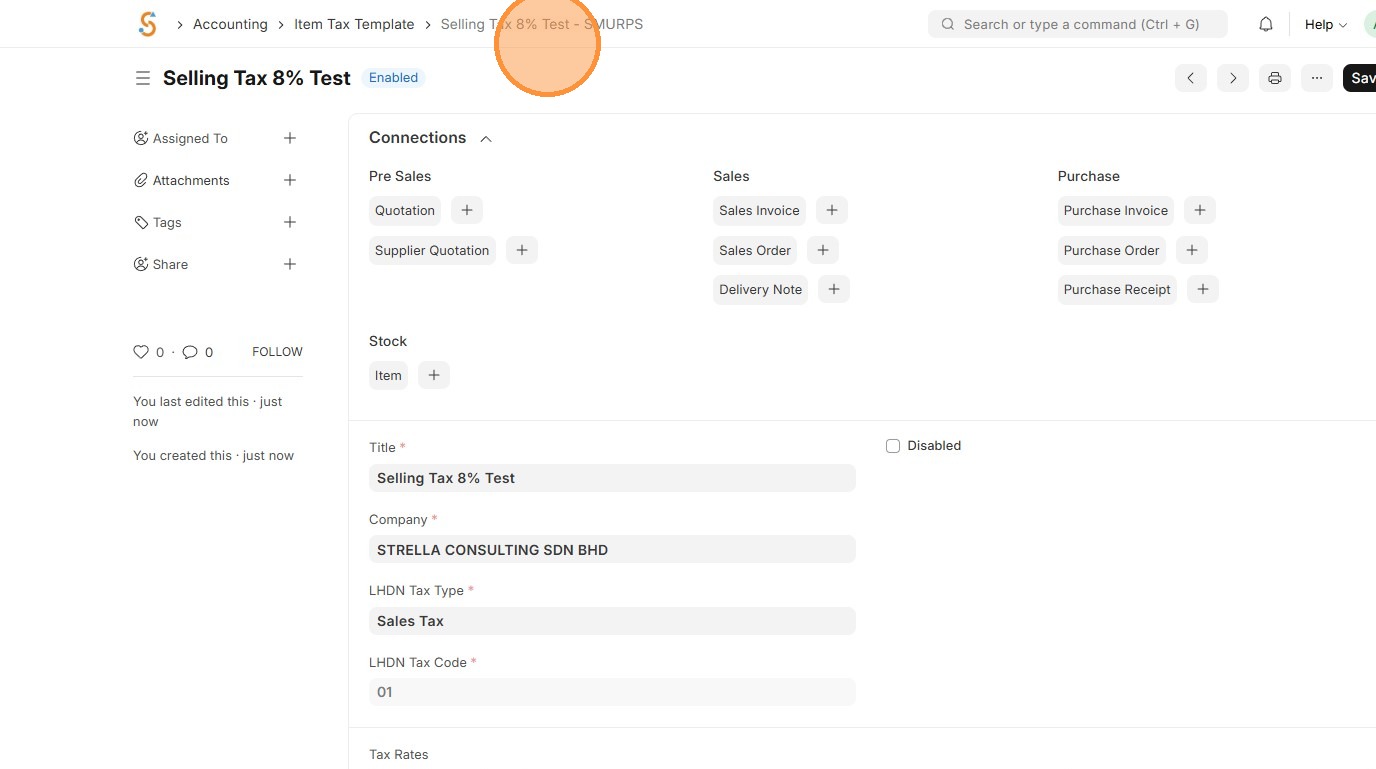
10. Verify that Item Tax Template ID is created.
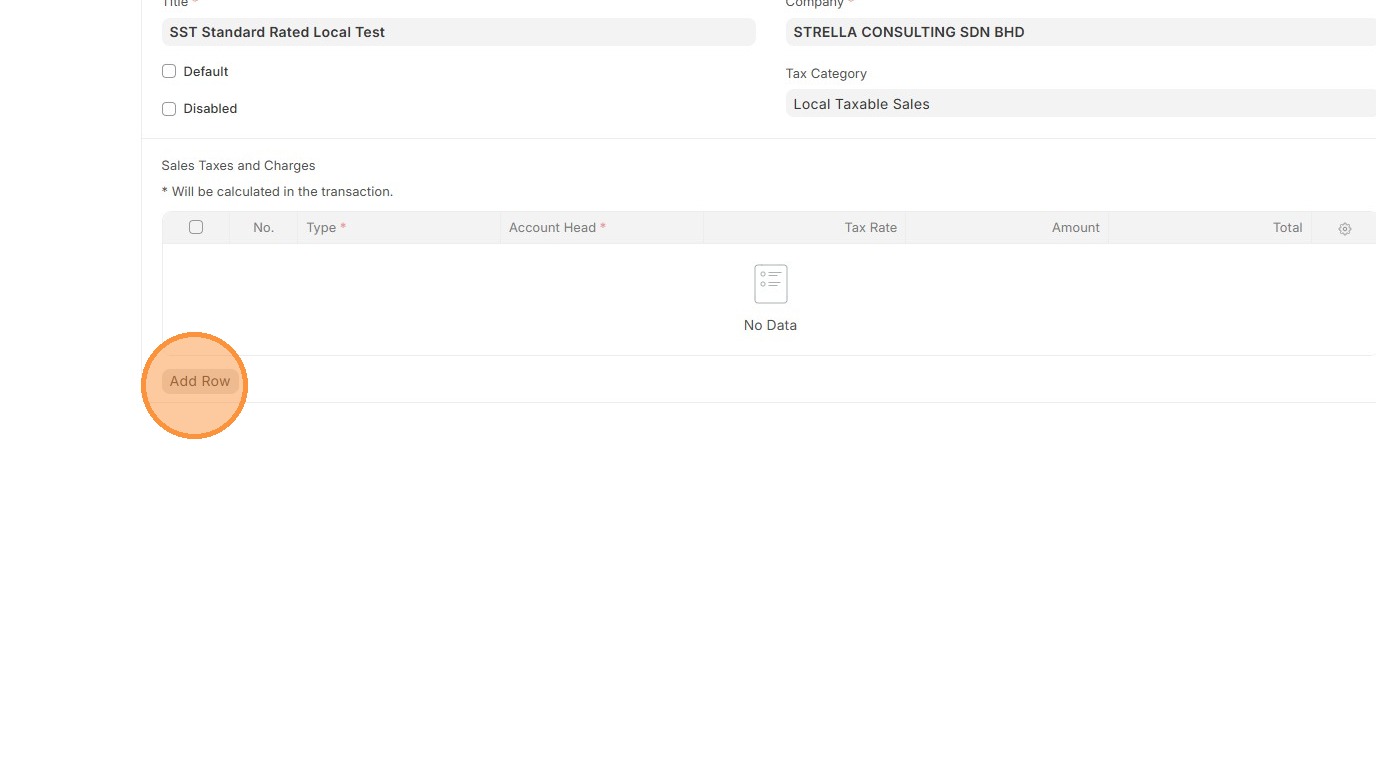
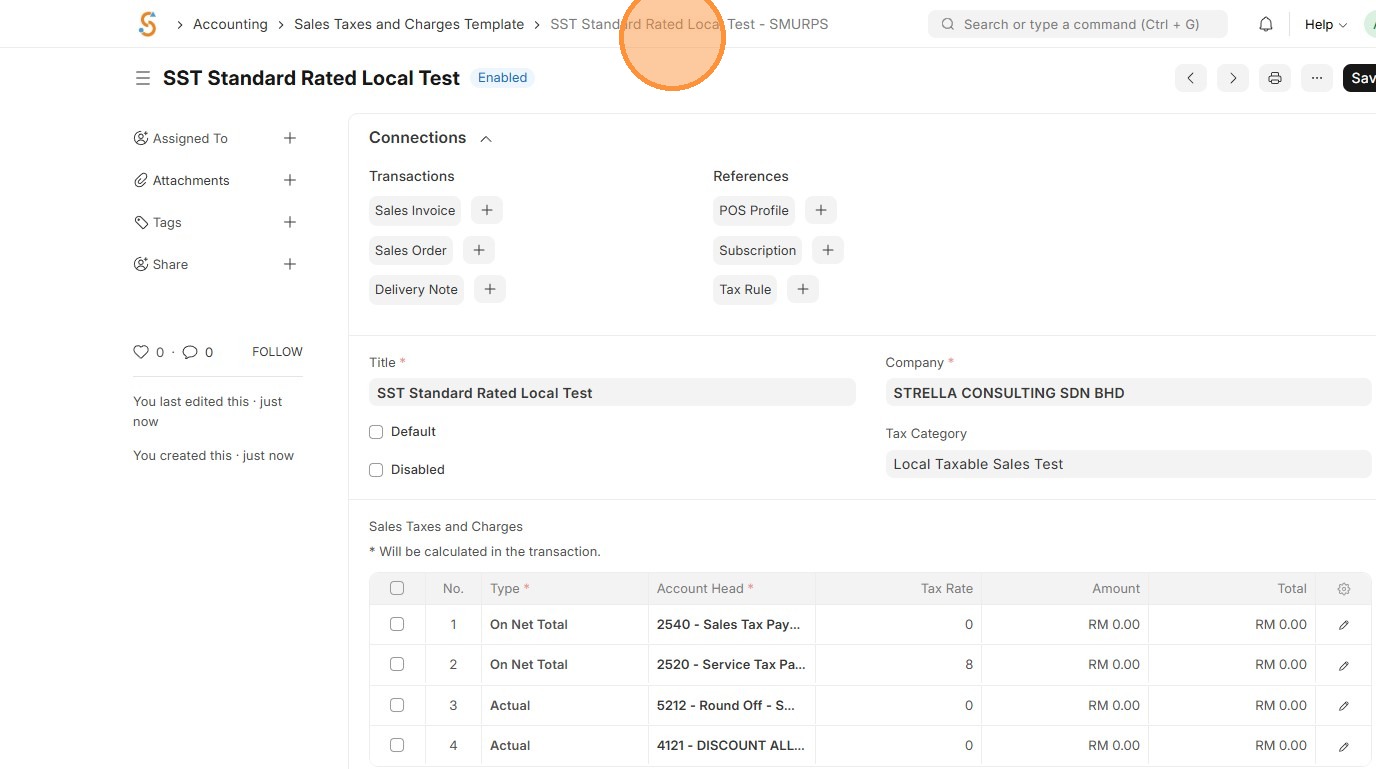
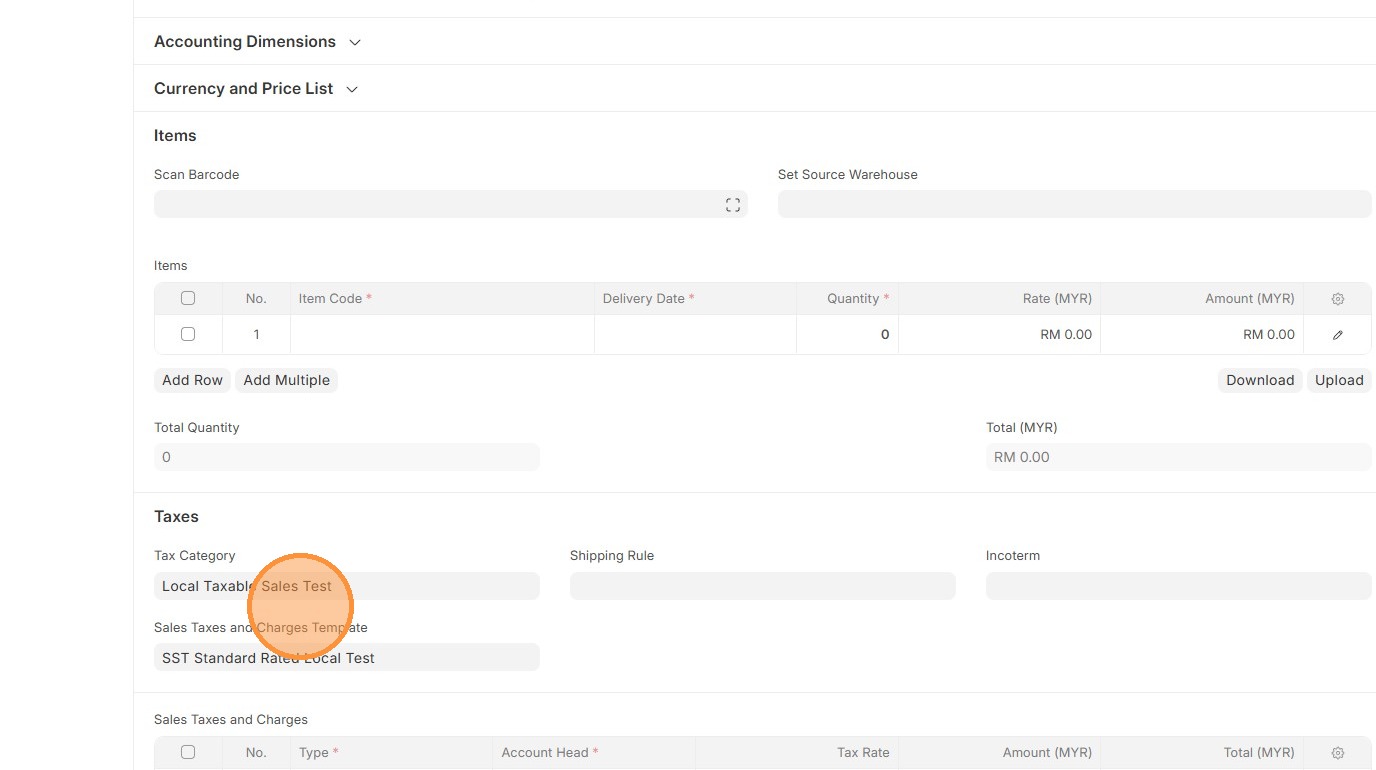
Sales Taxes and Charges Template
A Sales Taxes and Charges Template defines the taxes or extra charges that are applied automatically on a sales invoice. It ensures the right tax is added to each sale and posts it to the correct account for accurate accounting and reporting.
1. Click "Accounting"
2. Click Sales Taxes and Charges Template.
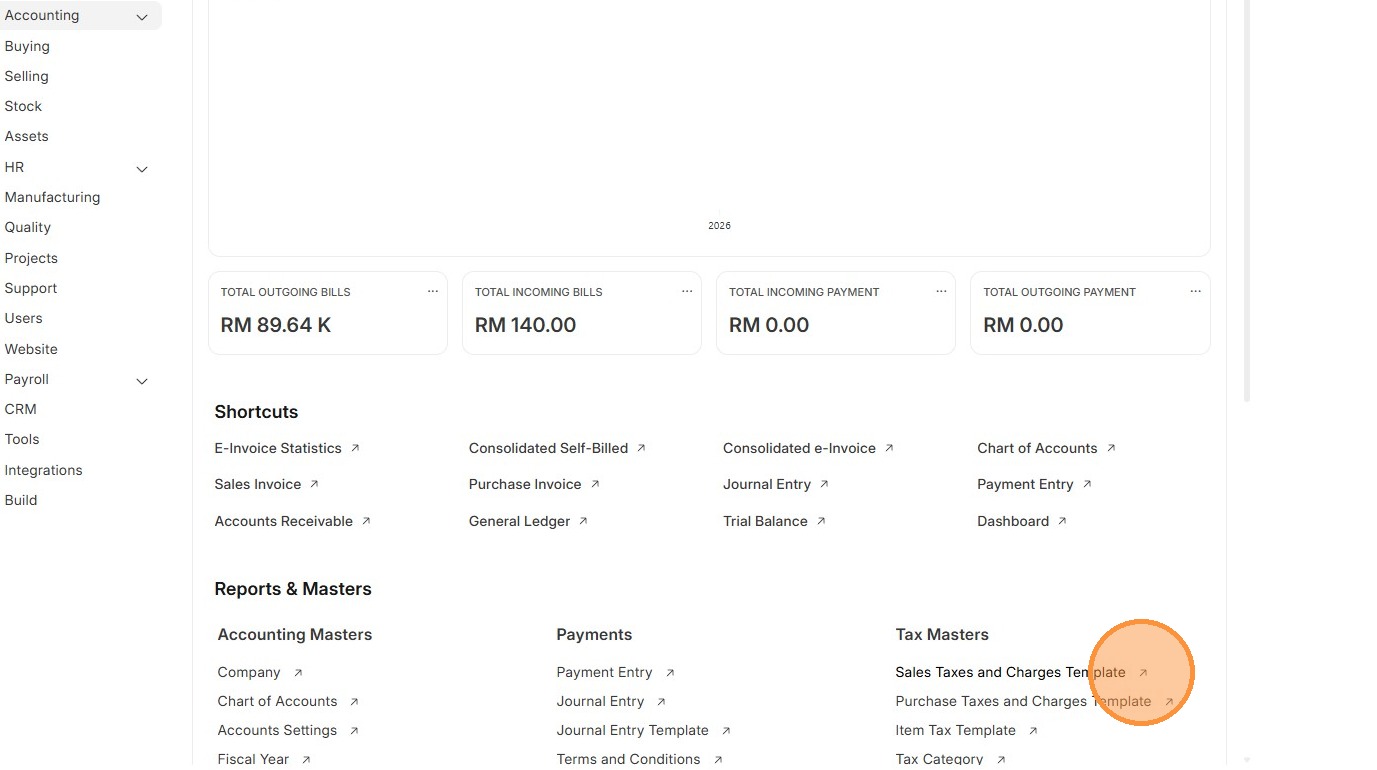
3. Click "Add Sales Taxes and Charges Template"
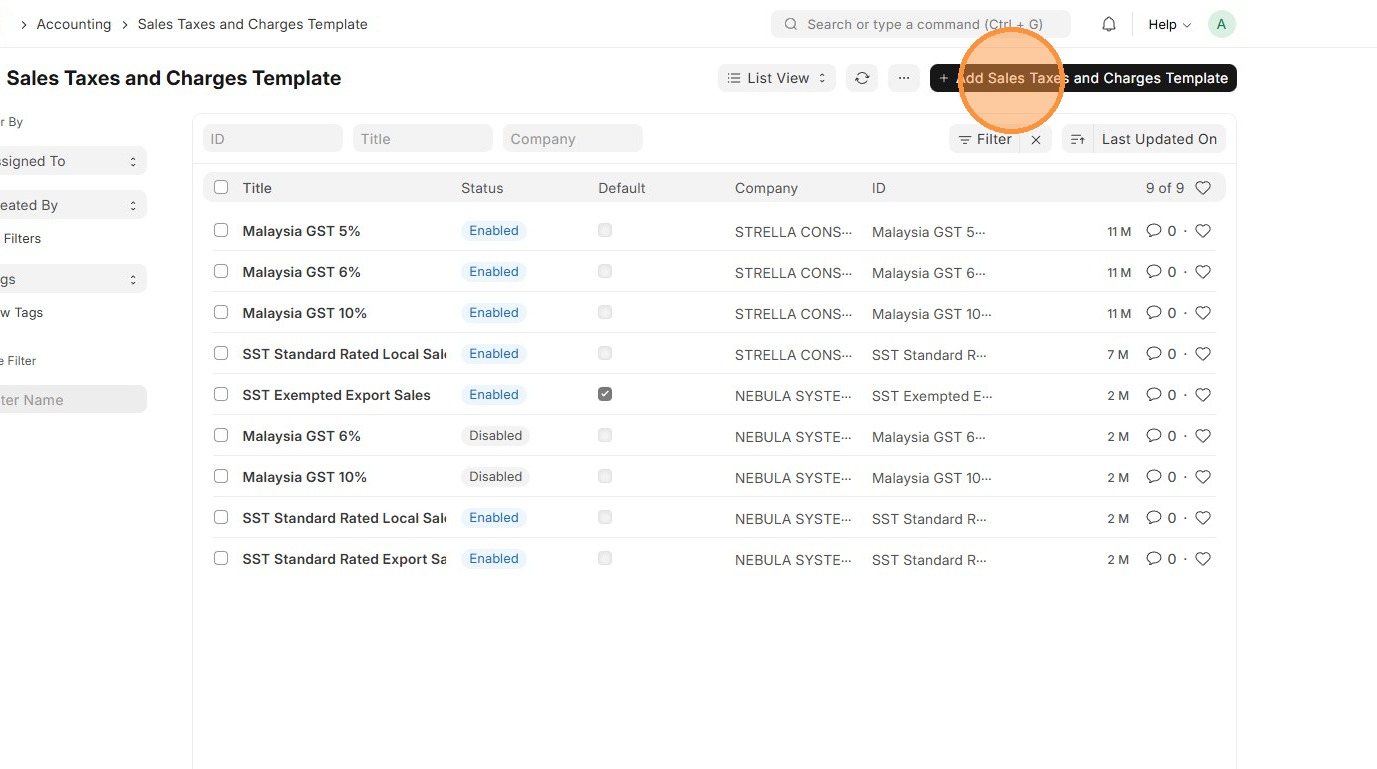
4. Enter Sales Taxes and Charges Template "Title"
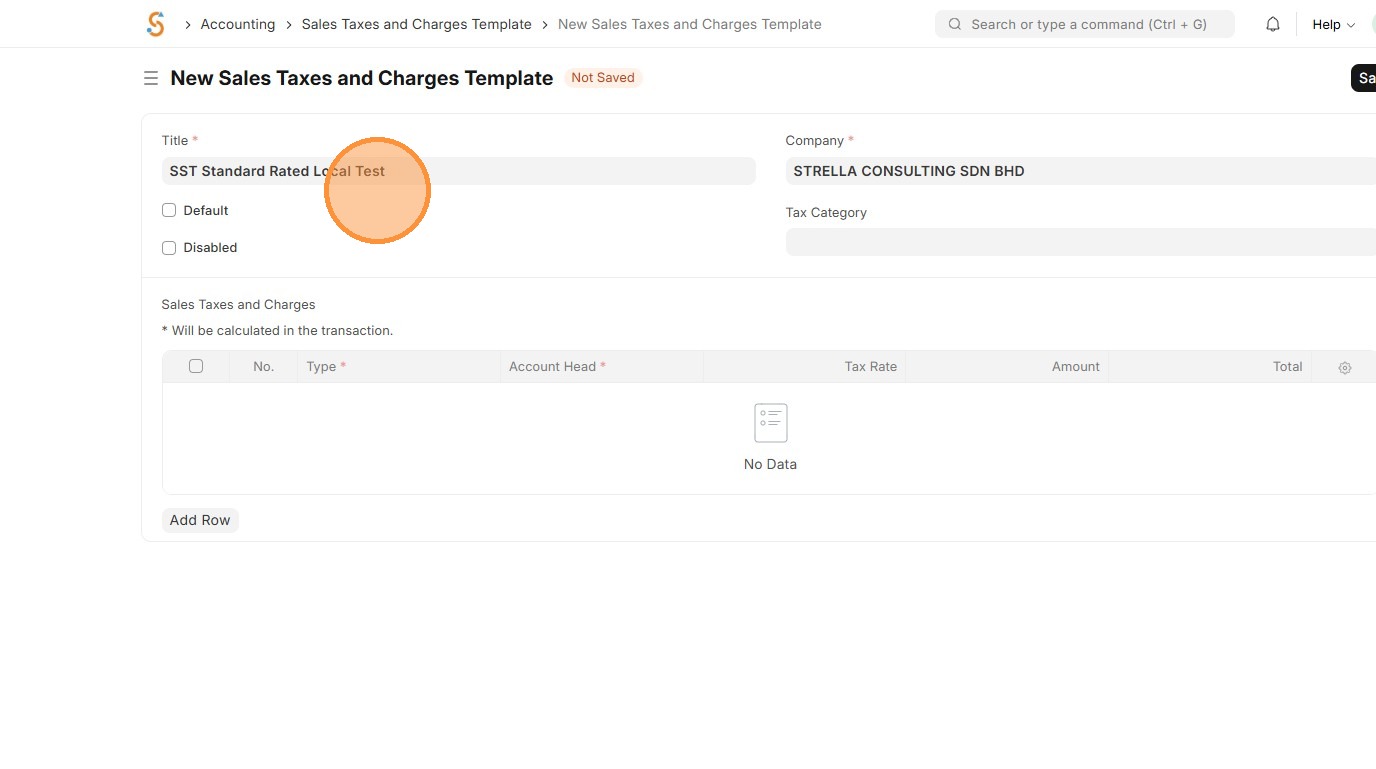
5. Select "Tax Category"
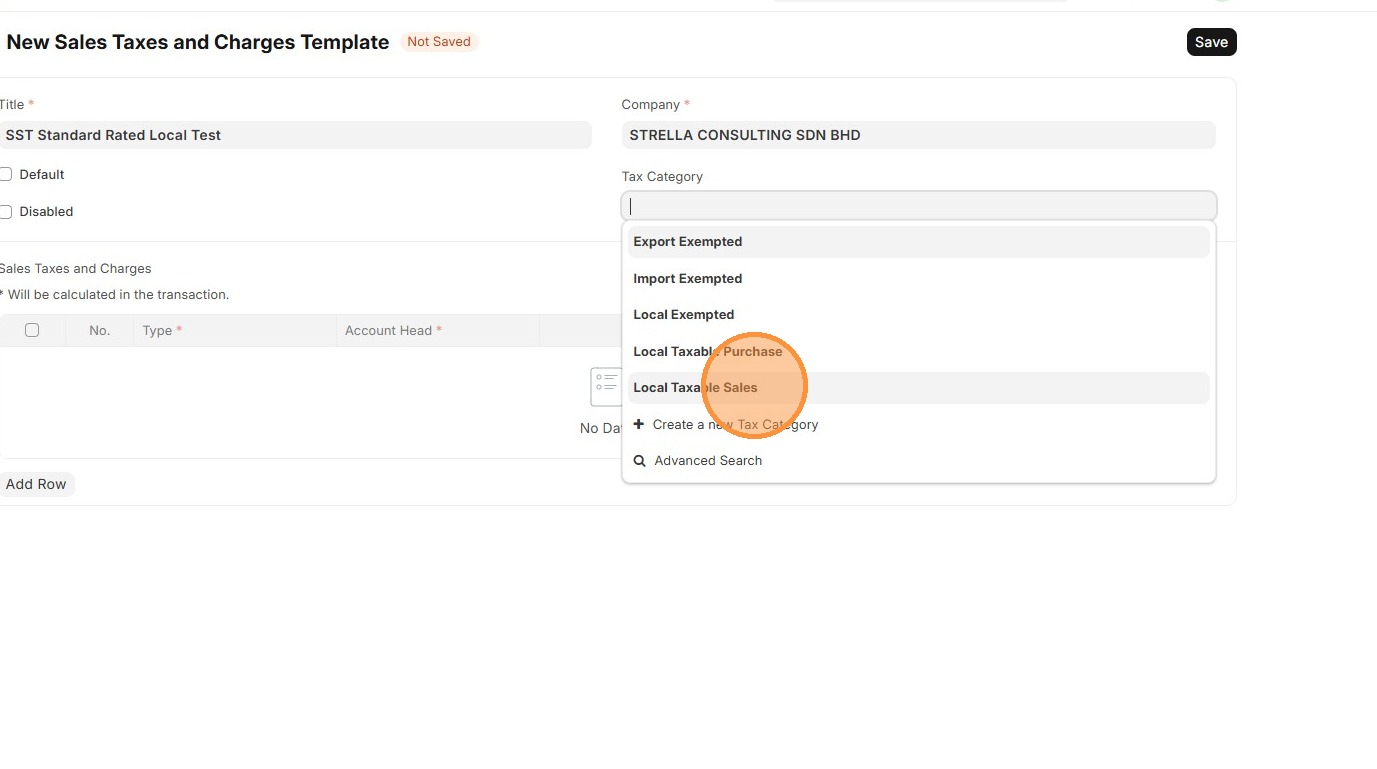
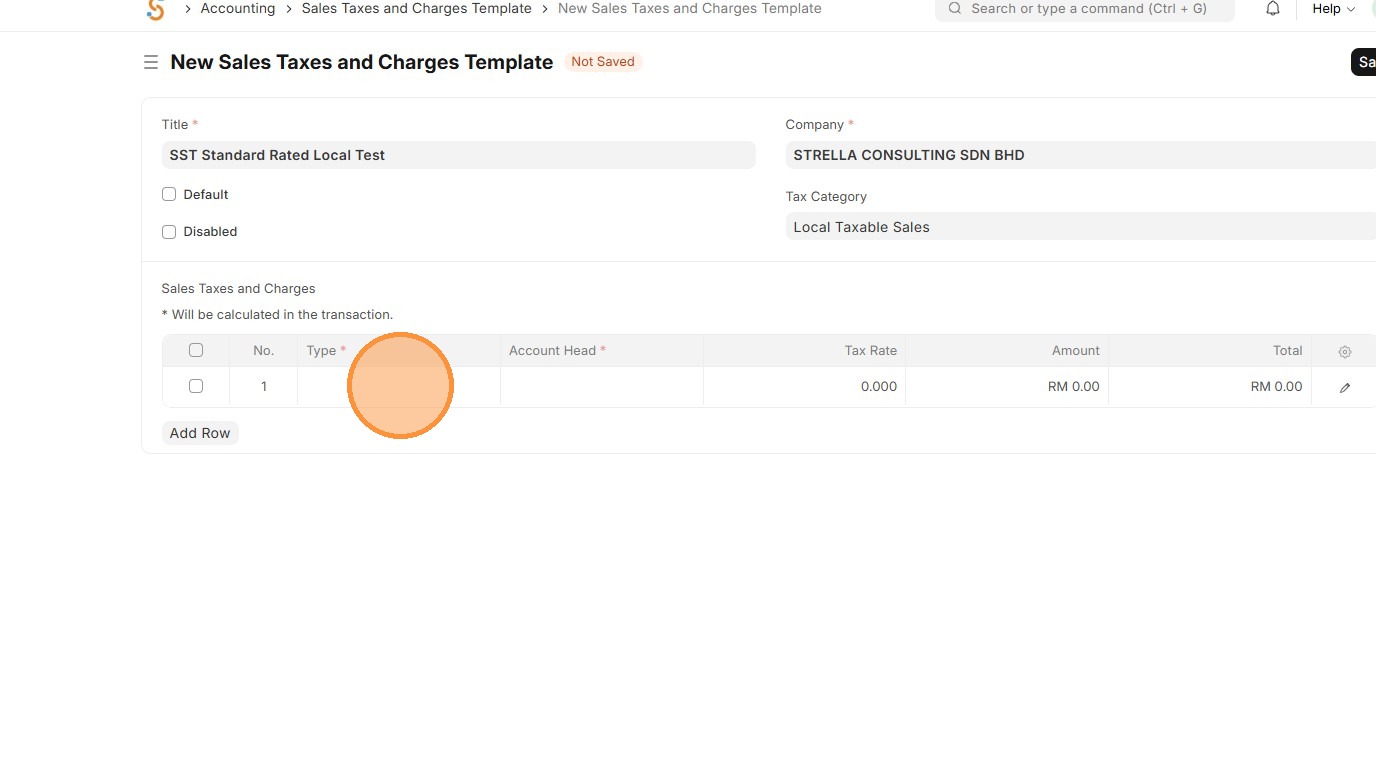
6. Click "Add Row"
7. Select "Type".
-
On Net Total Tax on total of items
-
On Previous Row Total Tax on cumulative total up to another row
-
Actual Fixed amount instead of percentage
-
On Item Quantity Tax per unit quantity
8. Select the appropriate "Account Head" that is linked to the payment Chart of Accounts.
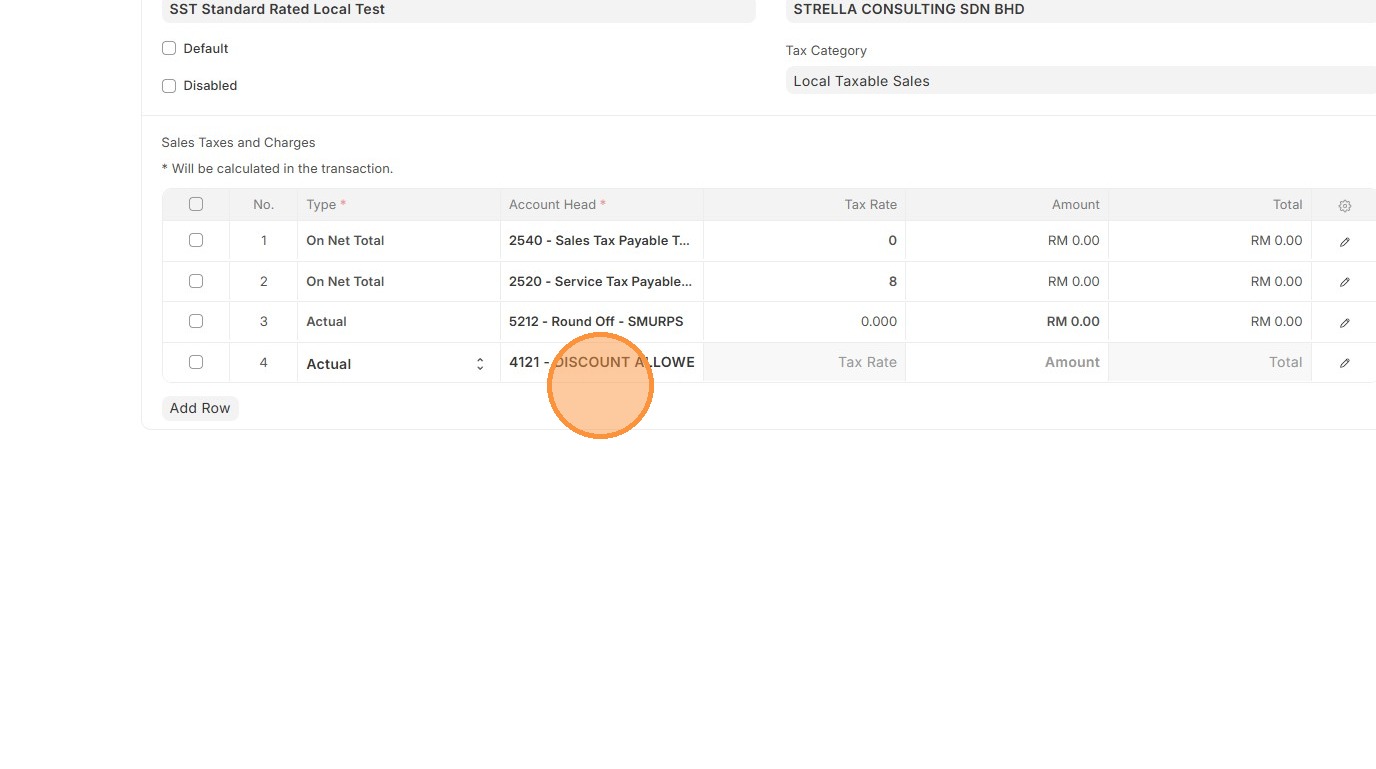
9. Verify that "Tax Rate" is fetched accordingly based on Item Tax Template.

10. Click "Save"
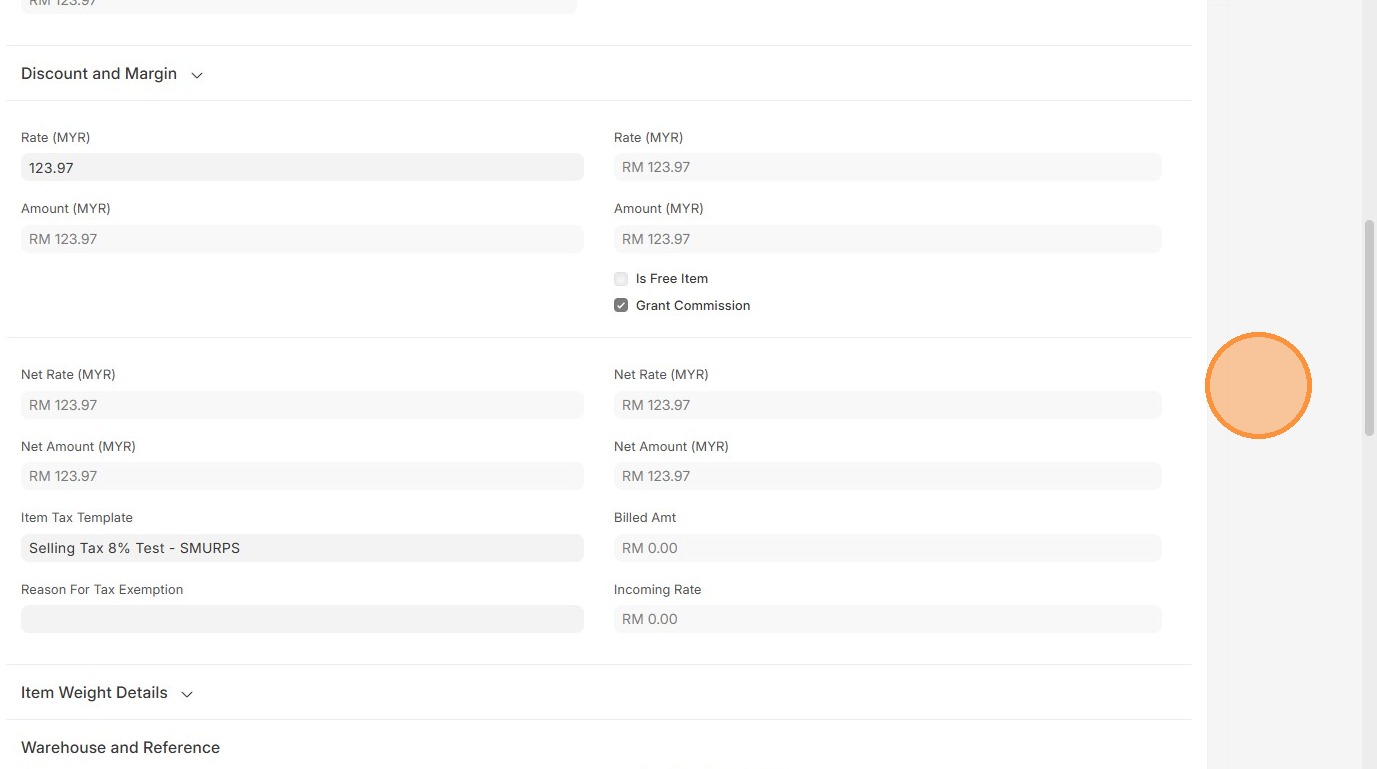
Note: If the user enables "Is this Tax included in Basic Rate?" in the row, the tax amount will be included directly in the Rate, and the system will not display a separate tax component since it is already combined into the rate.
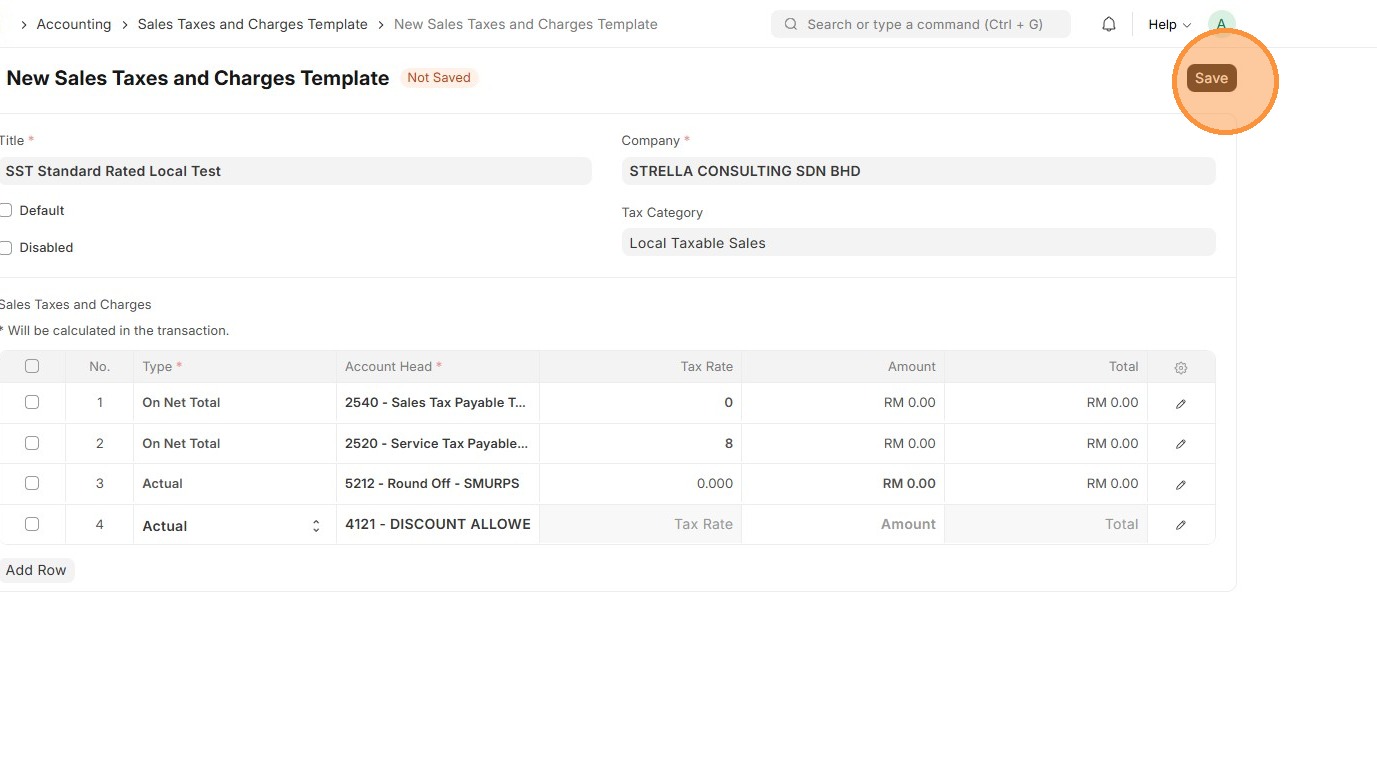
11. Verify that Sales Taxes and Charges Template ID is created correctly.
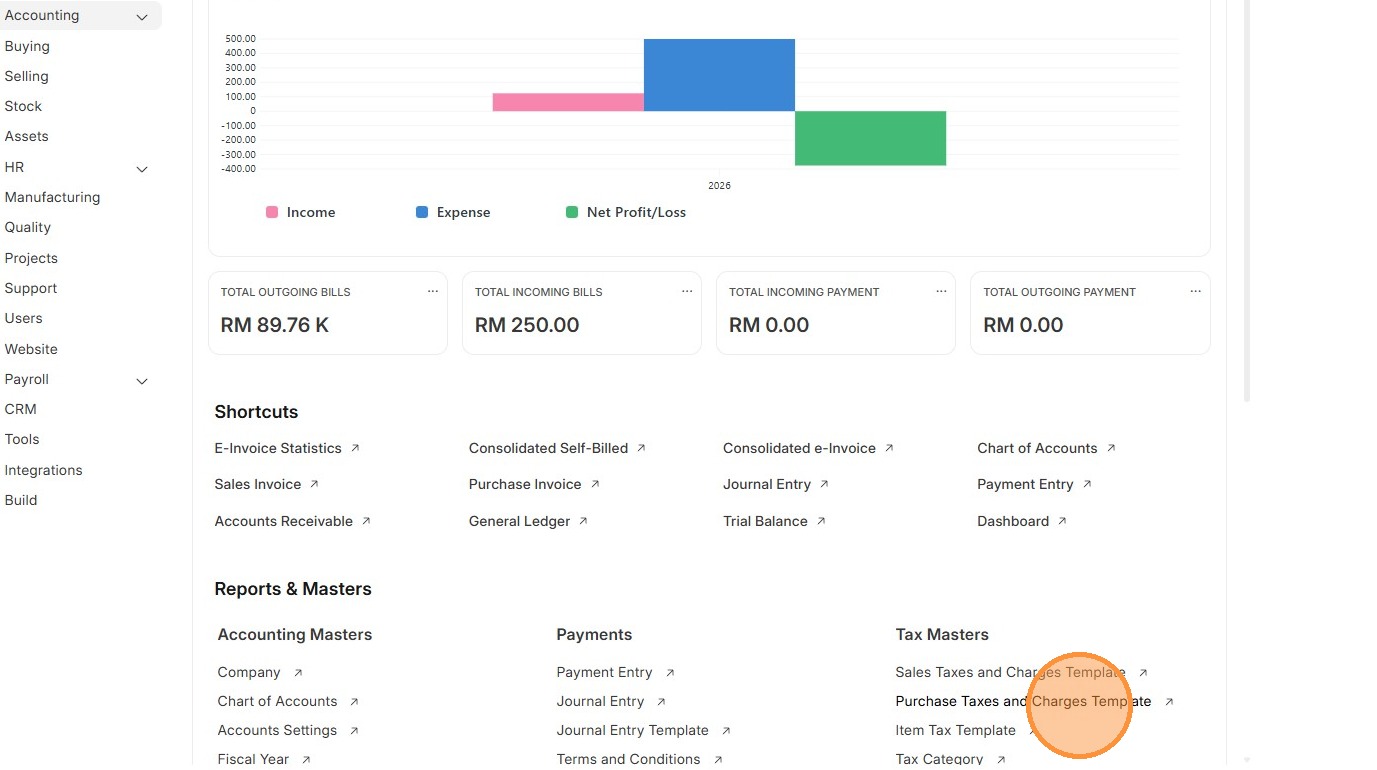
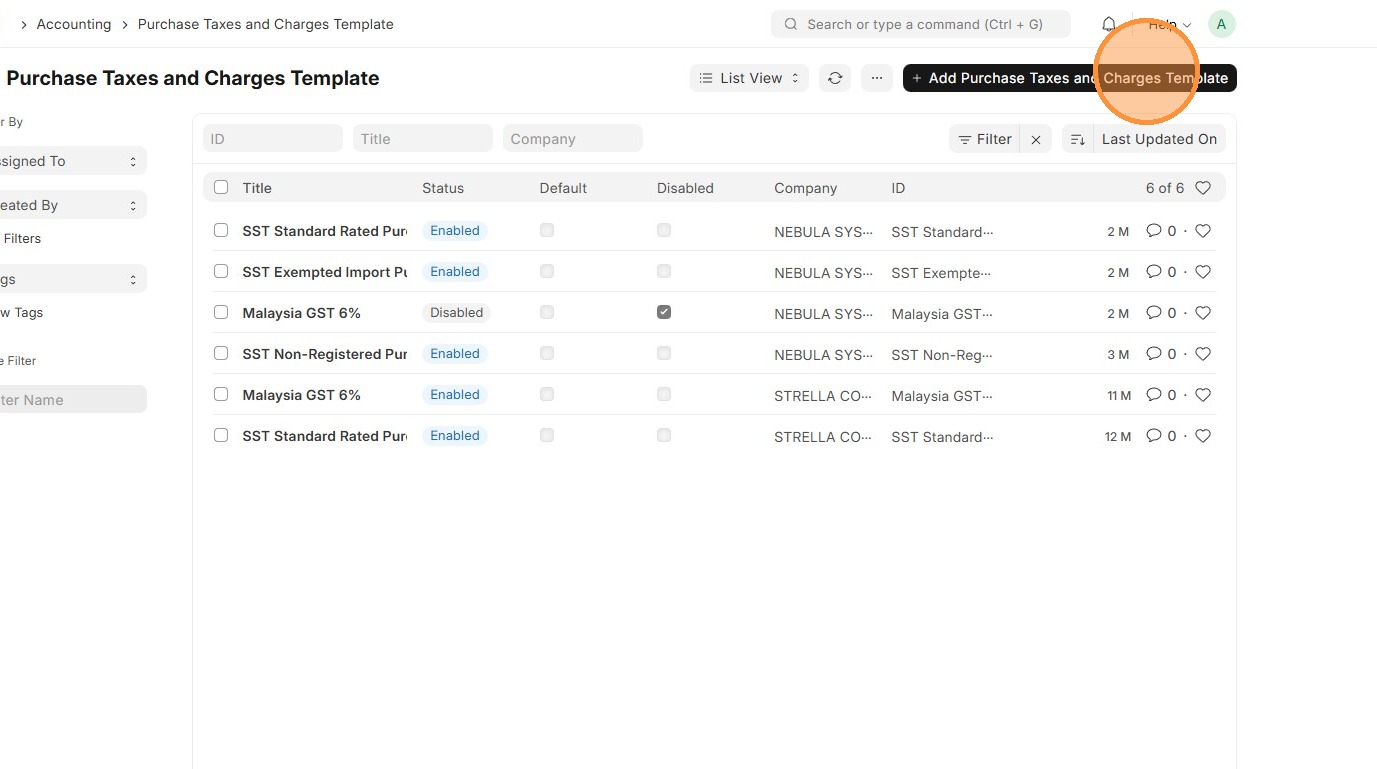
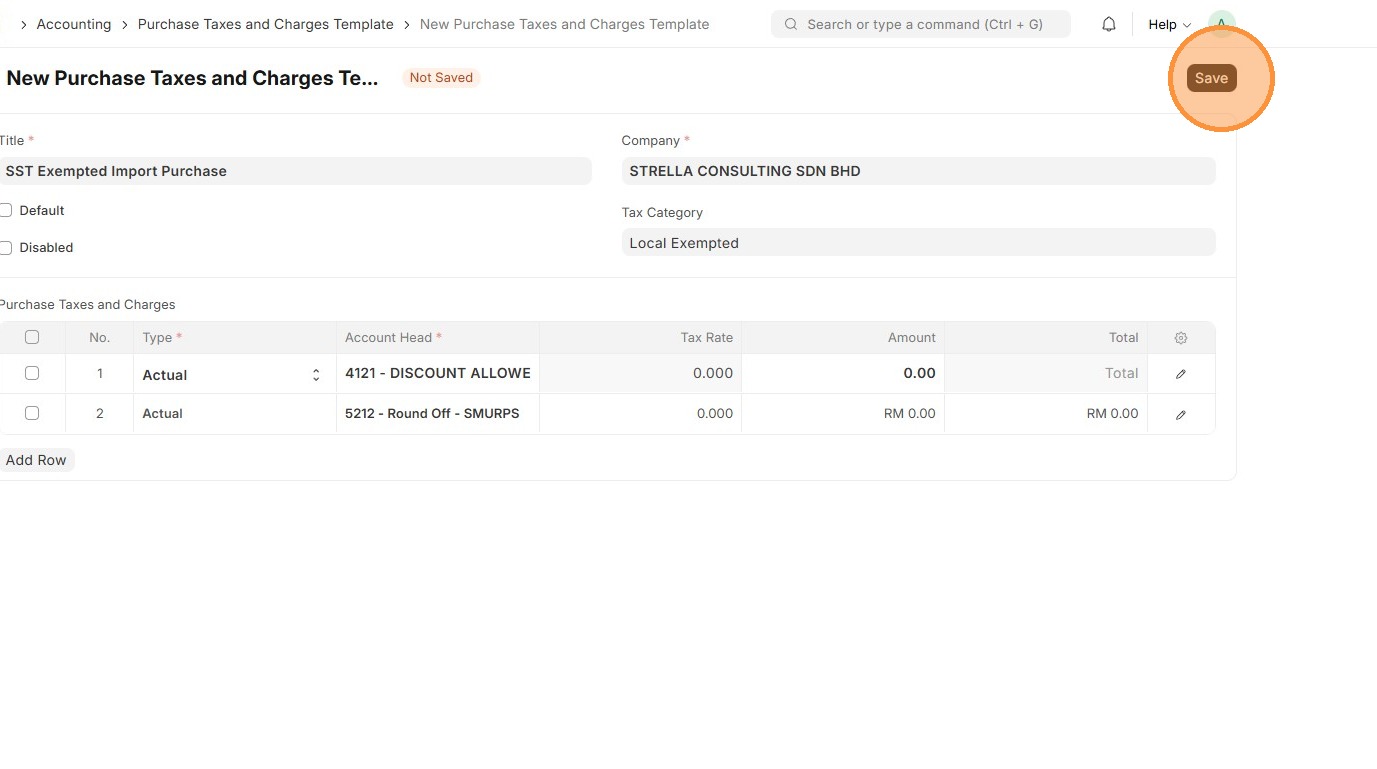
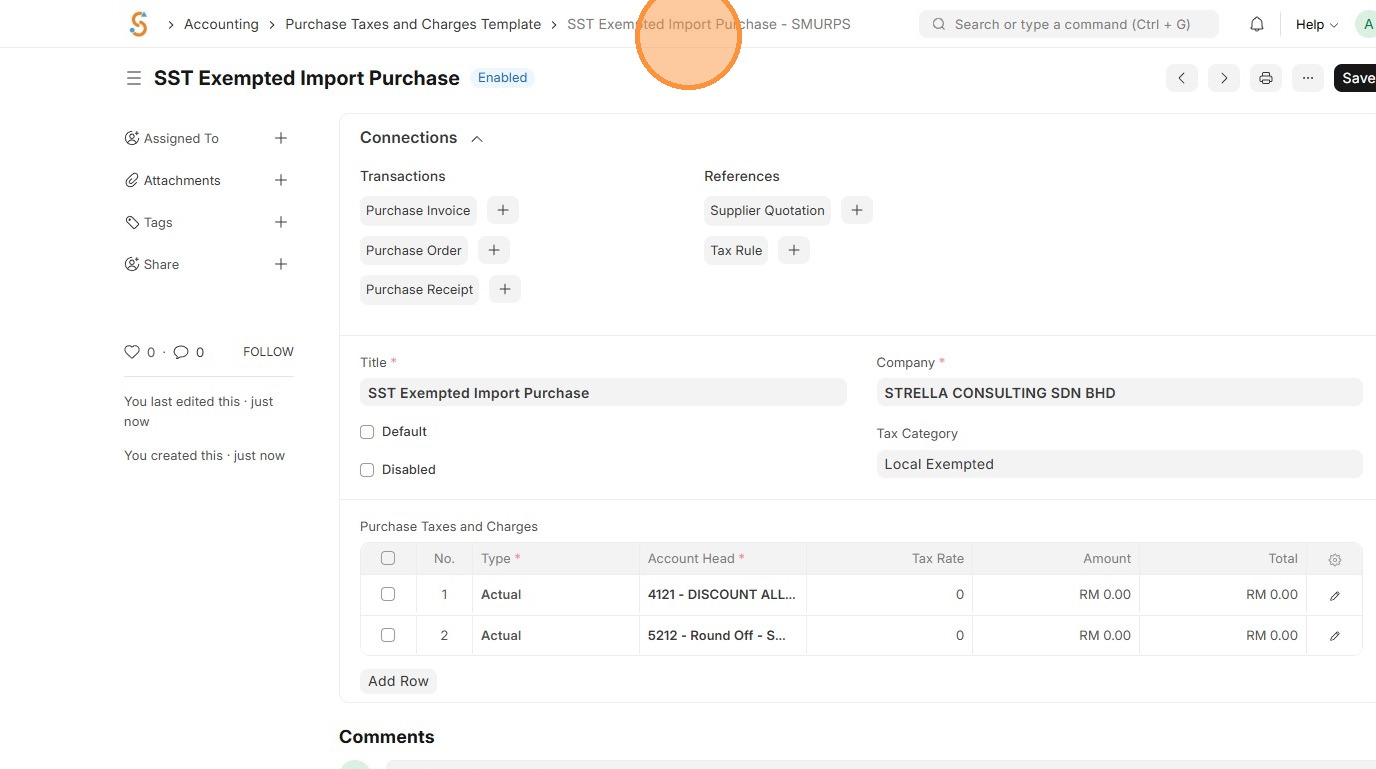
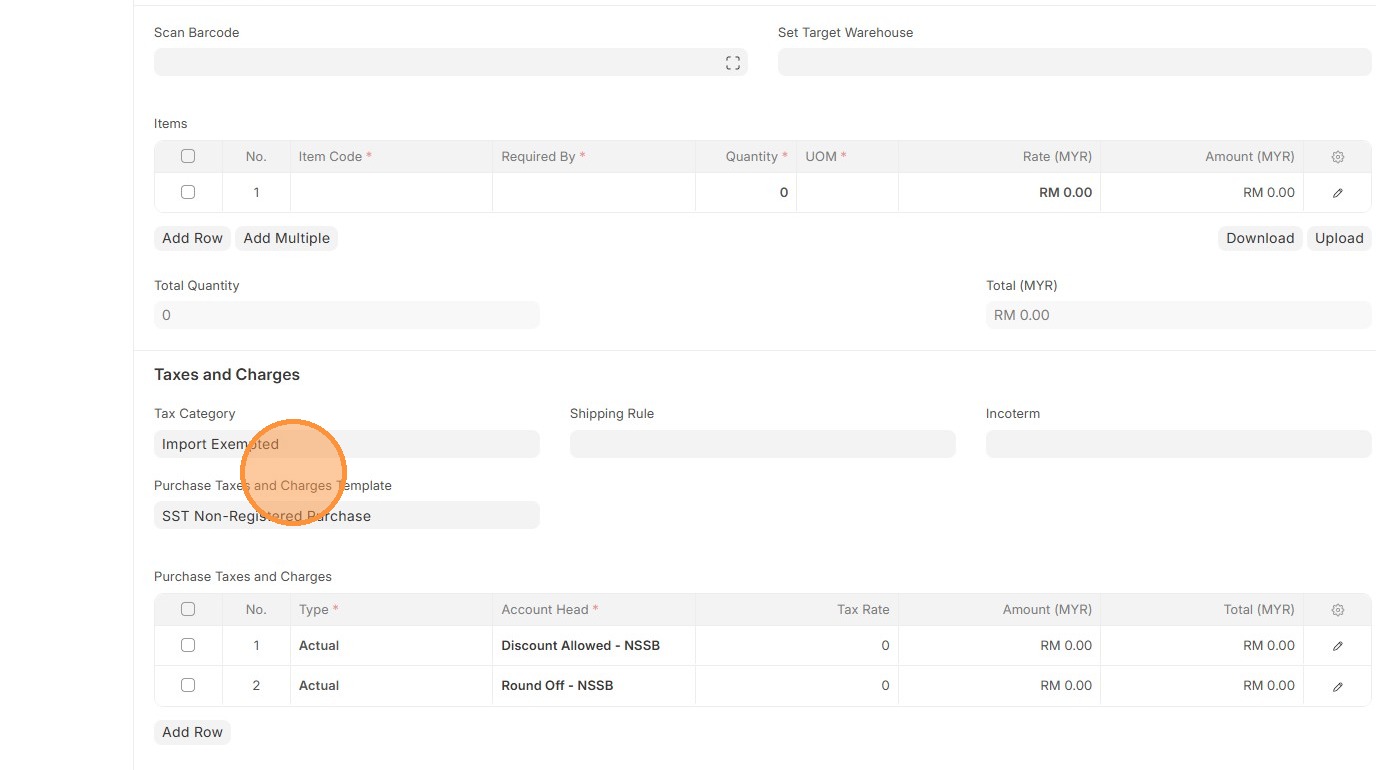
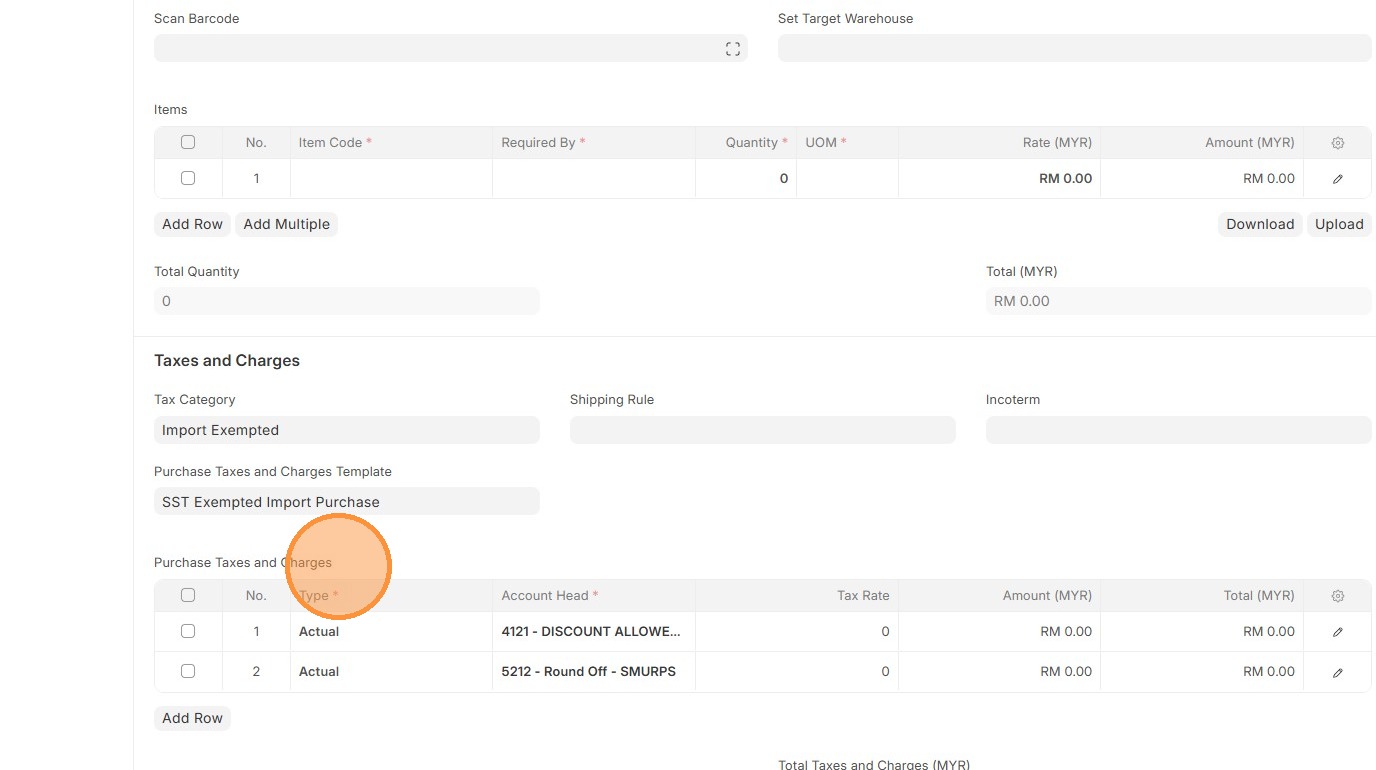
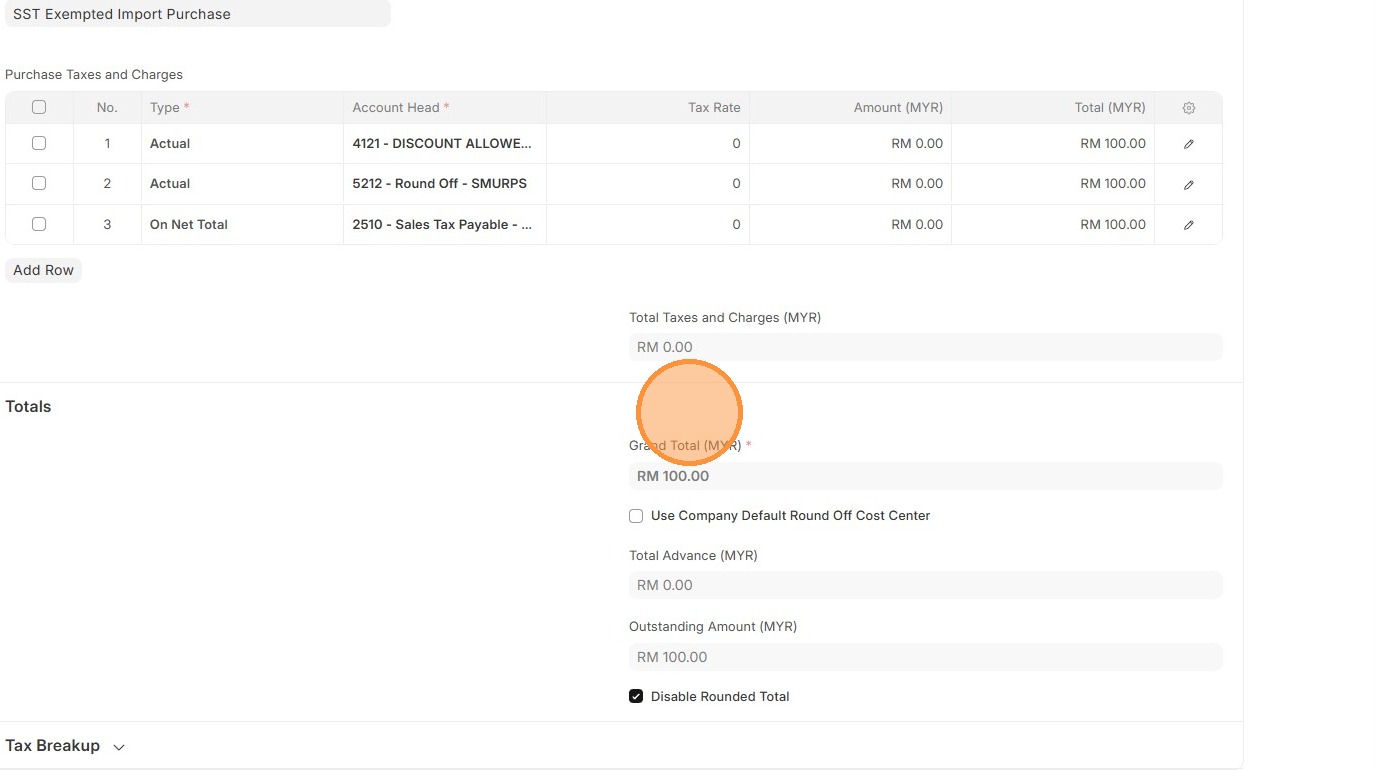
Purchase Taxes and Charges Template
A Purchase Taxes and Charges Template defines the taxes or extra charges that are applied automatically on purchase invoices. It ensures that the correct taxes are calculated, applied, and posted to the right accounts when buying from suppliers.
1. Click "Accounting"
2. Click "Purchase Taxes and Charges Template"
3. Click "Add Purchase Taxes and Charges Template"
4. Enter "Title"
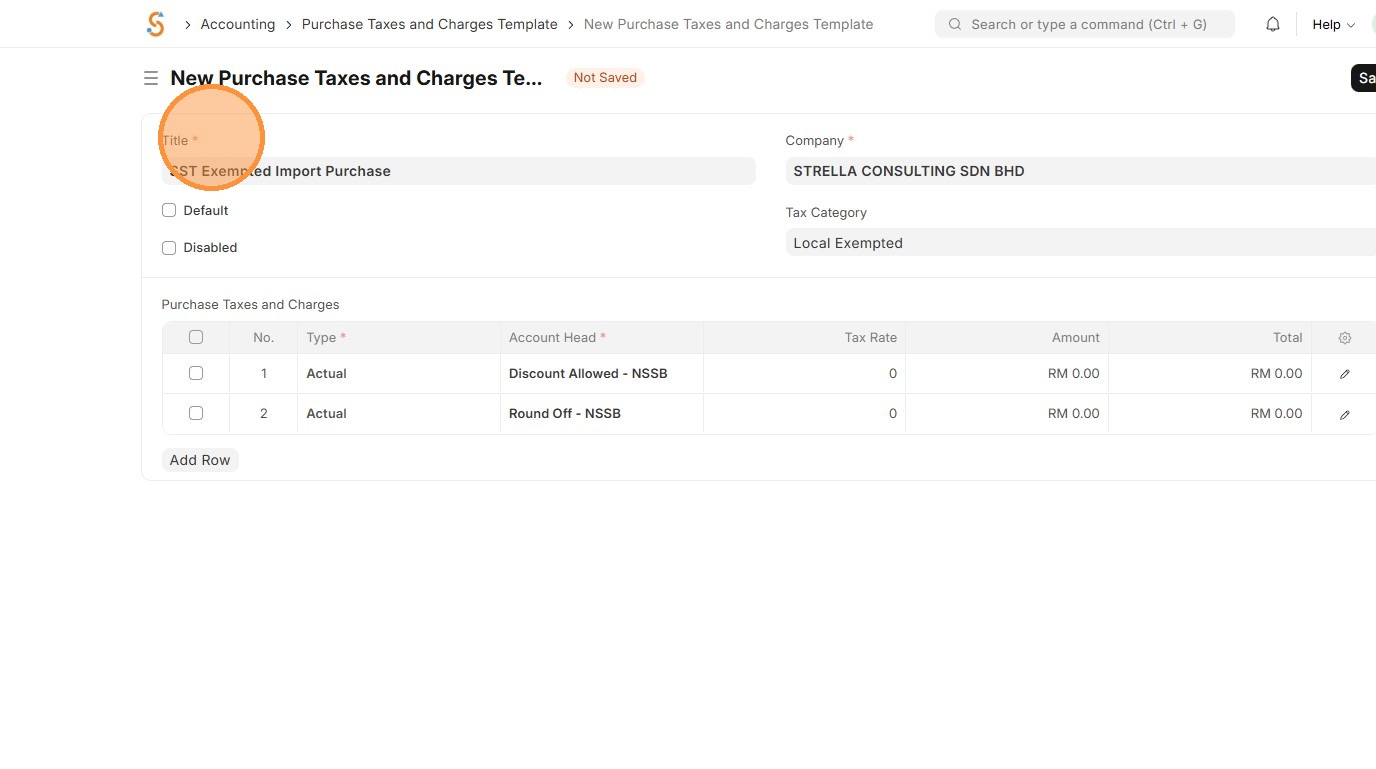
5. Select Tax Category.
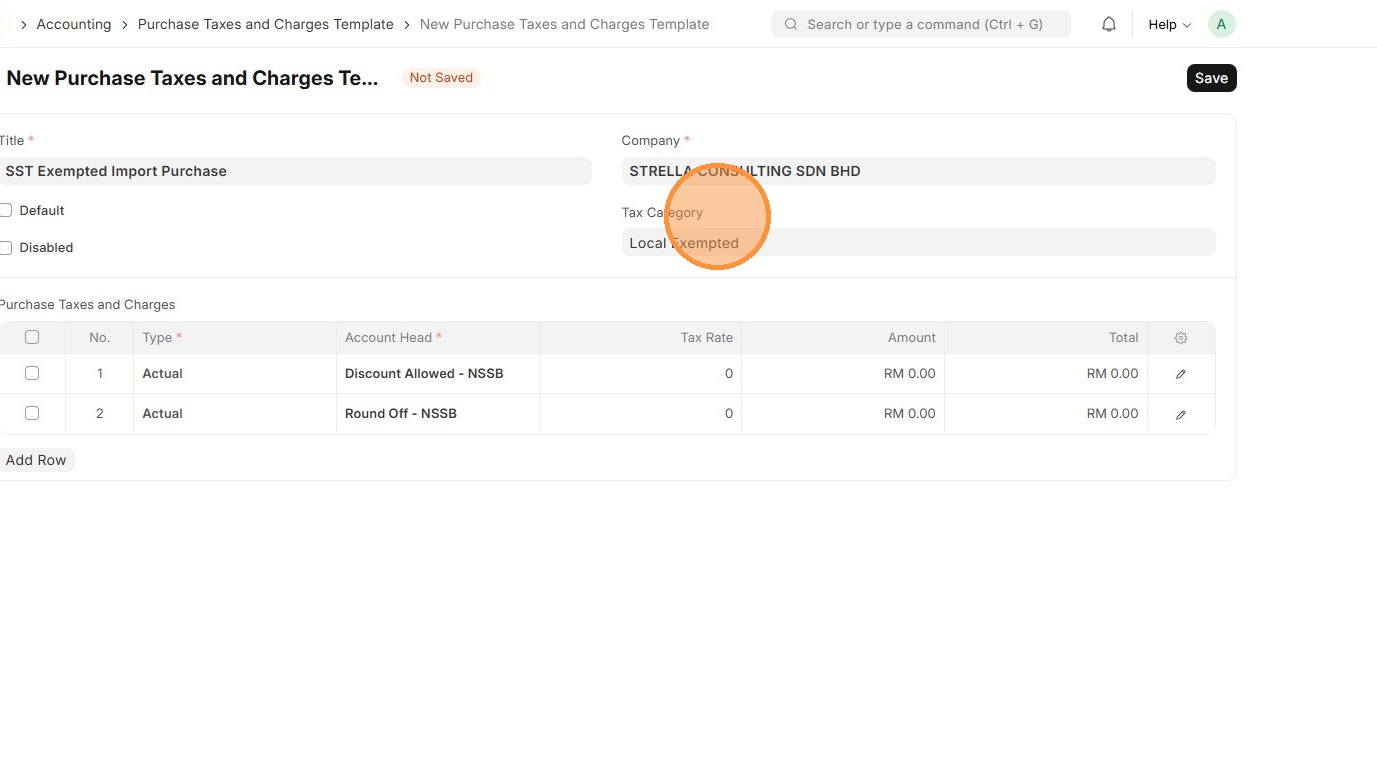
6. Select "Type" appropriate "Account Head" based on Chart of Accounts.
-
On Net Total - Tax on total of items
-
On Previous Row Total - Tax on cumulative total up to another row
-
Actual - Fixed amount instead of percentage
-
On Item Quantity - Tax per unit quantity
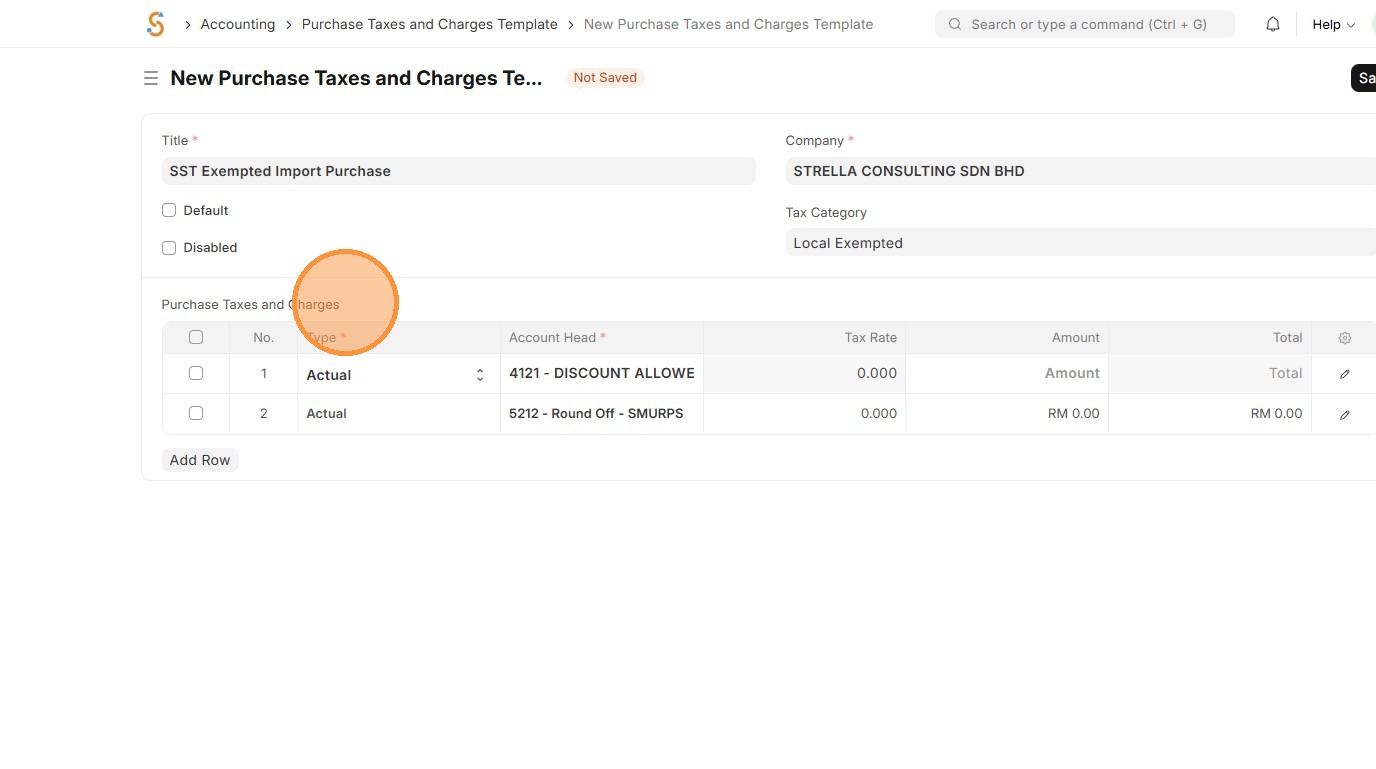
7. Click "Add Row".
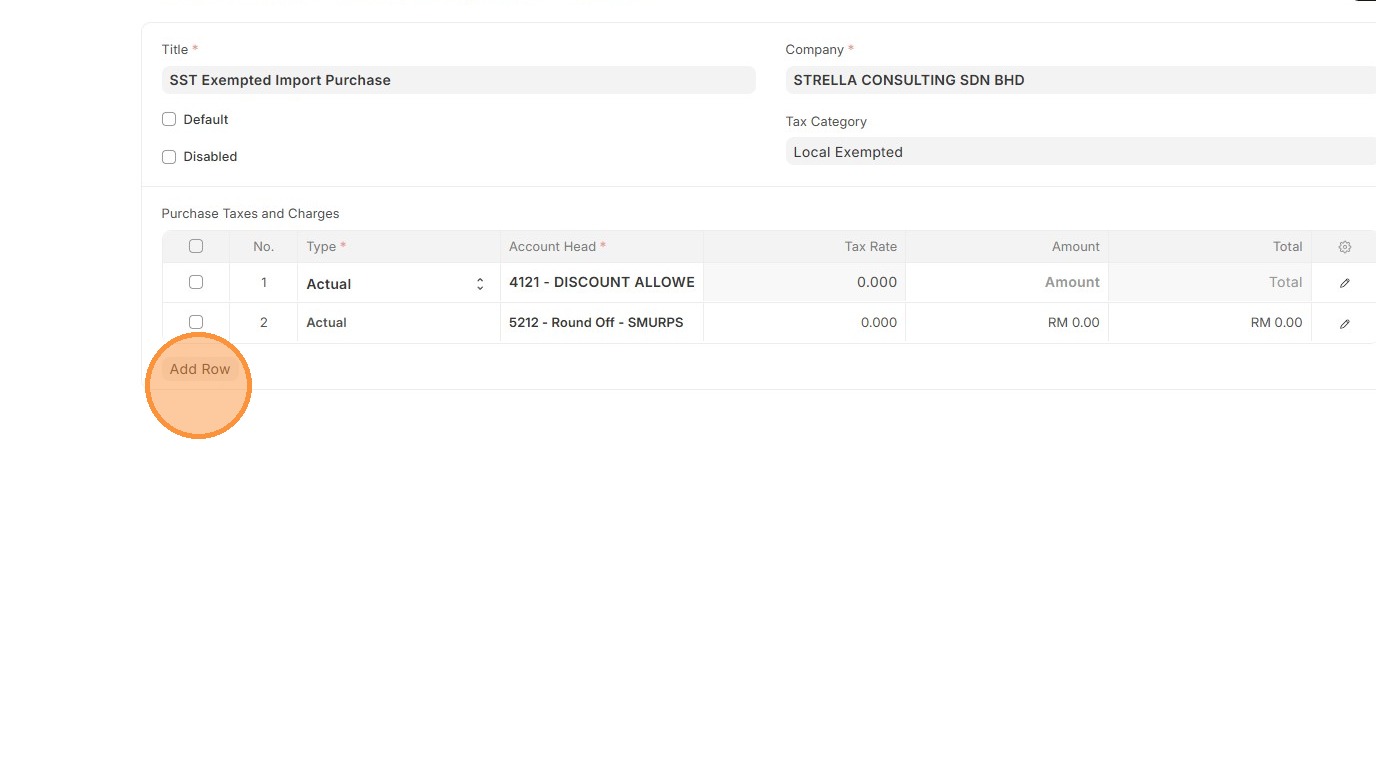
8. Click "Save"
Note: If the user enables "Is this Tax included in Basic Rate?" in the row, the tax amount will be included directly in the Rate, and the system will not display a separate tax component since it is already combined into the rate.
9. Verify that Purchase Taxes and Charges Template ID is created
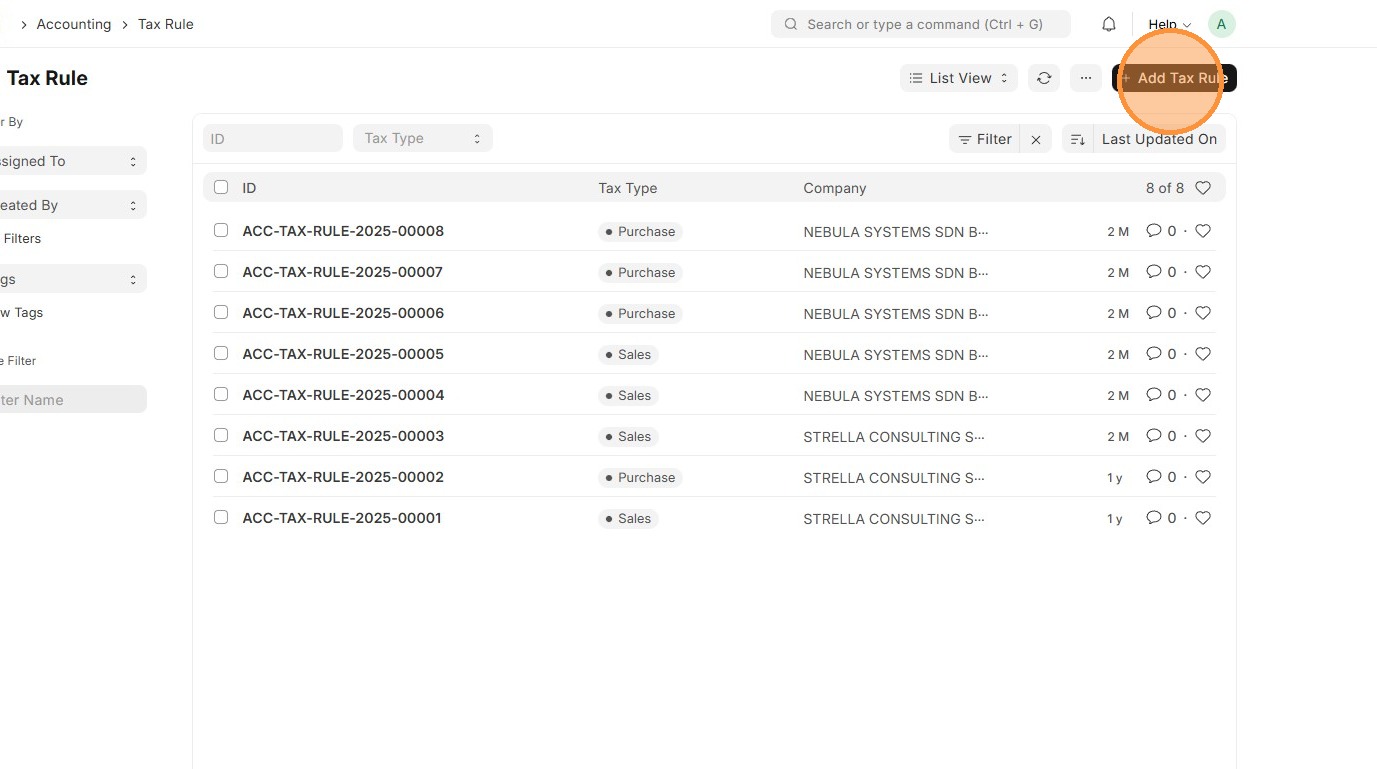
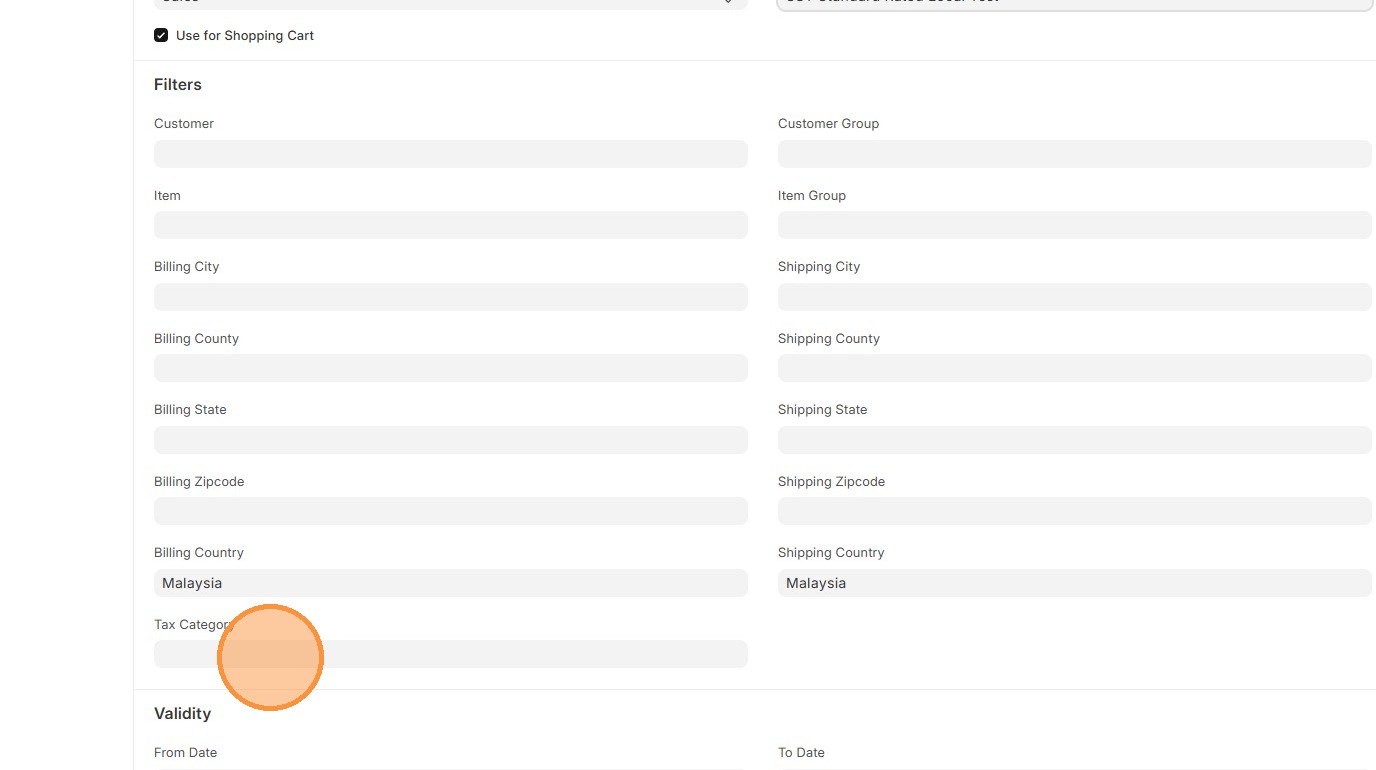
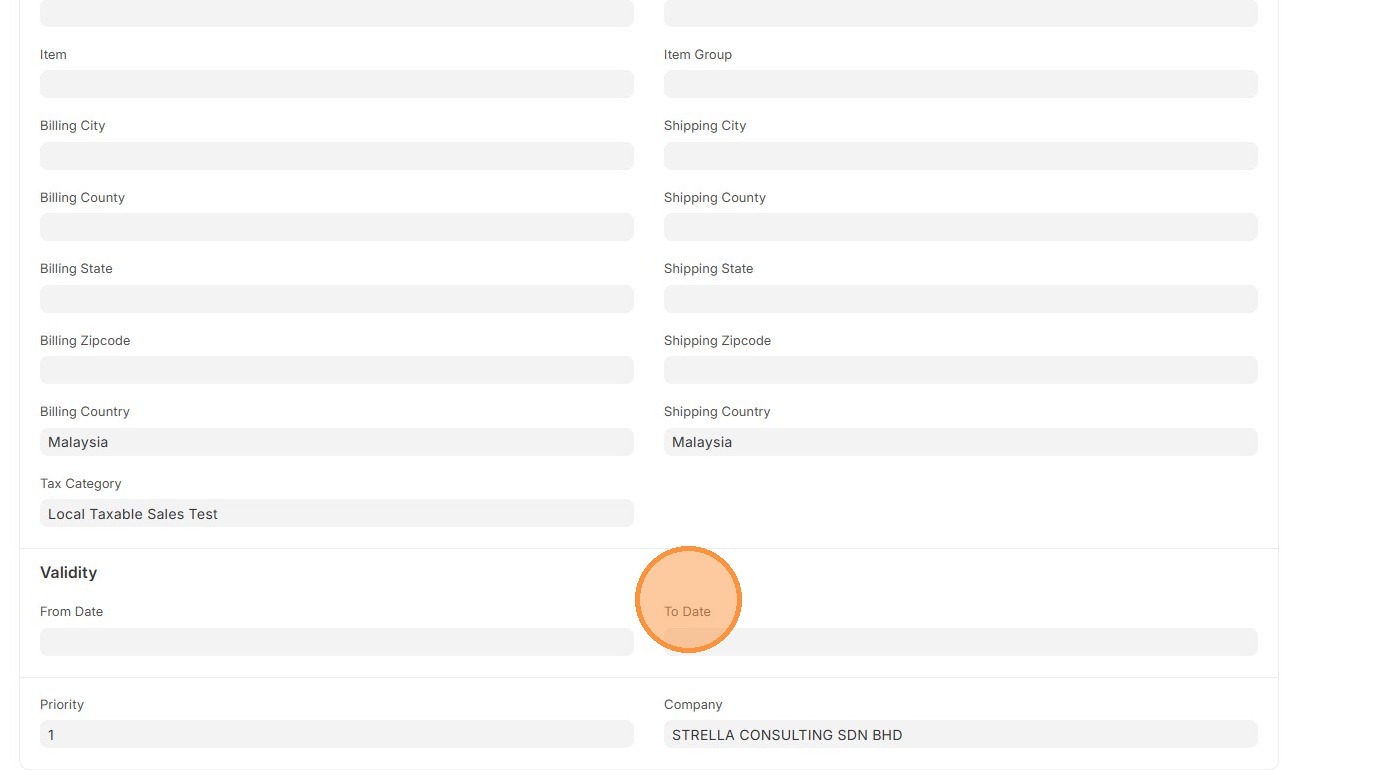
Tax Rule
A Tax Rule tells the system when and how to apply a tax based on conditions like item, customer, supplier, or location. This is applicable for both Sales and Purchase
1. Click "Accounting"
2. Click "Tax Rule"
3. Click "Add Tax Rule"
4. Select "Tax Type" either Sales or Purchase
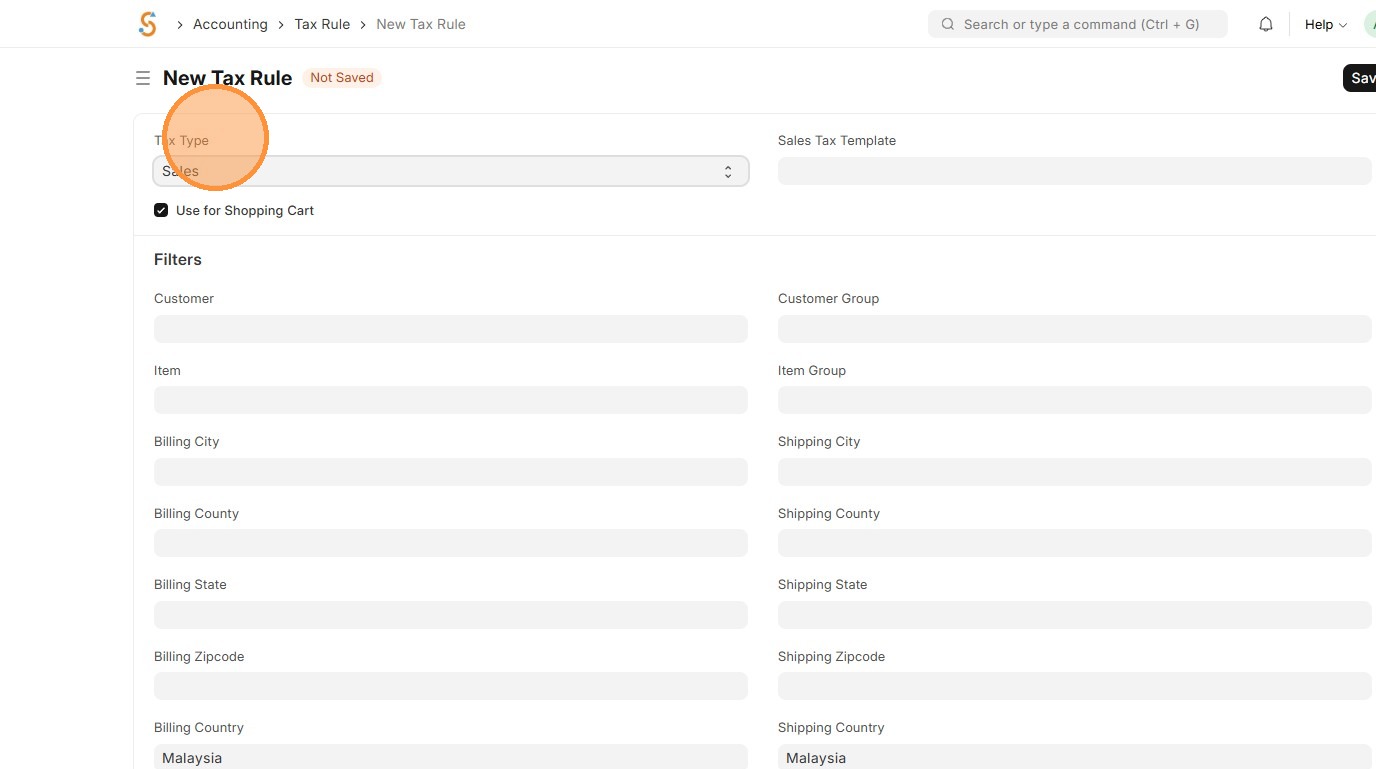
5. Select appropriate Sales Taxes and Charges
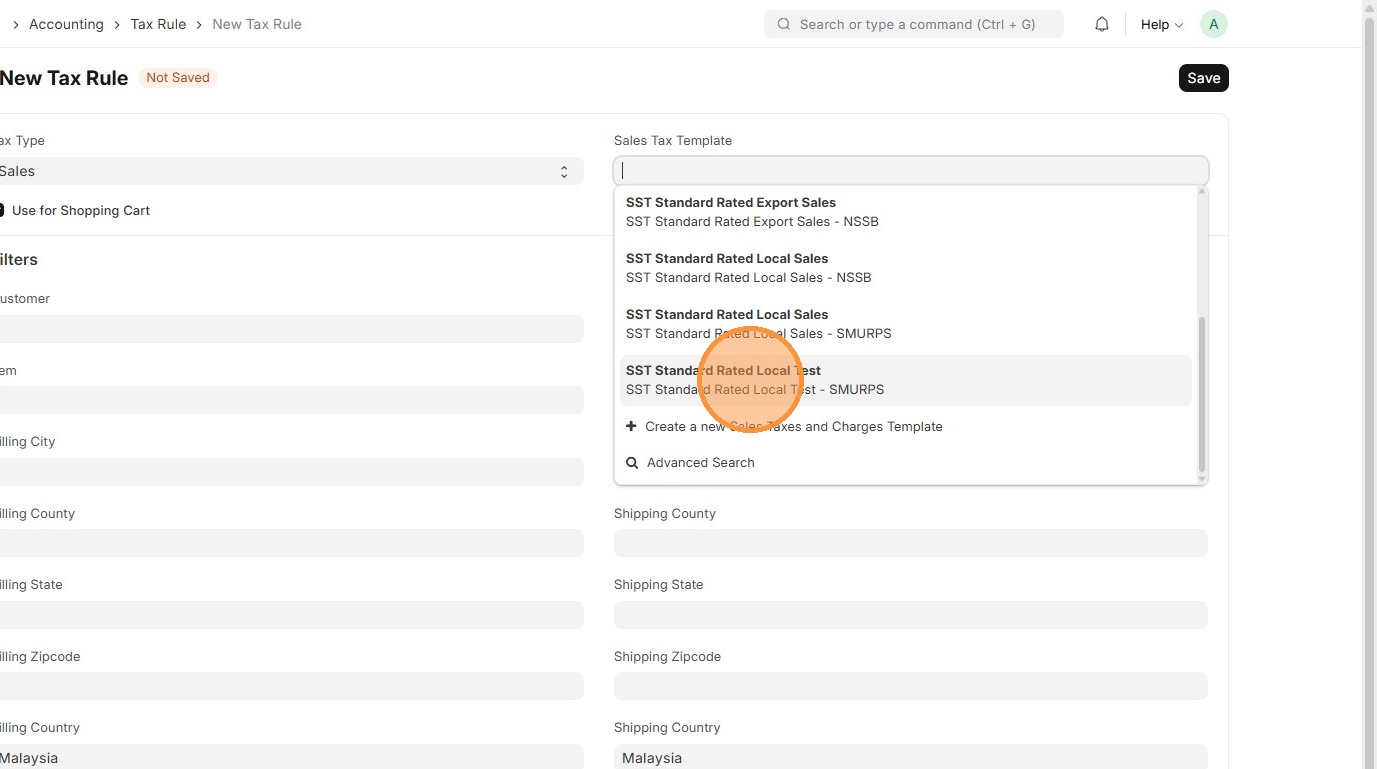
6. Update the ‘Filters’ that determine where the Sales Tax Template applies.
7. OPTIONAL: Click "From Date" if applicable
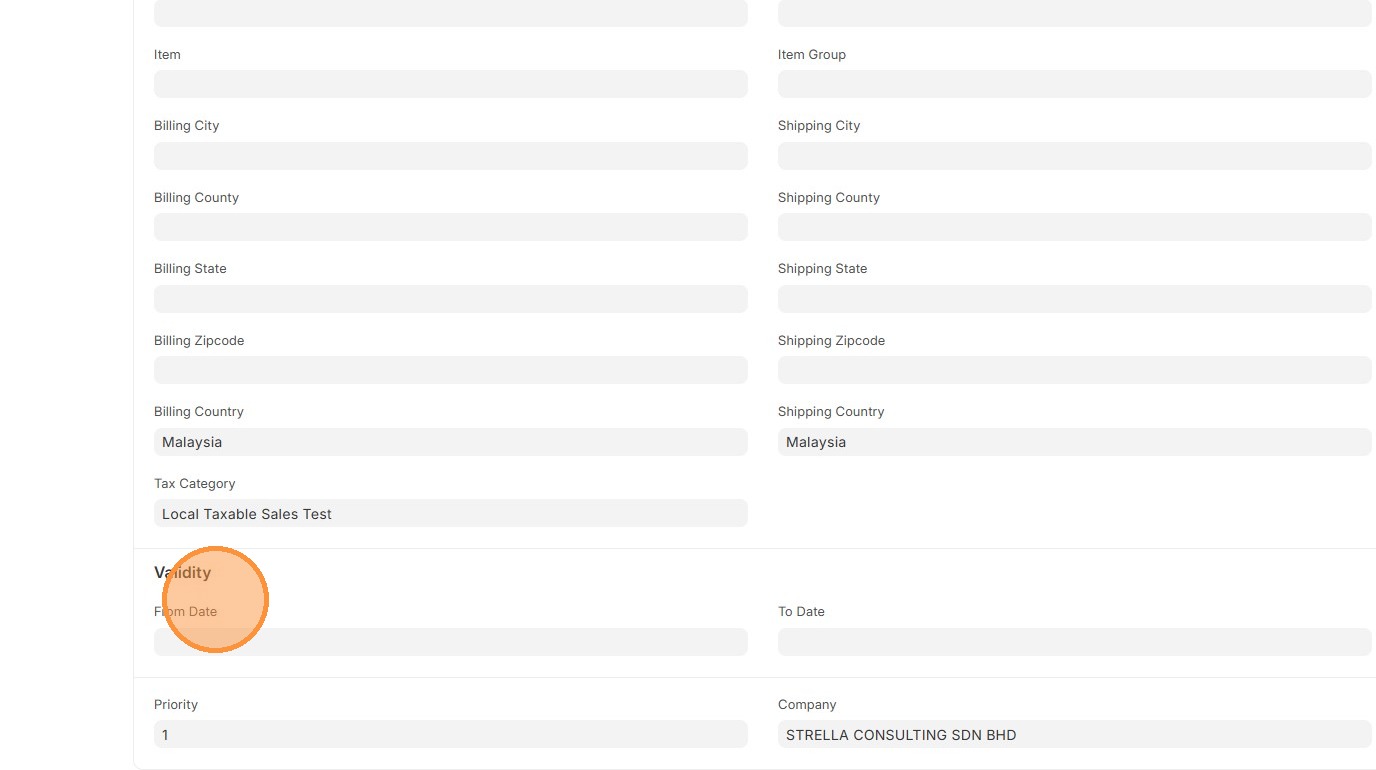
8. OPTIONAL: Click "To Date" if applicable
9. Click "Save"
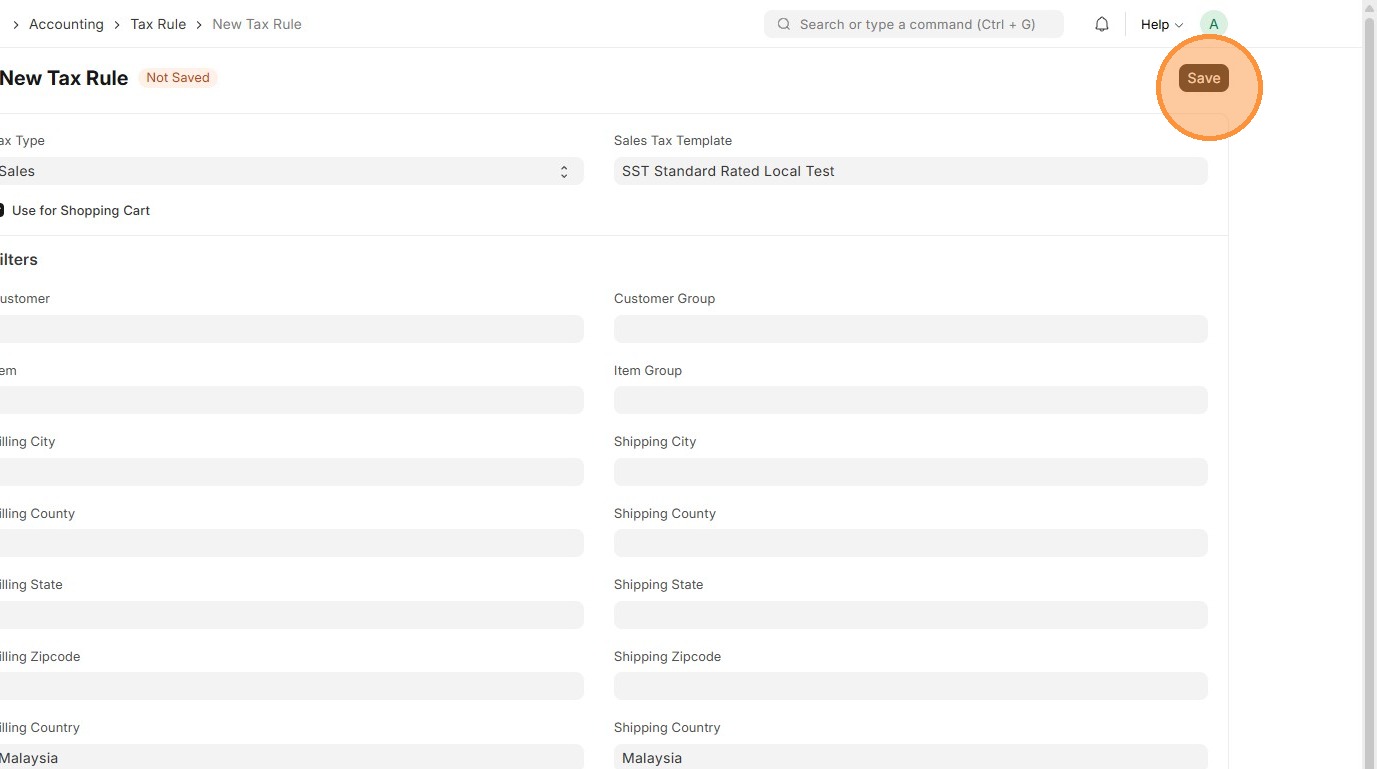
10. Verify that Tax Rule ID is created

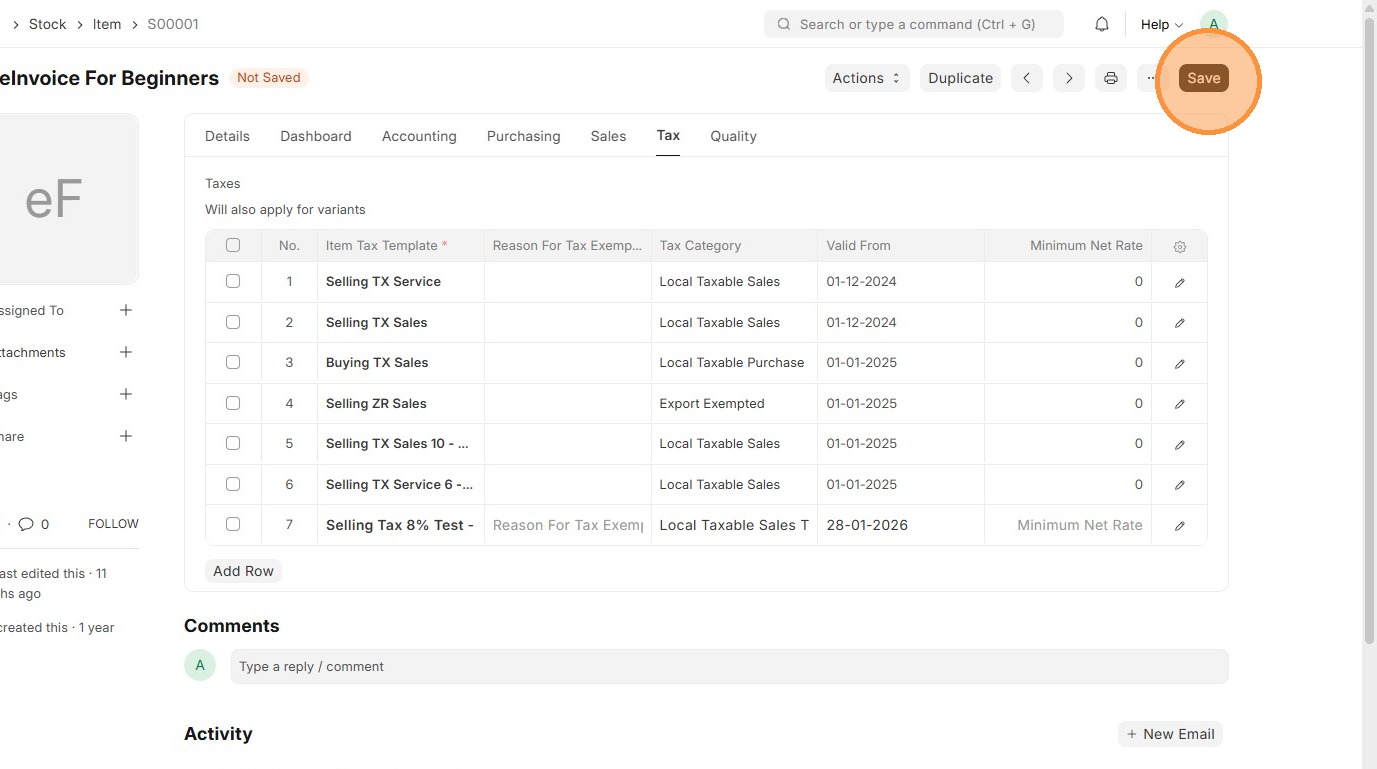
Item Master Data
Users should update the Item Master Data with the correct Tax Category and Item Tax Template so the system can automatically apply and calculate the right taxes on every sale or purchase.
1. Click "Stock"
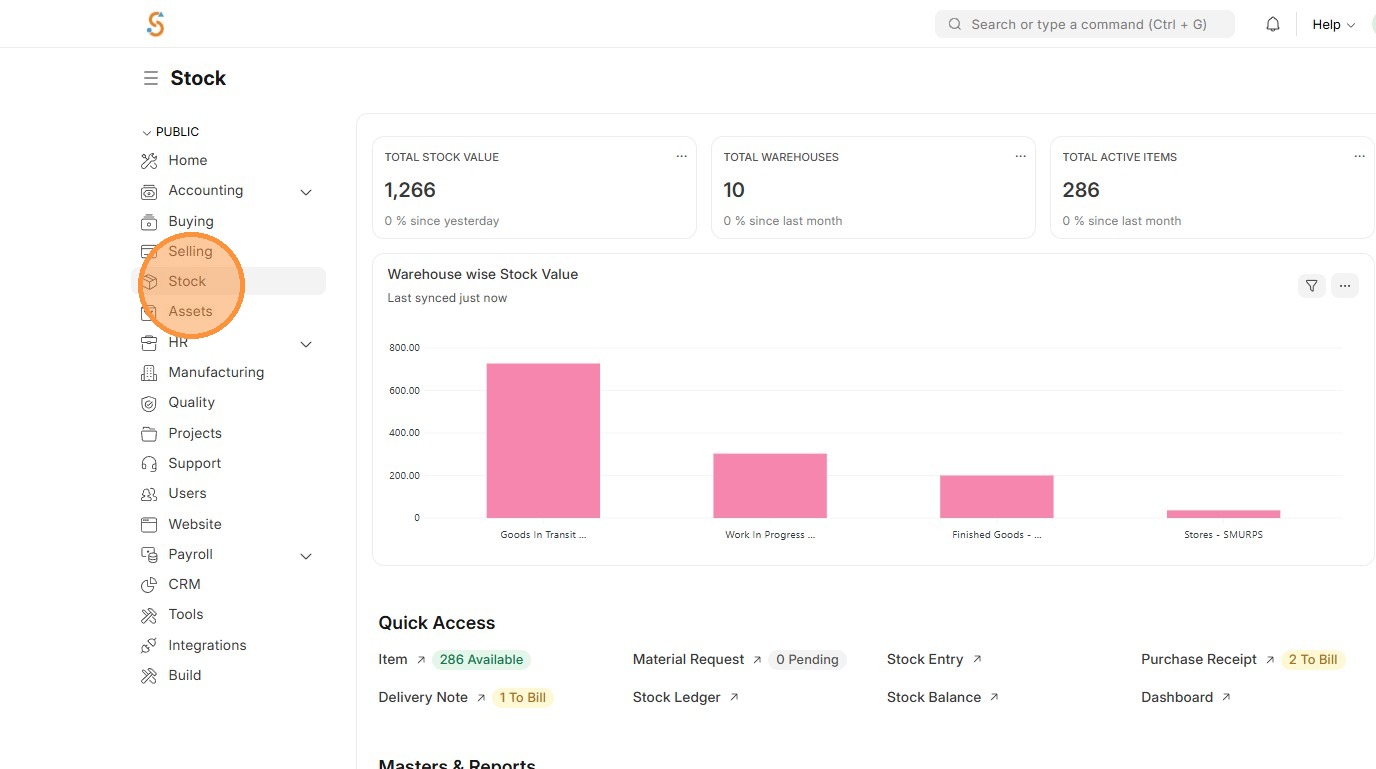
2. Click "Item"
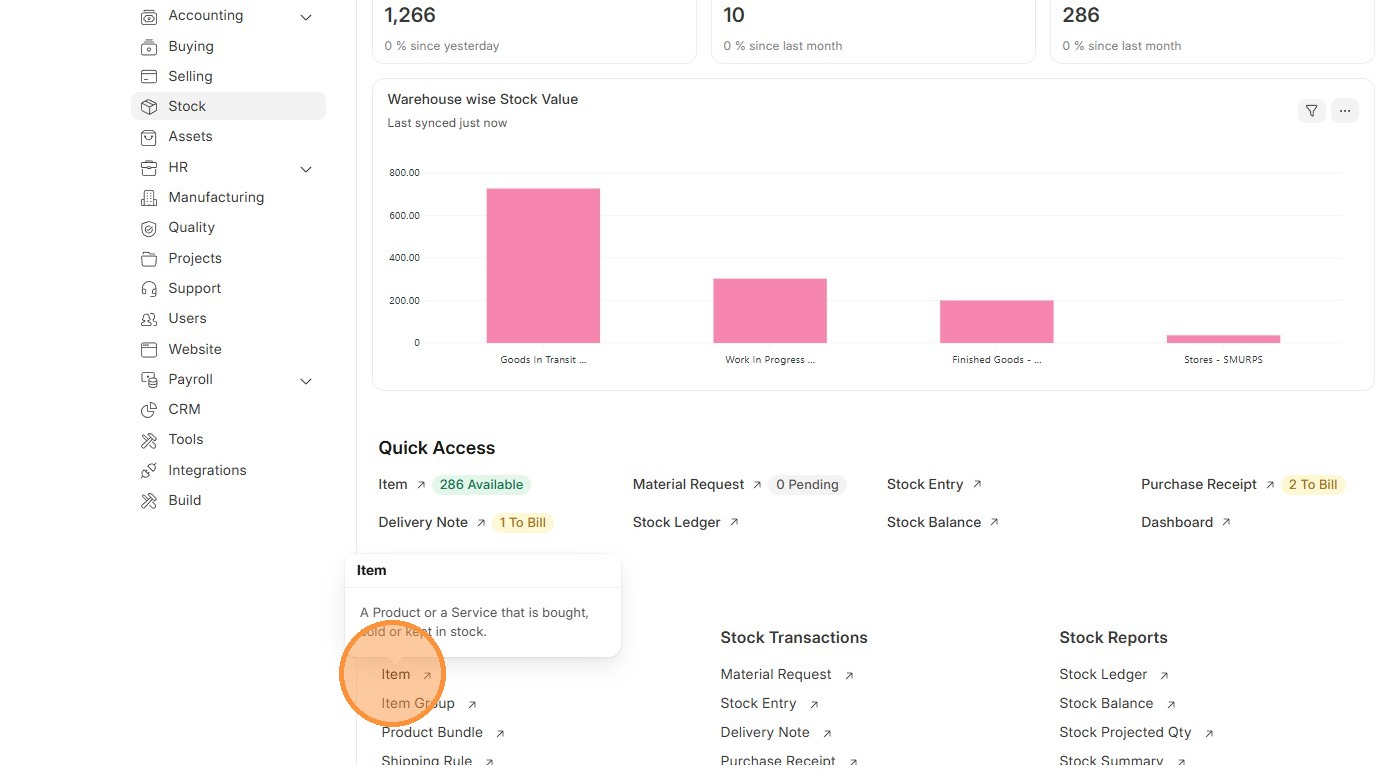
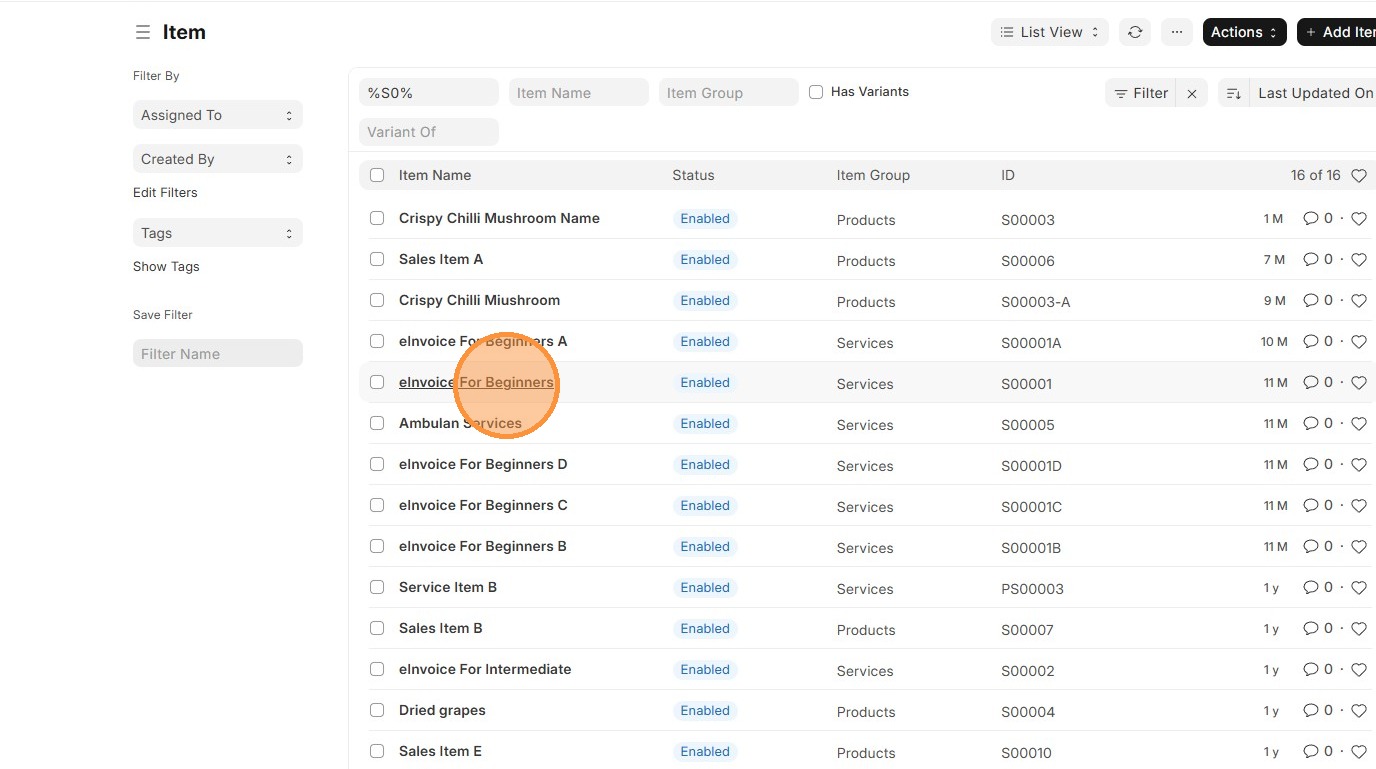
3. Select "Item"
4. Click "Tax" tab
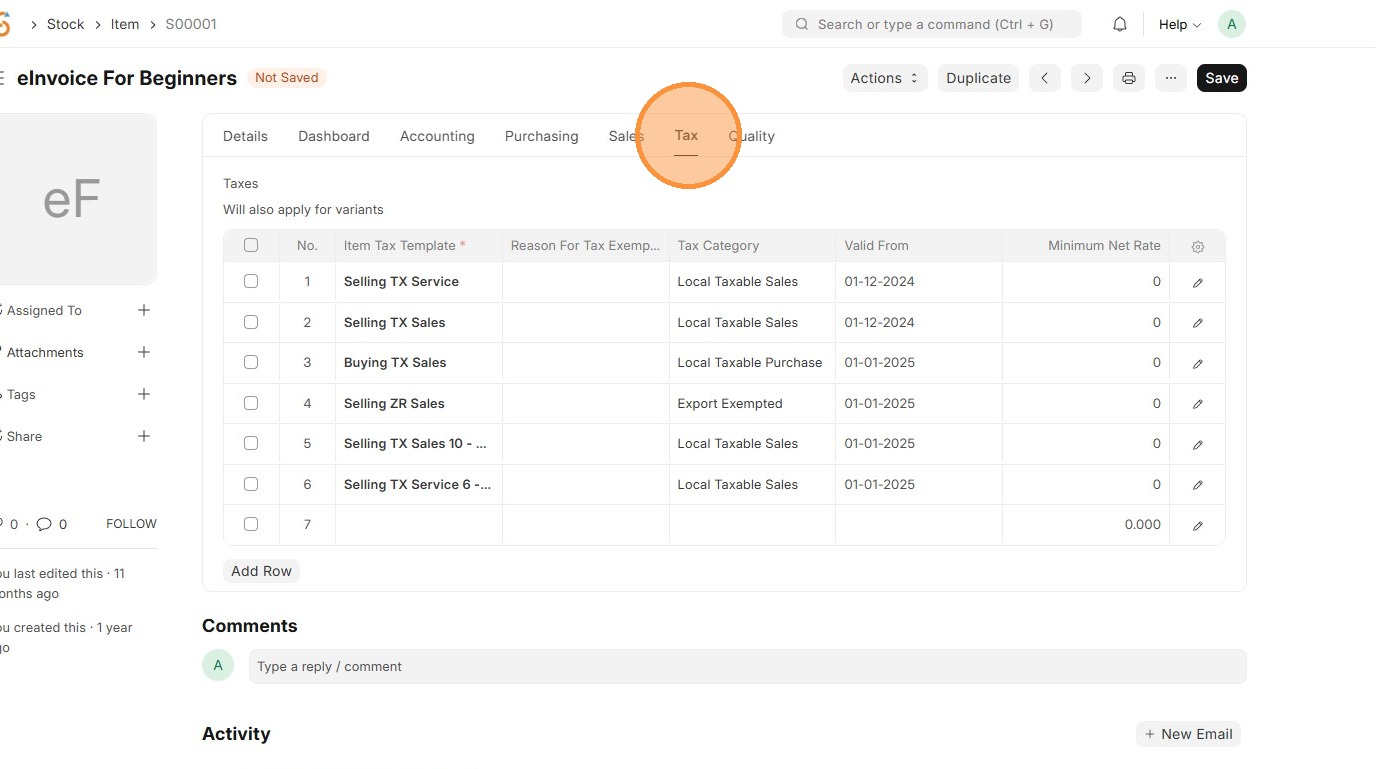
5. Click "Add Row"
6. Select the Item Tax Template.
7. Select Tax Category that is associate with Item Tax Template
8. OPTIONAL Set the "Valid From" field for system to implement the "Item Tax Template"
9. Click "Save"
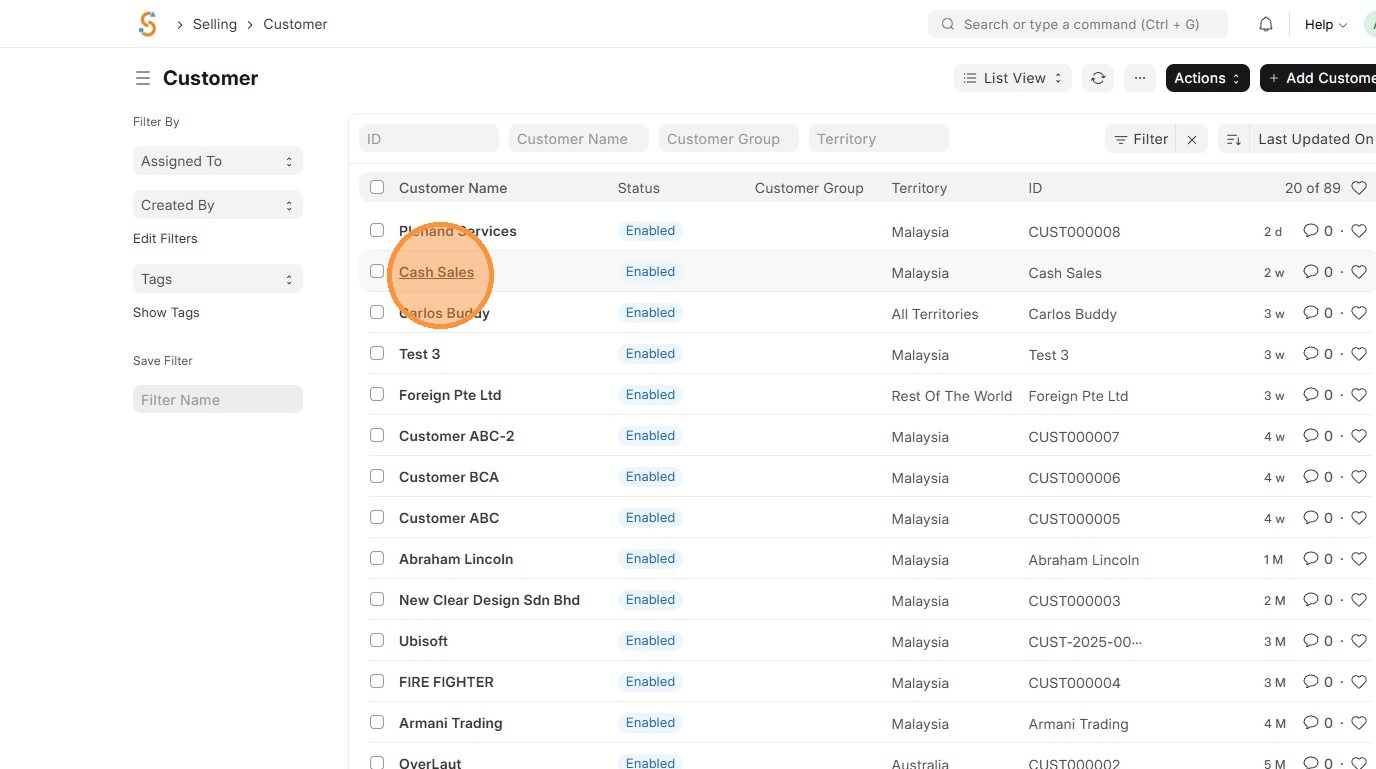
Customer Master Data
Users should update each Customer with the correct Tax Category so the system knows which taxes to apply when selling to them.
1. Click "Selling"
2. Click "Customer"
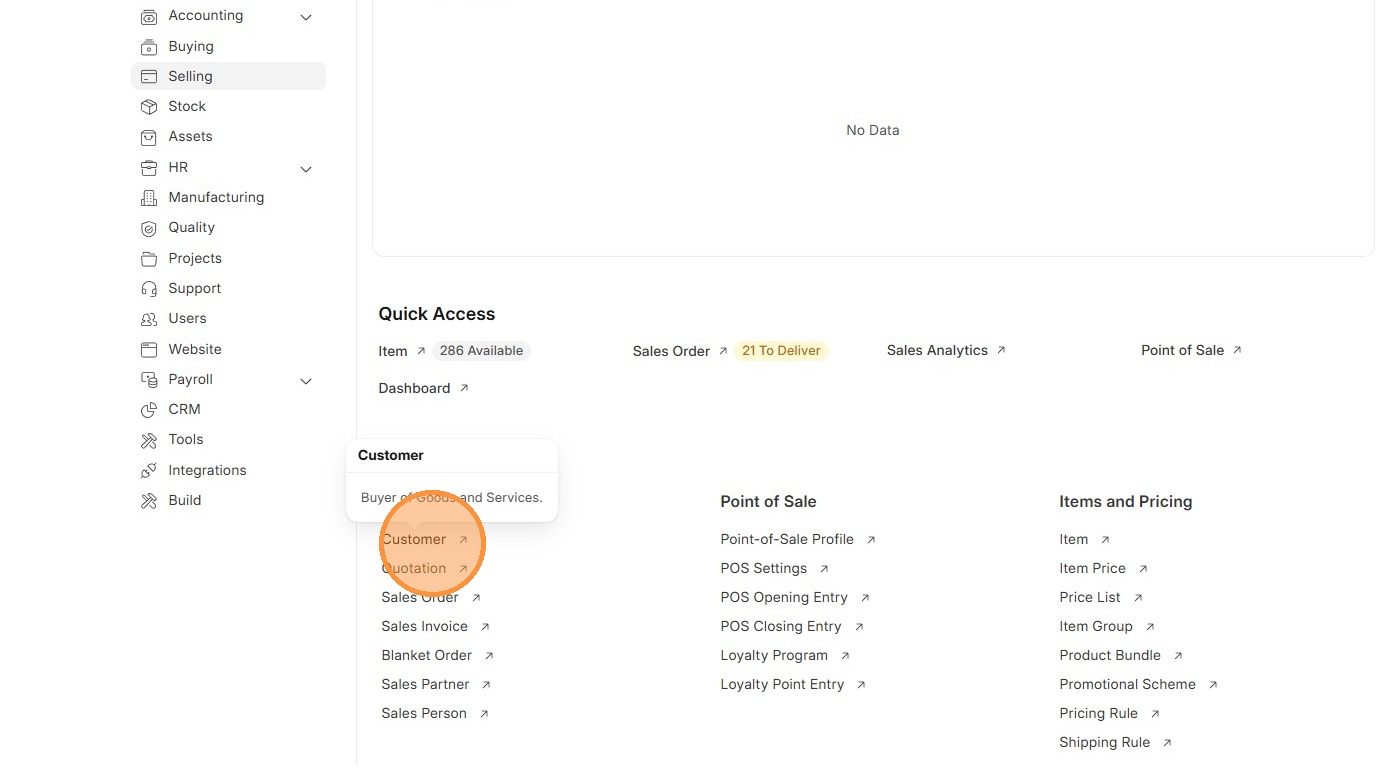
3. Select "Customer" to update.
4. Click "Tax" tab.
5. Select the appropriate Tax Category.
6. Click "Save"
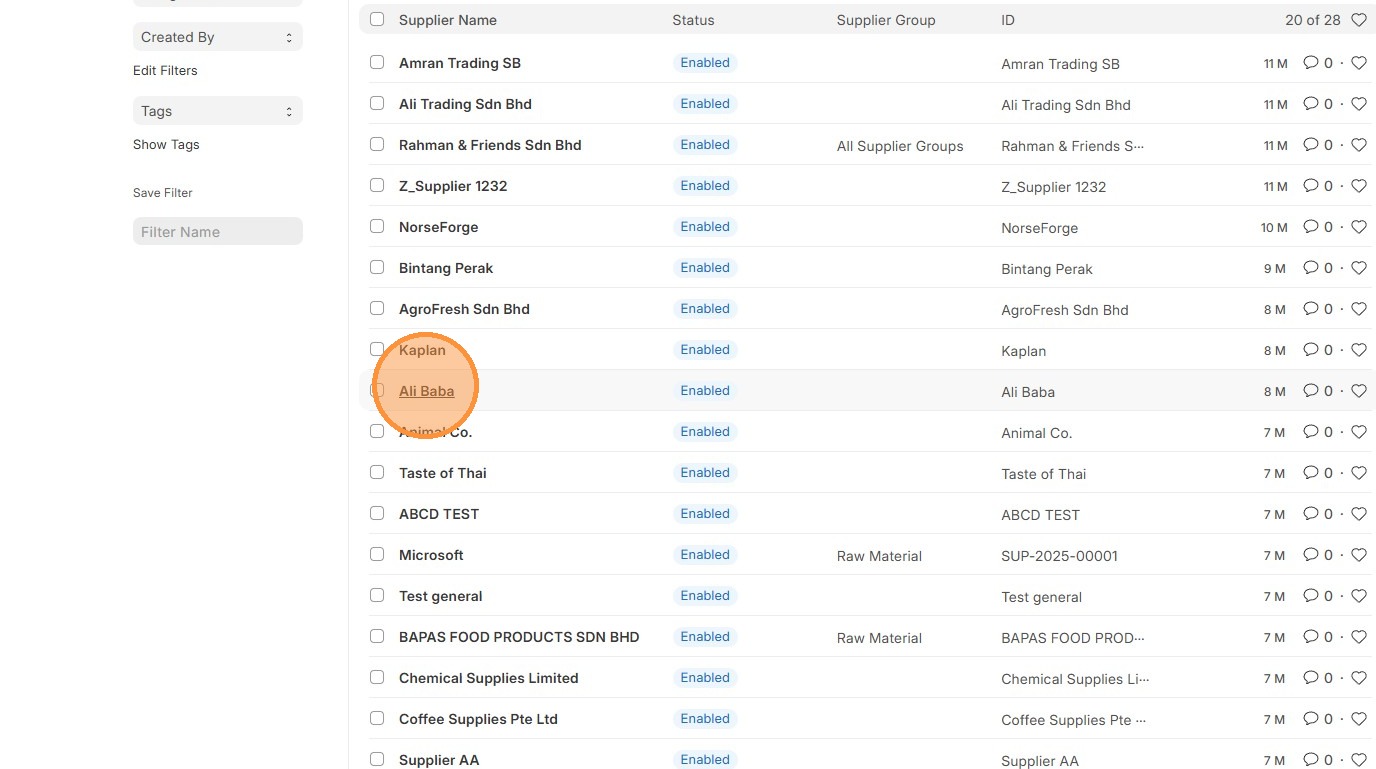
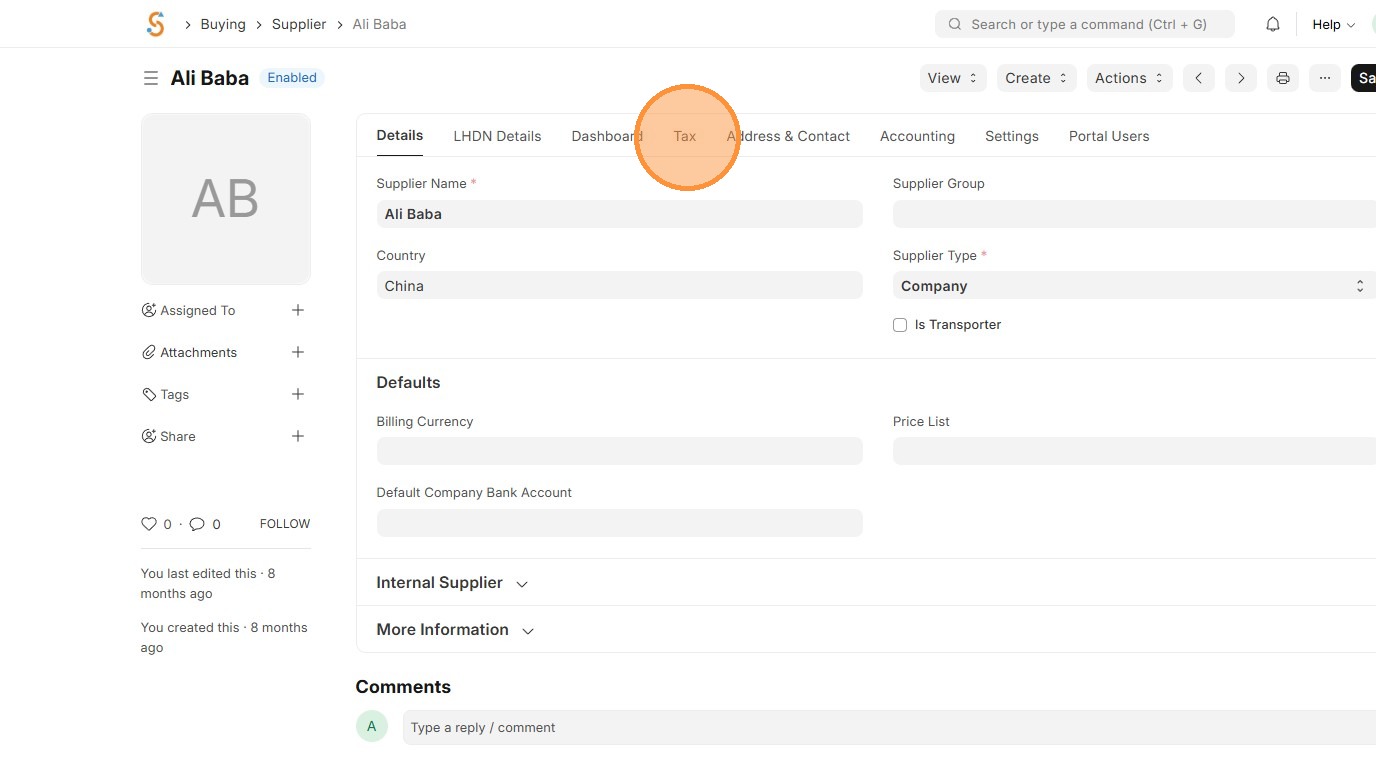
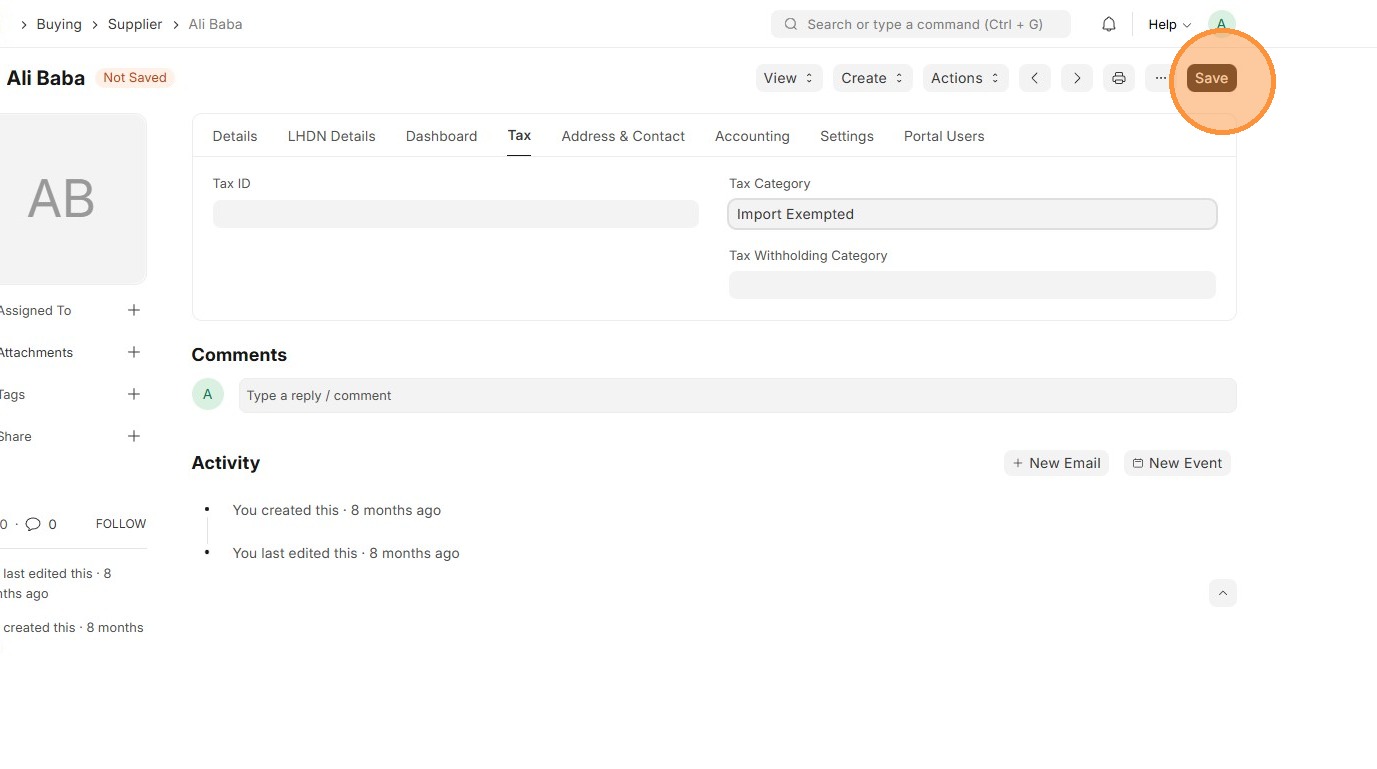
Supplier Master Data
Users should update each Supplier with the correct Tax Category so system can automatically apply the right taxes on purchases.
1. Click "Buying"
2. Click "Supplier"

3. Click "Supplier"
4. Click "Tax" tab
5. Click on "Tax Category".
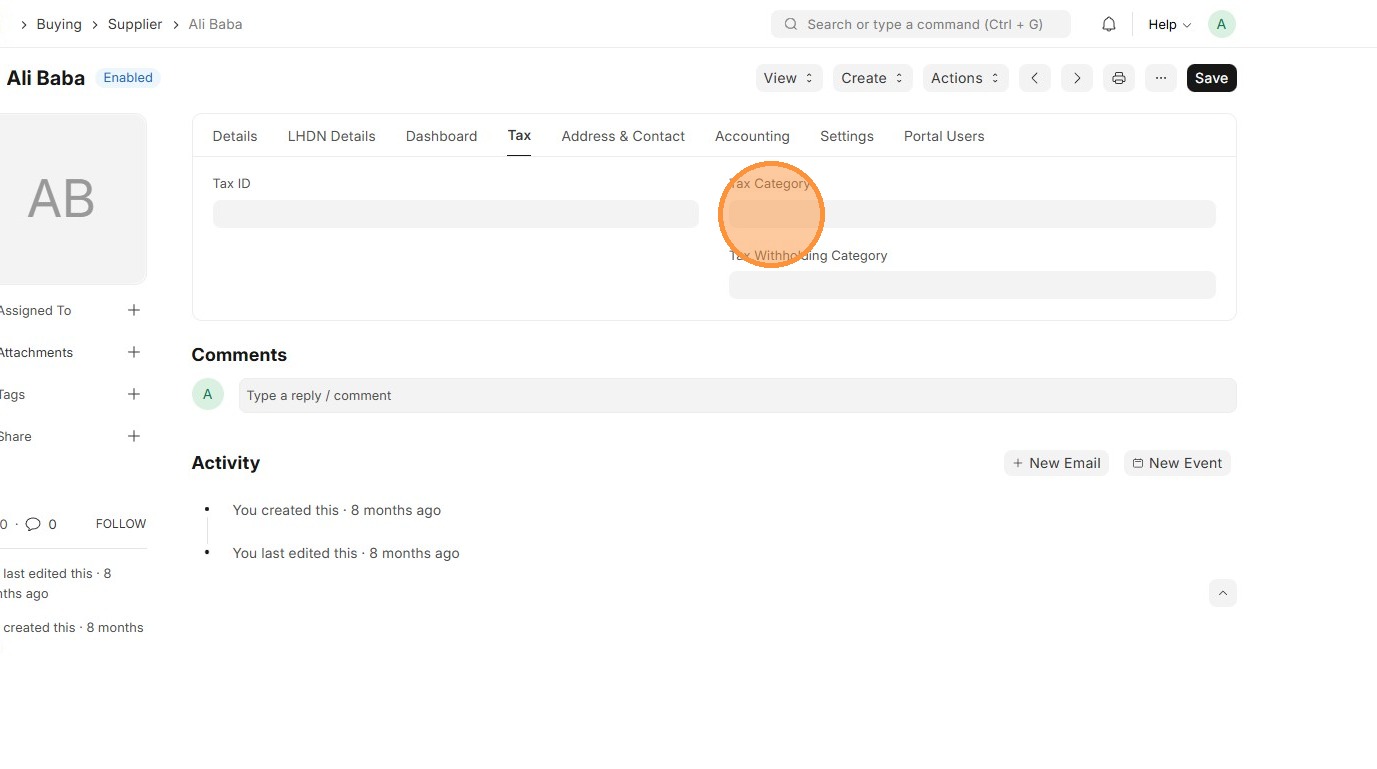
6. Select "Tax Catergory"
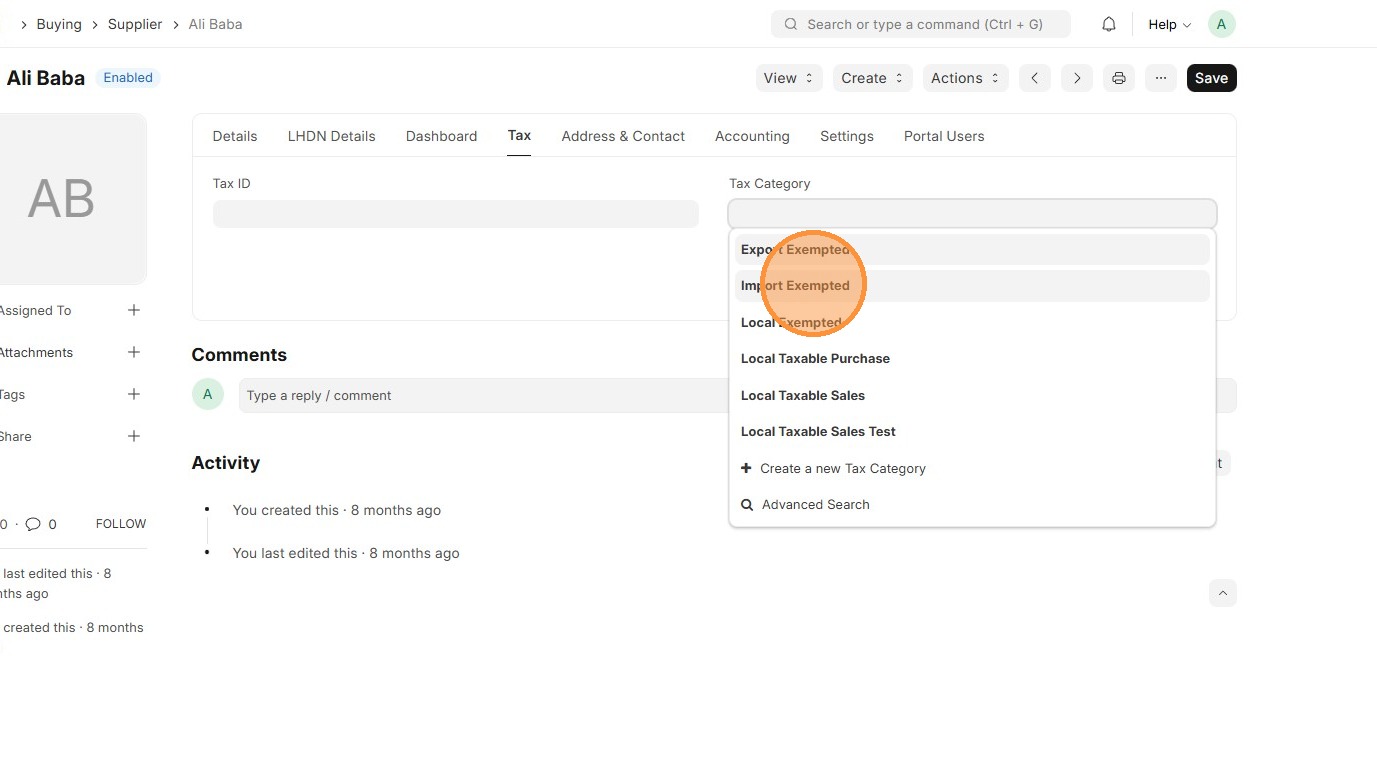
7. Click "Save"
Transactions
Order to Cash
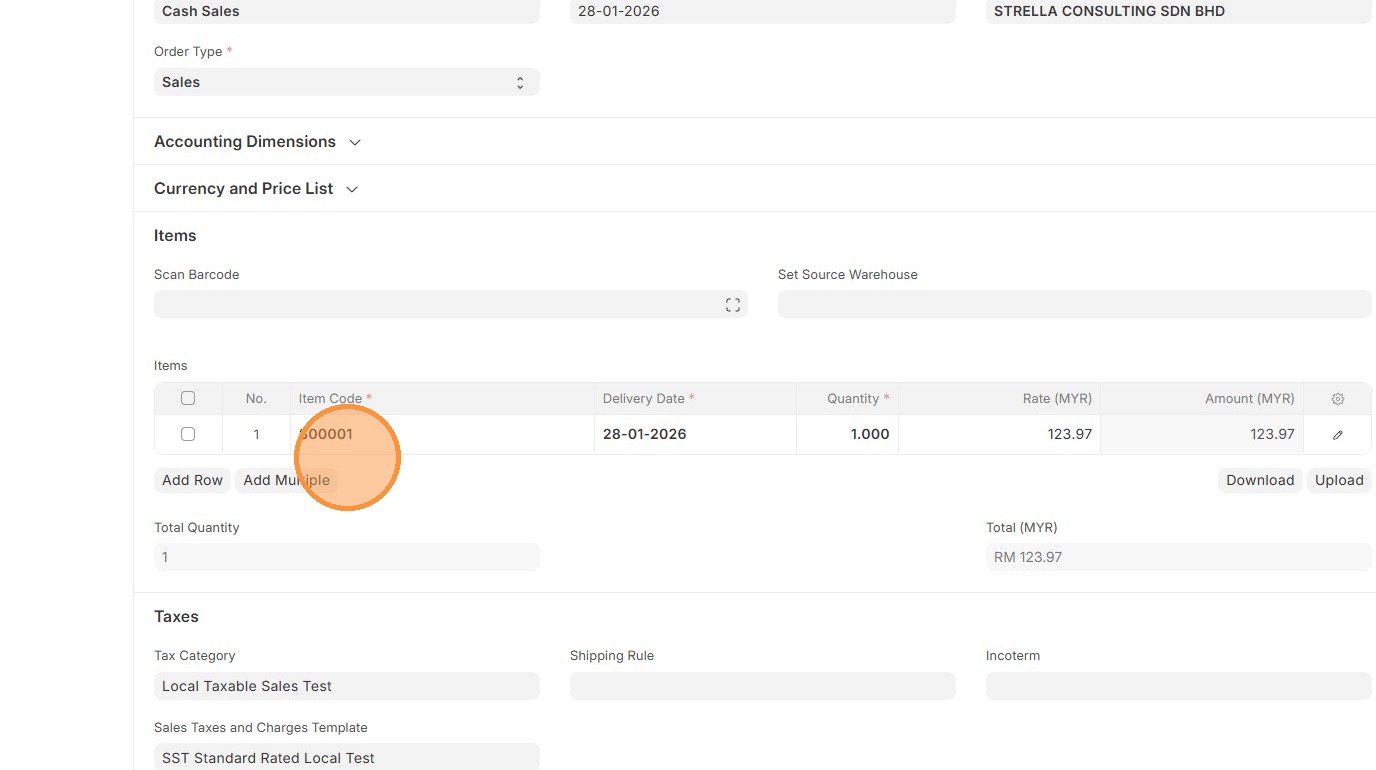
Order-to-Cash process flows from Sales Order → Delivery Note → Sales Invoice, with taxes automatically applied at the invoice stage using the Sales Tax master data. This ensures accurate tax calculation, posting to the correct accounts throughout the sales process.
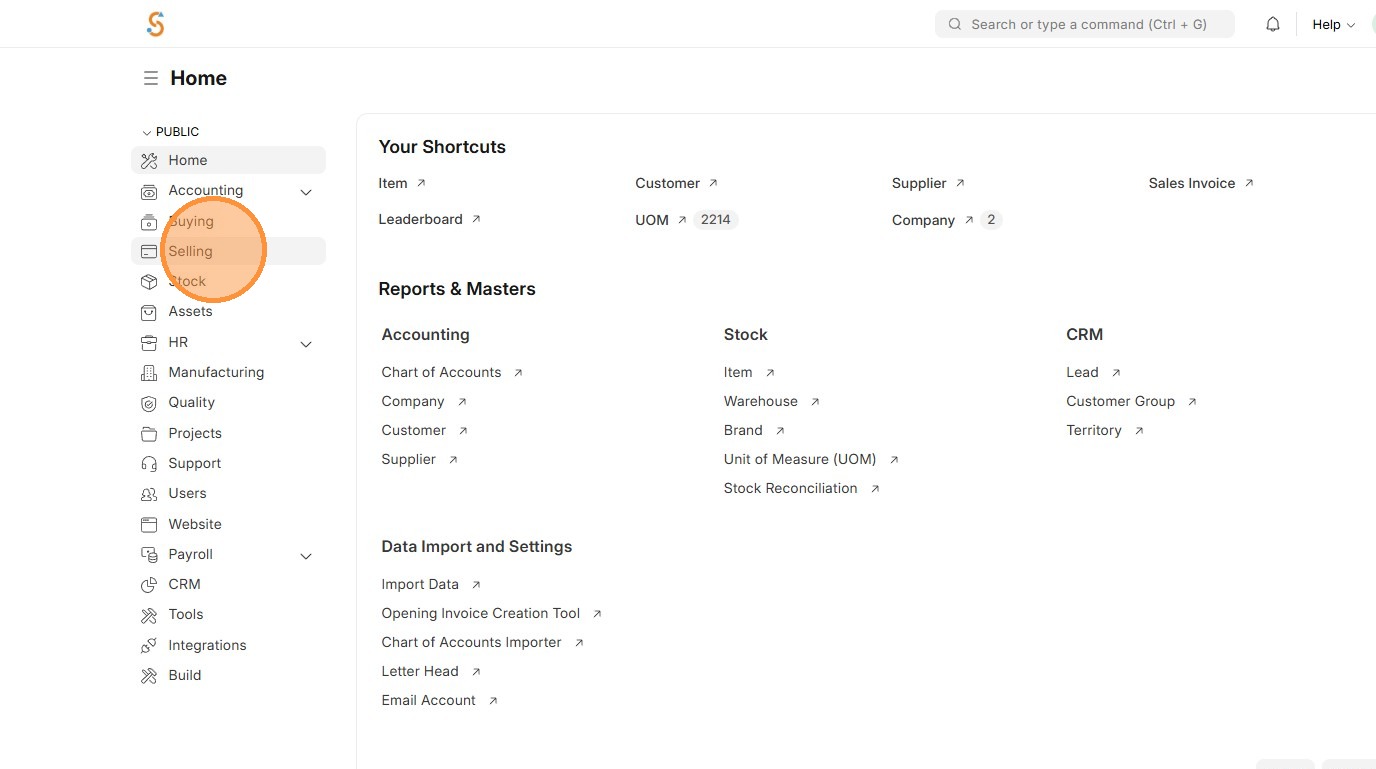
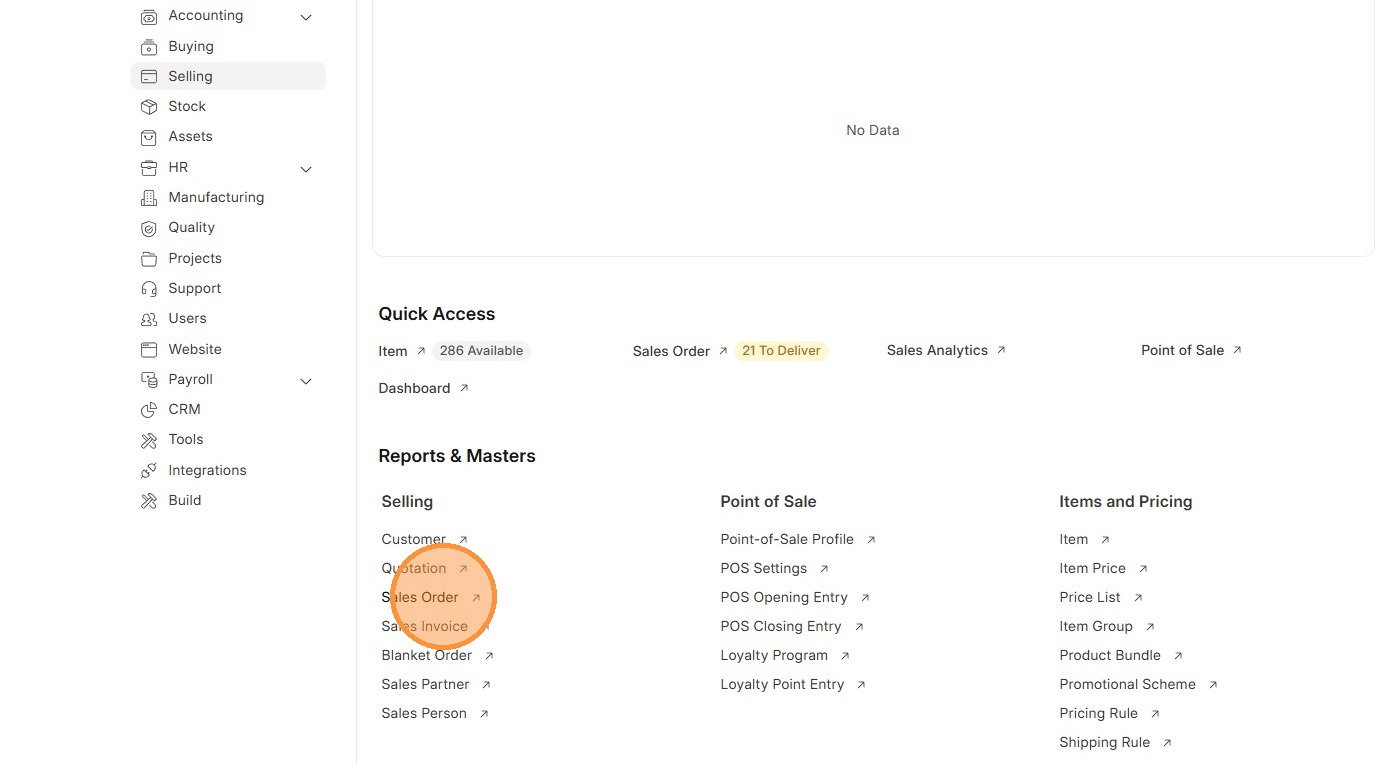
1. Click "Selling"
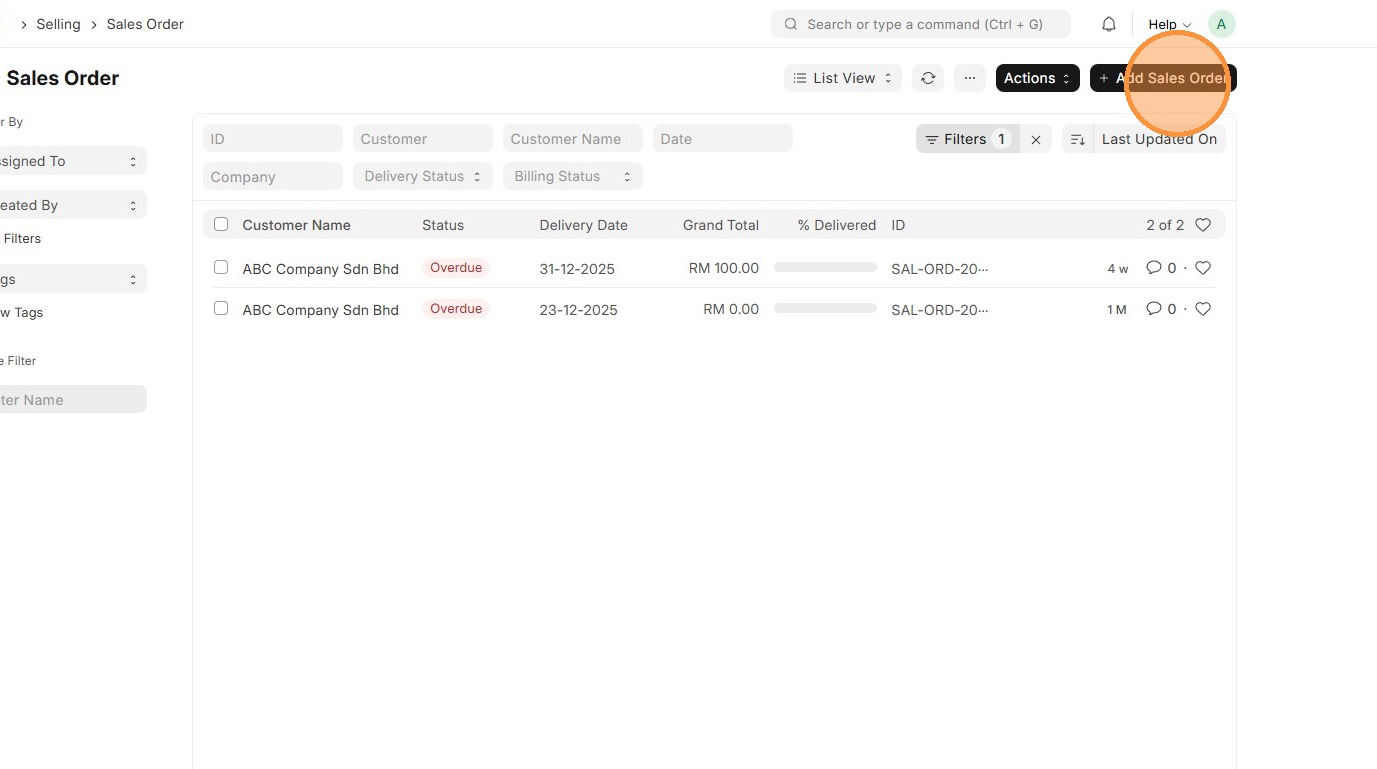
2. Click "Sales Order"
3. Click "Add Sales Order"
4. Select "Customer"

5. Verify that "Tax Category" matches in Customer Master Data and Sales Taxes and Charges Template matches "Tax Rule".
6. Select "Item Code"
7. Click "Edit".

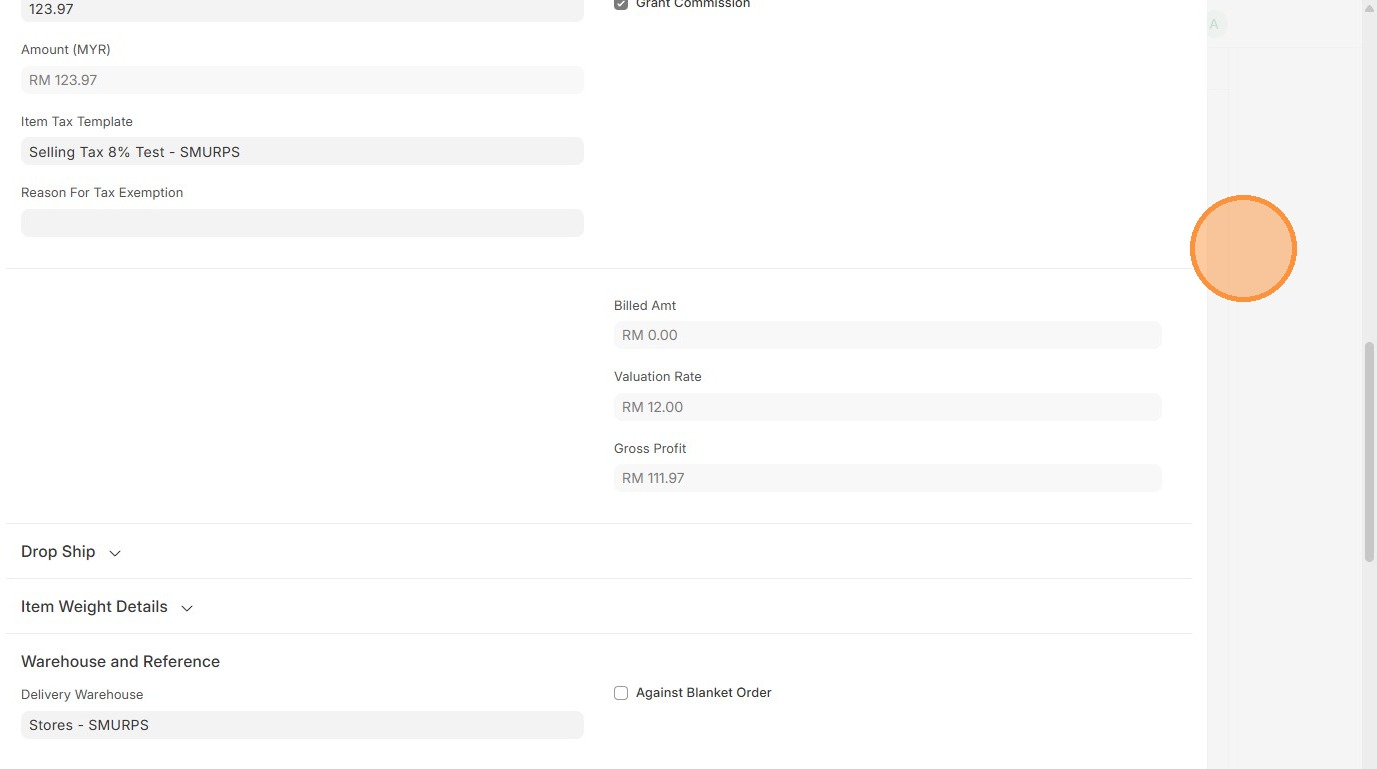
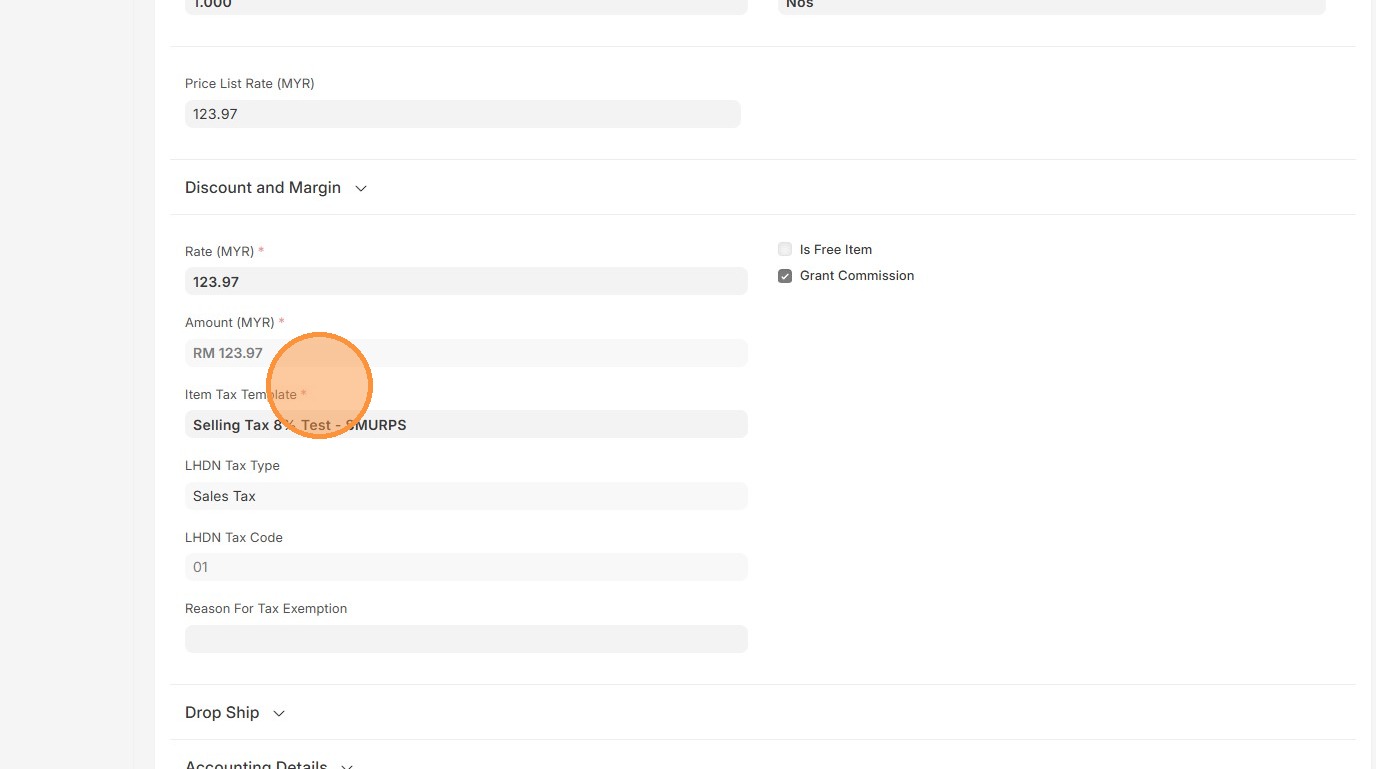
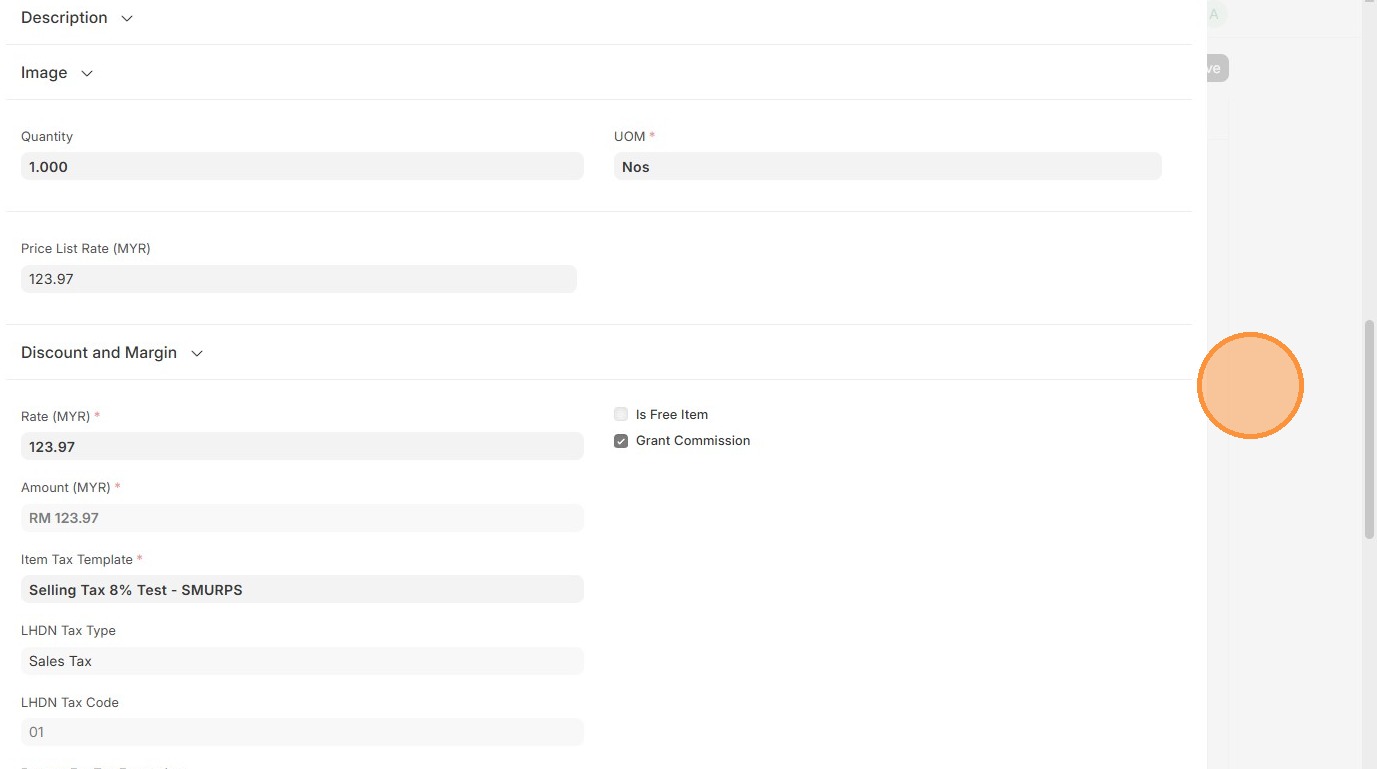
8. Verify Item Tax Template. Users have the option to select a different Item Tax Template based on what is maintained in the Item Master Data
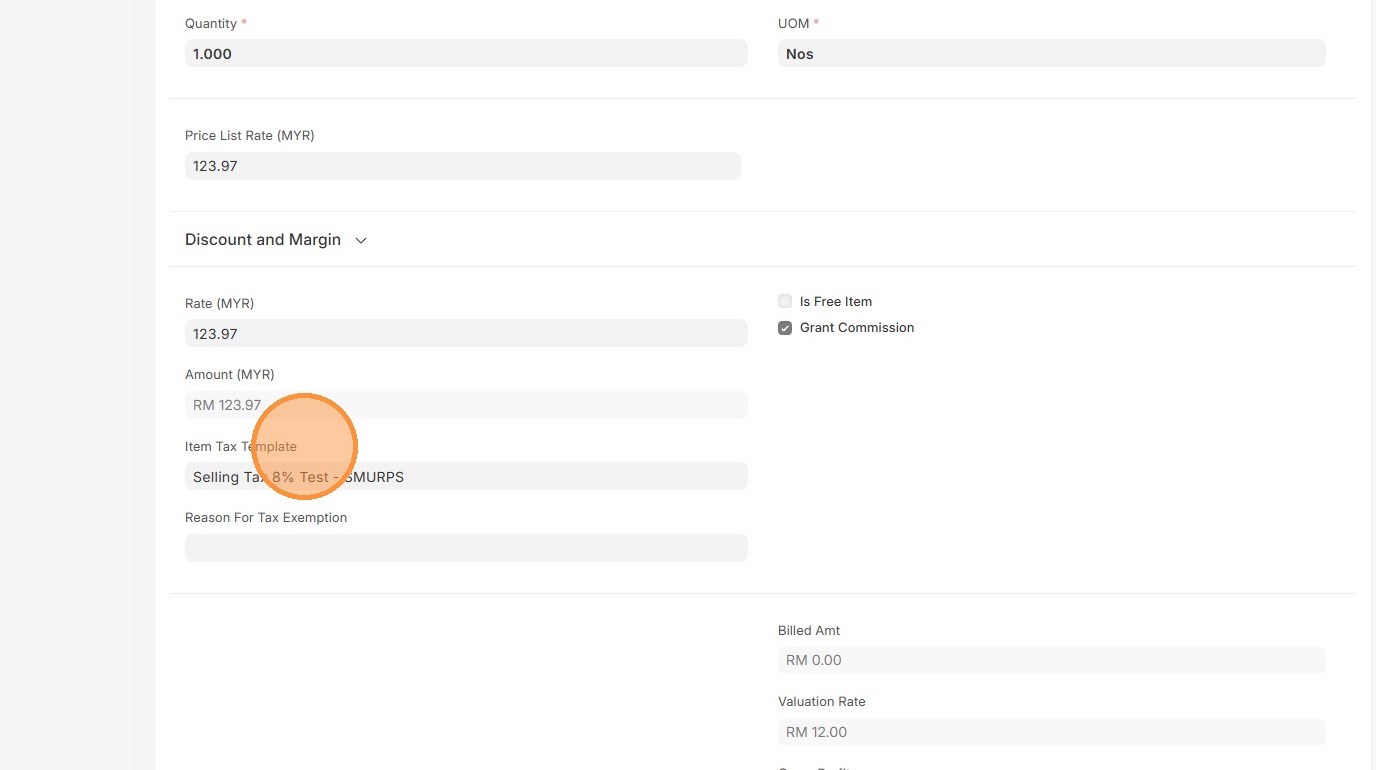
9. Click here to close pop up.
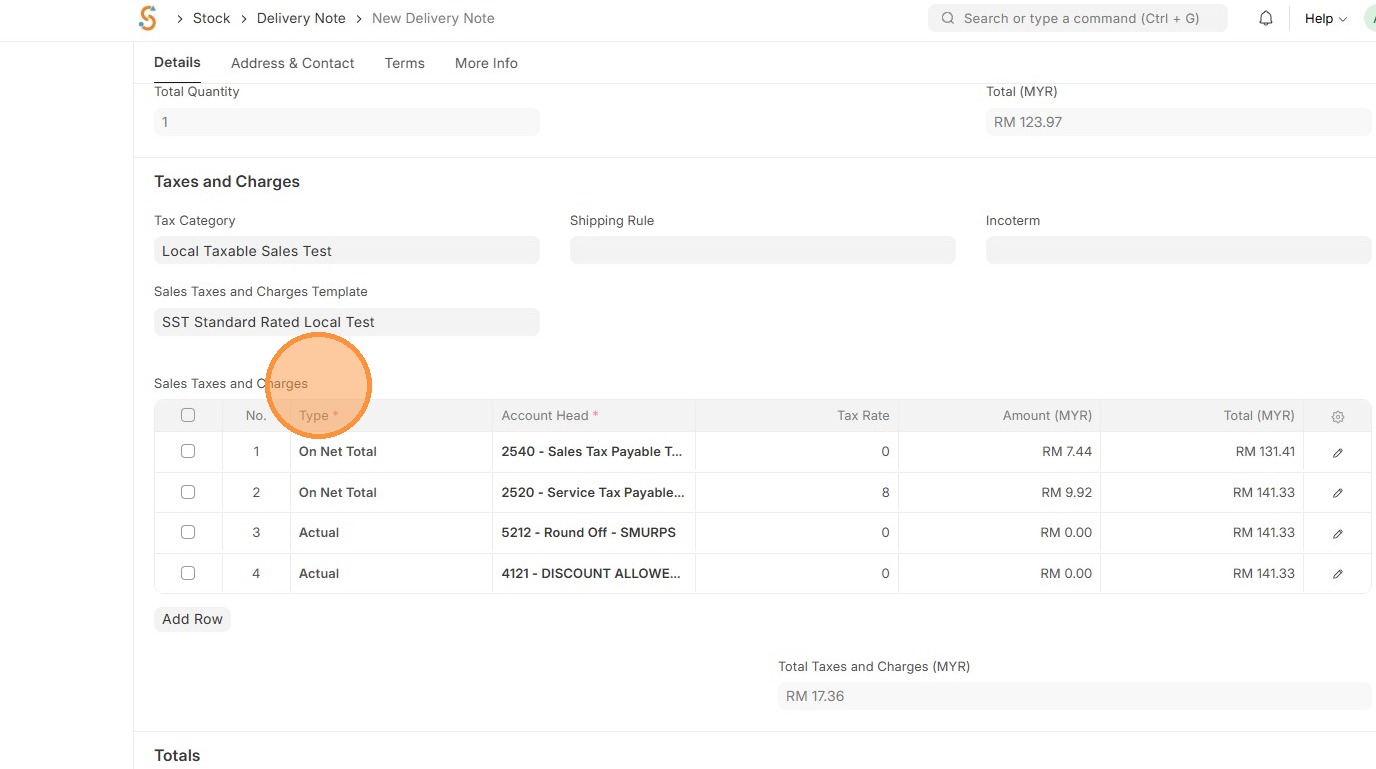
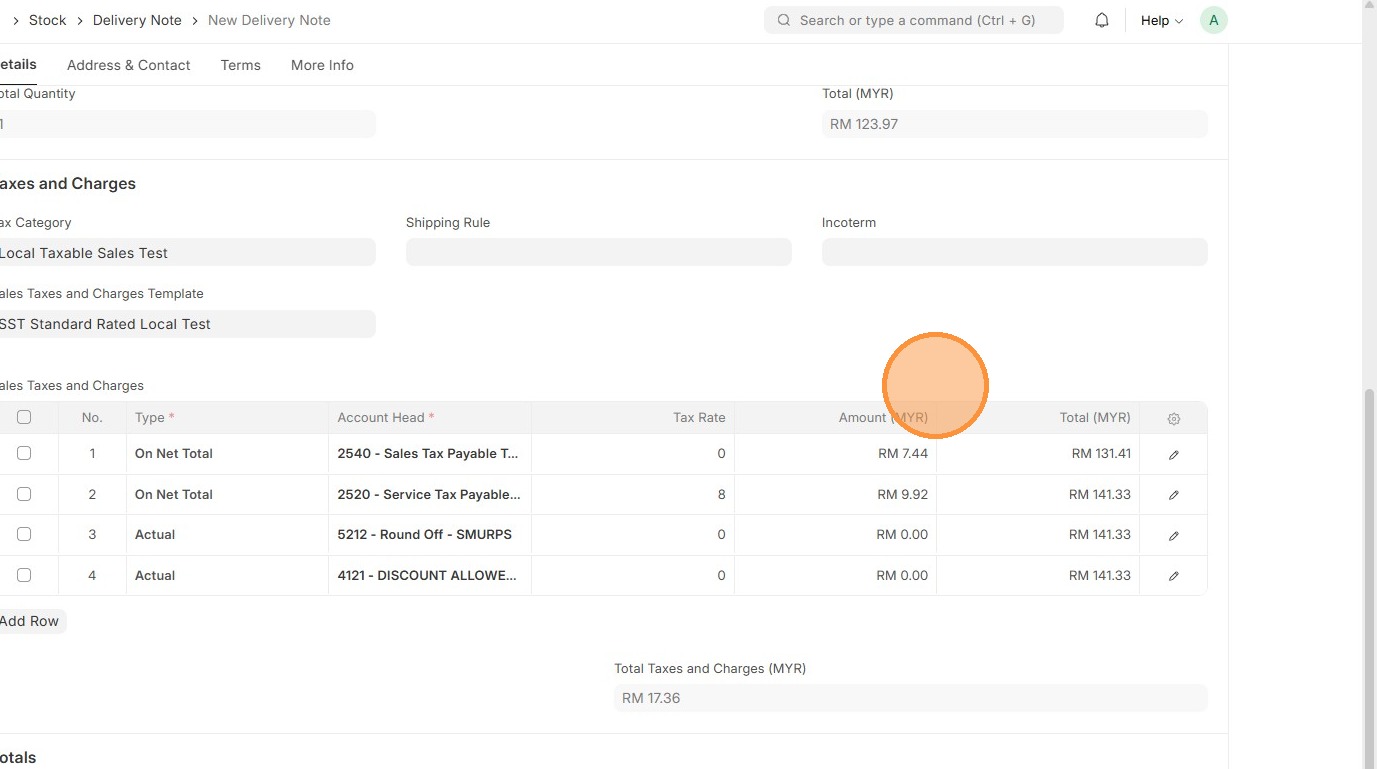
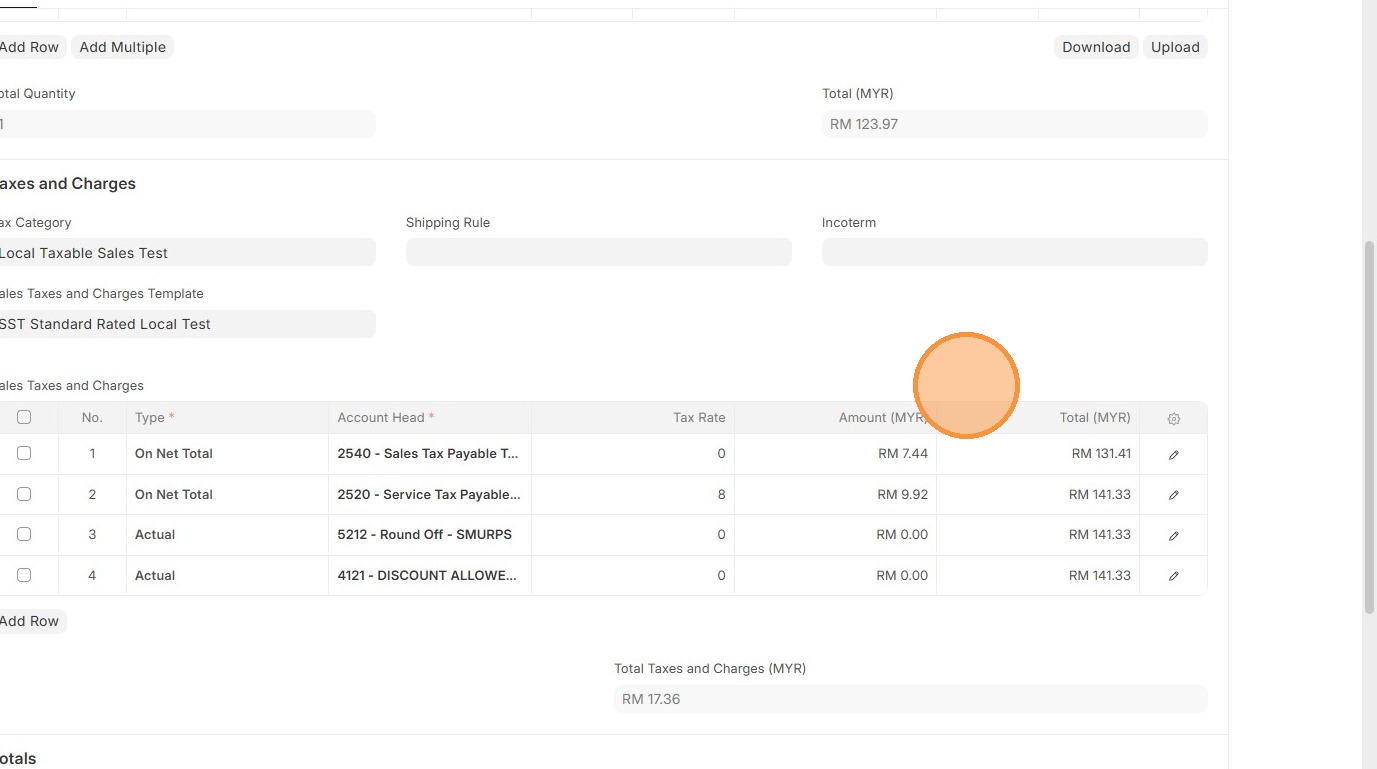
10. Verify Sales Taxes and Charges table matches the newly created/selected one.
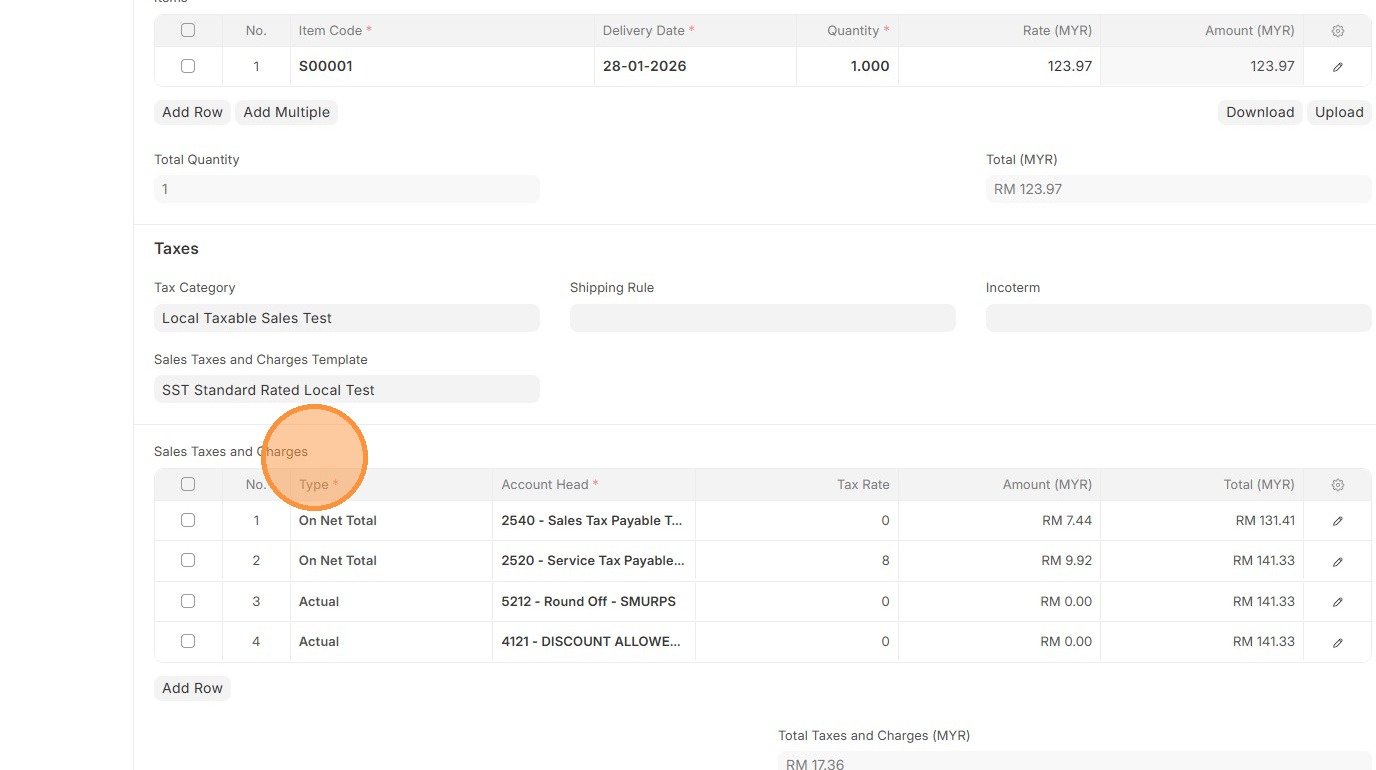
11. Verify the "Amount (MYR)" calculation.
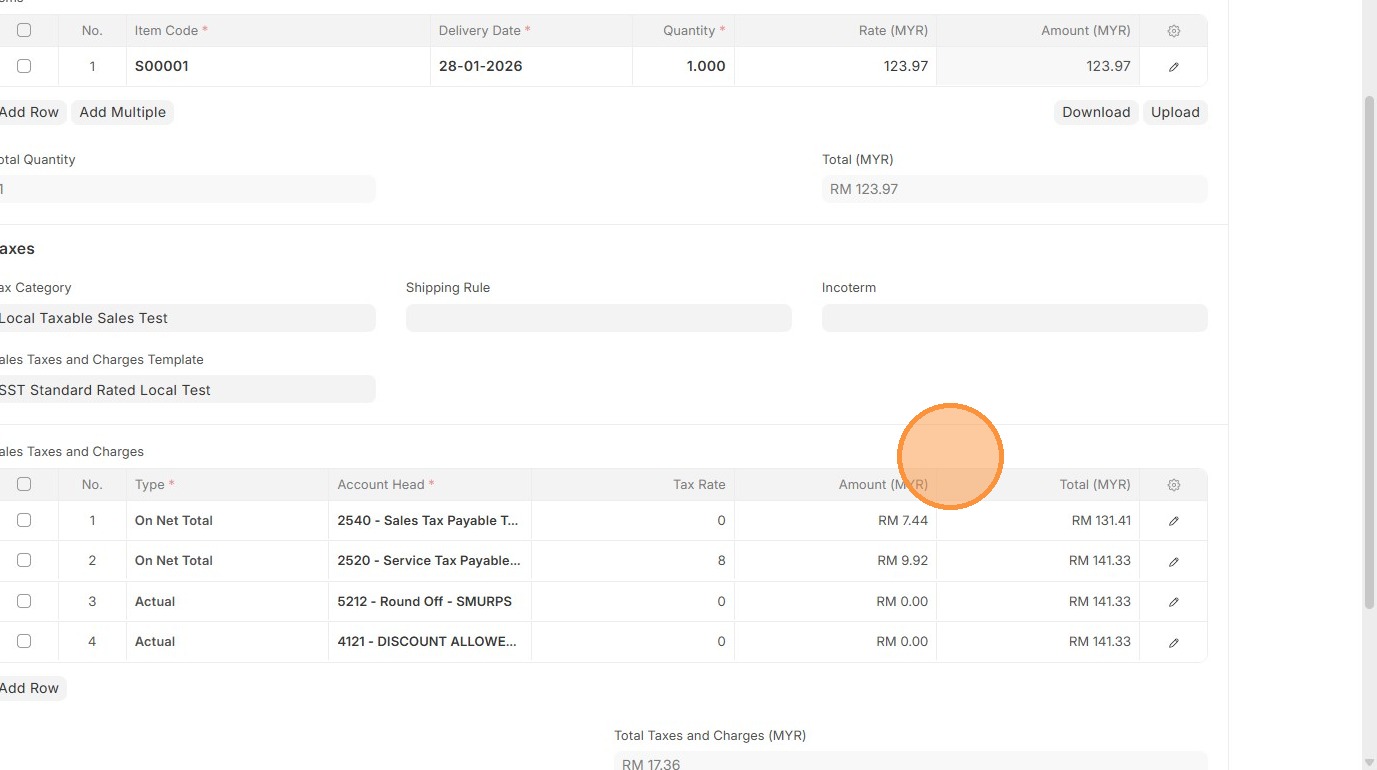
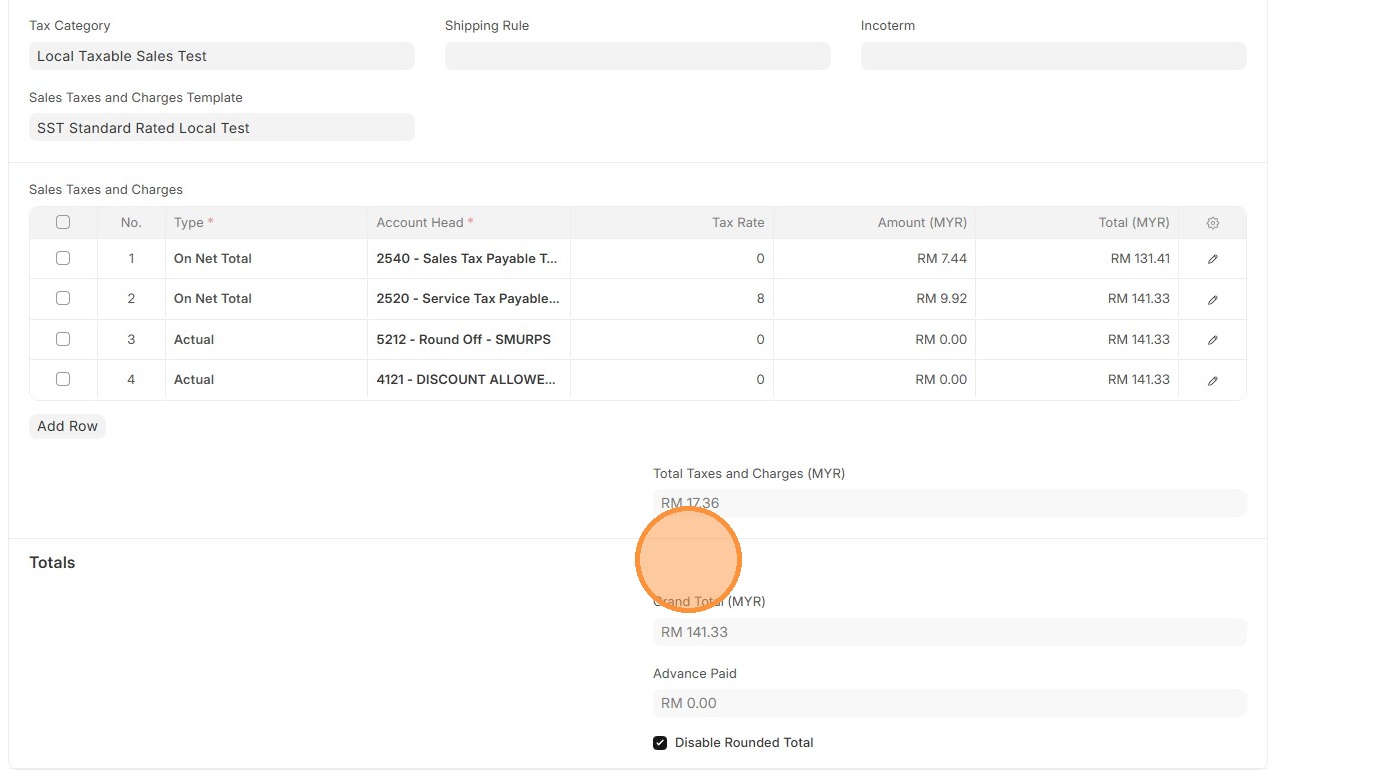
12. Verify "Totals Taxes and Charges (MYR)" and "Grand Total"
13. Click "Save"
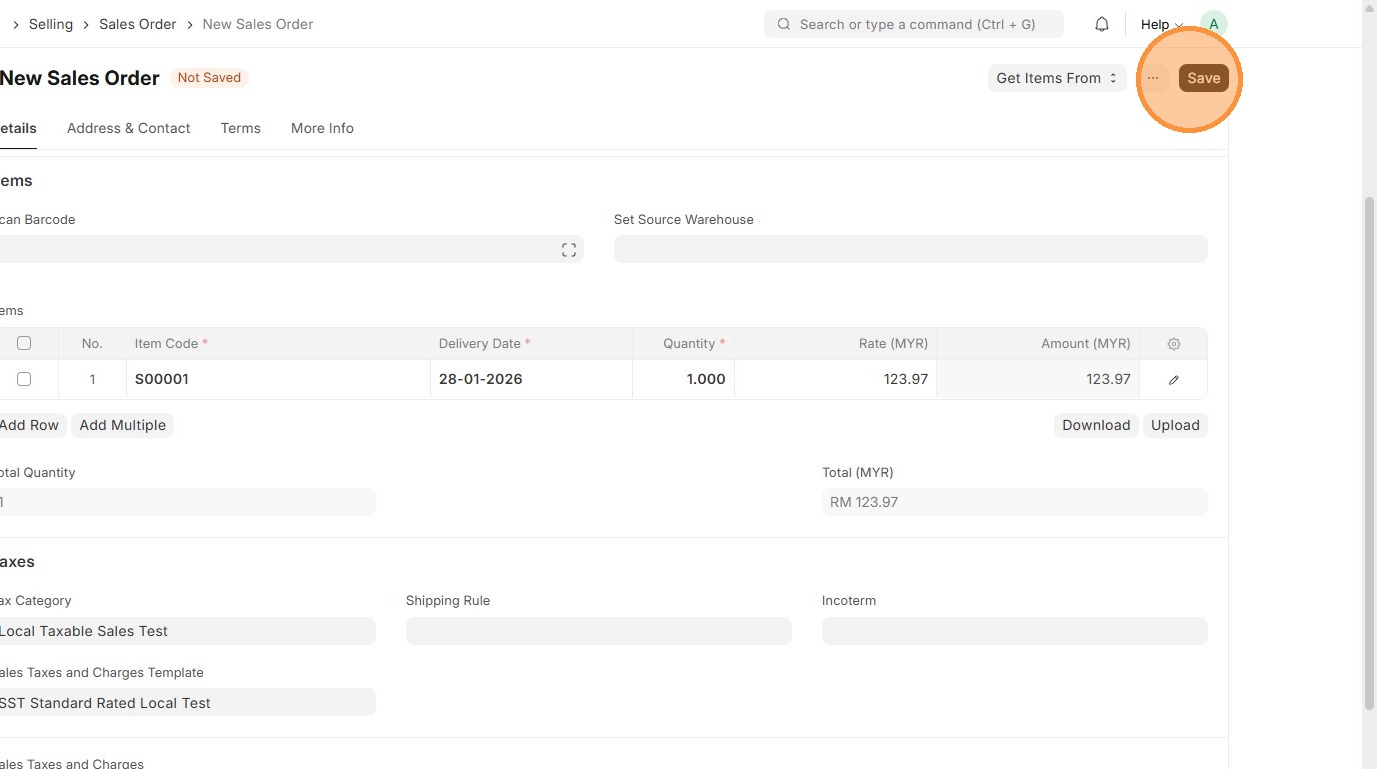
14. Verify that Sales Order ID is created.
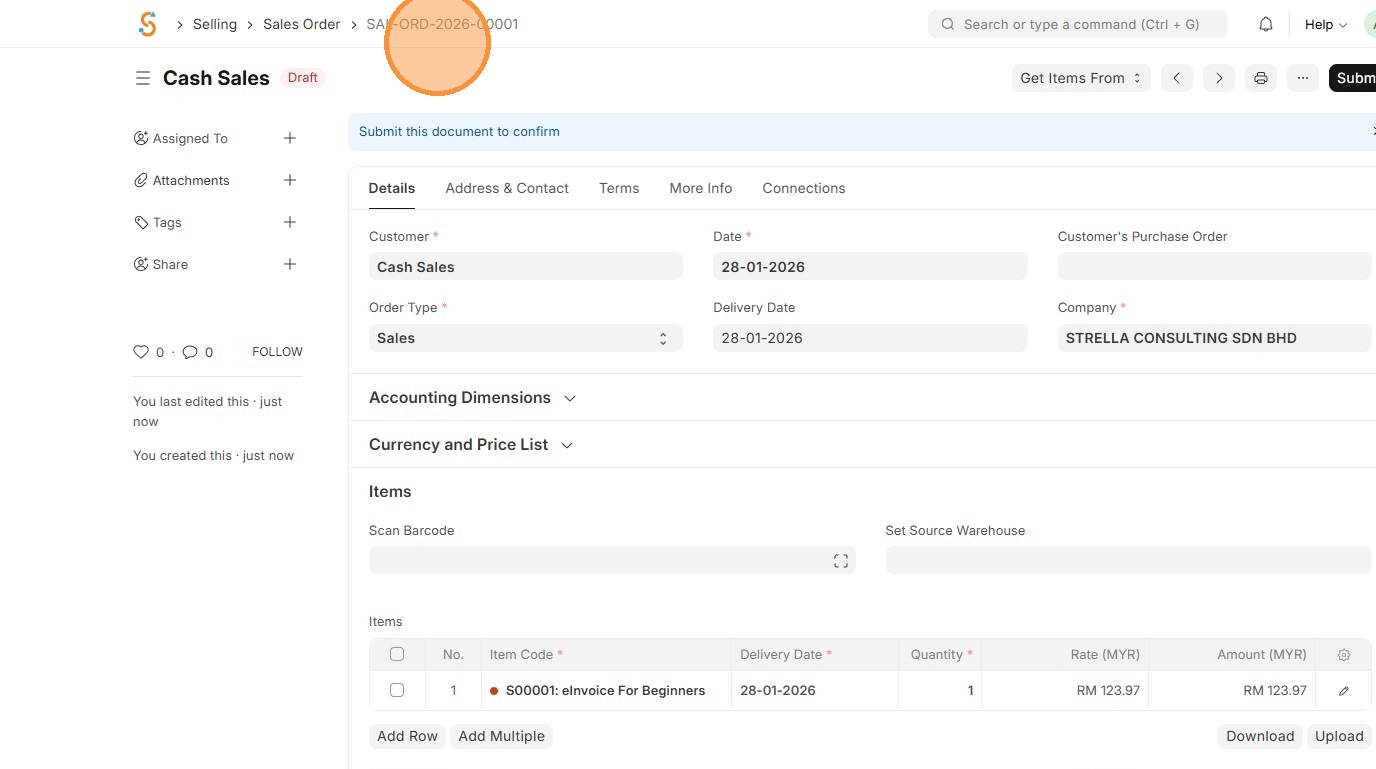
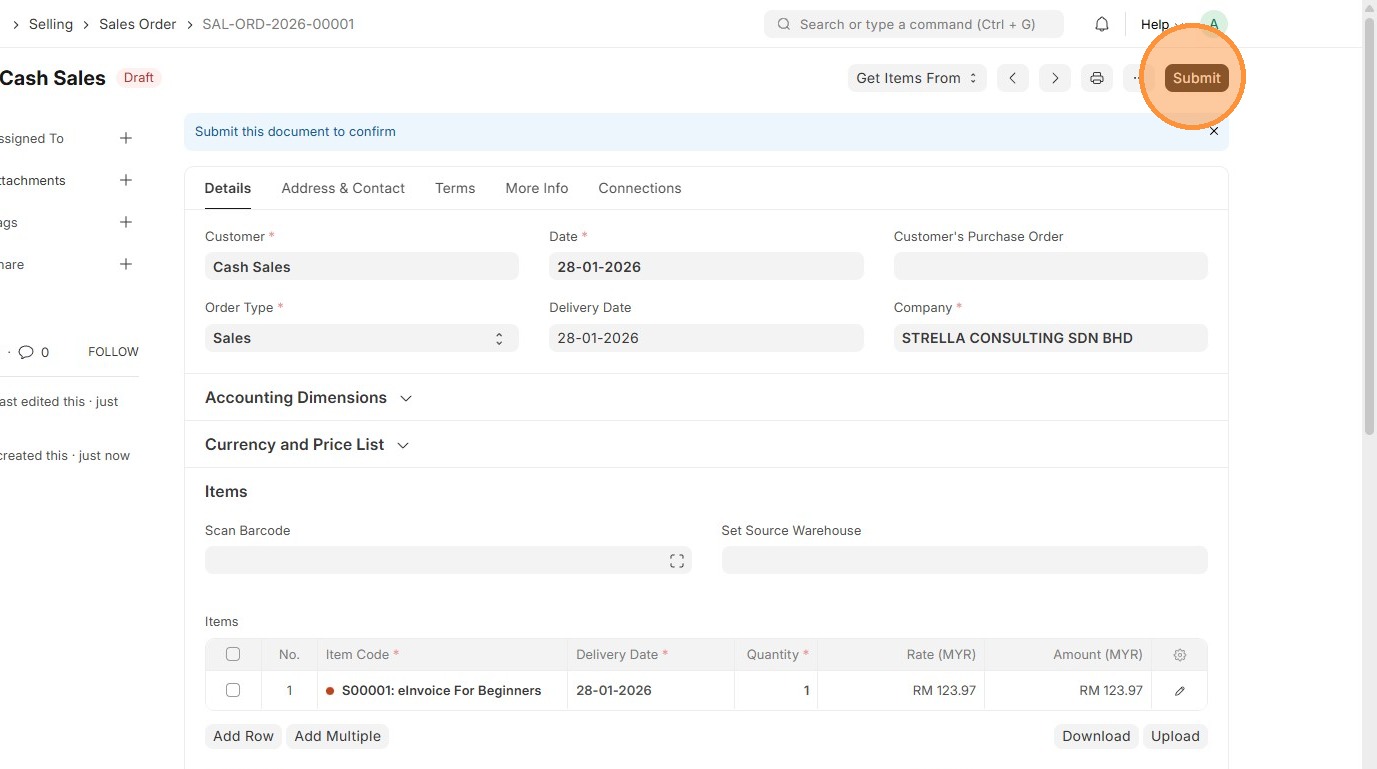
15. Click "Submit"
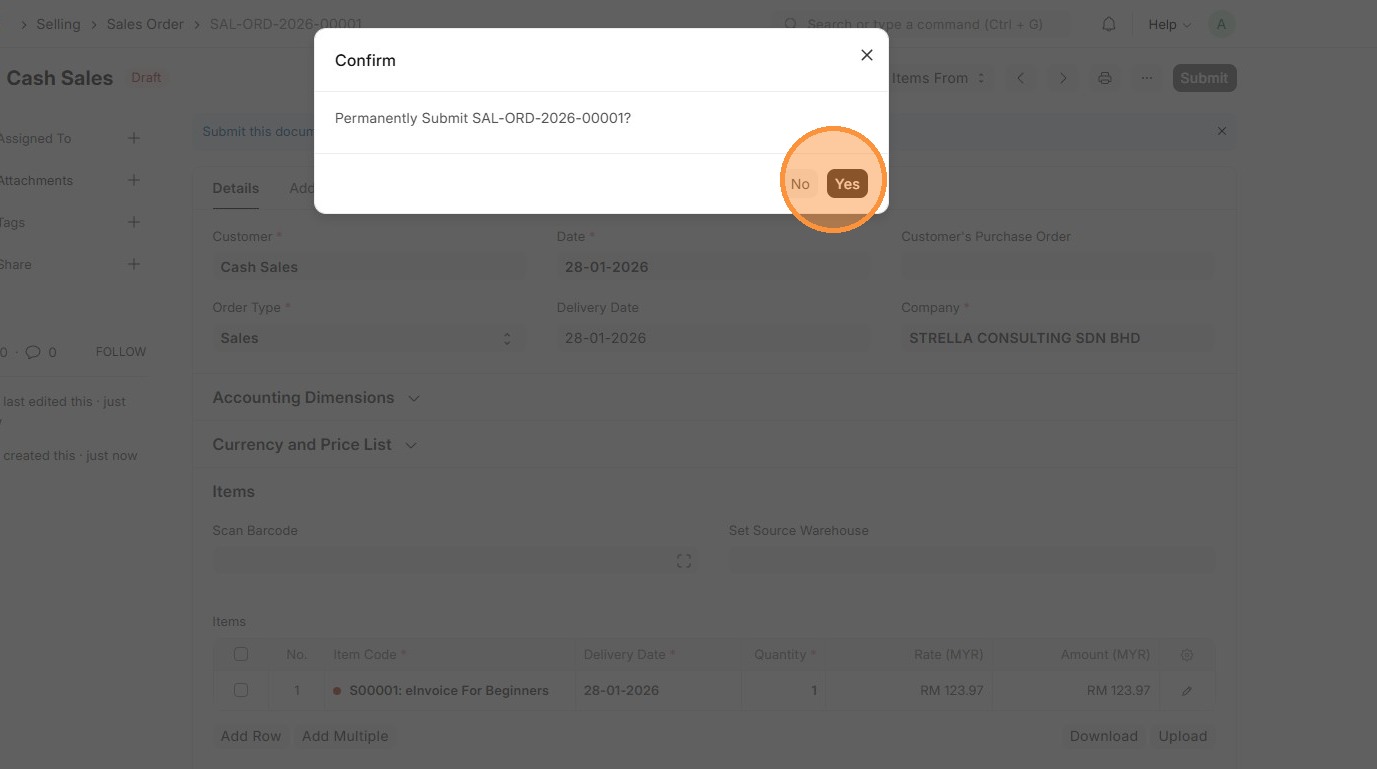
16. Click "Yes"
17. Click "Create"
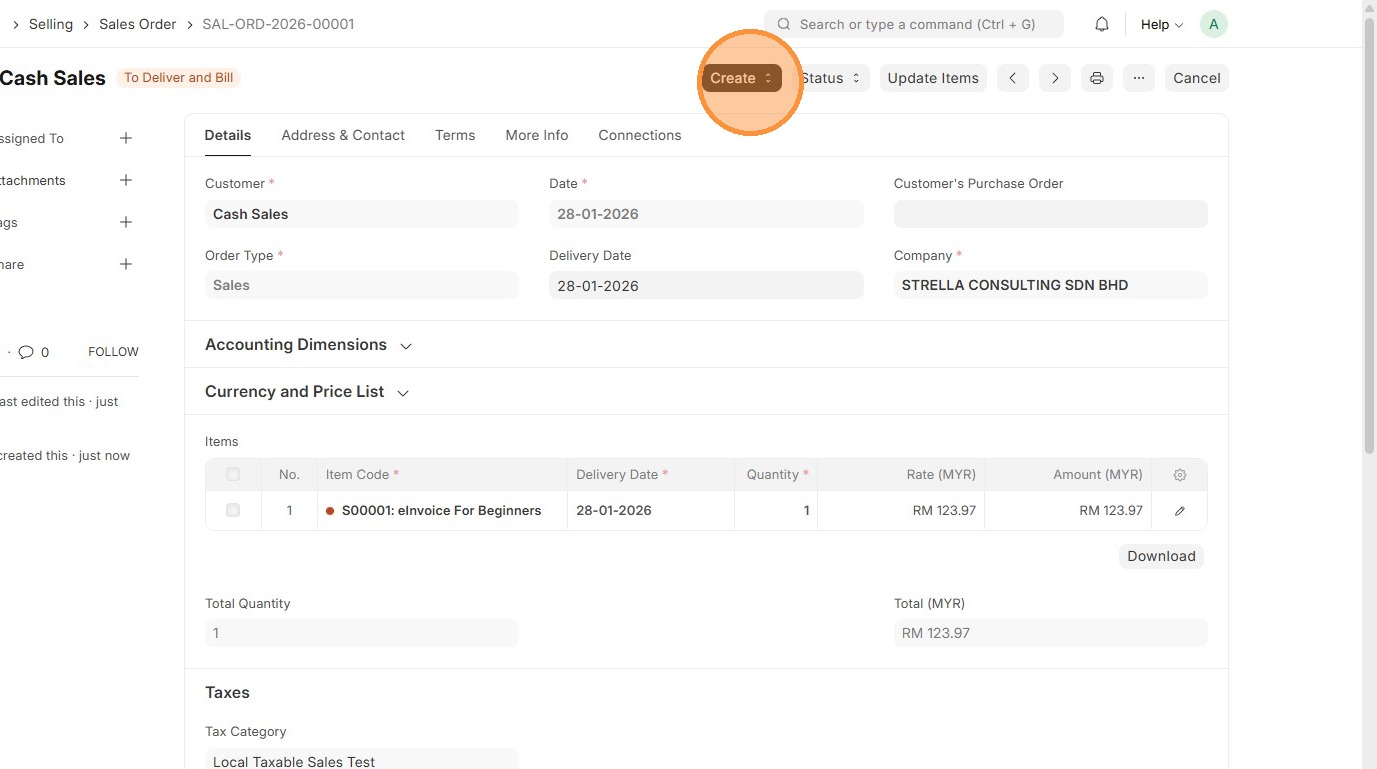
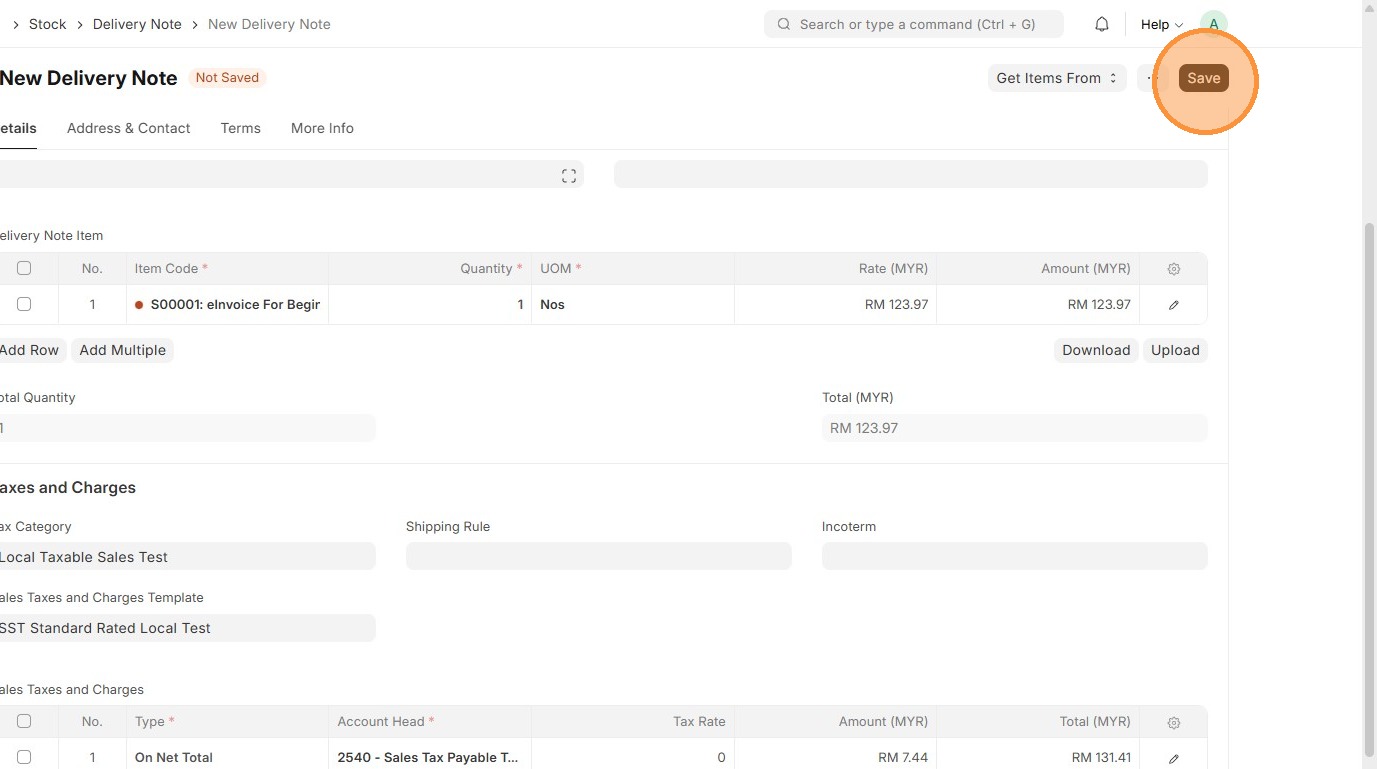
18. Click "Delivery Note"
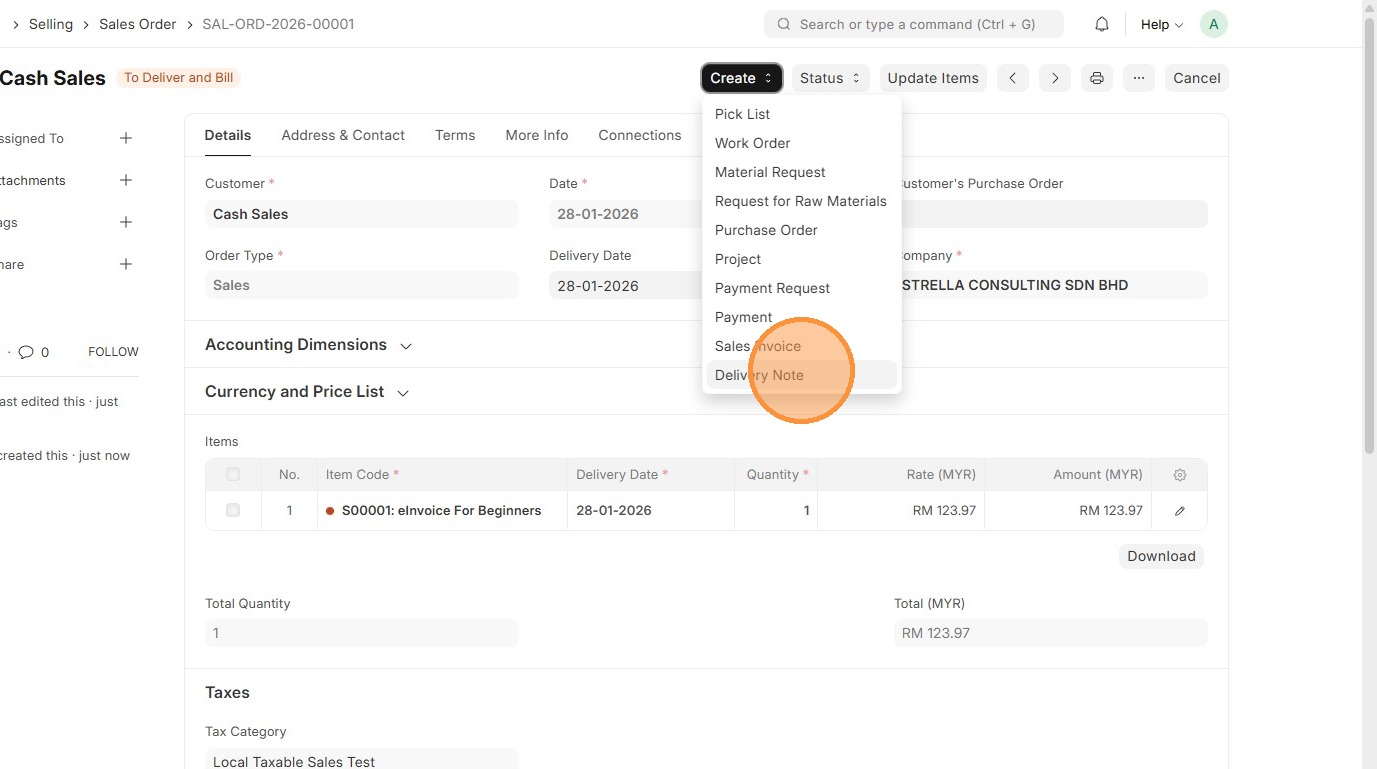
19. Verify that "Customer" and "Sales Taxes and Charges Template" matches the Sales Order.
20. Click "Edit".
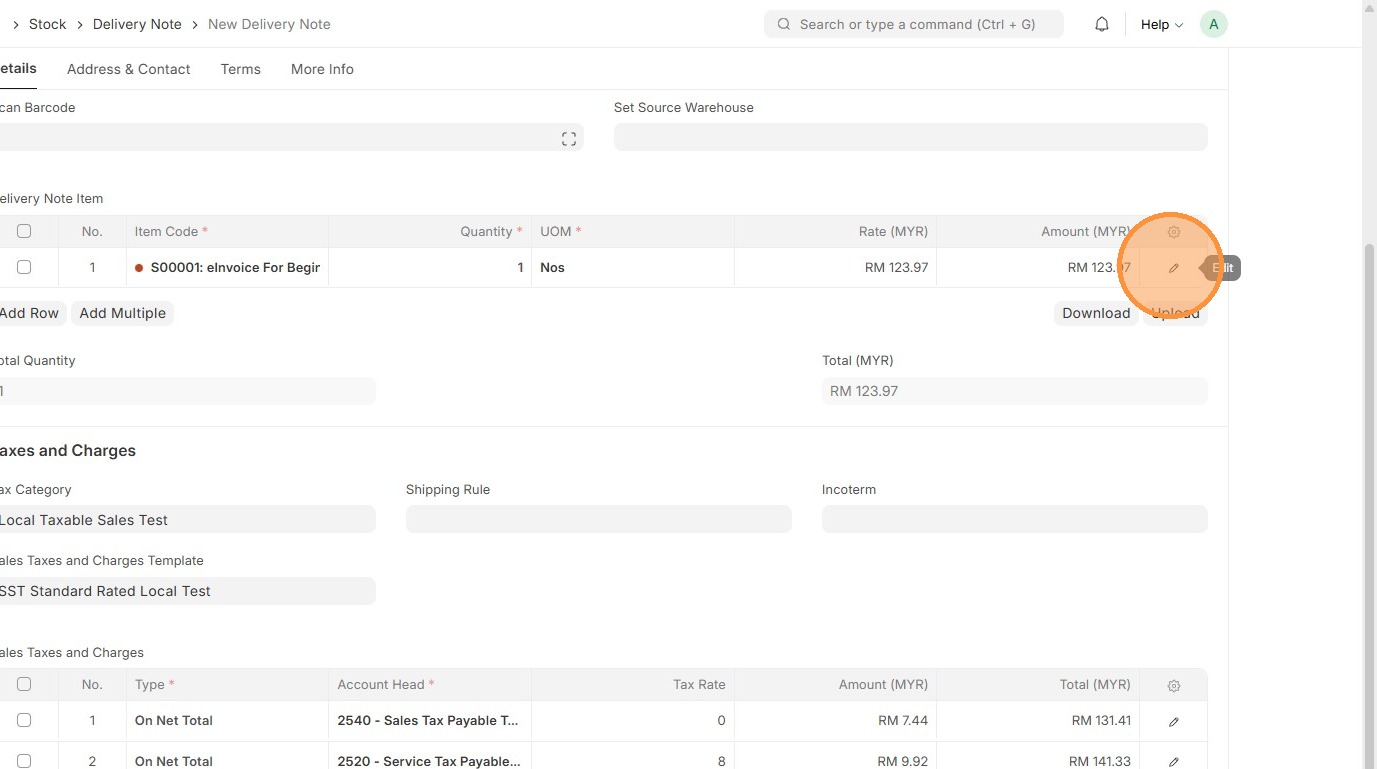
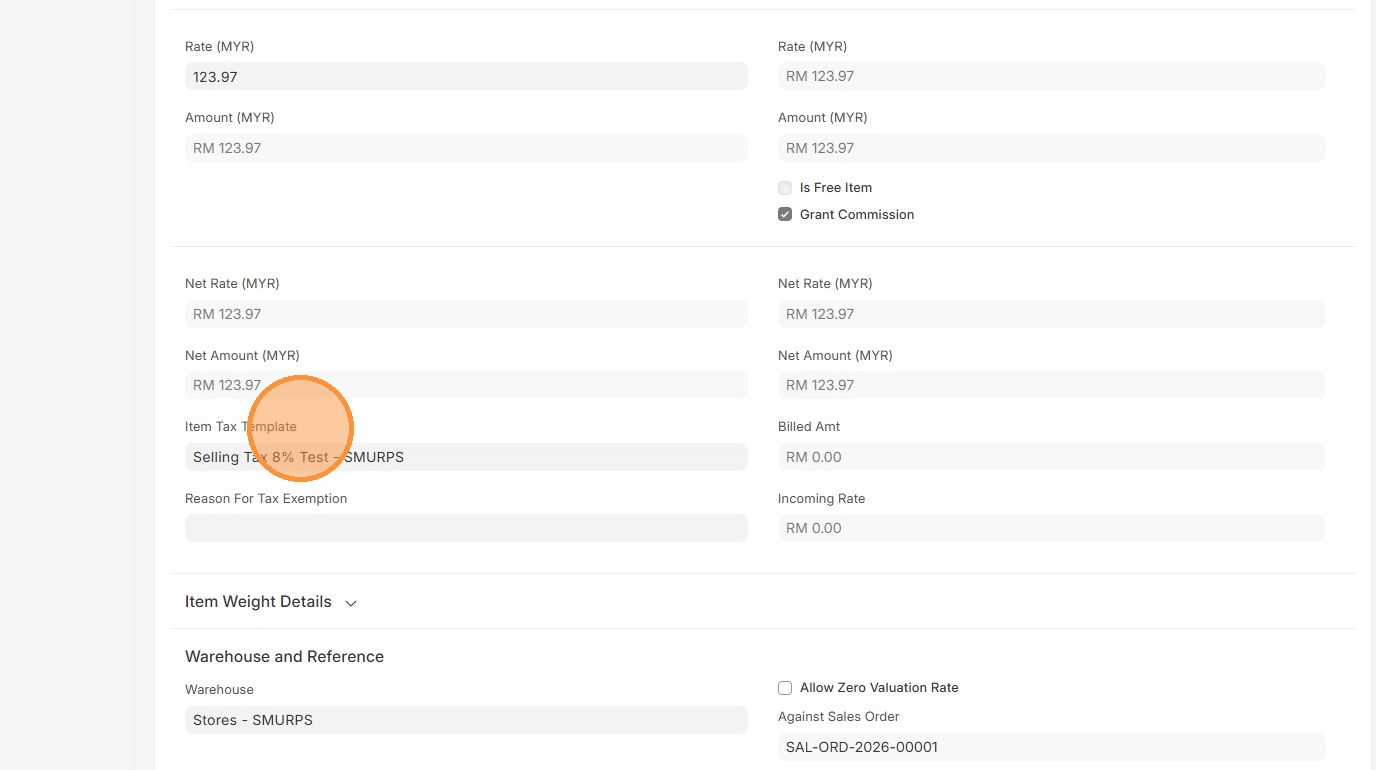
21. Verify Item Tax Template matches the one in Sales Order.
22. Click here to close pop up.
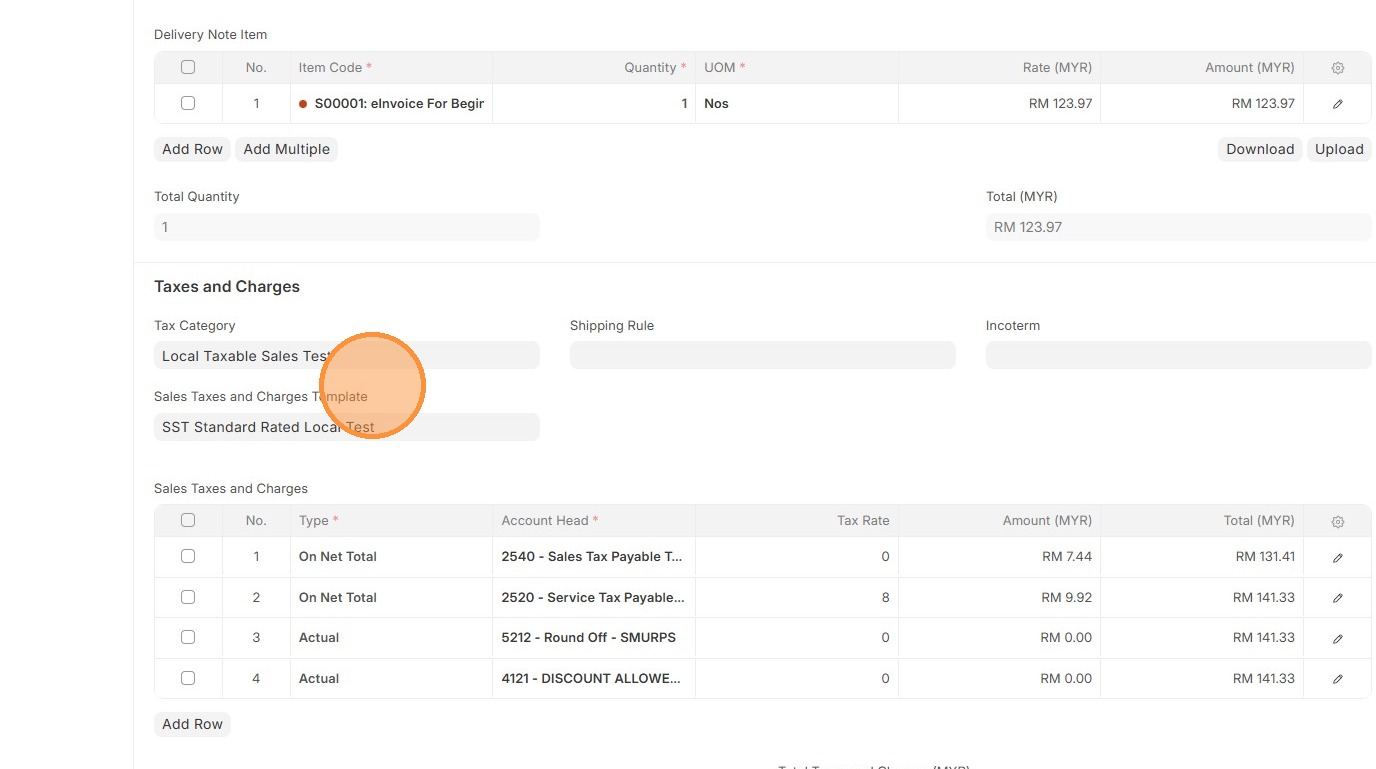
23. Verify Sales Taxes and Charges table matches the Sales Order.
24. Verify "Amount (MYR)" table matches the Sales Order.
25. Verify that "Total Taxes and Charges (MYR)" and "Grand Total" in Delivery Order matches the Sales Order.
26. Click "Save" and "Submit"
27. Go to "Sales Invoice" alternatively, you may generate the Sales Invoice using Create → Sales Invoice from the reference document.
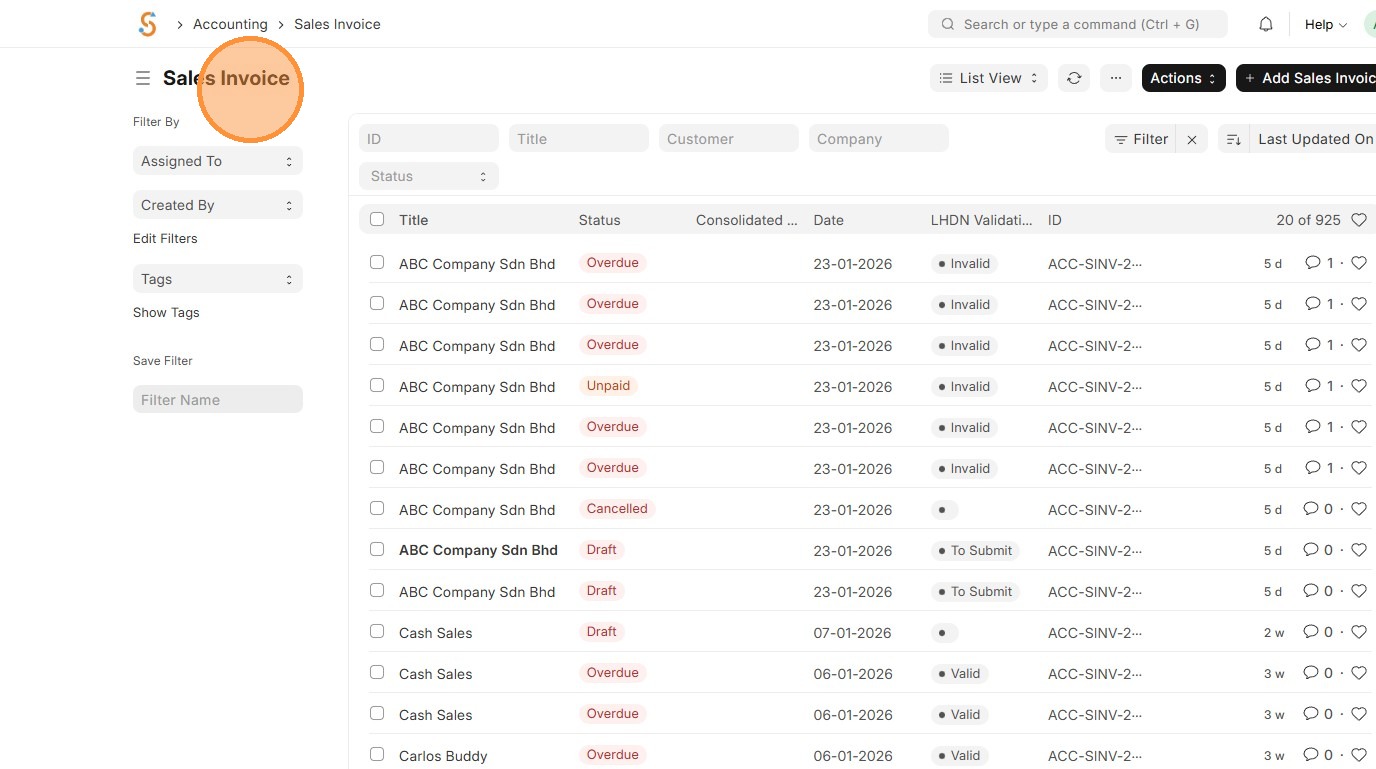
28. Click "Add Sales Invoice"
29. Select "Customer".
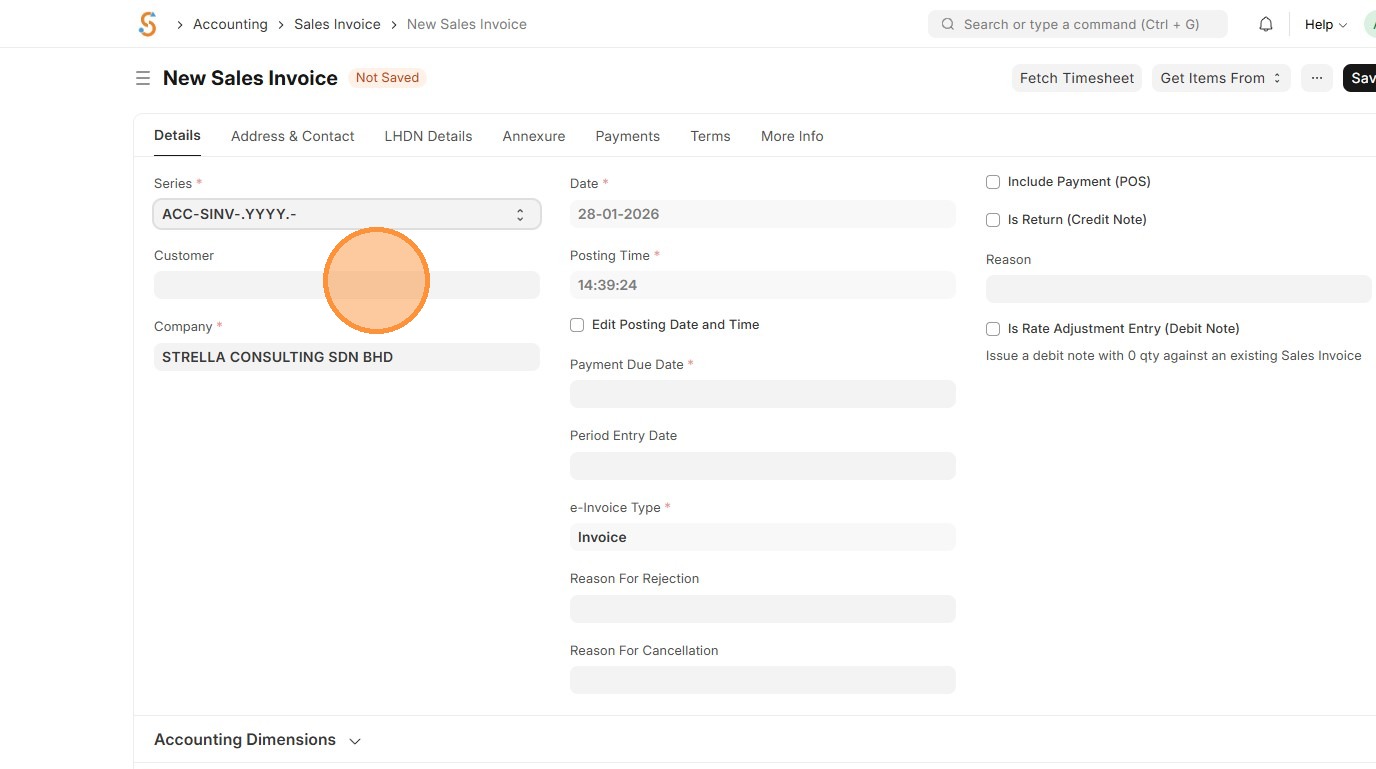
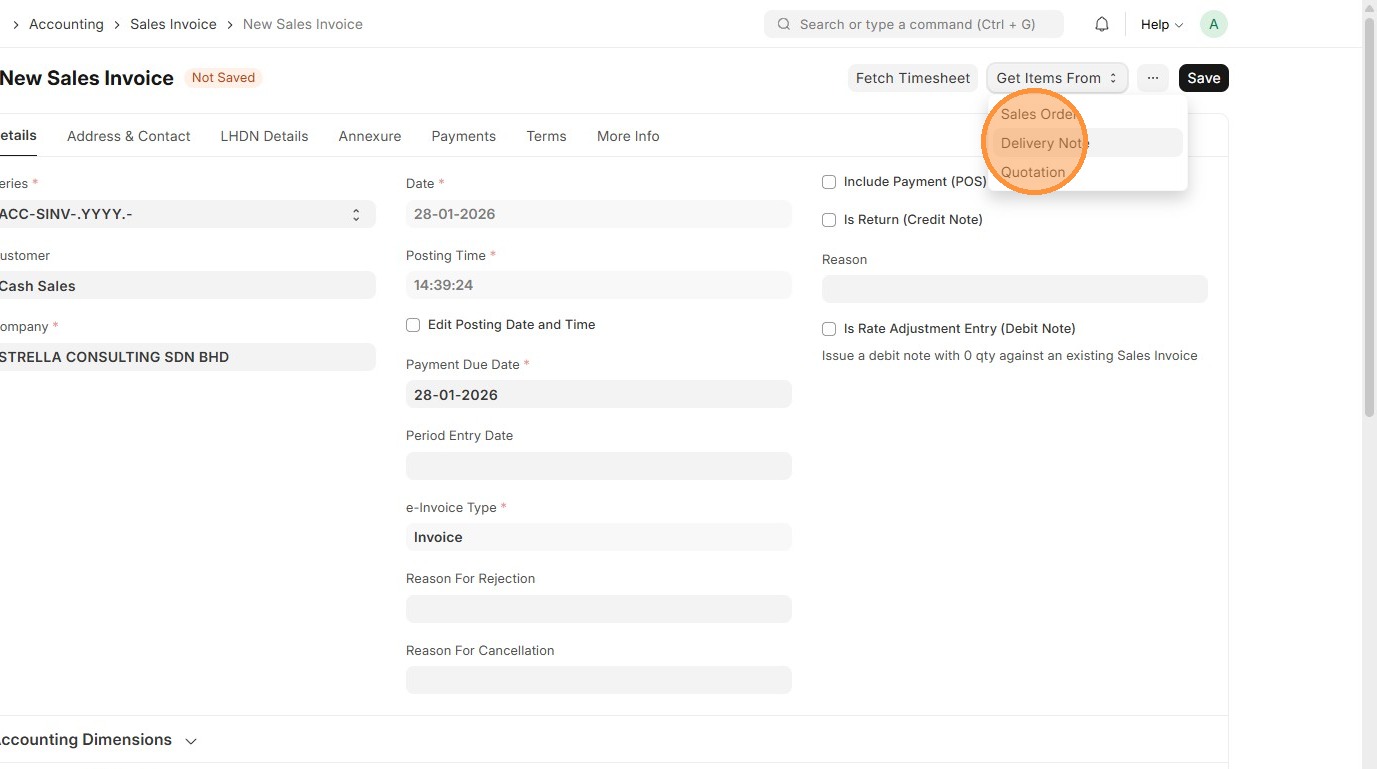
30. Click "Get Items From"
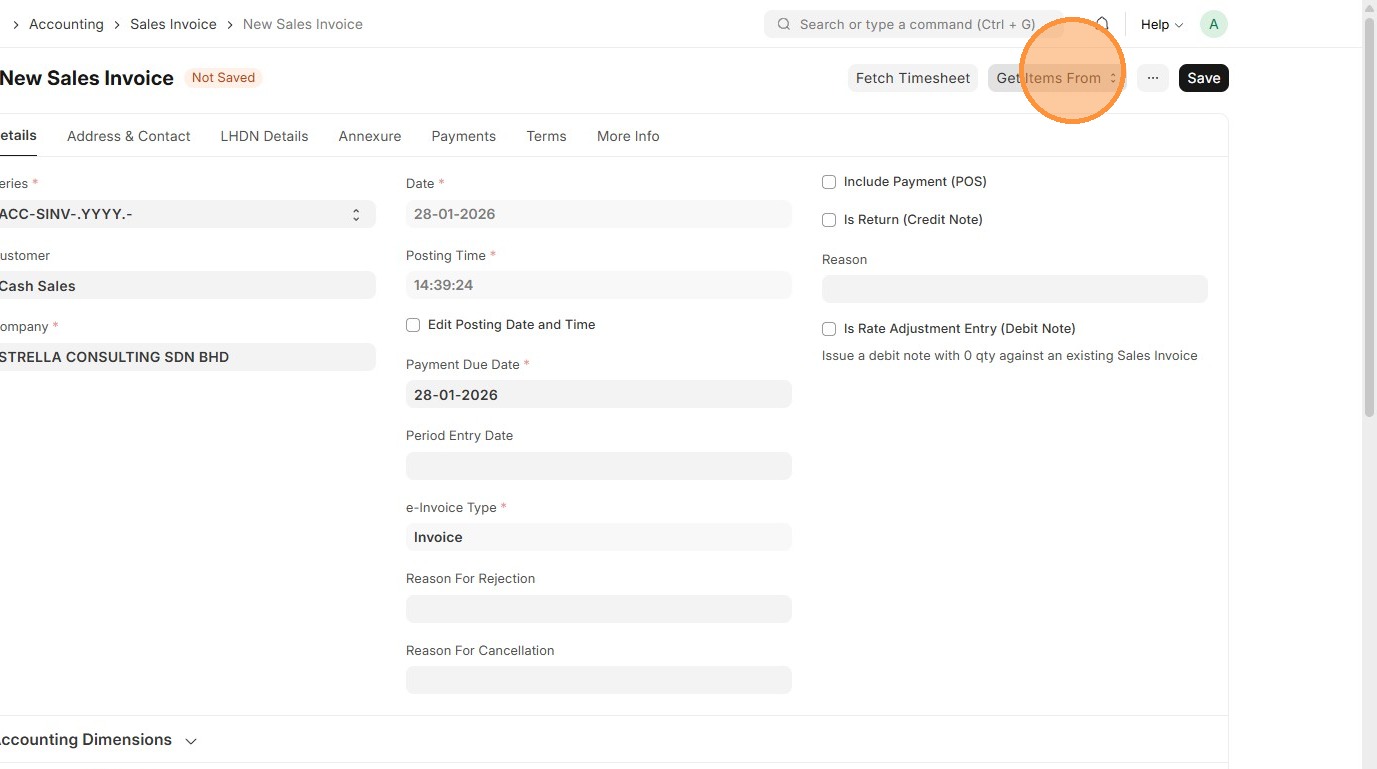
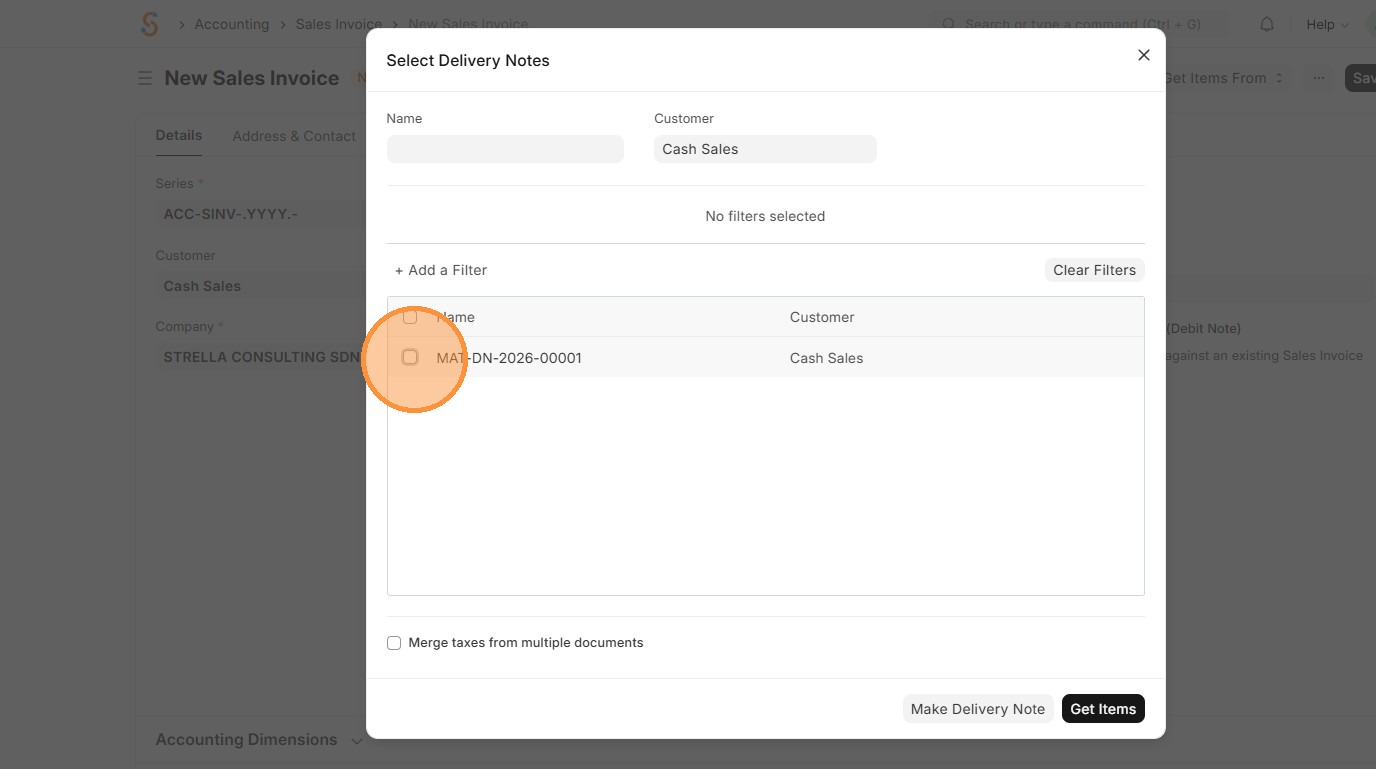
31. Click "Delivery Note"
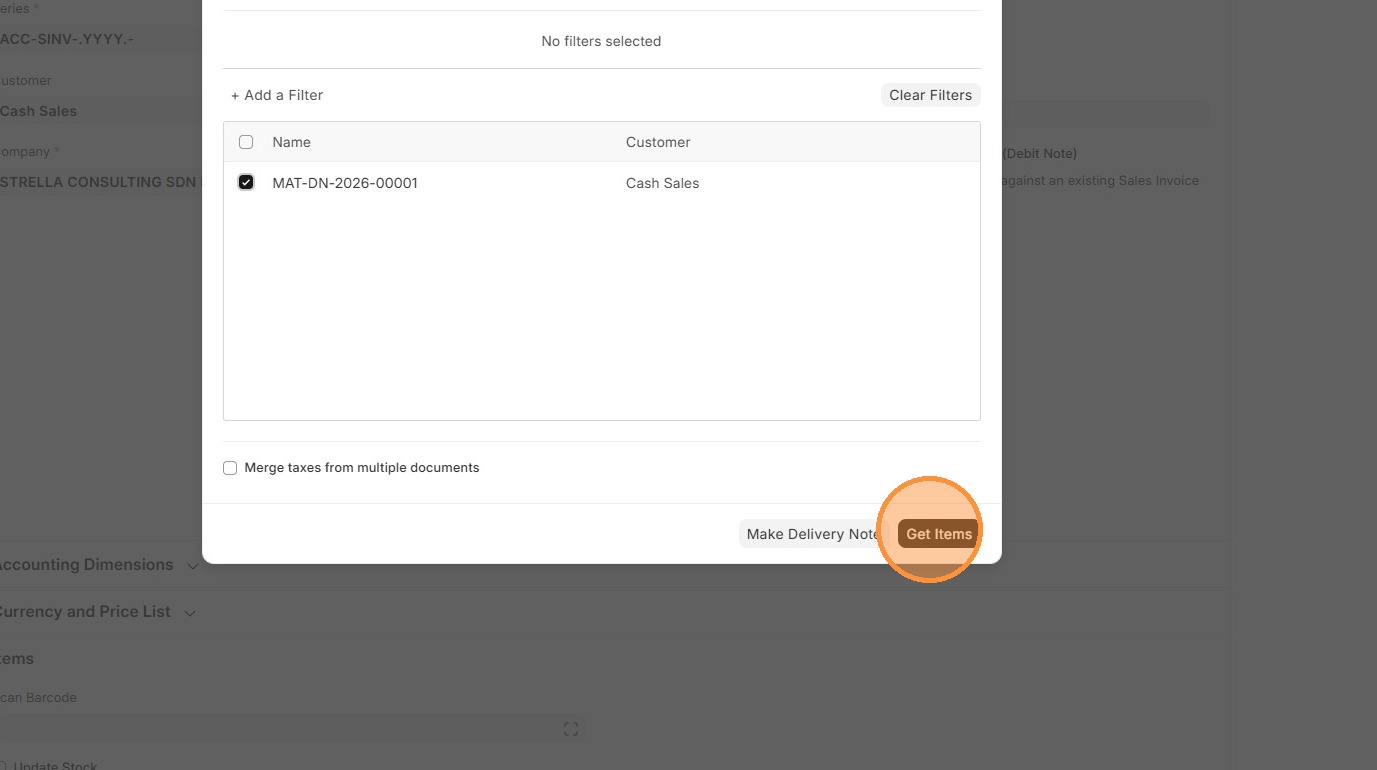
32. Click on checkbox.
33. Click "Get Items"
34. Verify that "Tax Category" and "Sales Taxes and Charges" matches Delivery Order.
35. Click "Edit".

36. Verify Item Tax Template. Users have the option to select a different Item Tax Template based on what is maintained in the Item Master Data
37. Click here to close pop up.
38. Verify that Sales Taxes and Charges table matches the one in Delivery Order.

39. Verify the "Amount (MYR)" calculation.
40. Verify that the "Total Taxes and Charges" and "Grand Total" matches the Delivery Order.
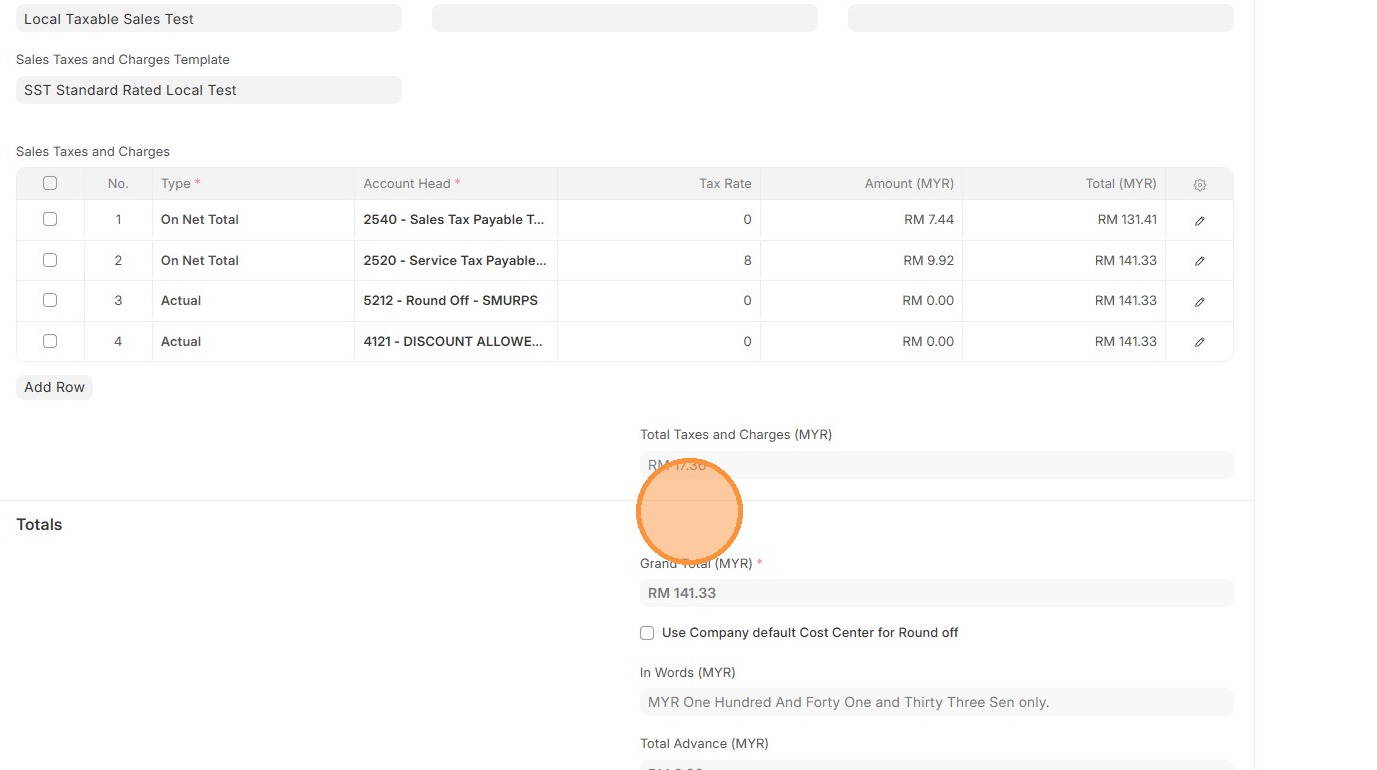
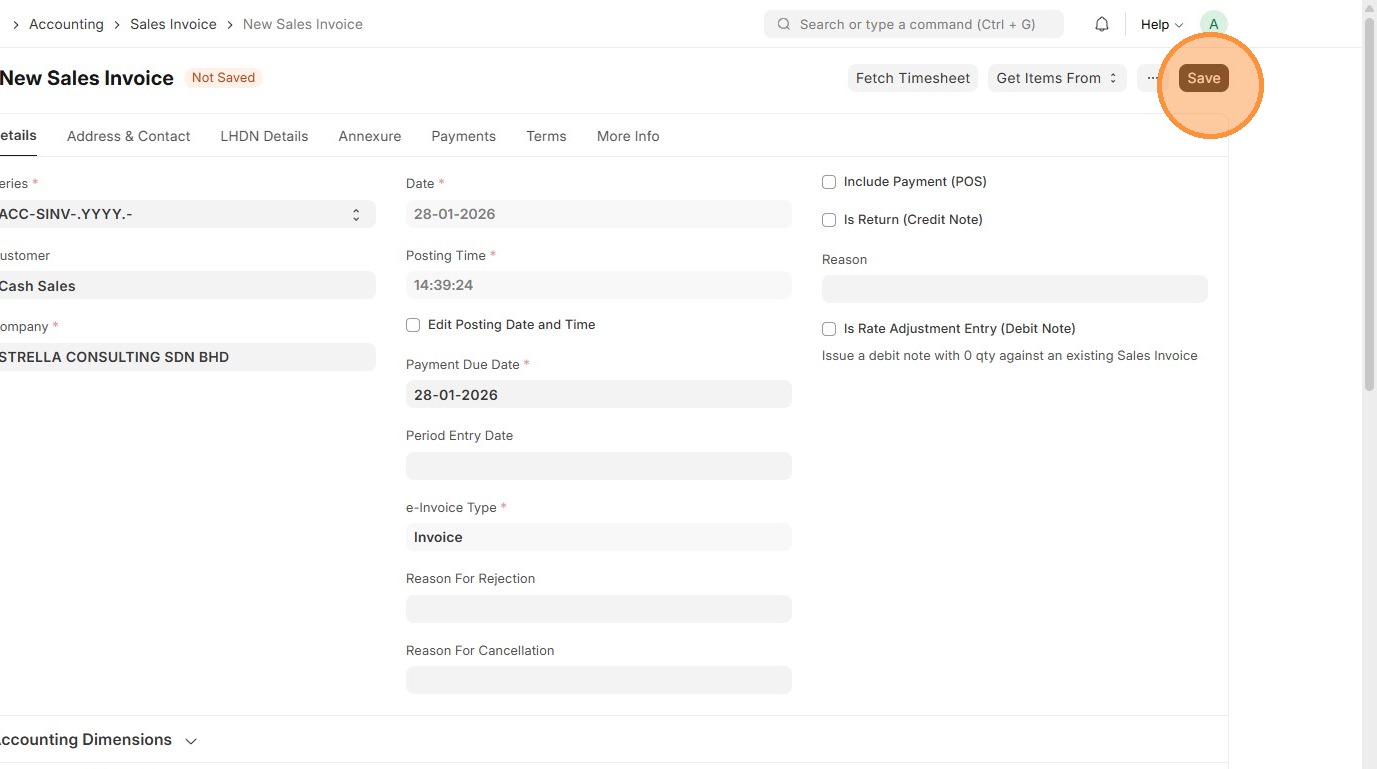
41. Click "Save"
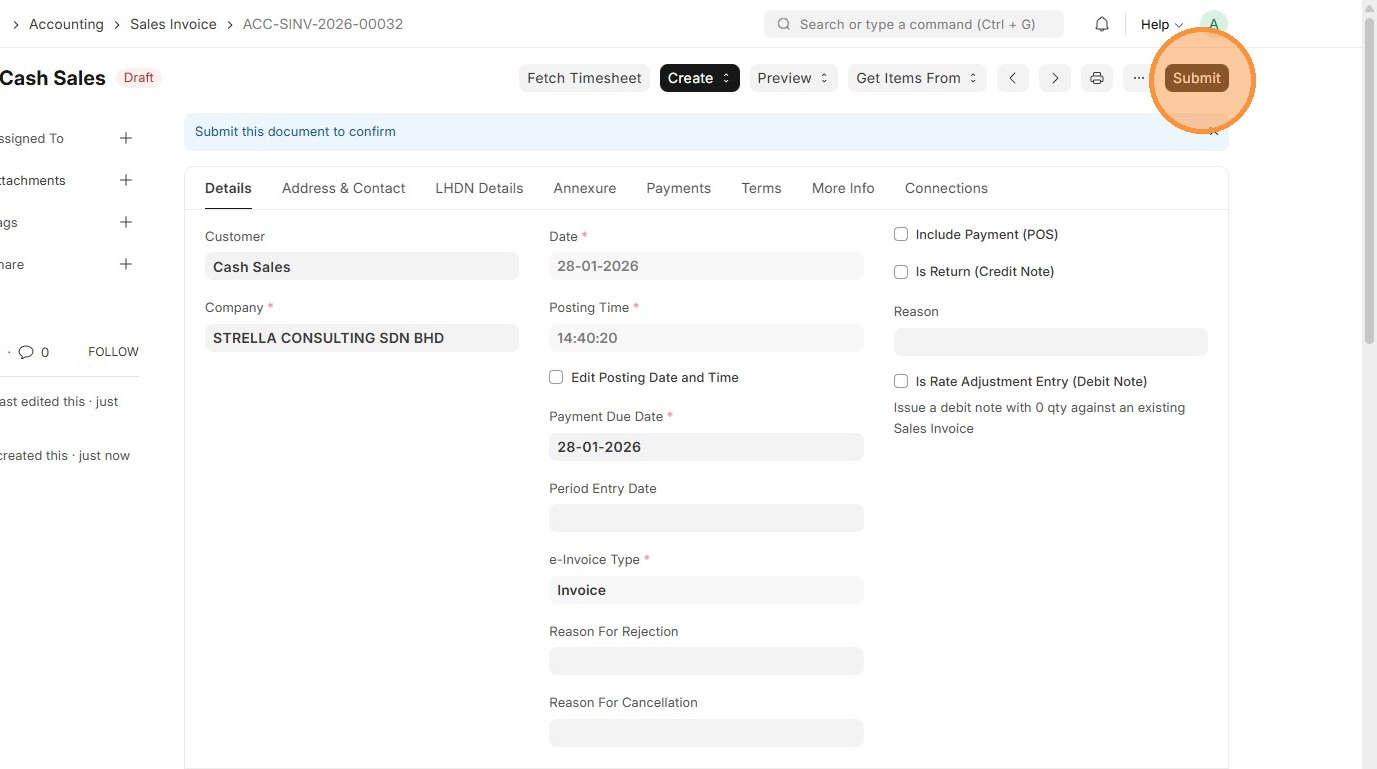
42. Click "Submit"
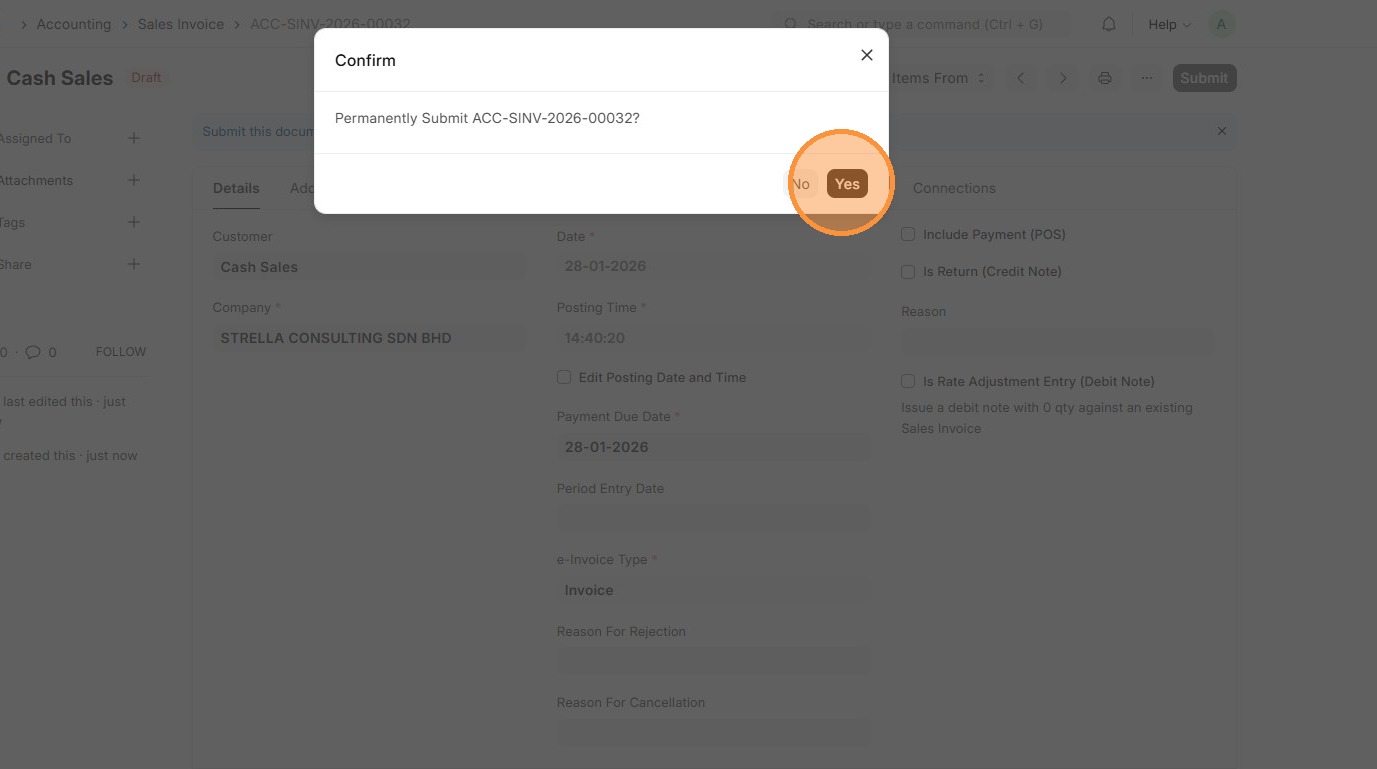
43. Click "Yes"
44. Verify the Sales Invoice ID is created.
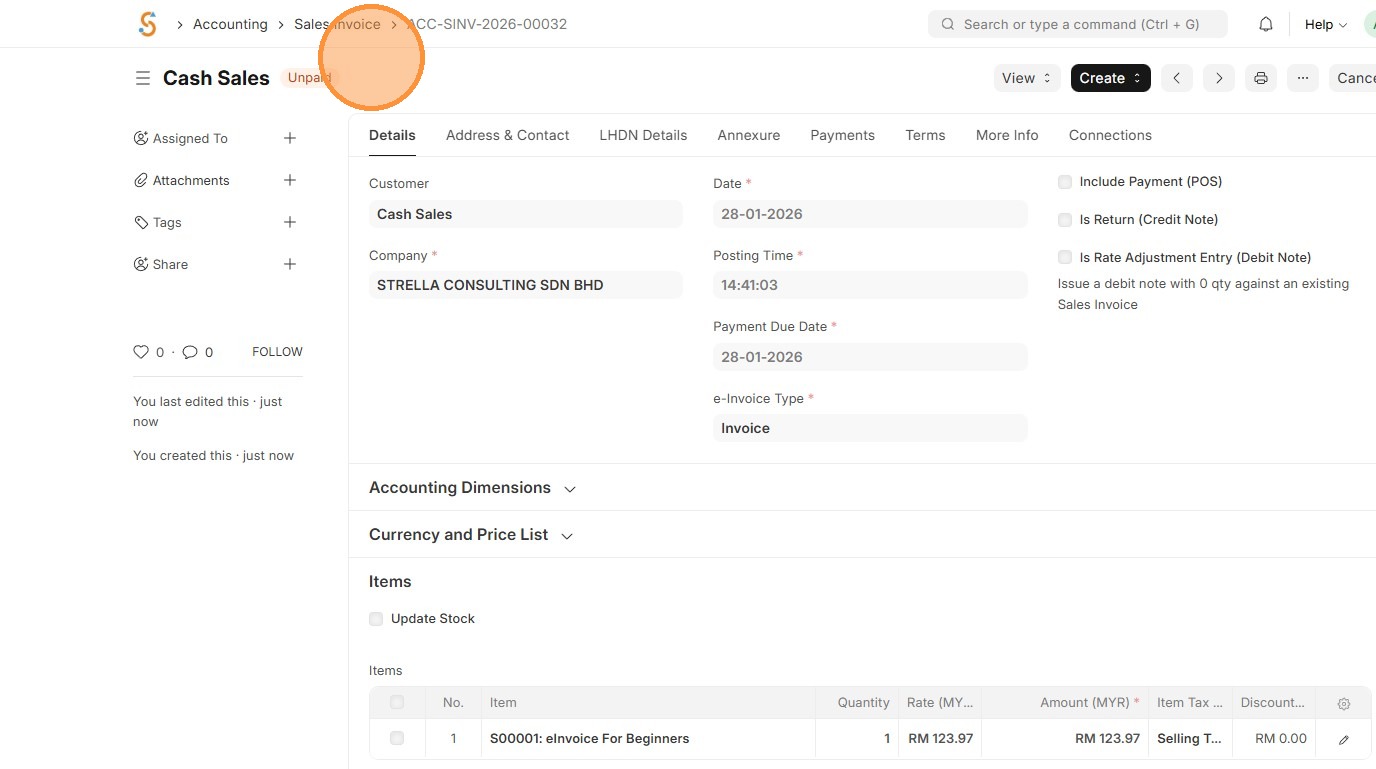
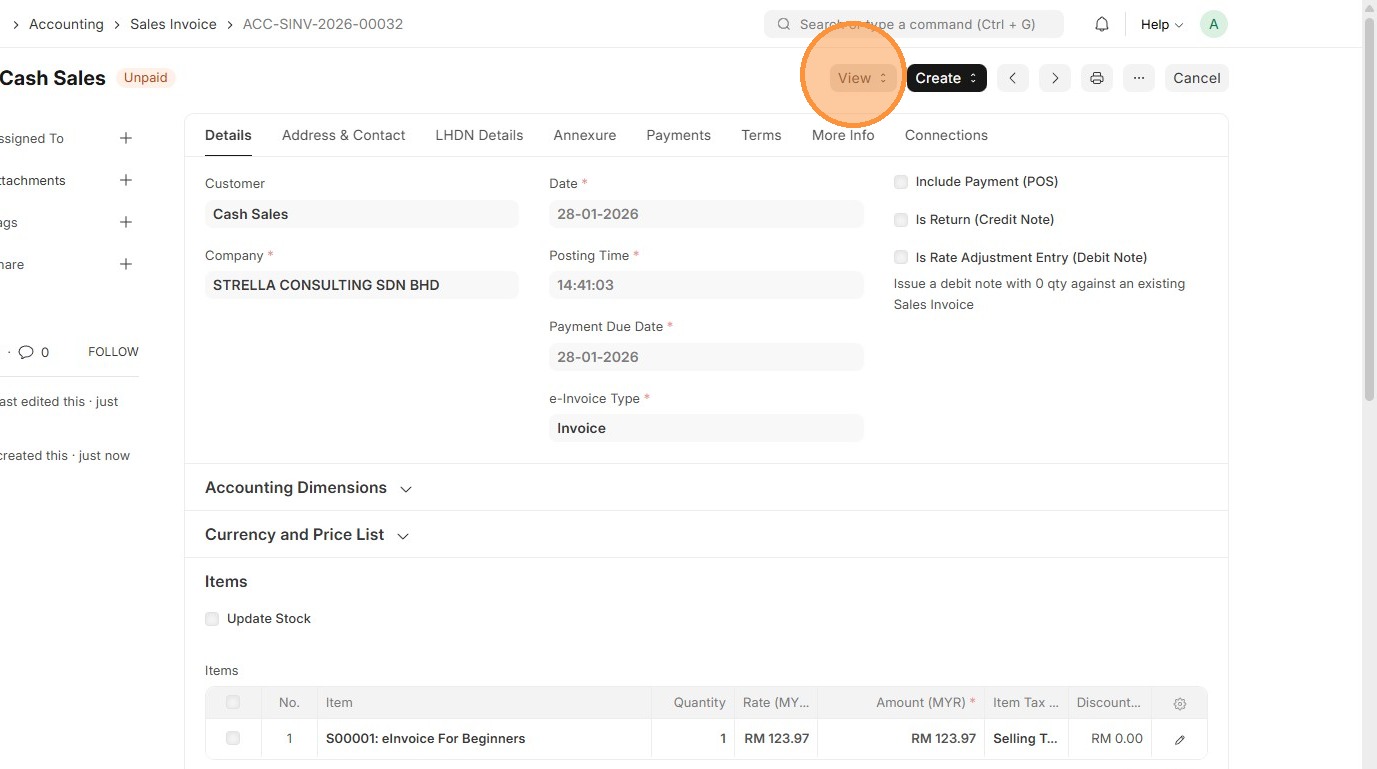
45. Click "View"
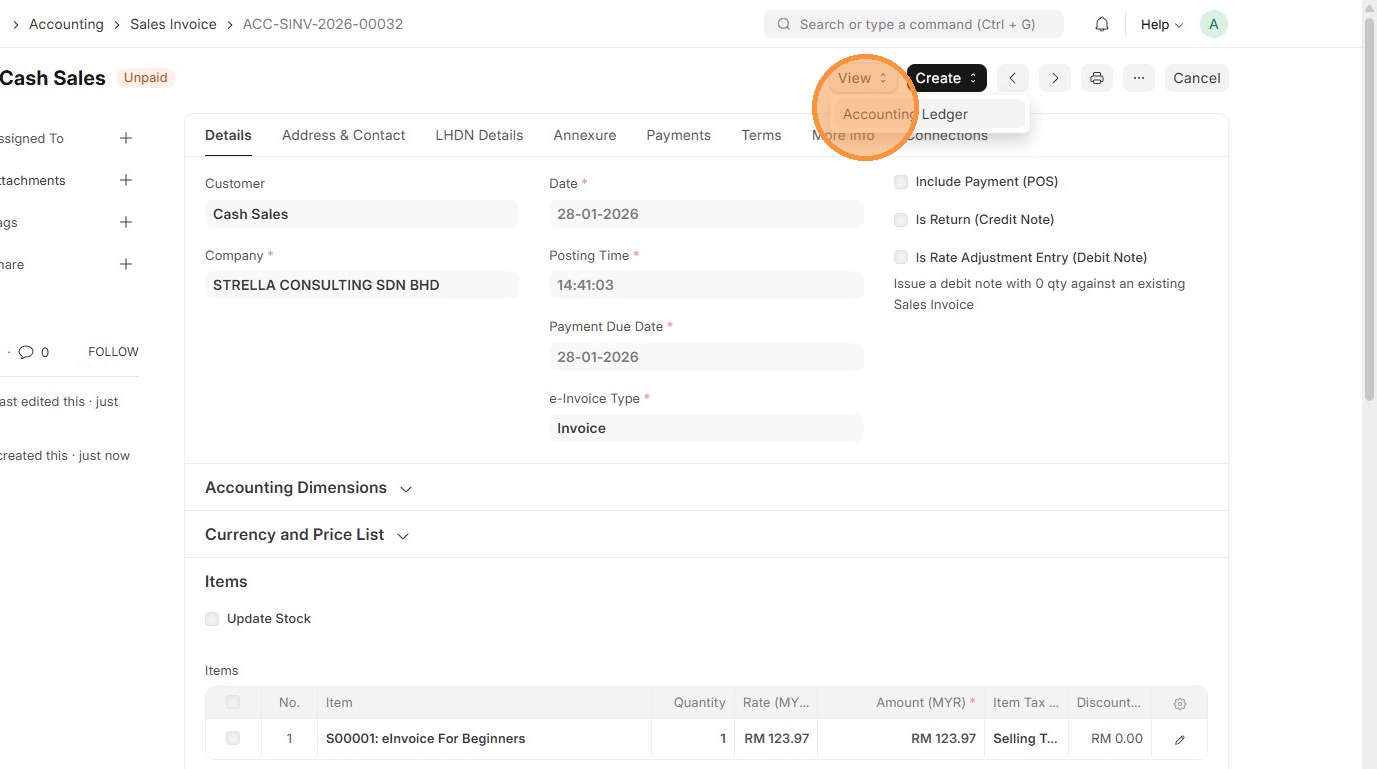
46. Click "Accounting Ledger"
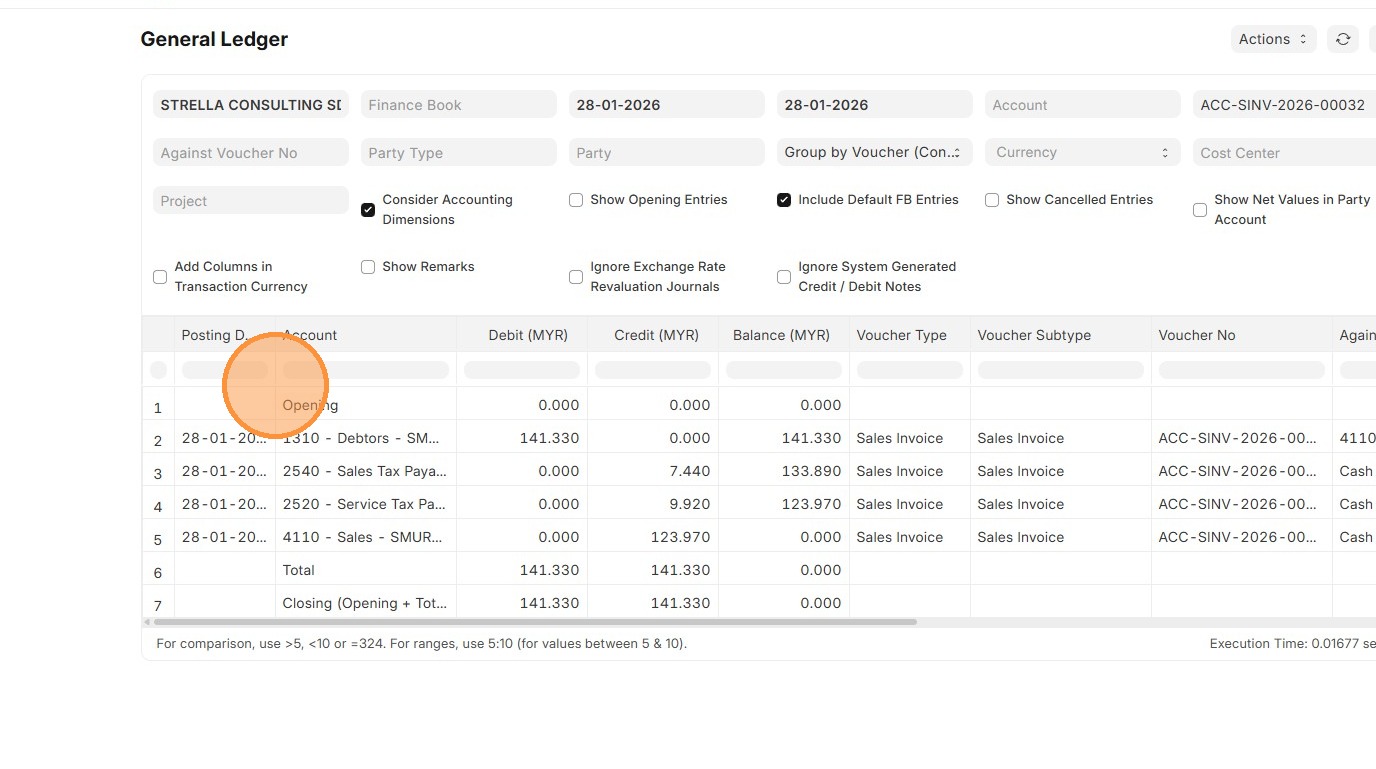
47. Verify the Account Ledger Posting for the Sales Invoice.
  DR: Debtors Account RM141.330
  TOTAL DEBIT: RM141.330

  CREDIT: Sales Tax Payable Account RM7.440
  CREDIT: Service Tax Payable Account RM9.920
  CREDIT: Sales Account RM123.970
  TOTAL CREDIT: RM141.330
Note: The following is an example of how the General Ledger would look when tax is applied. Refer to Procure to Pay step 43. to view Sample when no tax is applied.
Procure to Pay
Procure-to-Pay process flows from Purchase Order → Purchase Receipt → Purchase Invoice, with taxes automatically applied at the invoice stage using the Purchase Taxes and Charges master data. This ensures correct tax calculation, accurate posting to accounts throughout the purchasing process.
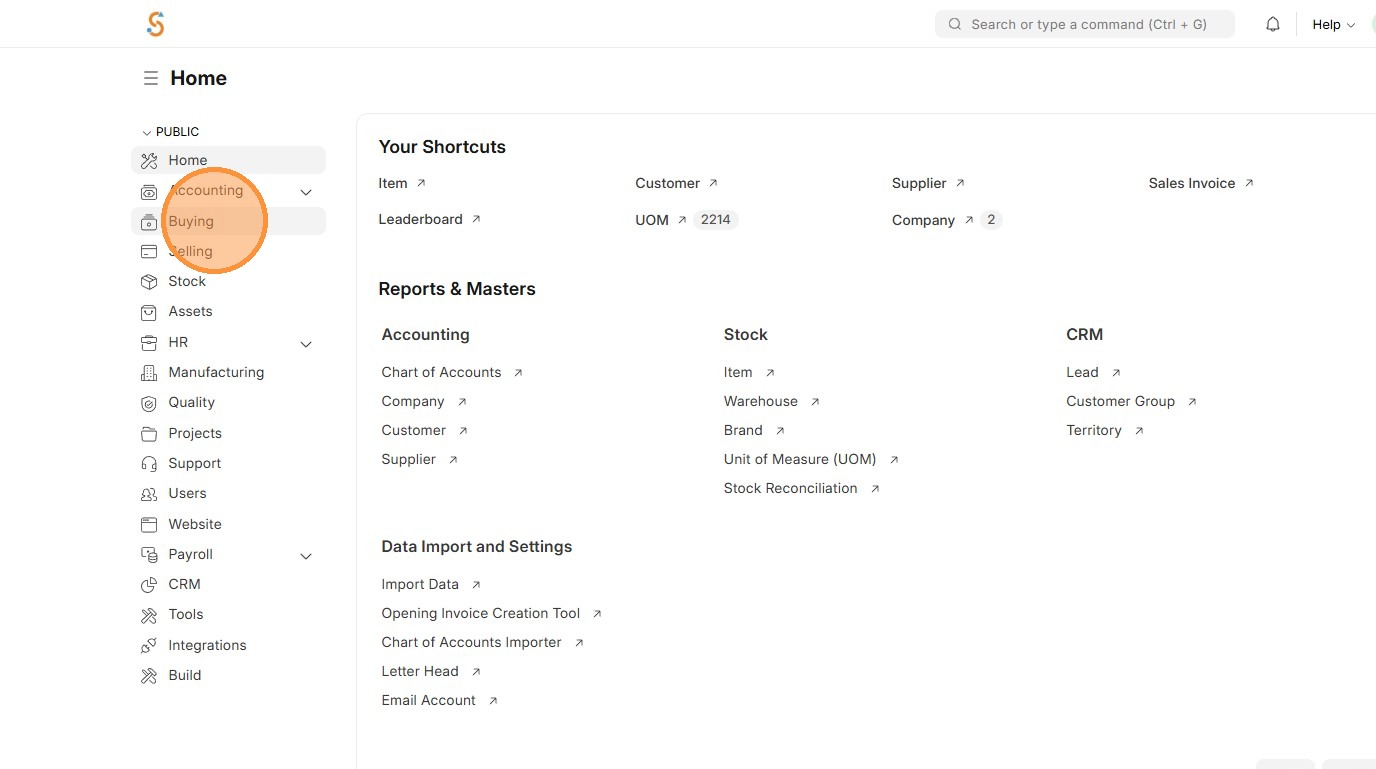
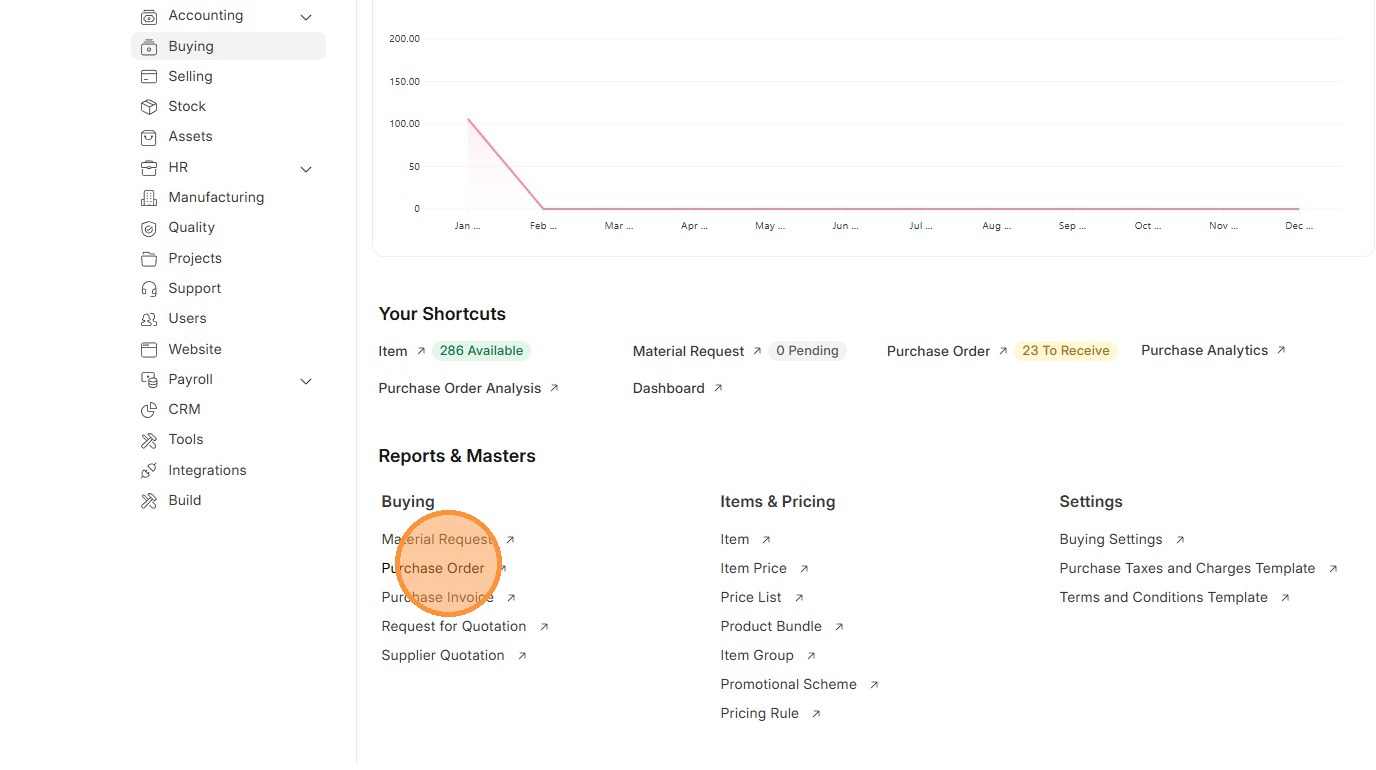
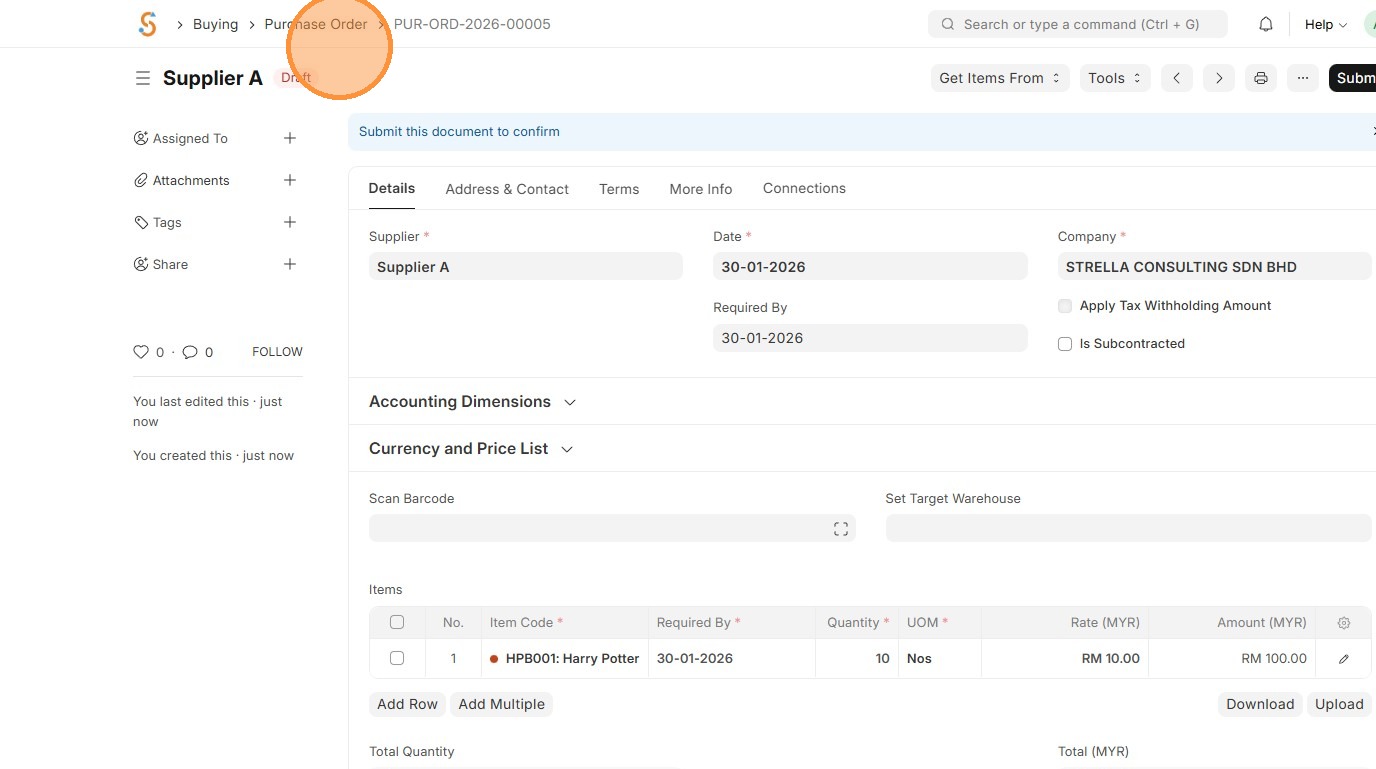
1. Click "Buying"
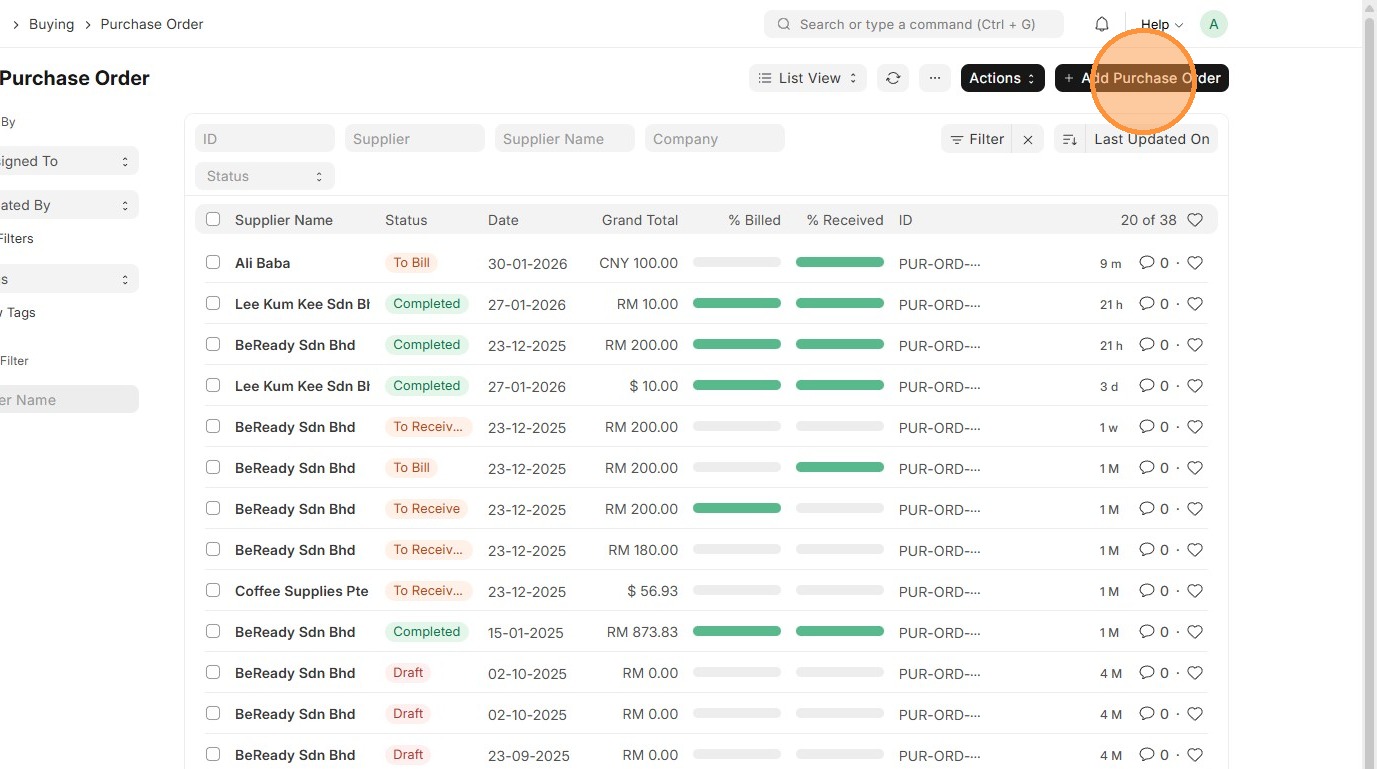
2. Click "Purchase Order"
3. Click "Add Purchase Order"
4. Click "Supplier"
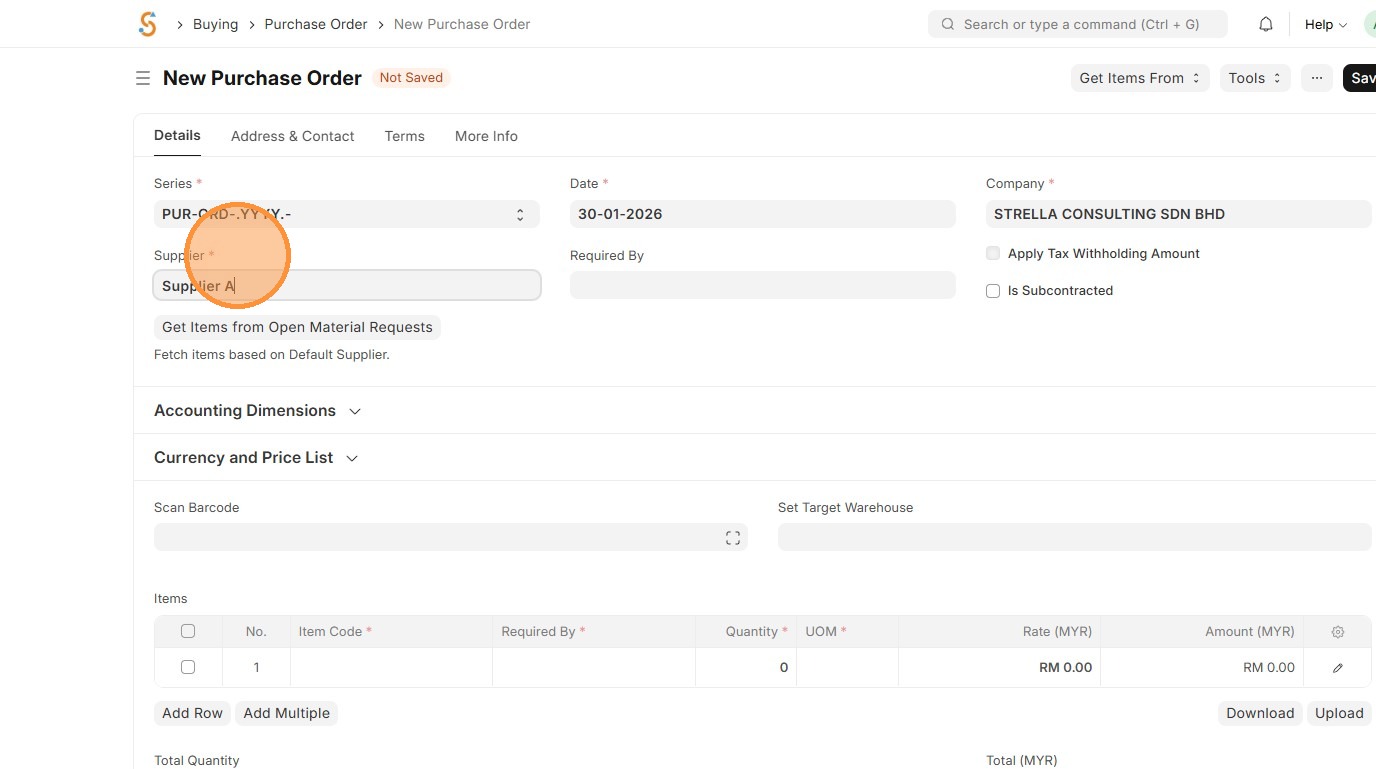
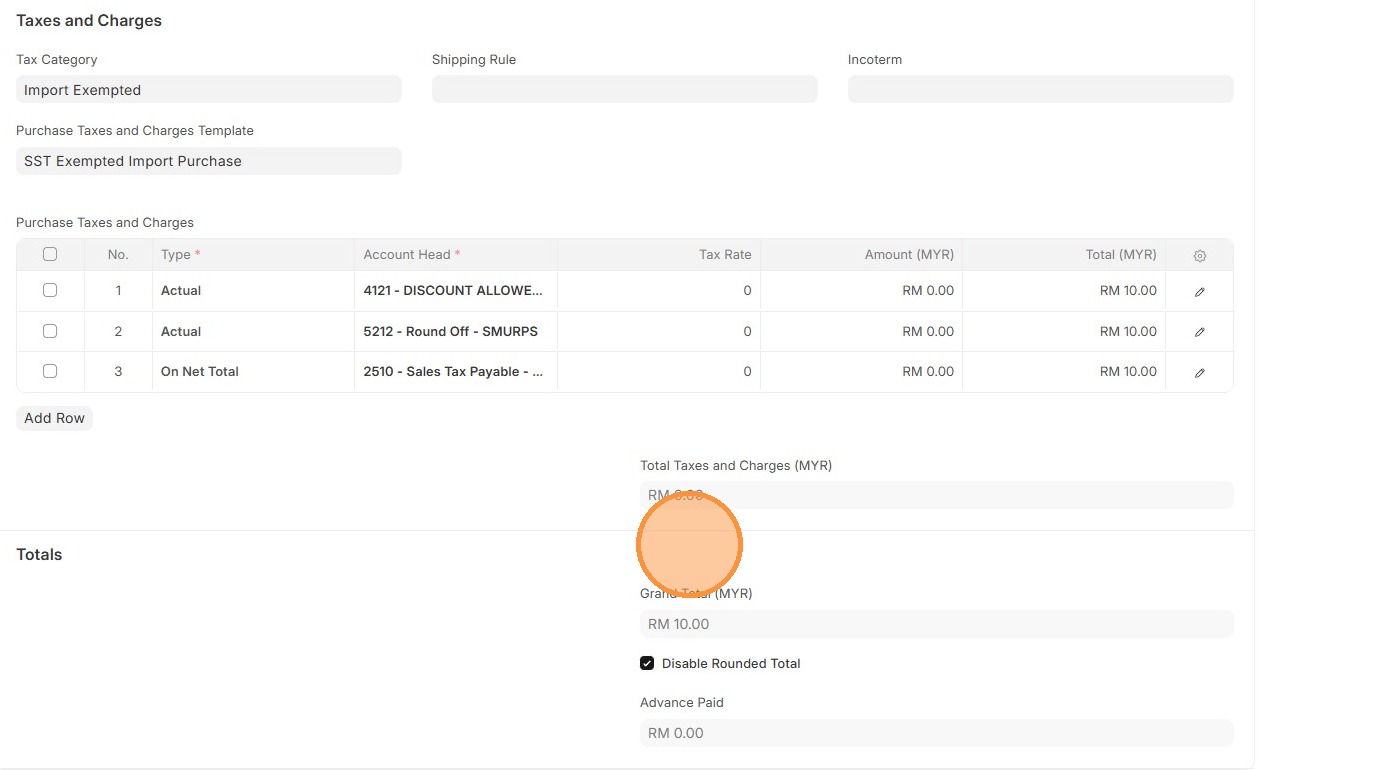
5. Verify that Tax Category in Supplier Master Data and Purchase Taxes and Charges Template matches Tax Rule.
6. Verify Purchase Taxes and Charges table matches the newly created/selected one.
7. Select Item Code

8. Click edit.
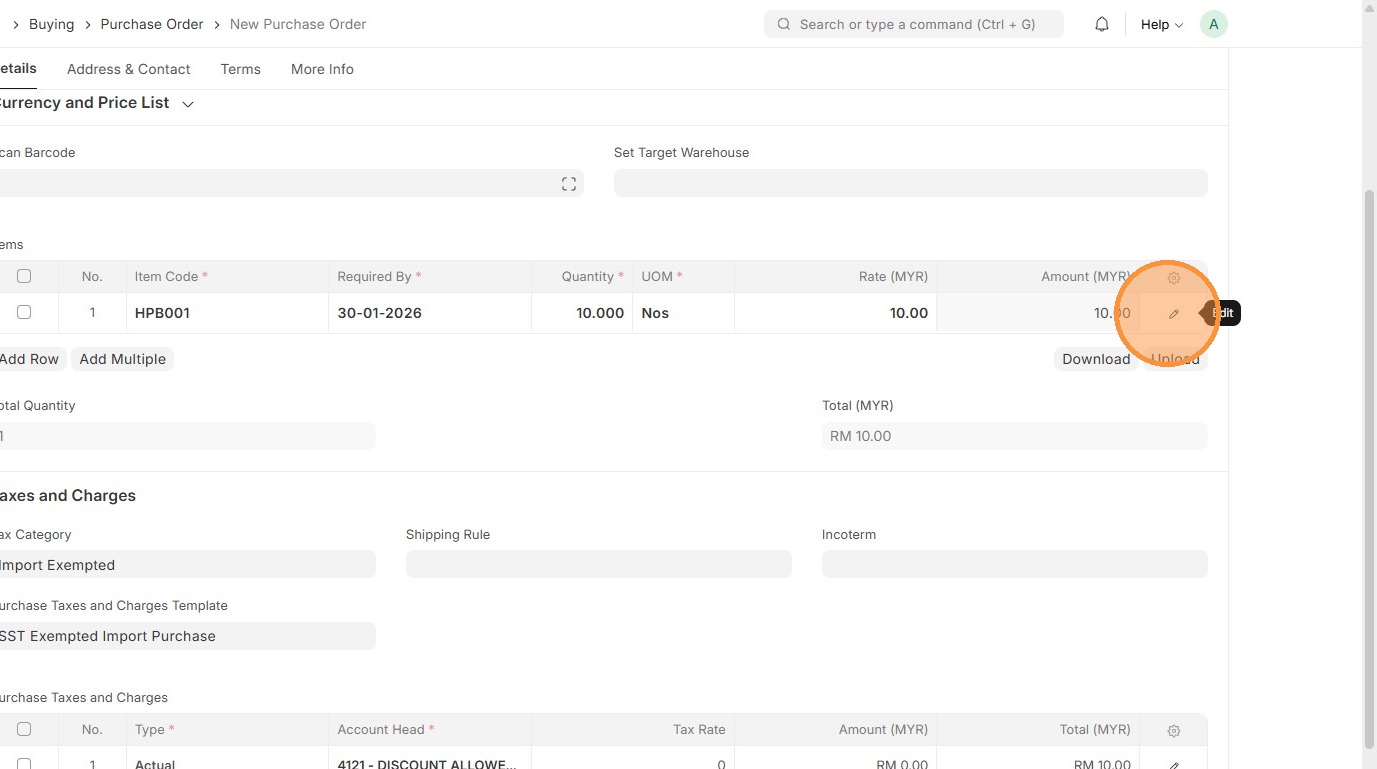
9. Verify Item Tax Template matches Item Master Data
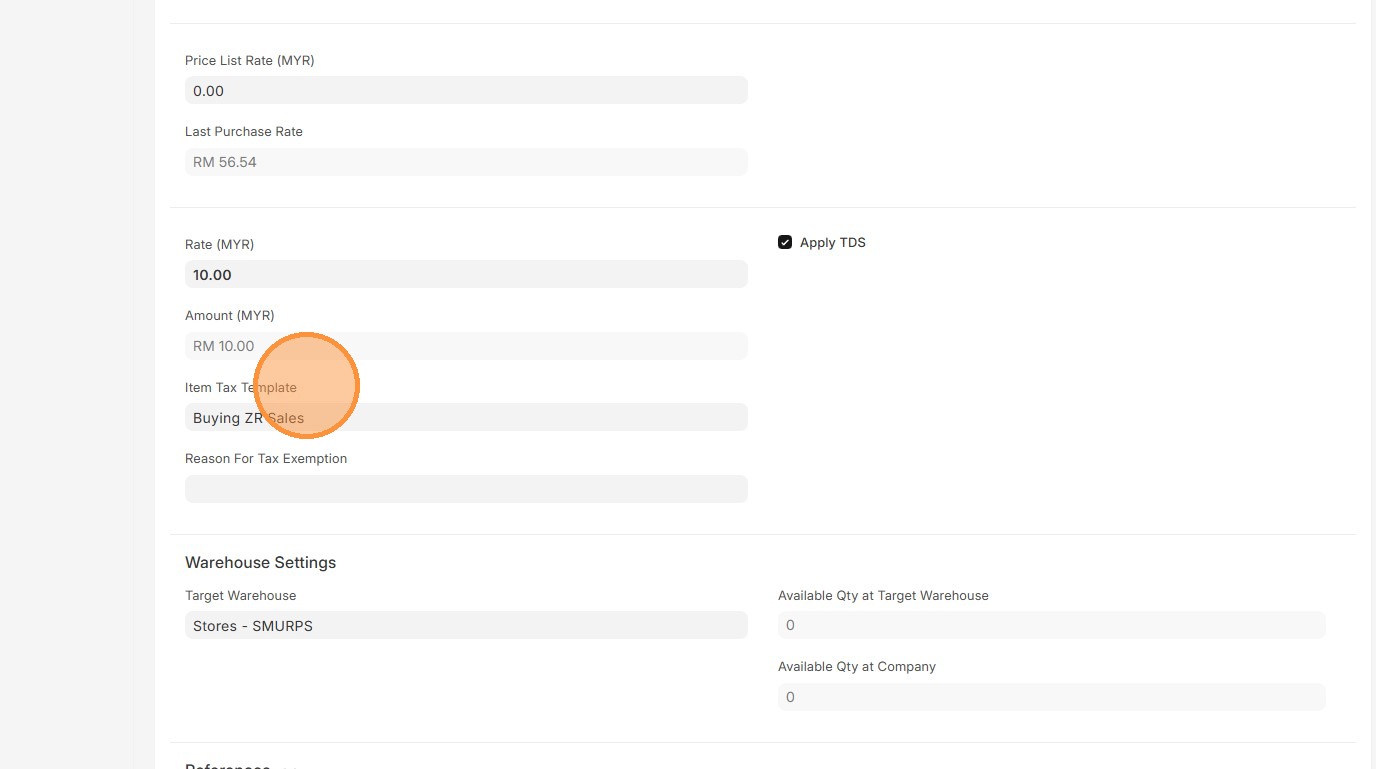
10. Click here to close pop up.
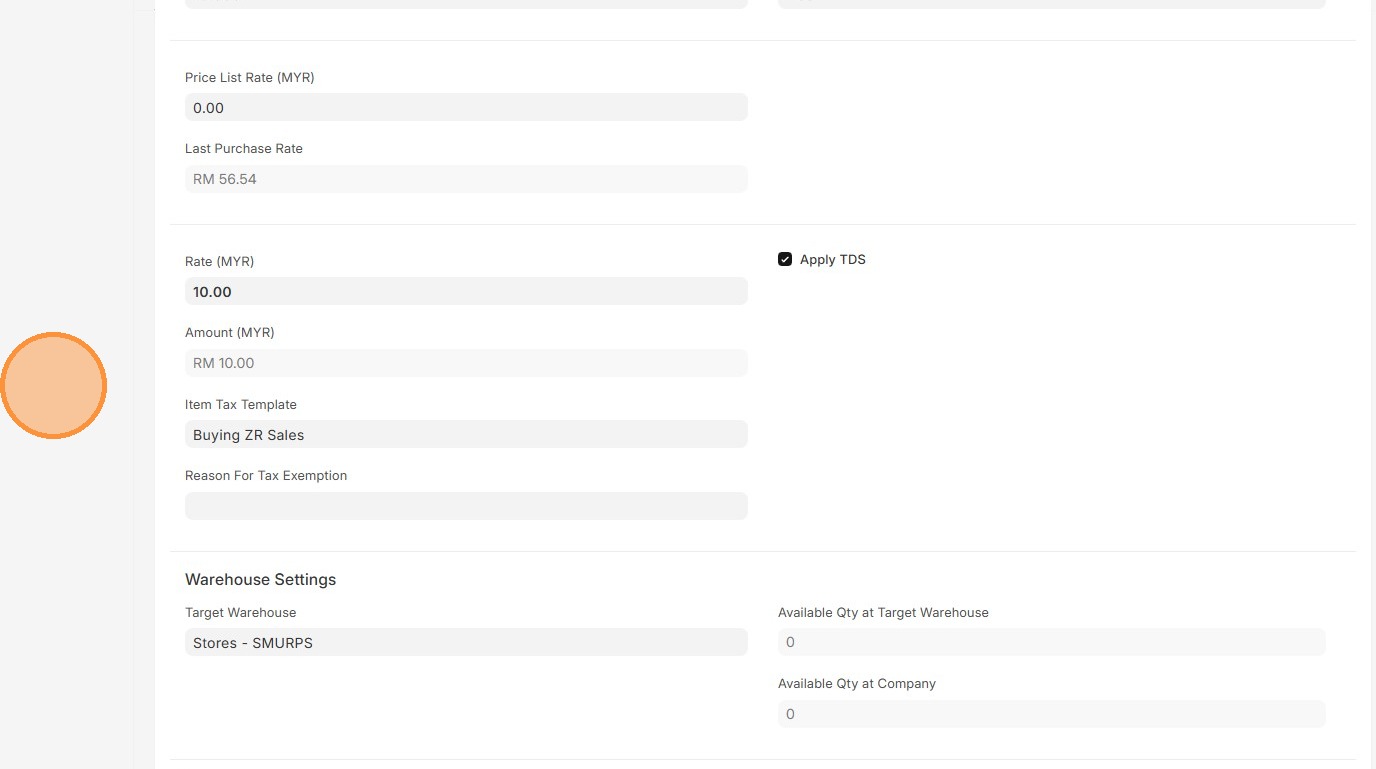
11. Verify "Totals Taxes and Charges (MYR)" and "Grand Total (MYR)"
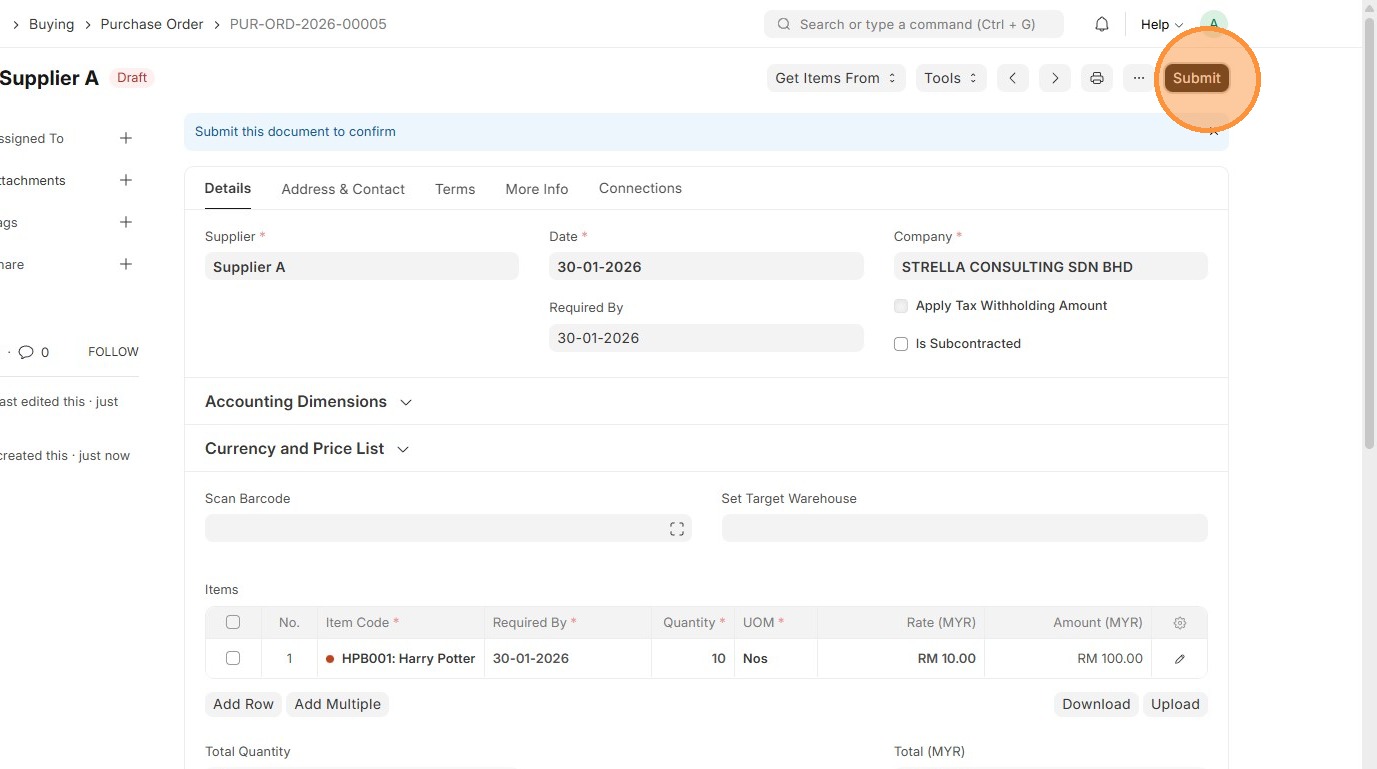
12. Click "Save"

13. Verify Purchase Order ID is created
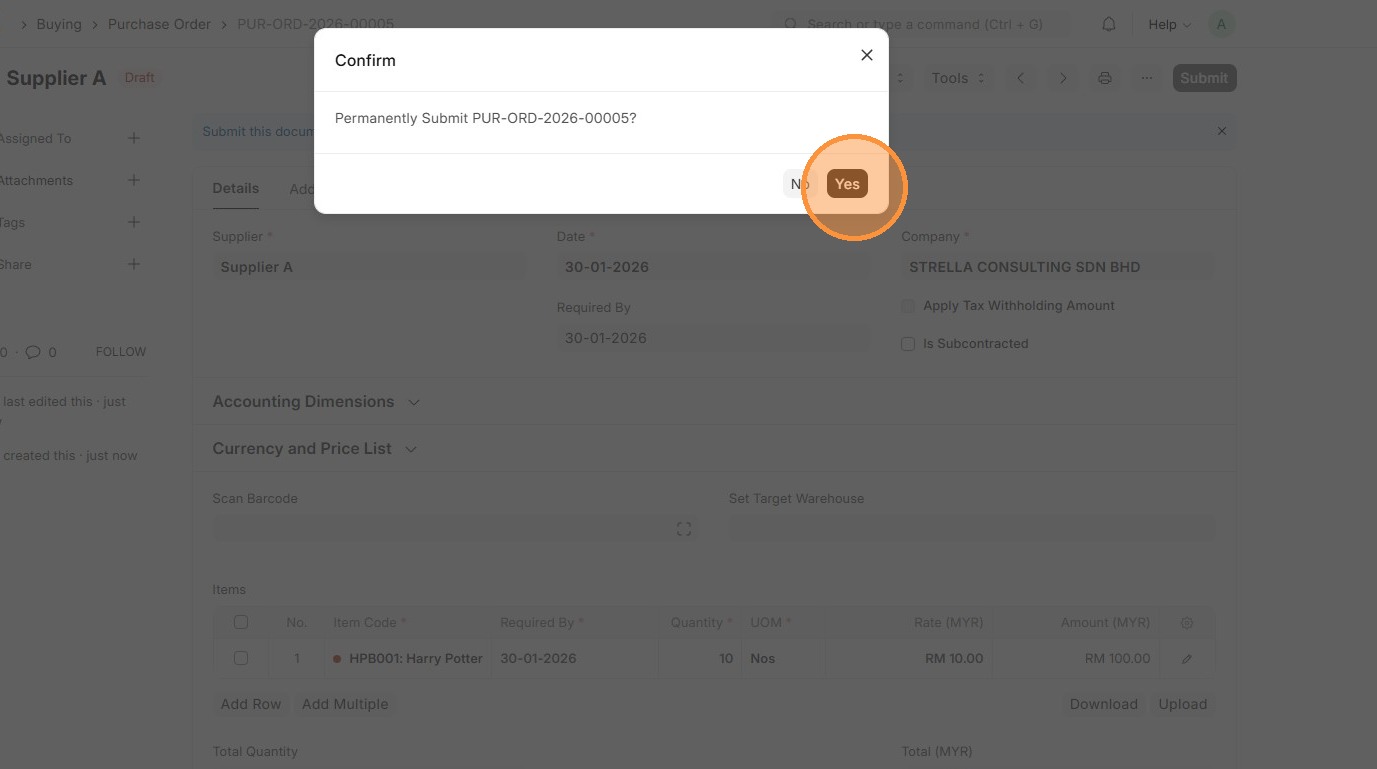
14. Click "Submit"
15. Click "Yes"
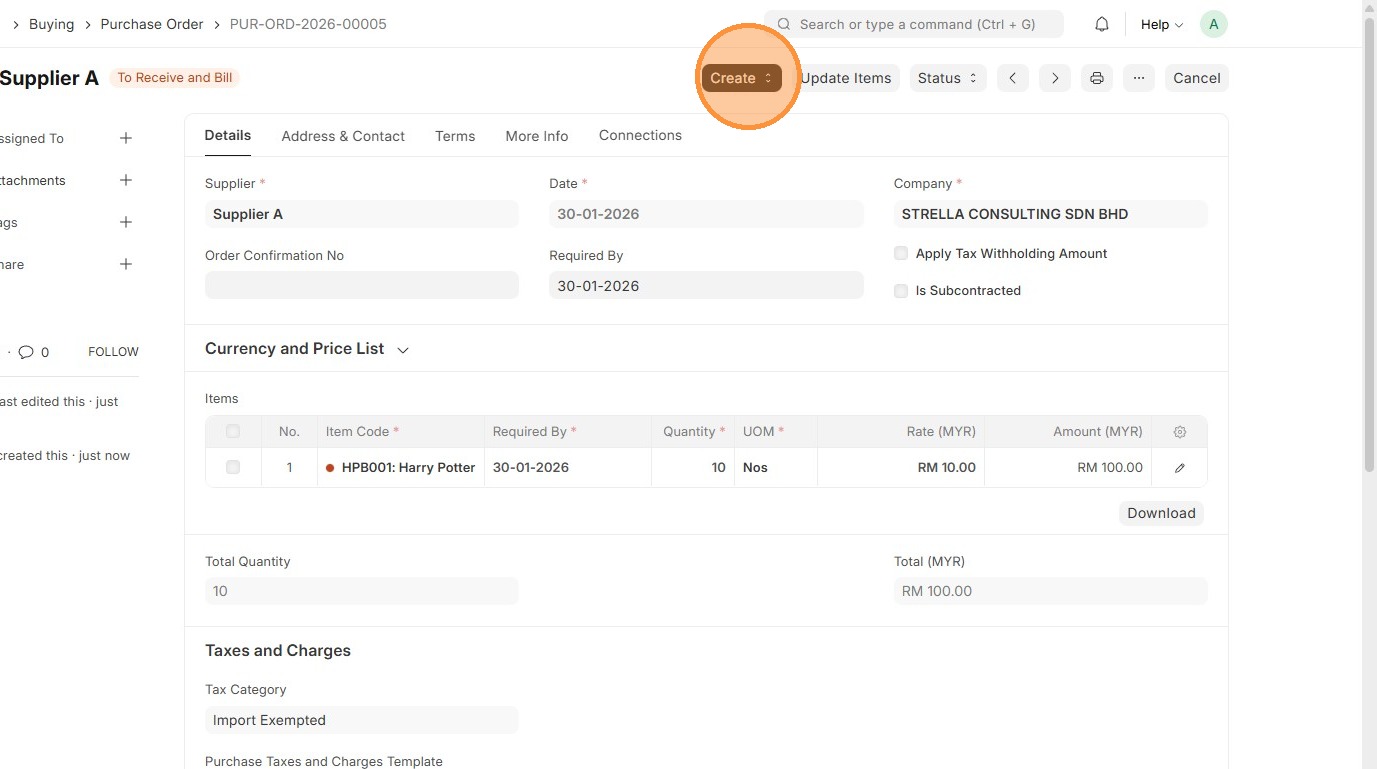
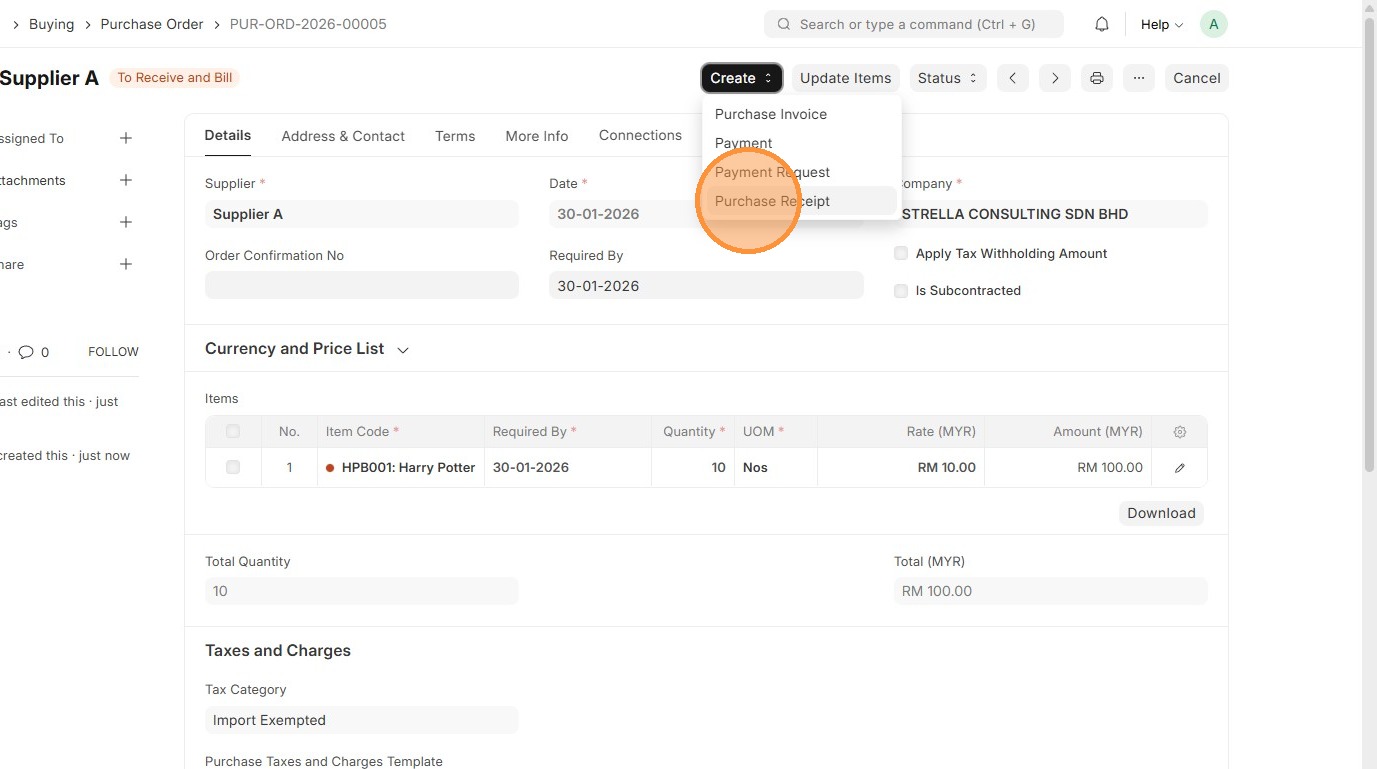
16. Click "Create"
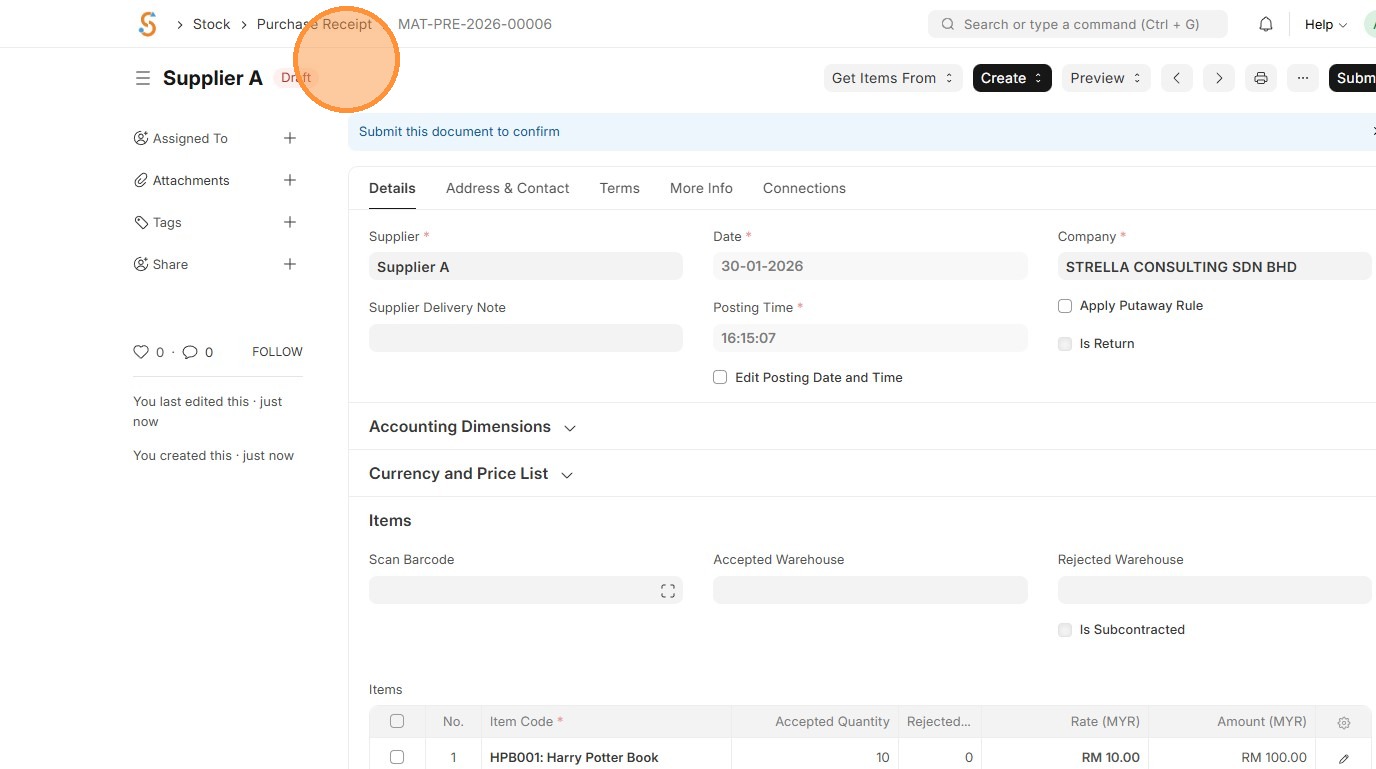
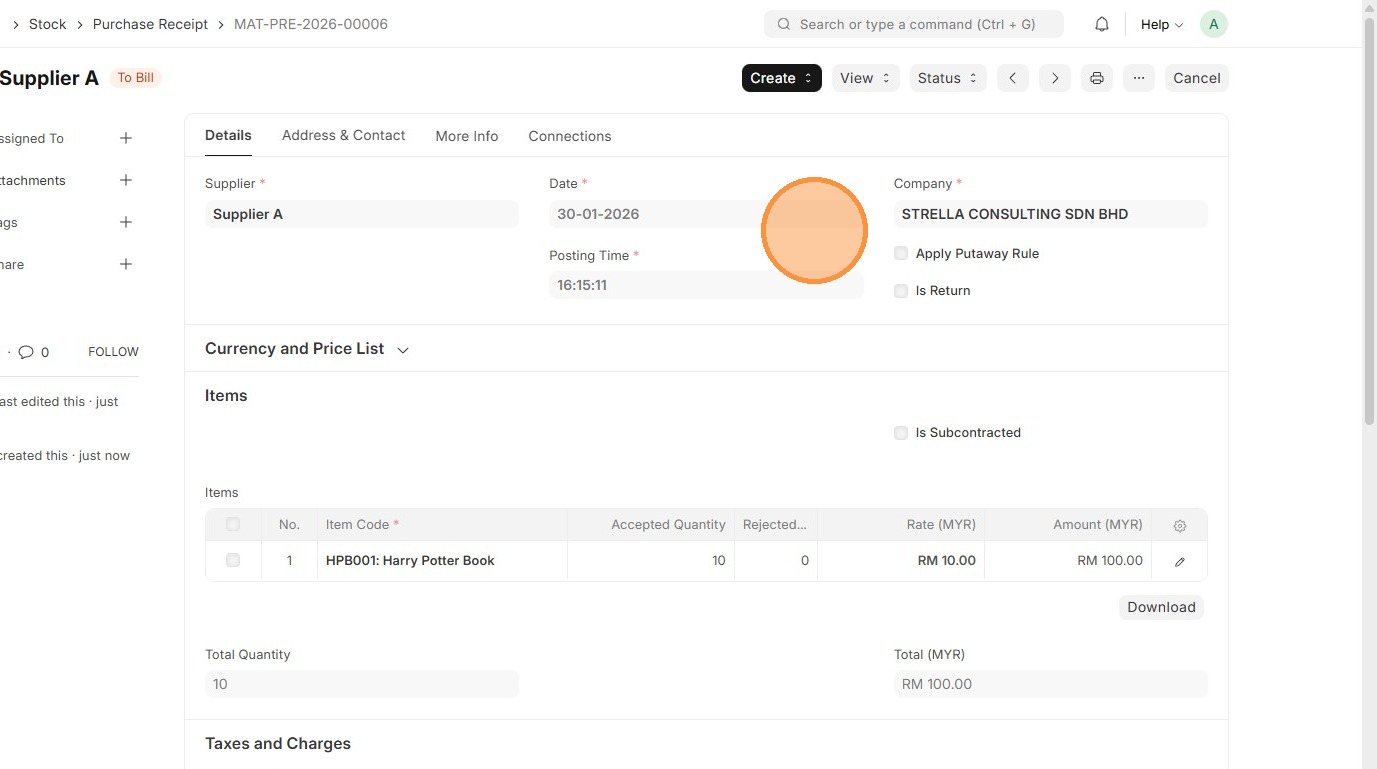
17. Click "Purchase Receipt"
18. Verify "Supplier"
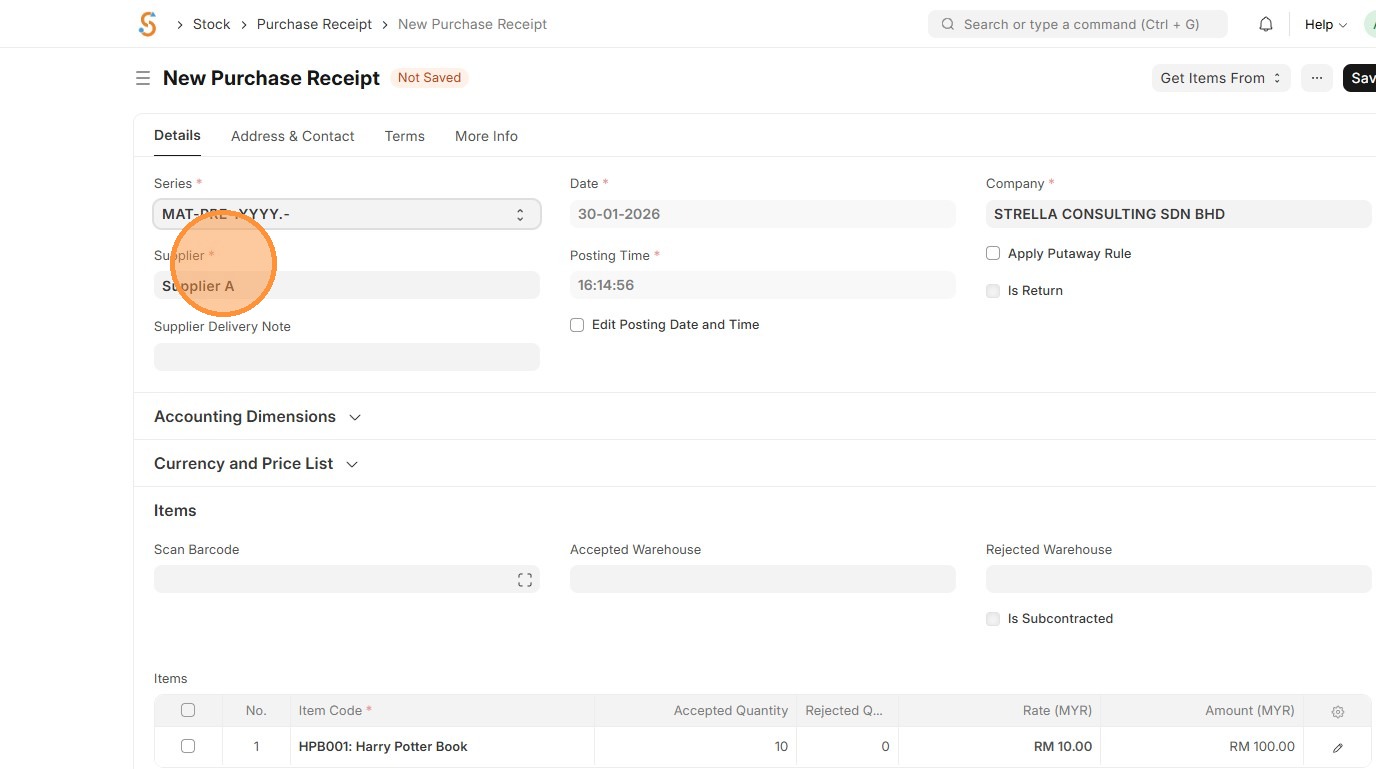
19. Verify Tax Category and Purchase Taxes and Charges Template
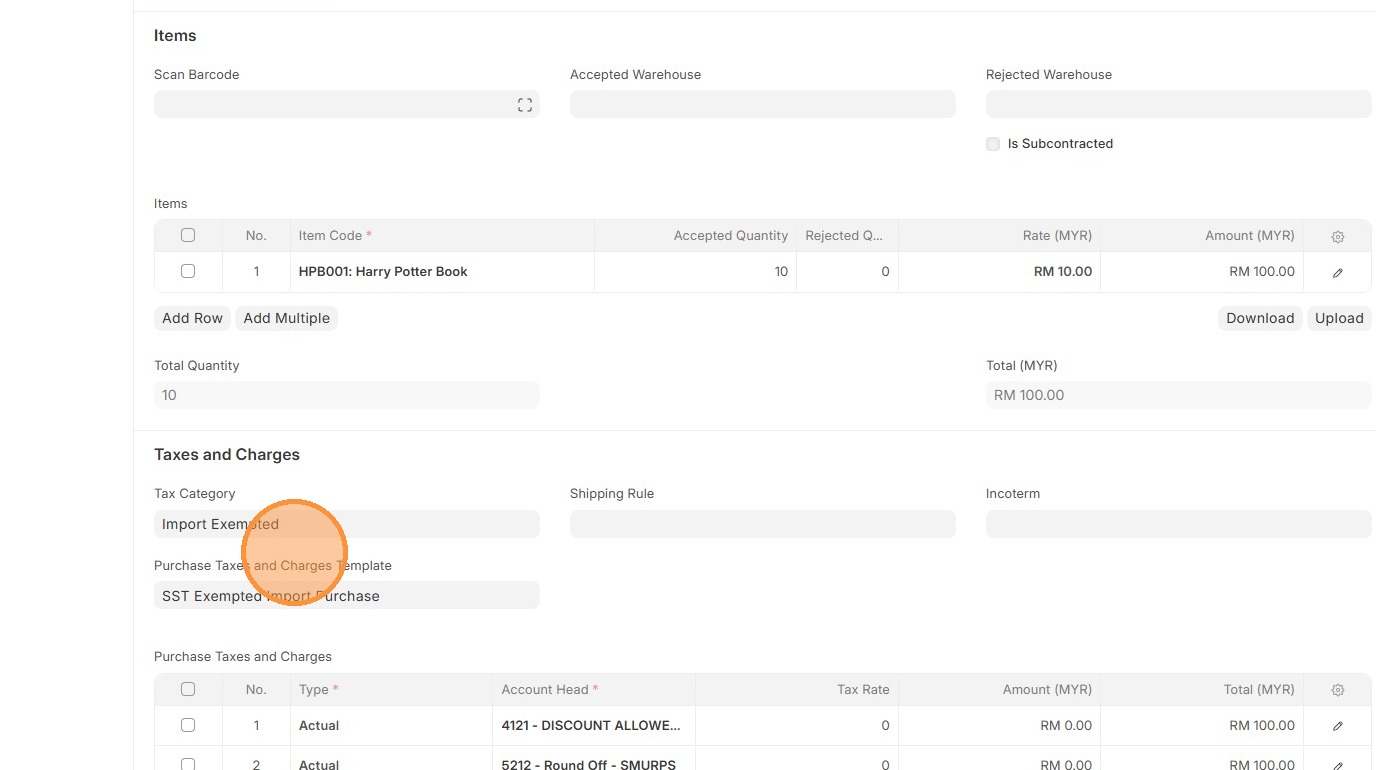
20. Verify Purchase Taxes and Charges Template table matches the Purchase Order.
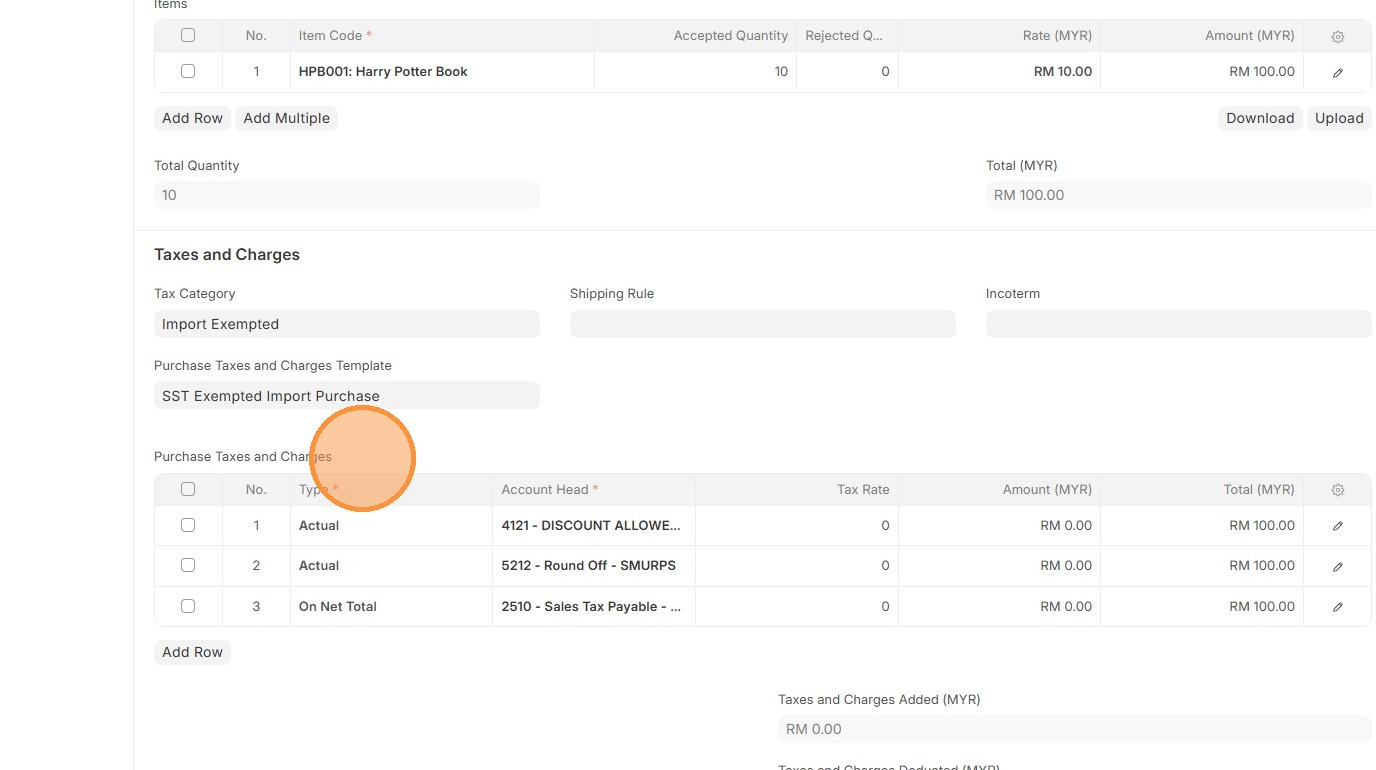
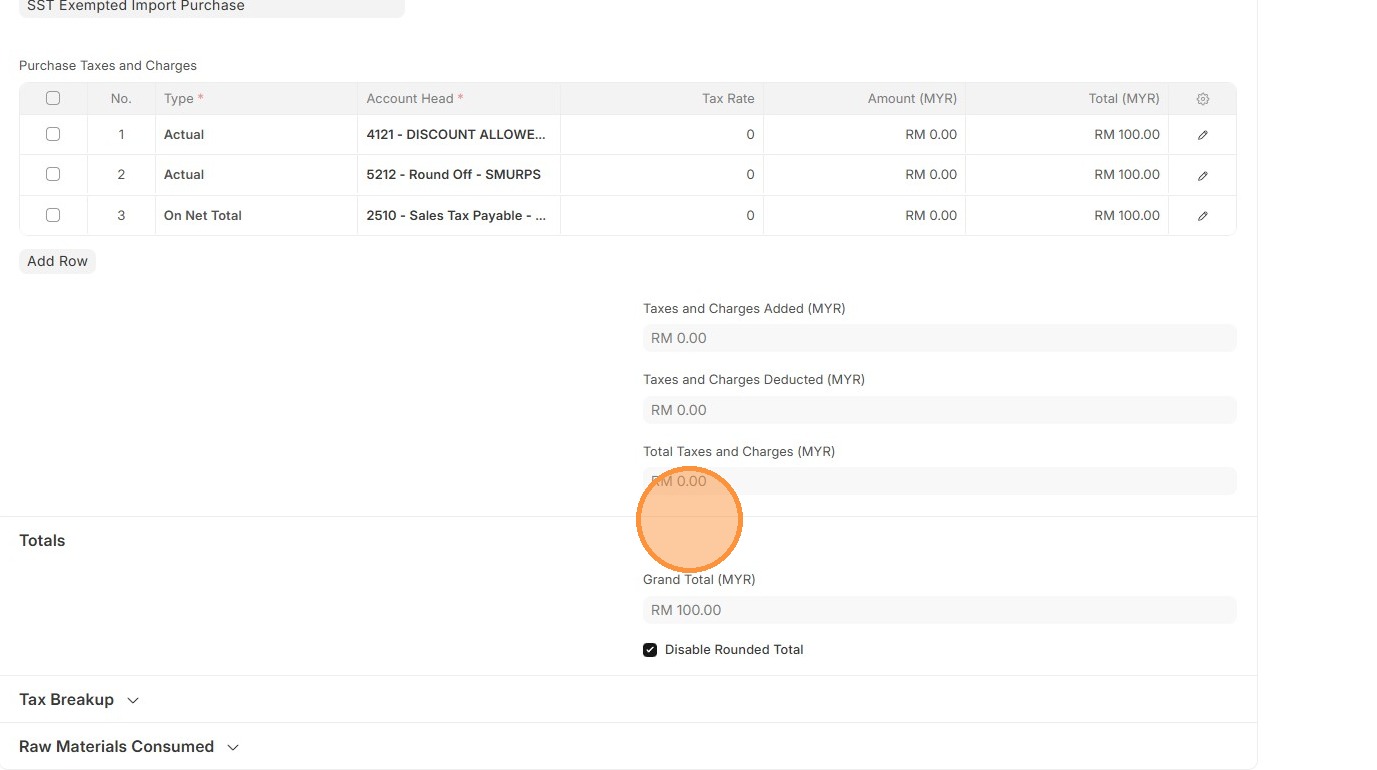
21. Verify that "Total Taxes and Charges (MYR)" and "Grand Total" in Purchase Receipt matches the Purchase Order.
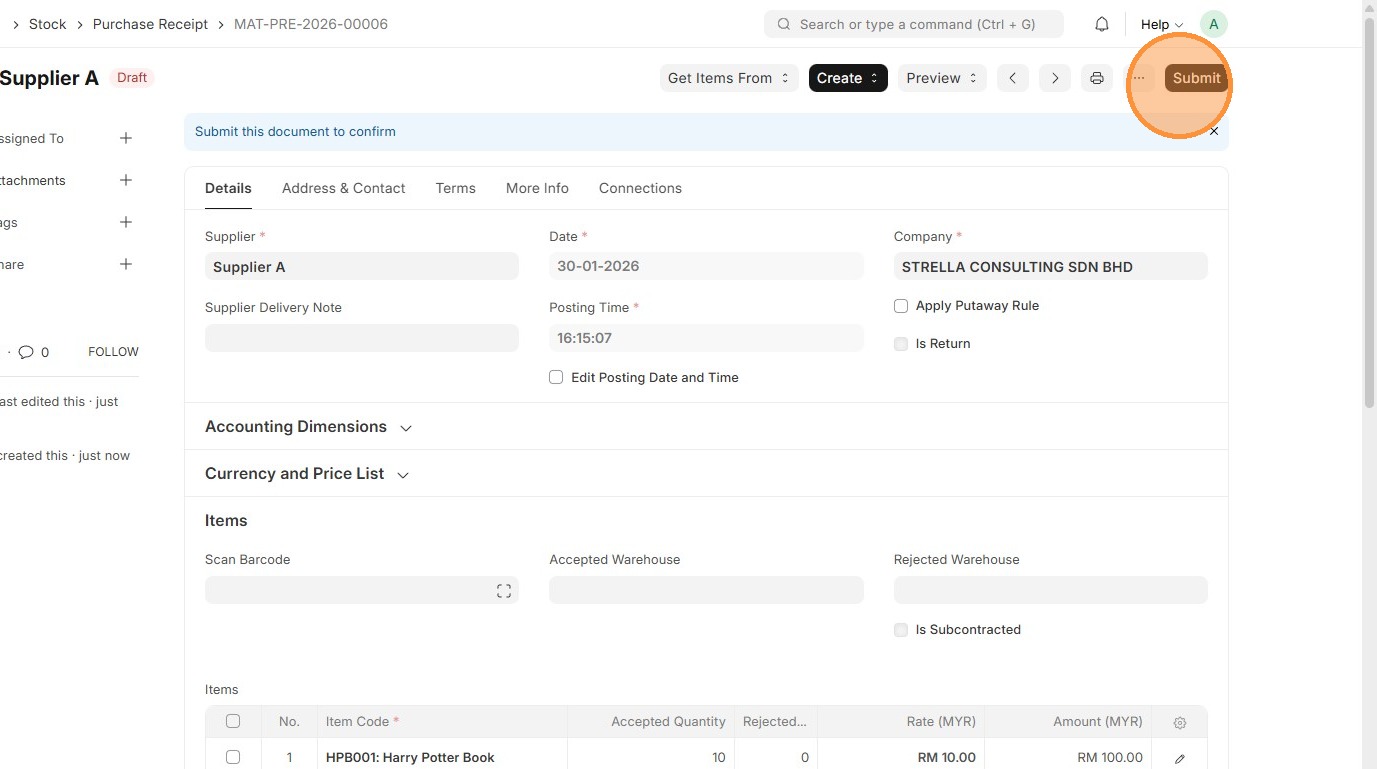
22. Click "Save"
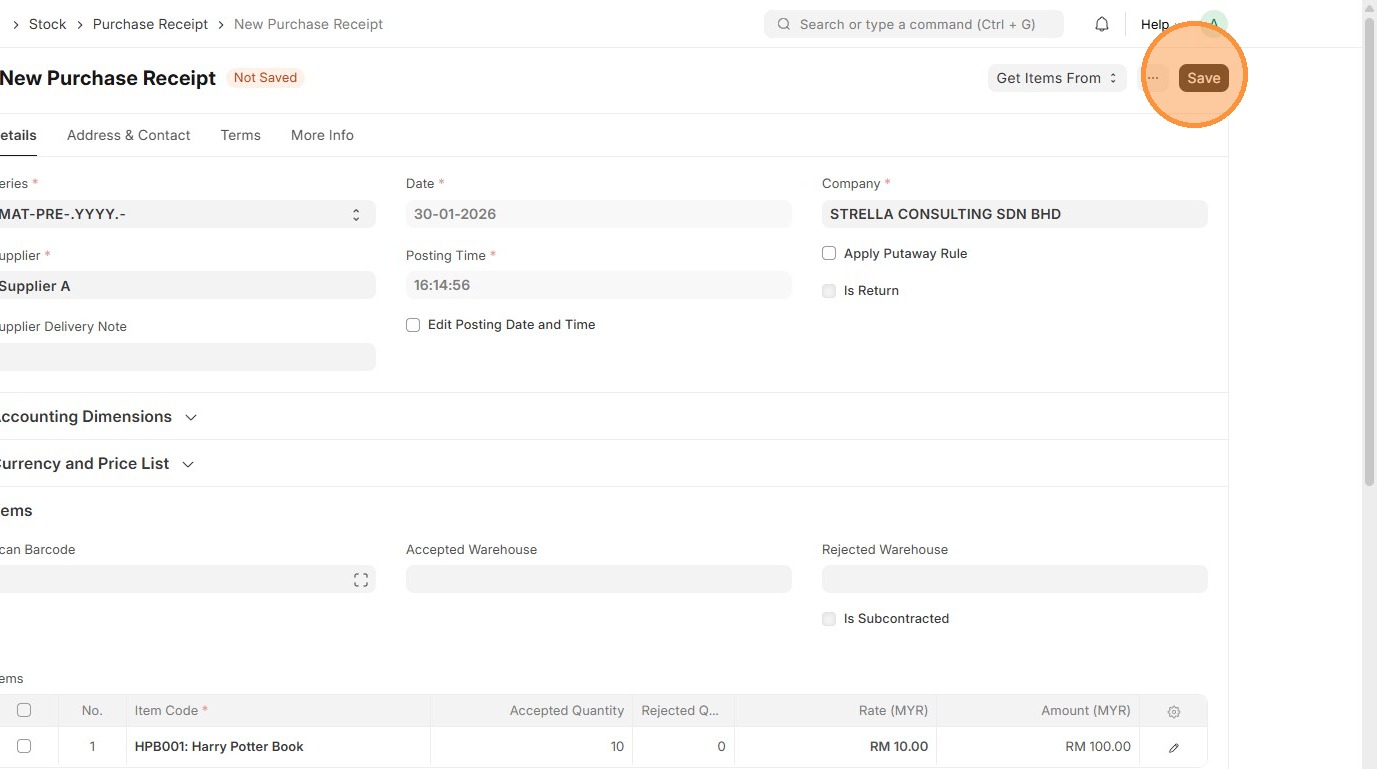
23. Verify Purchase Receipt ID is created
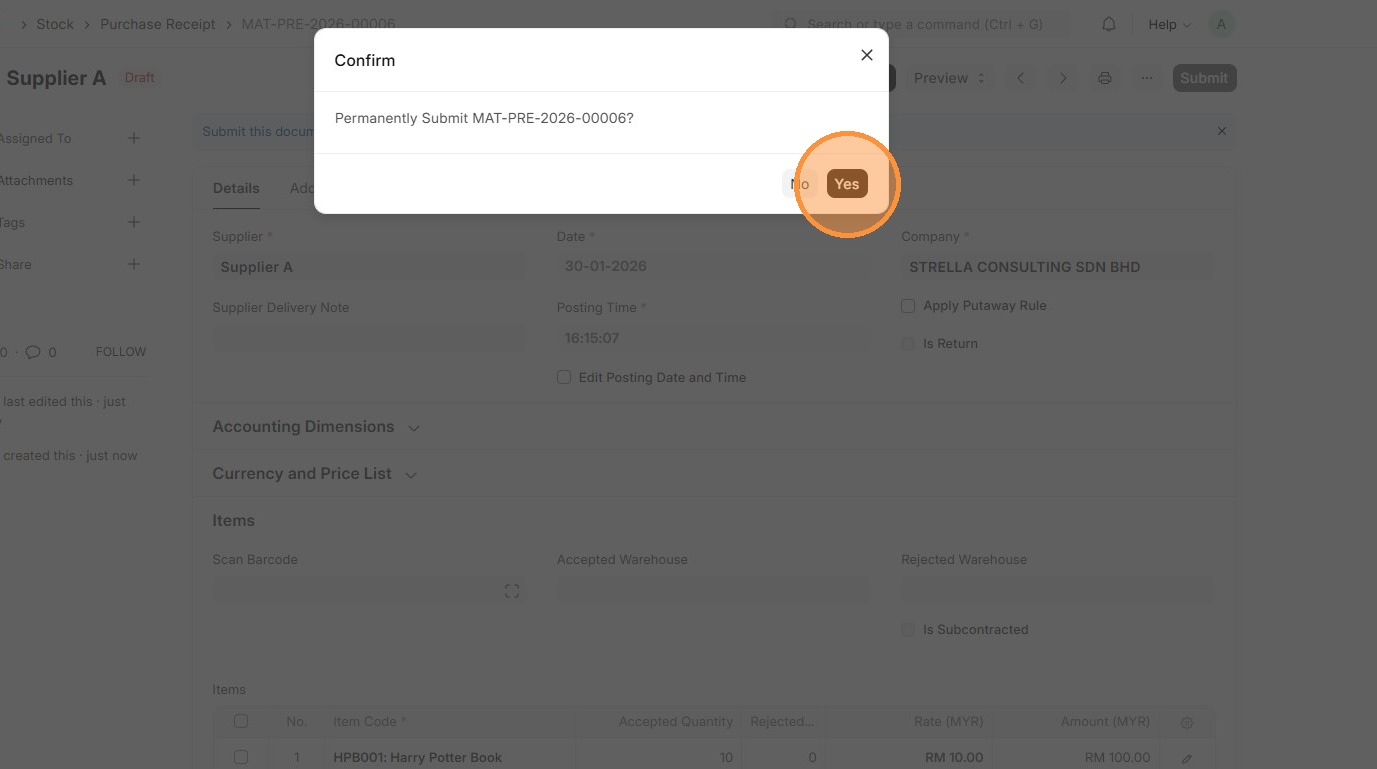
24. Click "Submit"
25. Click "Yes"
26. Click "Create"
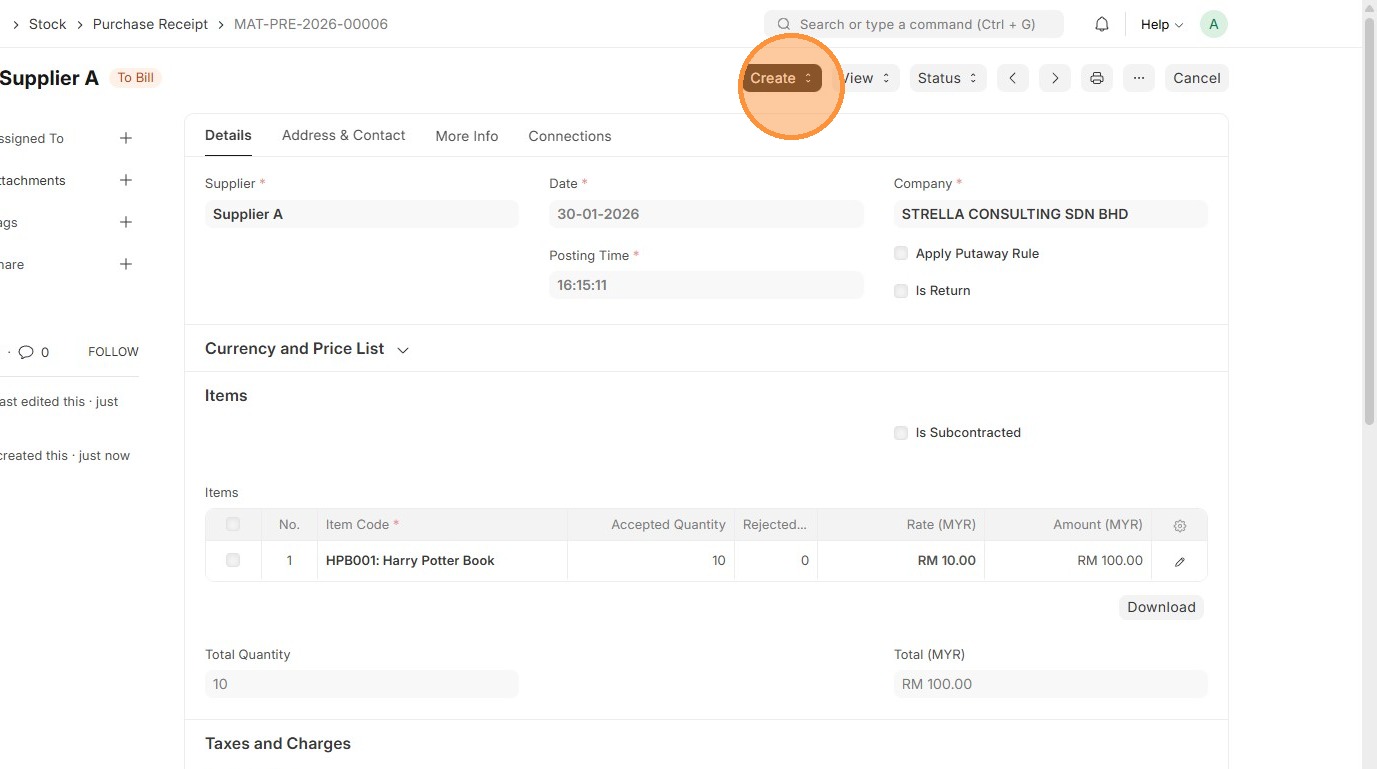
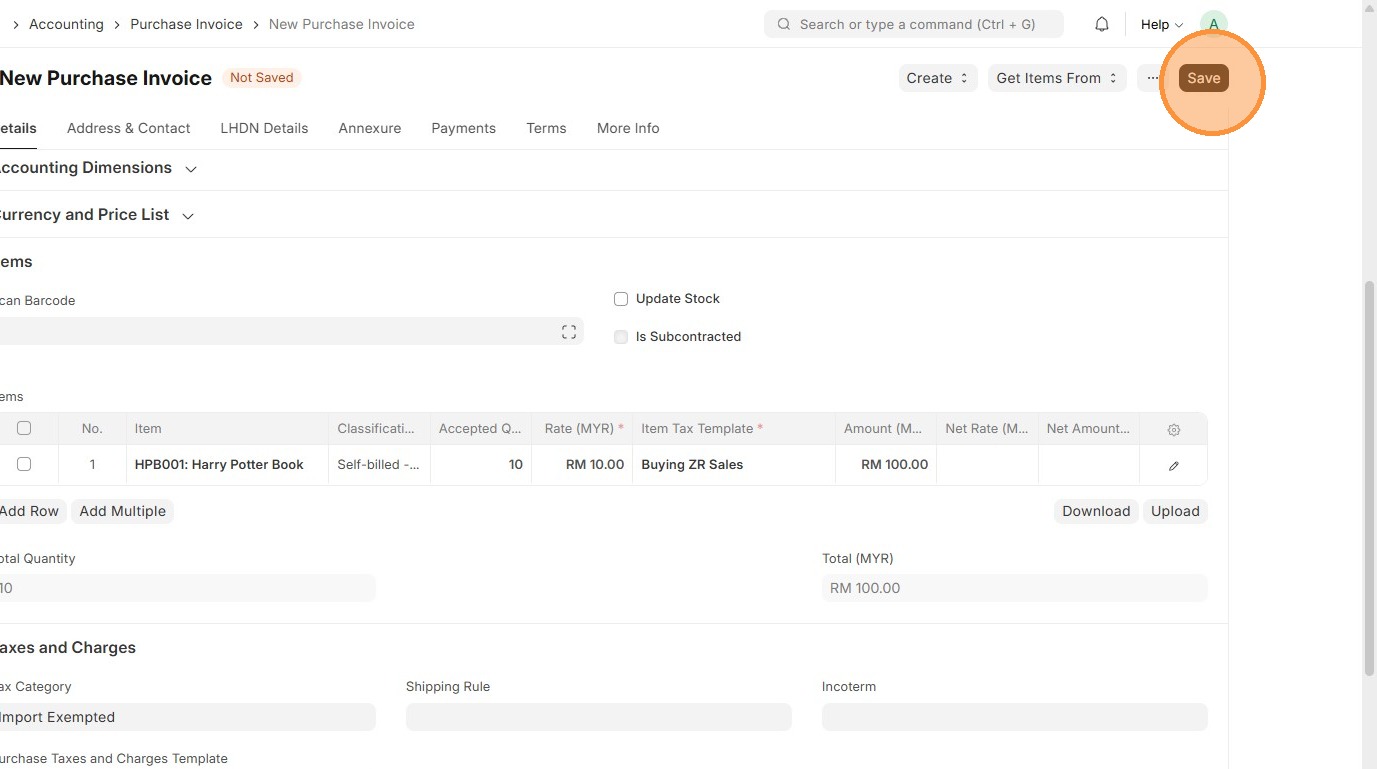
27. Click "Purchase Invoice"
28. Verify "Supplier"
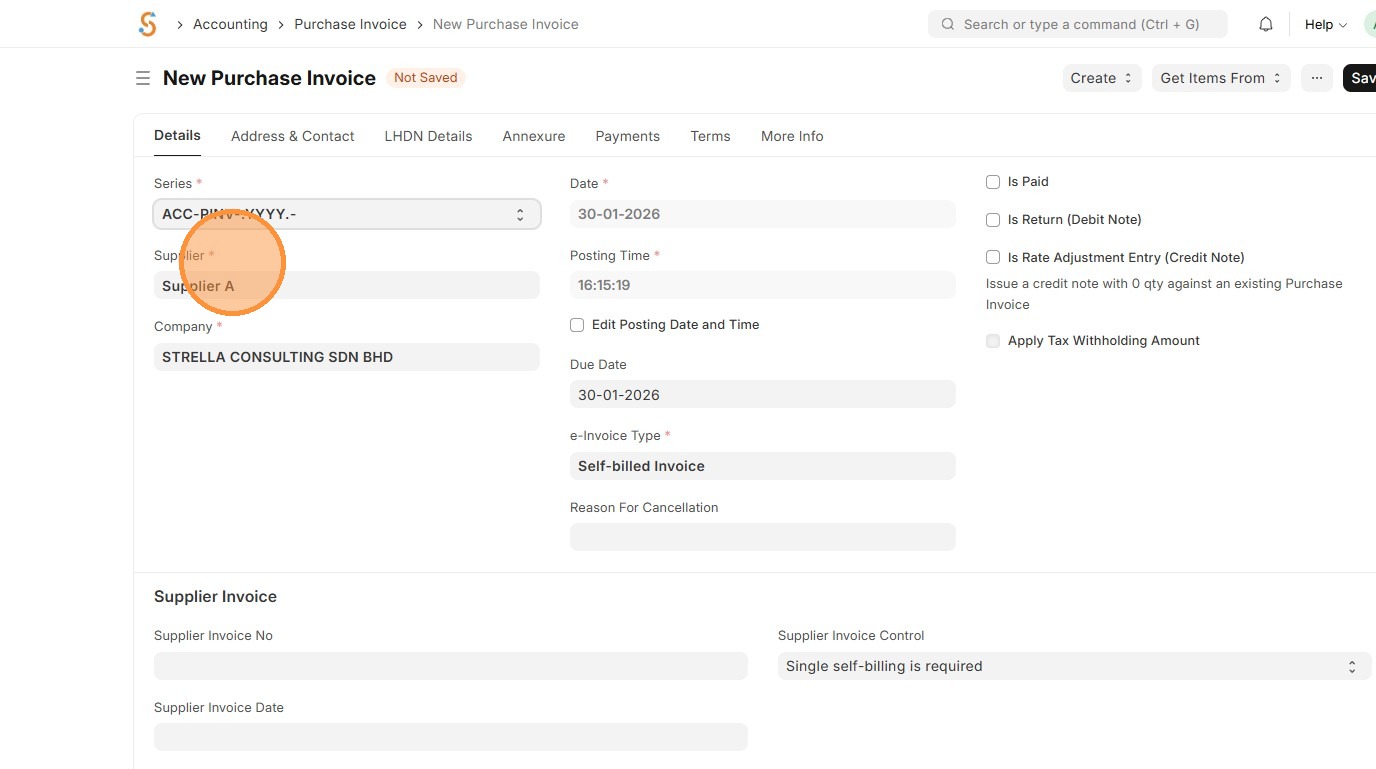
29. Verify that Tax Category and Purchase Taxes and Charges matches Purchase Order.
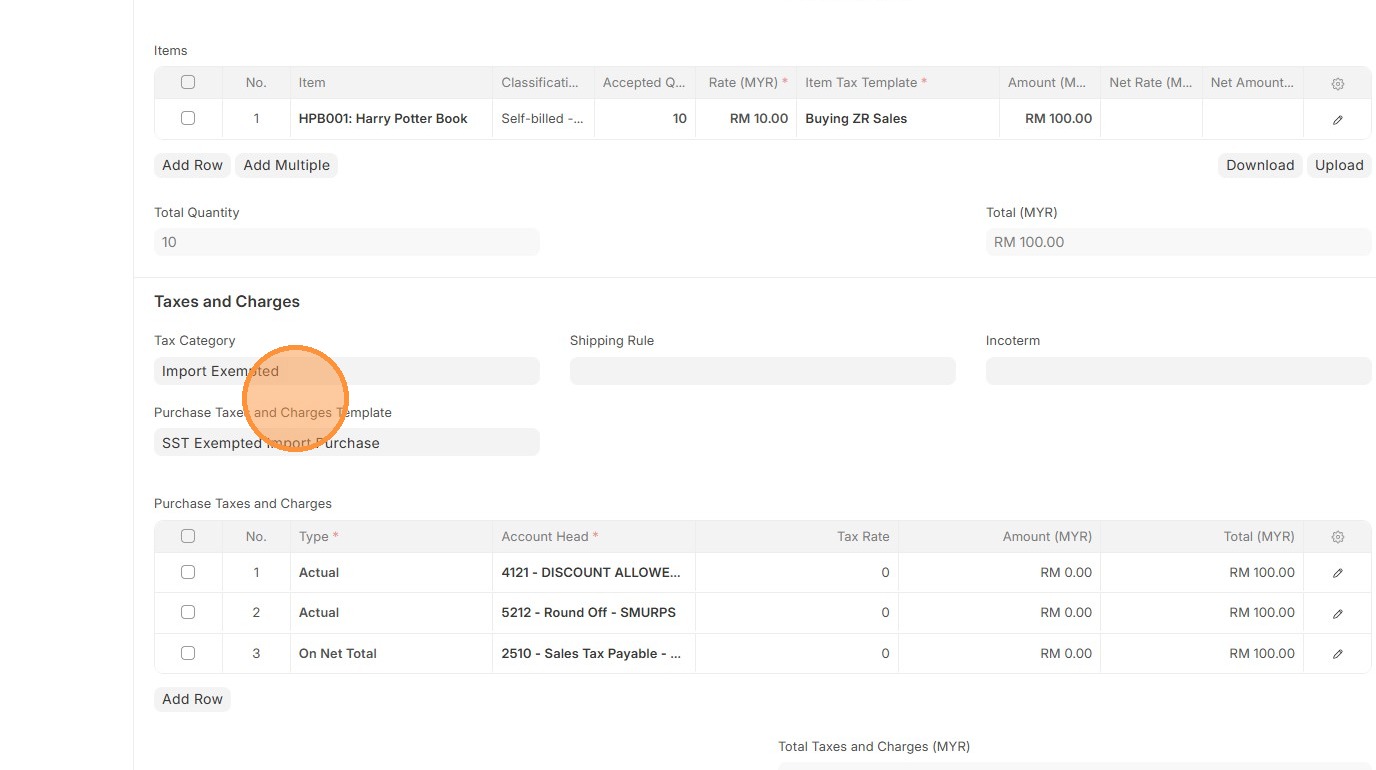
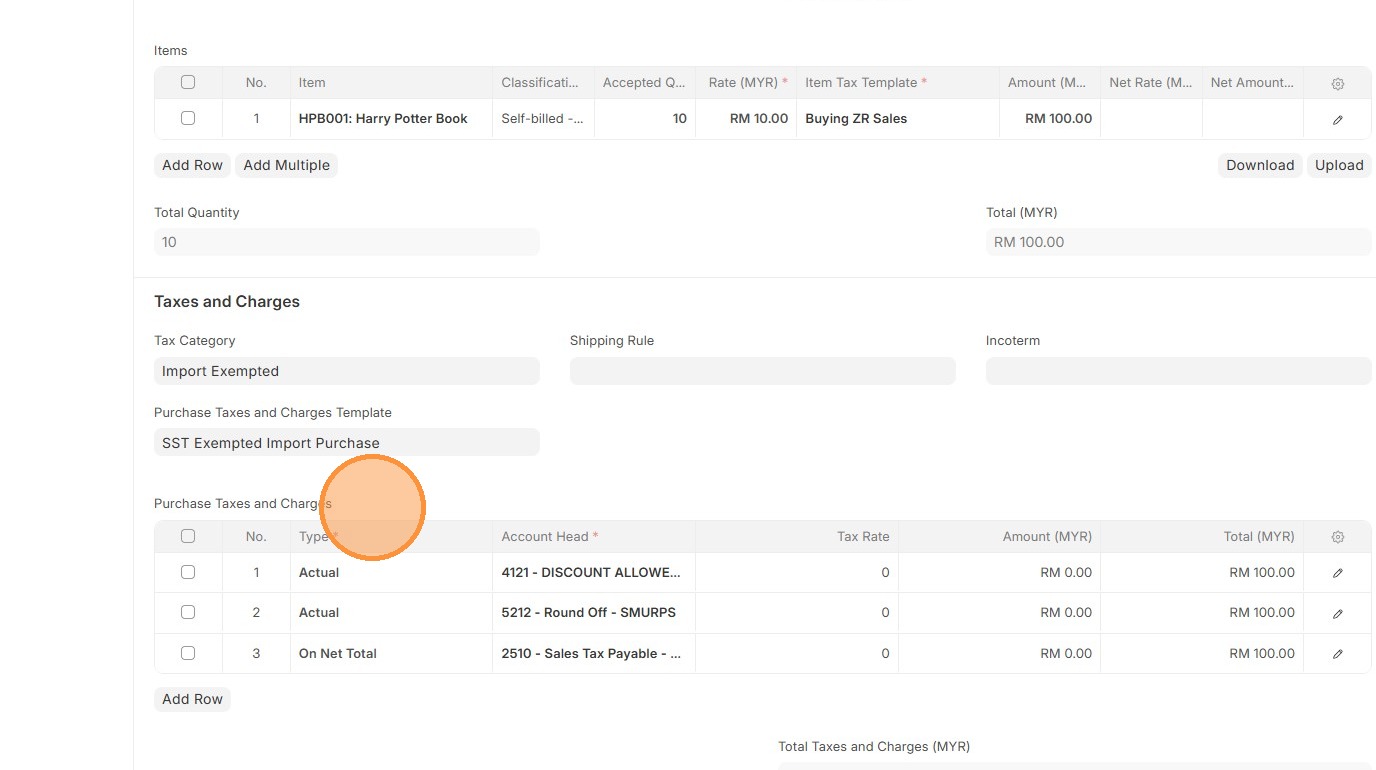
30. Verify that Purchase Taxes and Charges table matches the one in Purchase Order.
31. Verify Item Code
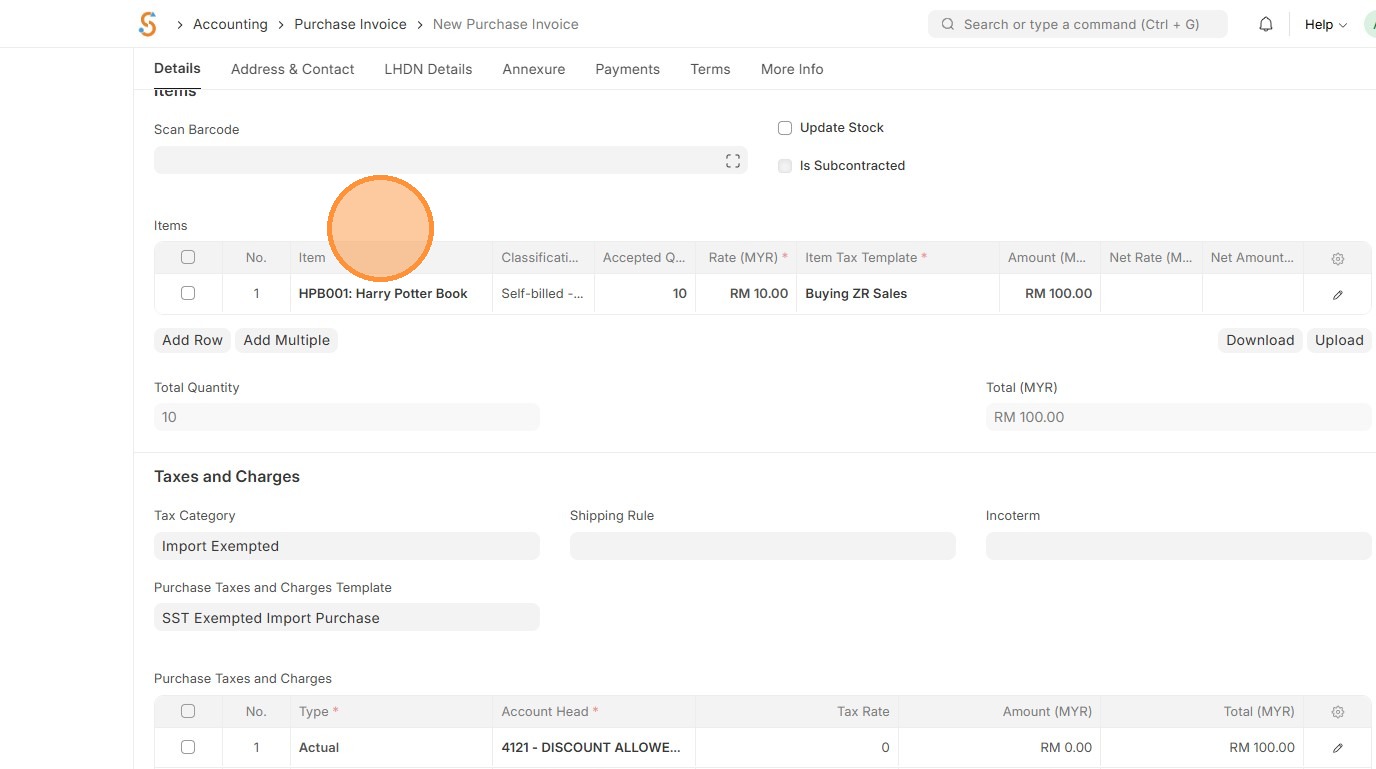
32. Click edit.
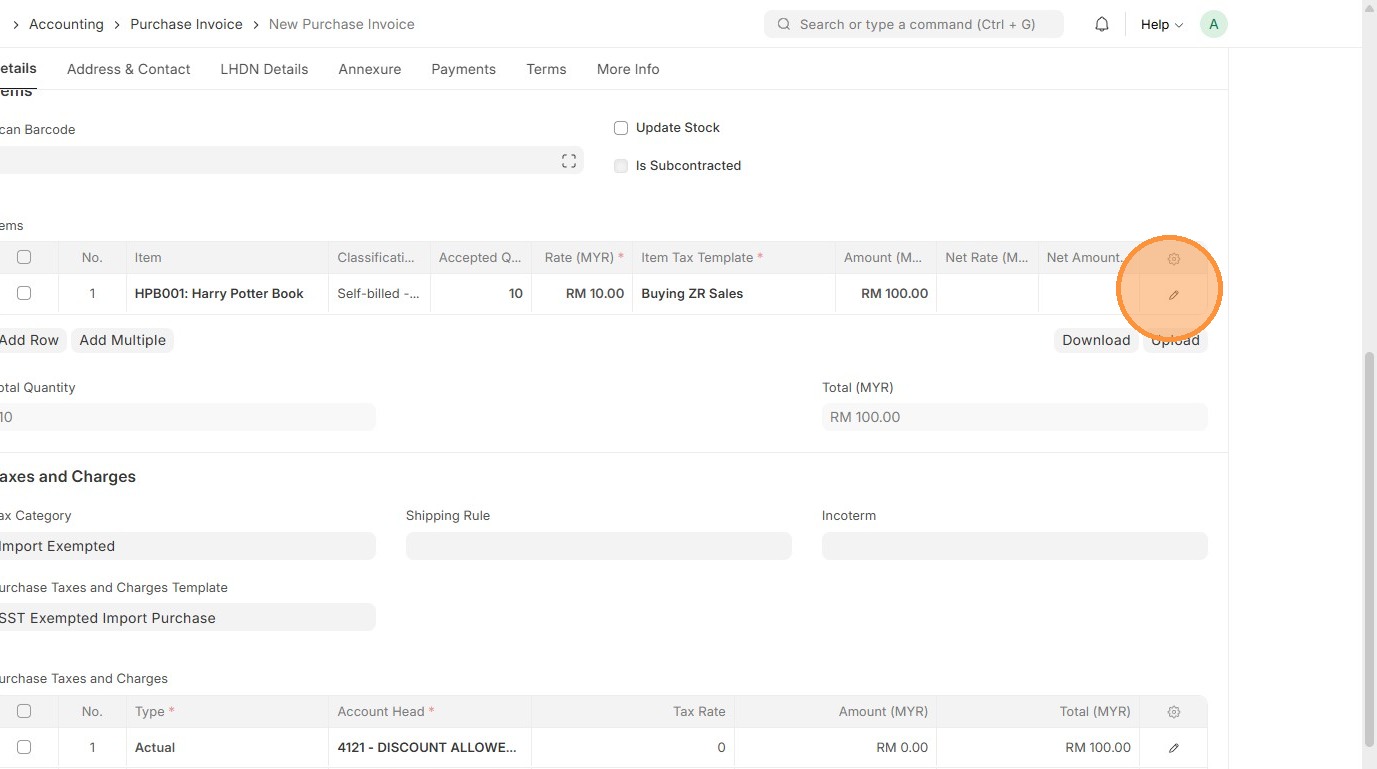
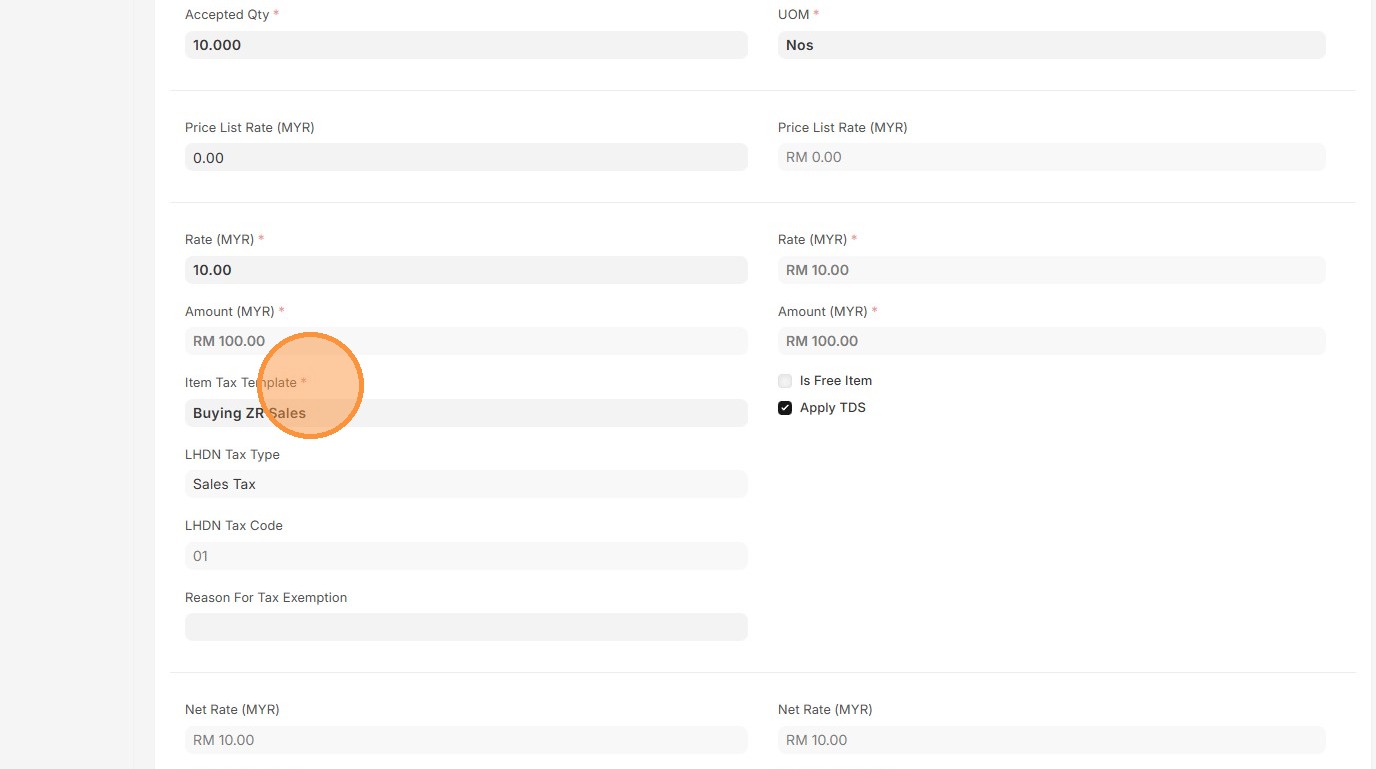
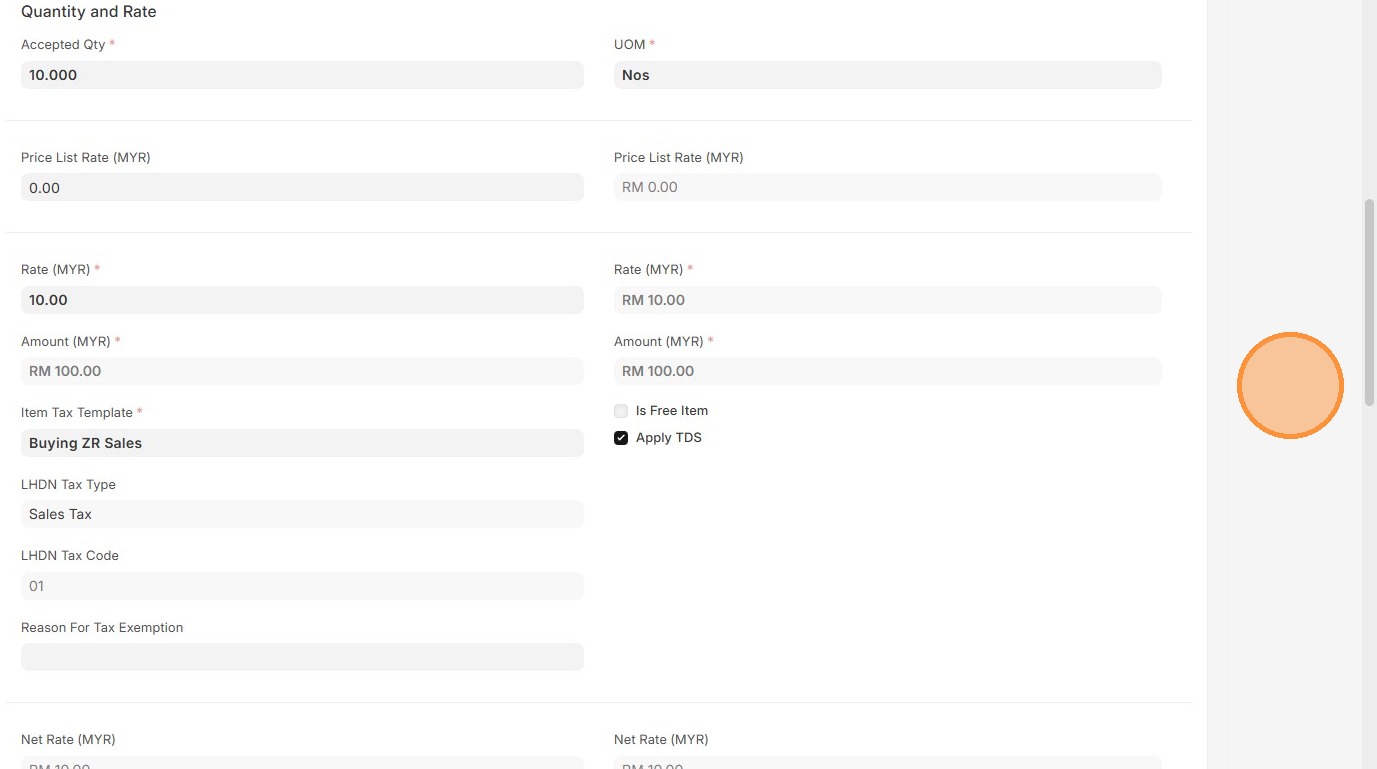
33. Verify Item Tax Template. Users have the option to select a different Item Tax Template based on what is maintained in the Item Master Data
34. Click here to close pop up.
35. Verify "Total Taxes and Charges (MYR)" and "Grand Total (MYR)"
36. Click "Save"
37. Verify that Purchase Invoice ID is created.

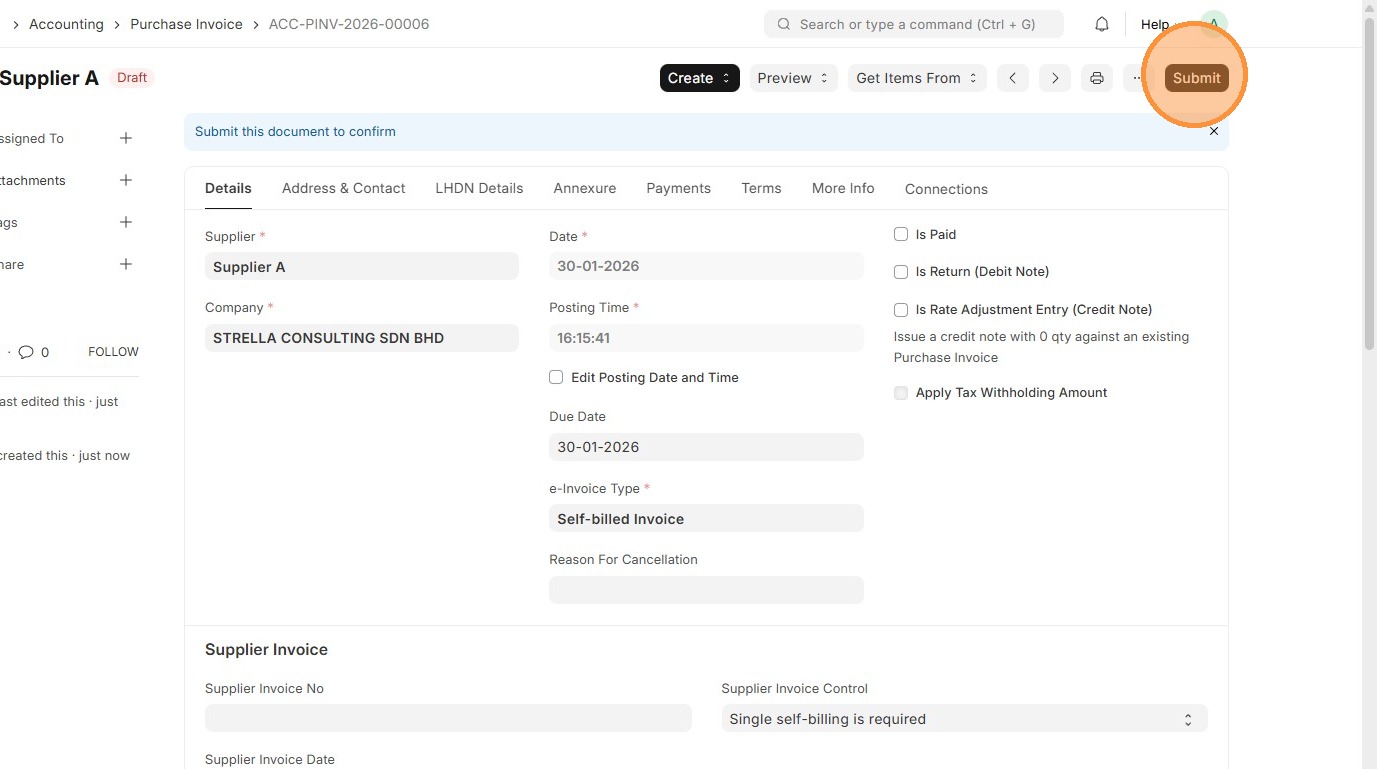
38. Click "Submit"
39. Click "Yes"
40. Verify Purchase Invoice status updates to "Unpaid"

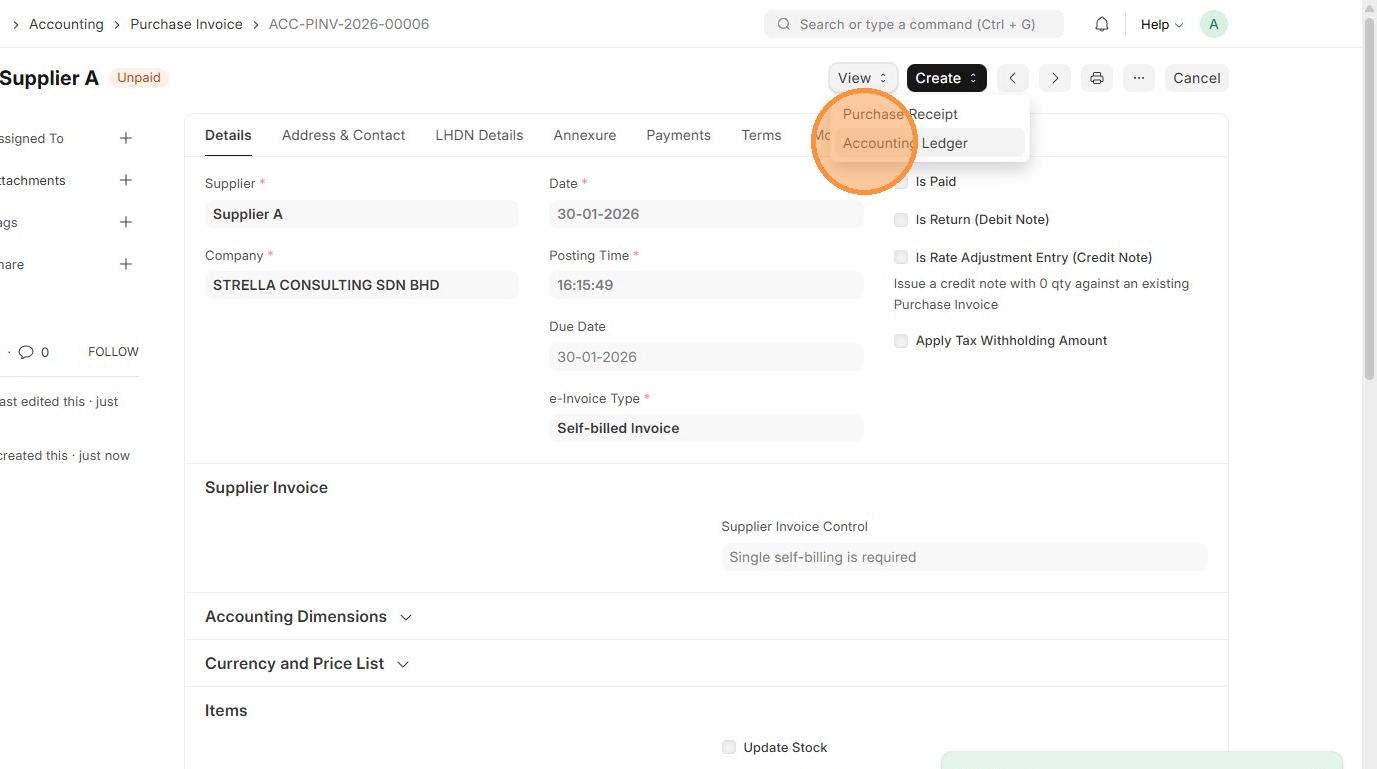
41. Click "View"
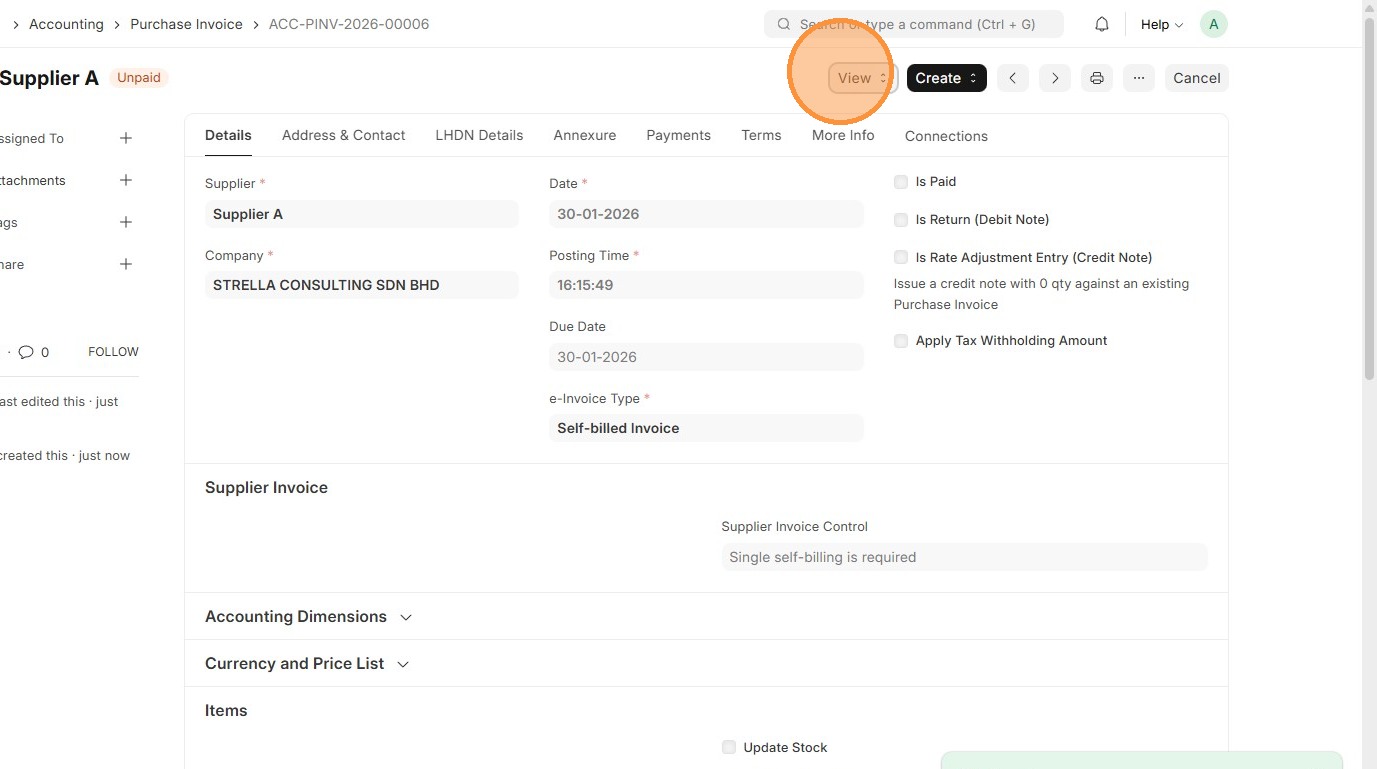
42. Click "Accounting Ledger"
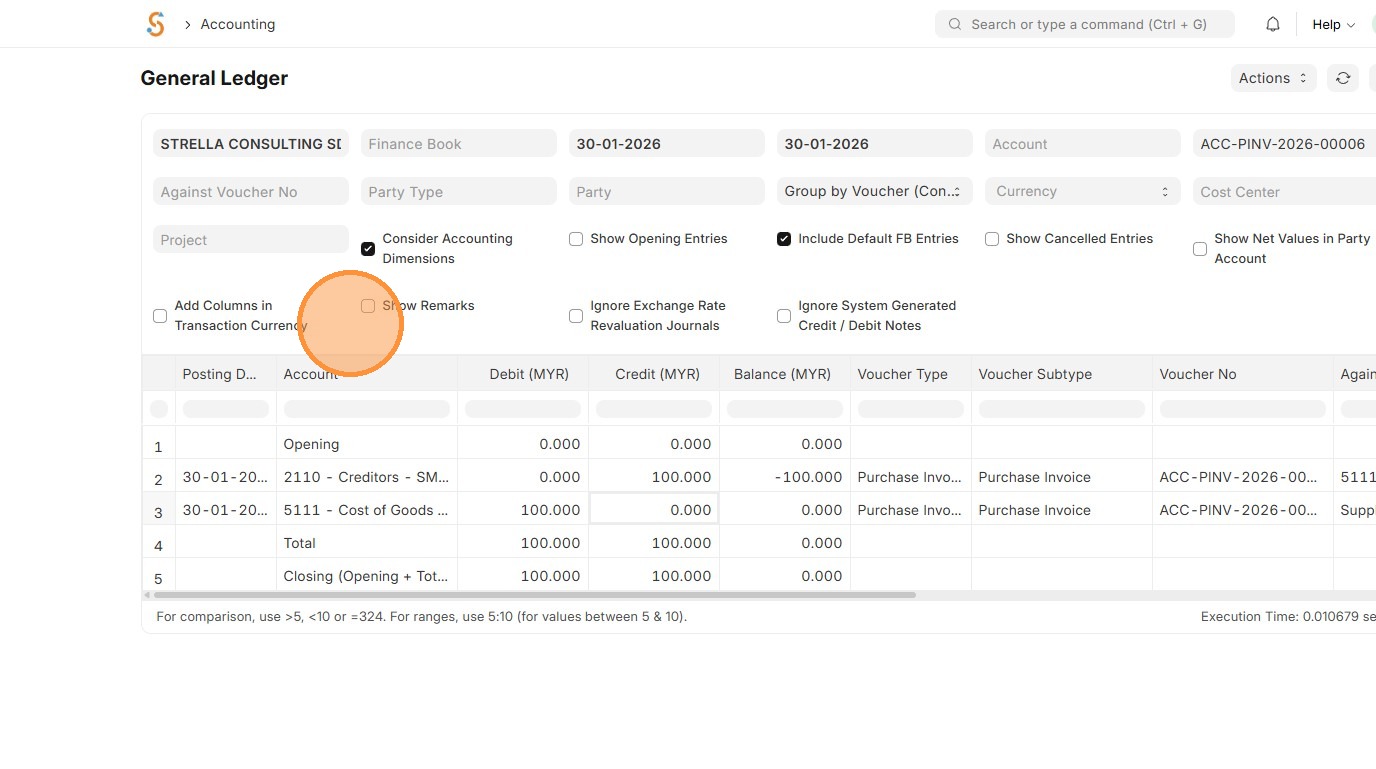
43. Verify General Ledger for transaction.
  DR: Cost of Goods Accounts RM100
  TOTAL DEBIT: RM100

  CREDIT: Creditors Account RM100
  TOTAL CREDIT: RM100
Note: The following is an example of how the General Ledger would look when no tax is applied.Refer to Order to Cash step 47. to view Sample when tax is applied.
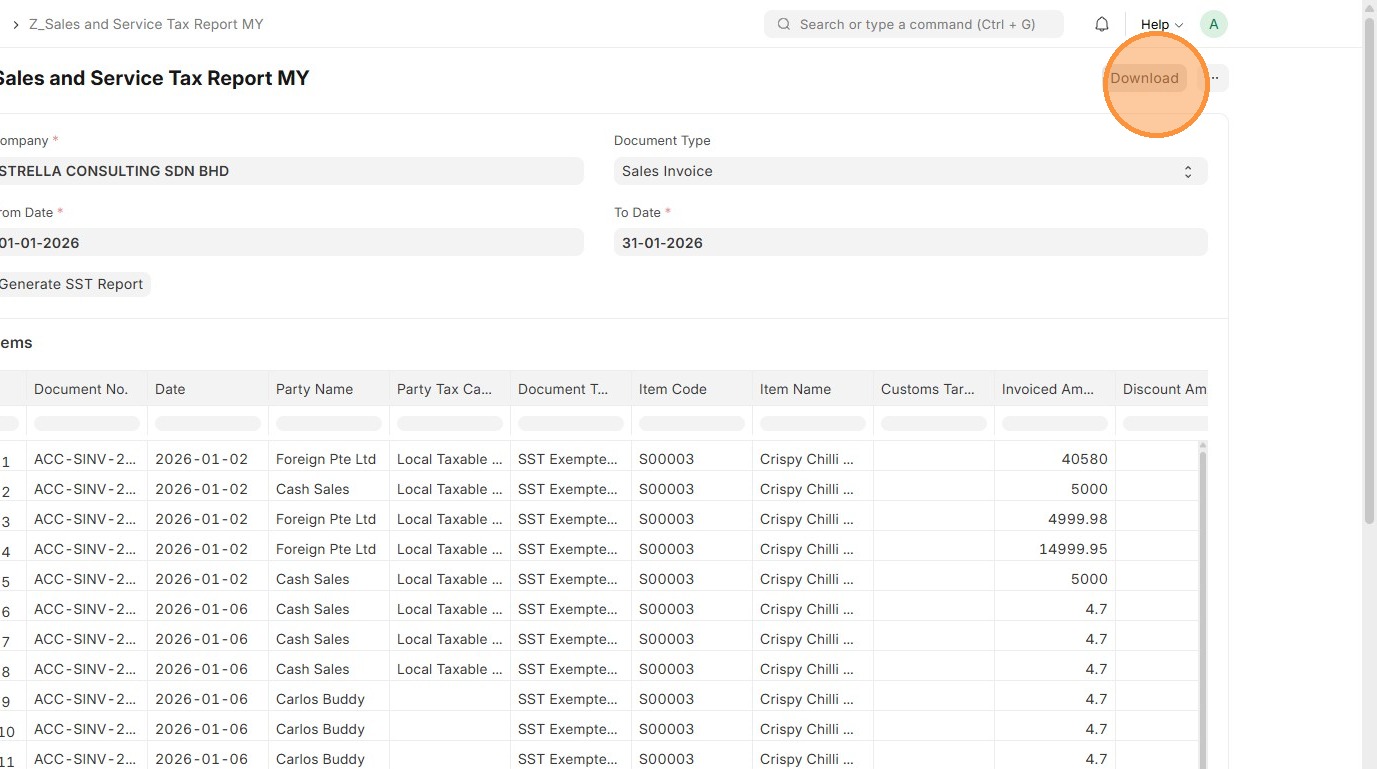
Sales and Service Tax Report MY
Order to Cash
1. Click "Accounting"
2. Click "Sales and Service Tax Report MY"
3. Select Document Type
4. Select "From Date" - Start date of the SST reporting period, typically bi-monthly
5. Select "To Date" - End date of the SST reporting period, typically bi-monthly
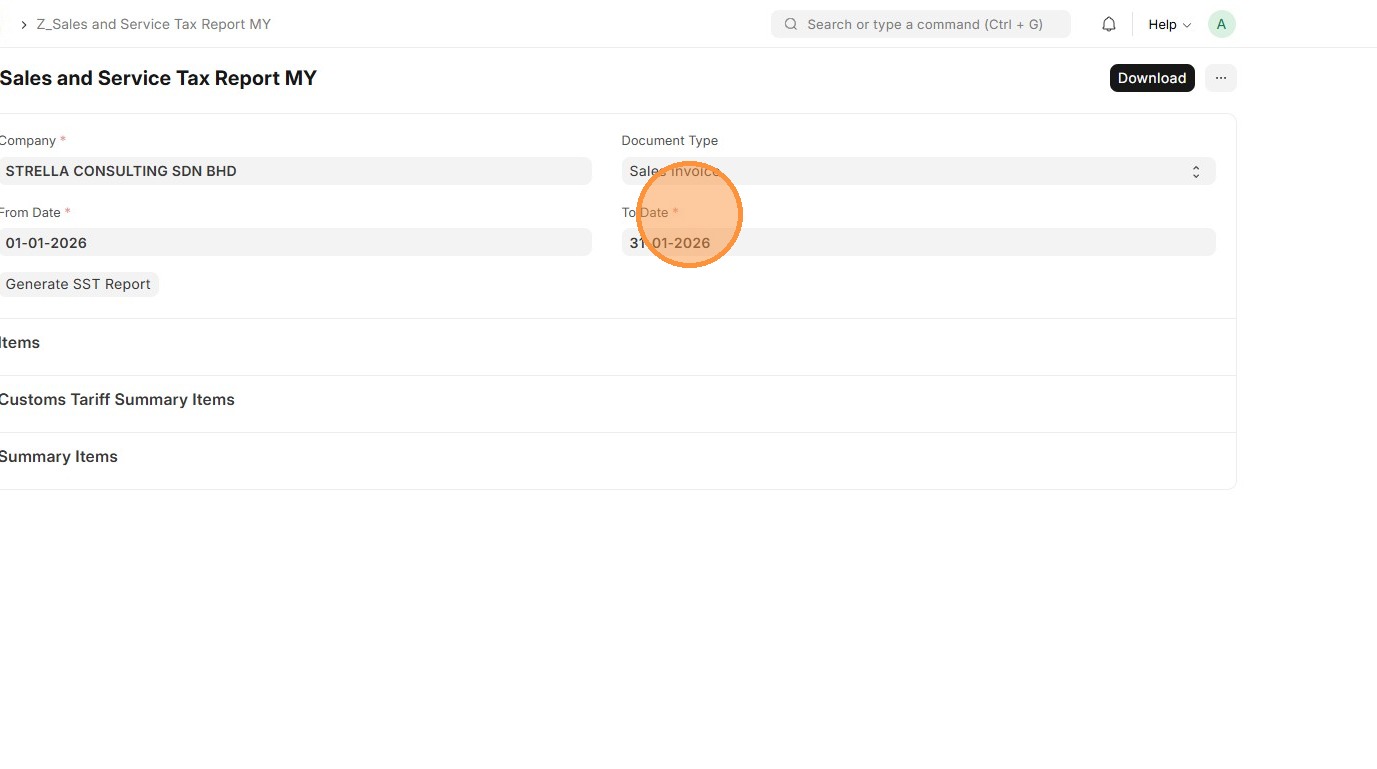
6. Click "Generate SST Report"
7. Report will be generated.

8. Click "Download" to export as Excel