Setup and Master Data Maintenance
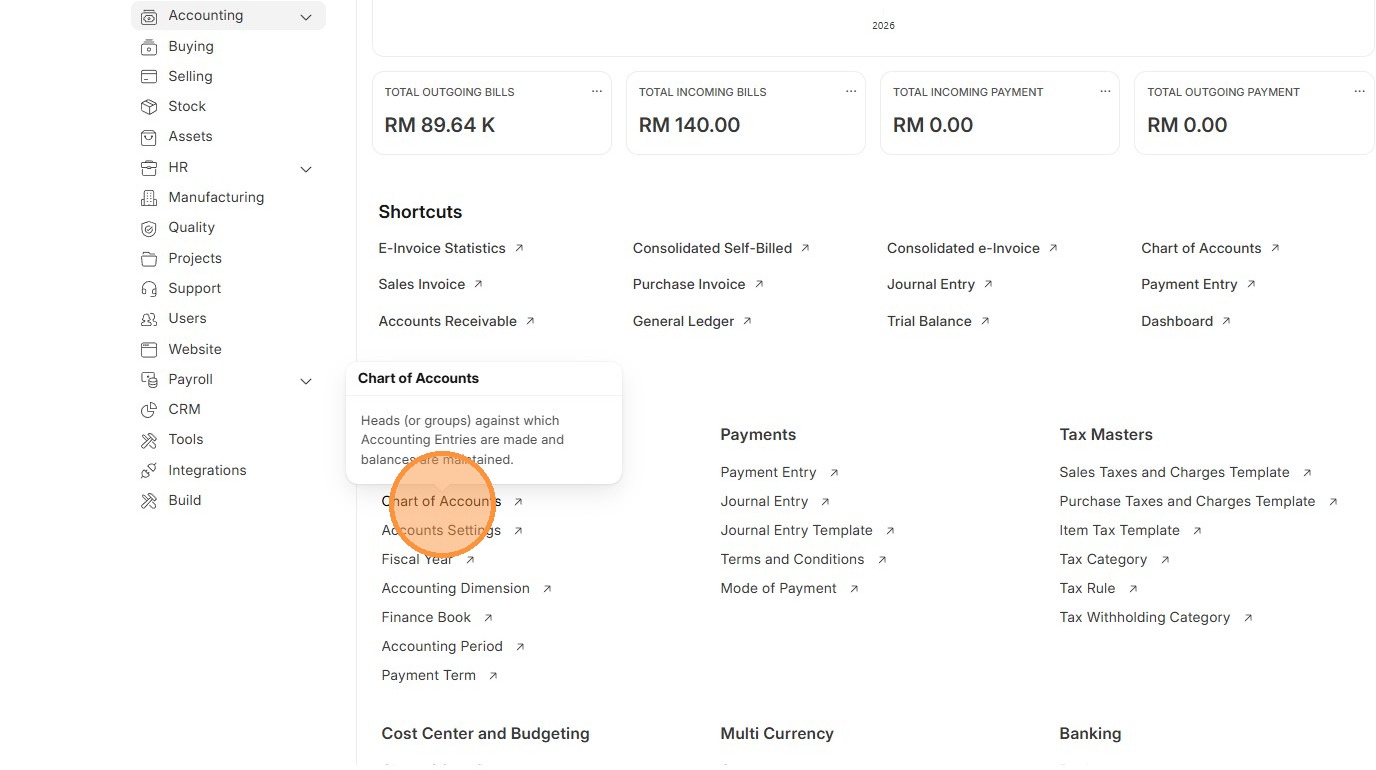
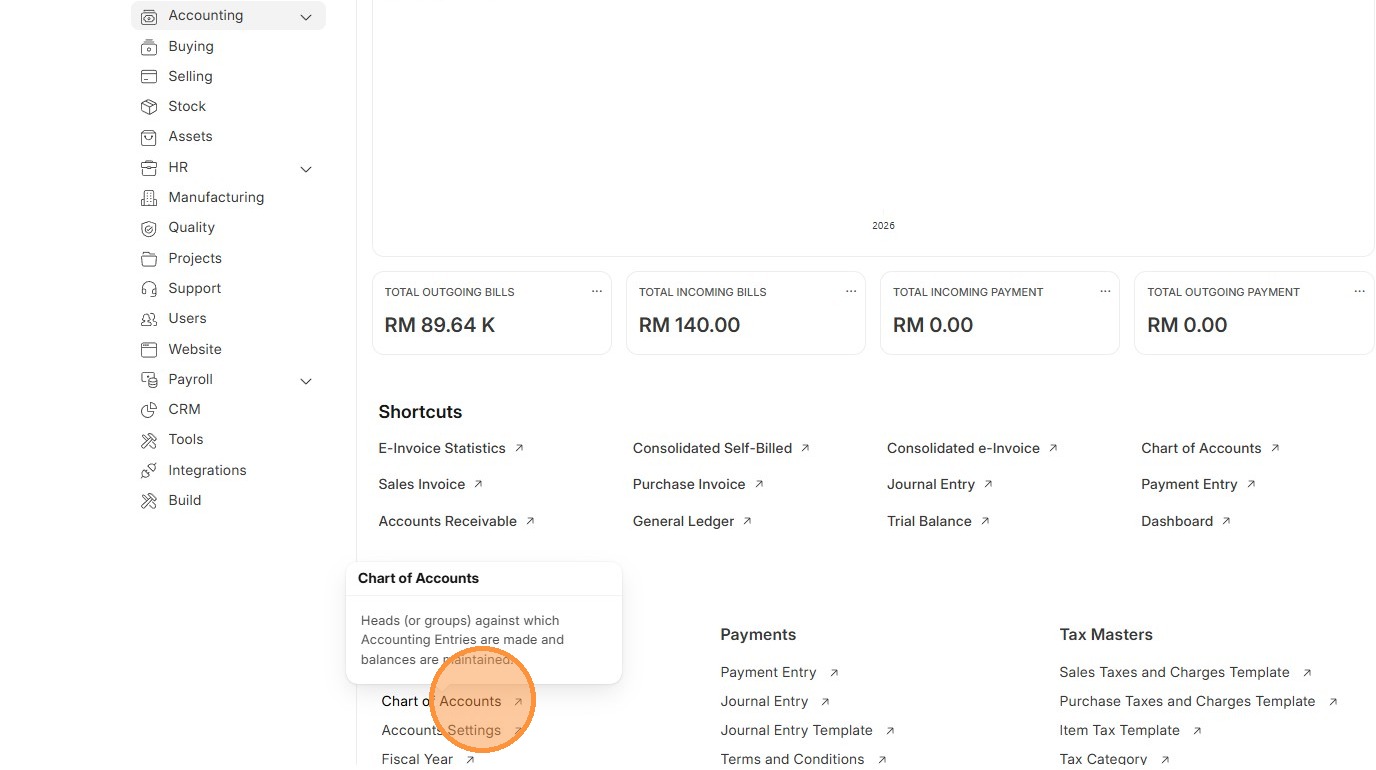
Chart of Accounts
The Chart of Accounts is like the backbone of your accounting system. It’s a list of all the accounts where money in your business is tracked what you earn, what you spend, and what you own. Every sale, purchase, or expense gets recorded into these accounts, so at any time, you can review how much money you have, how much you owe, and how much you’ve earned.
Add a New Child Account in SMURPS Accounting
Made by Strella Projects with Scribe
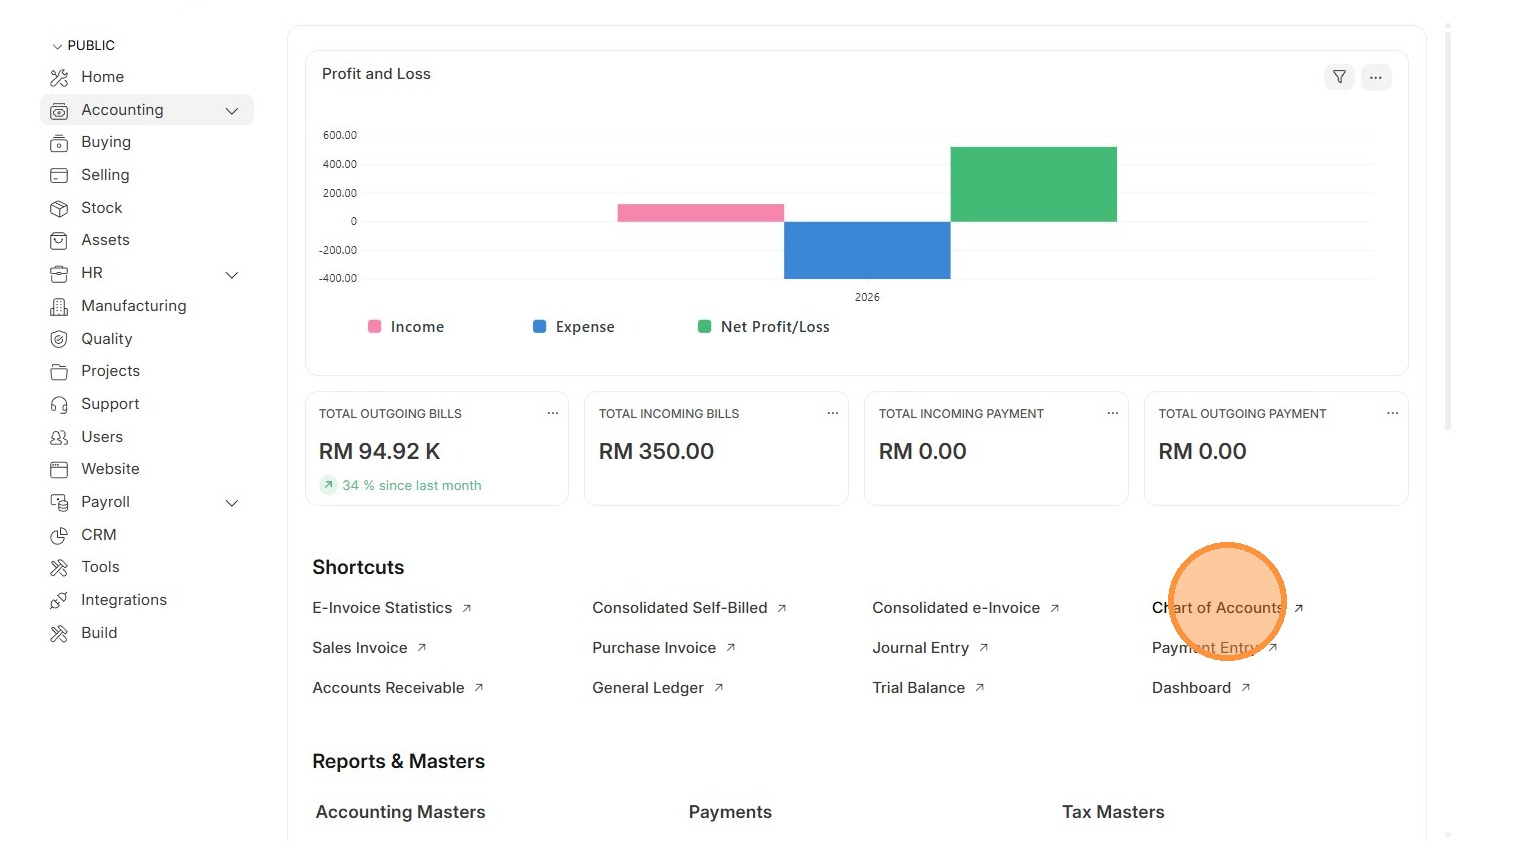
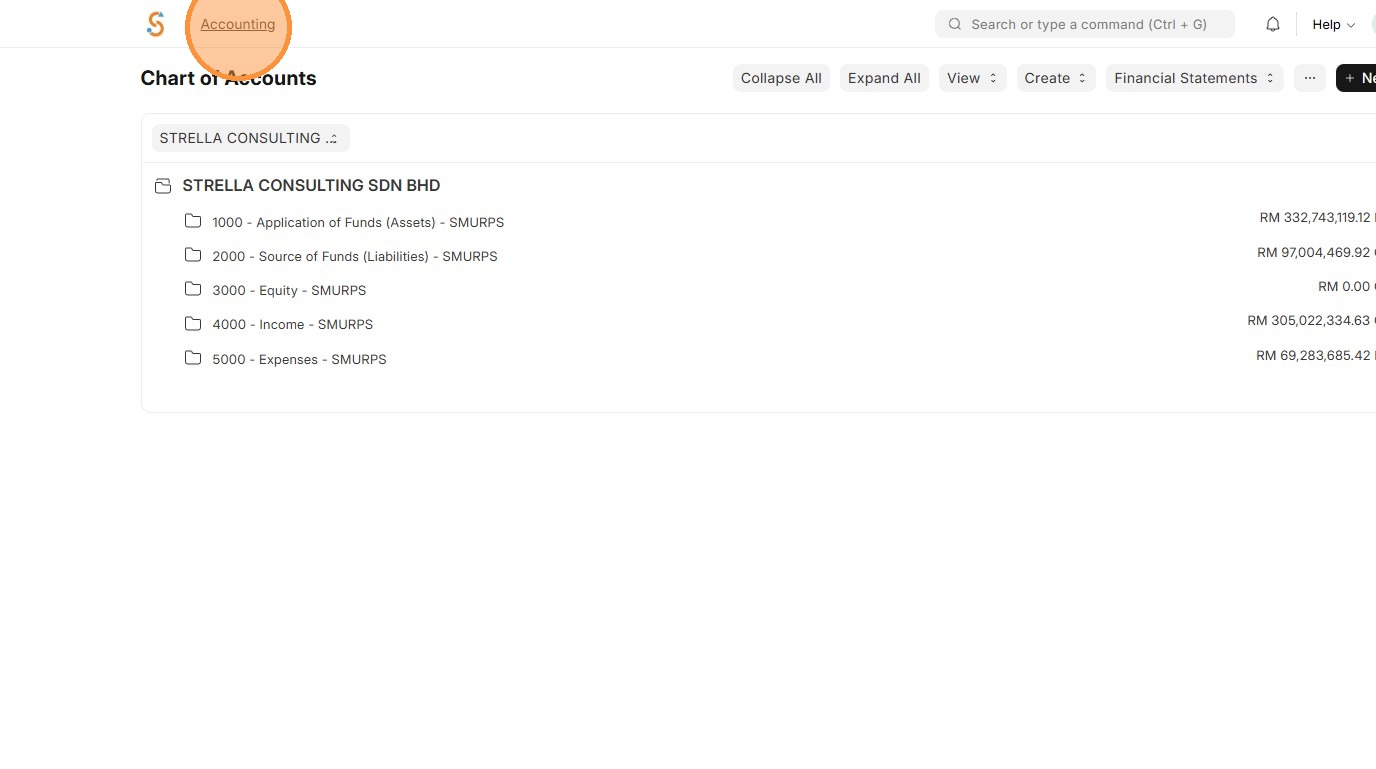
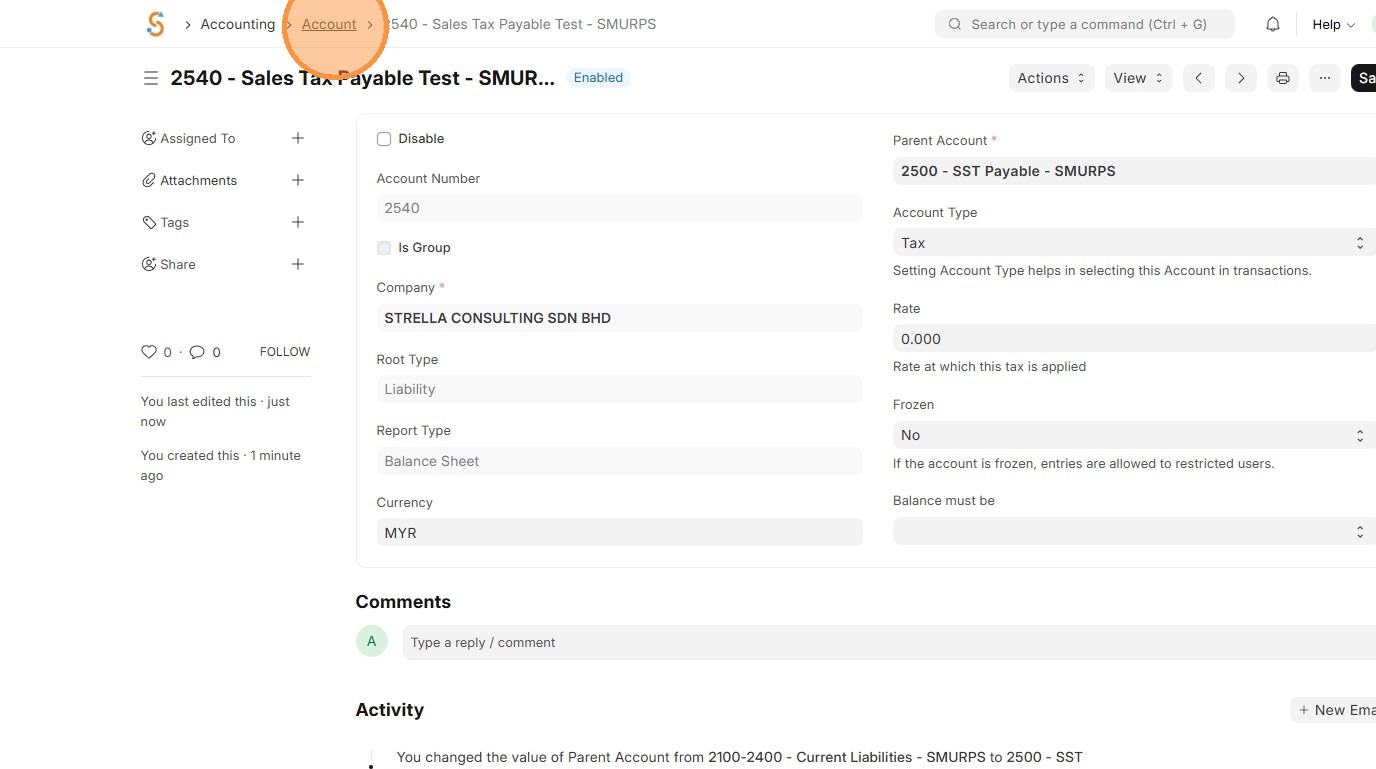
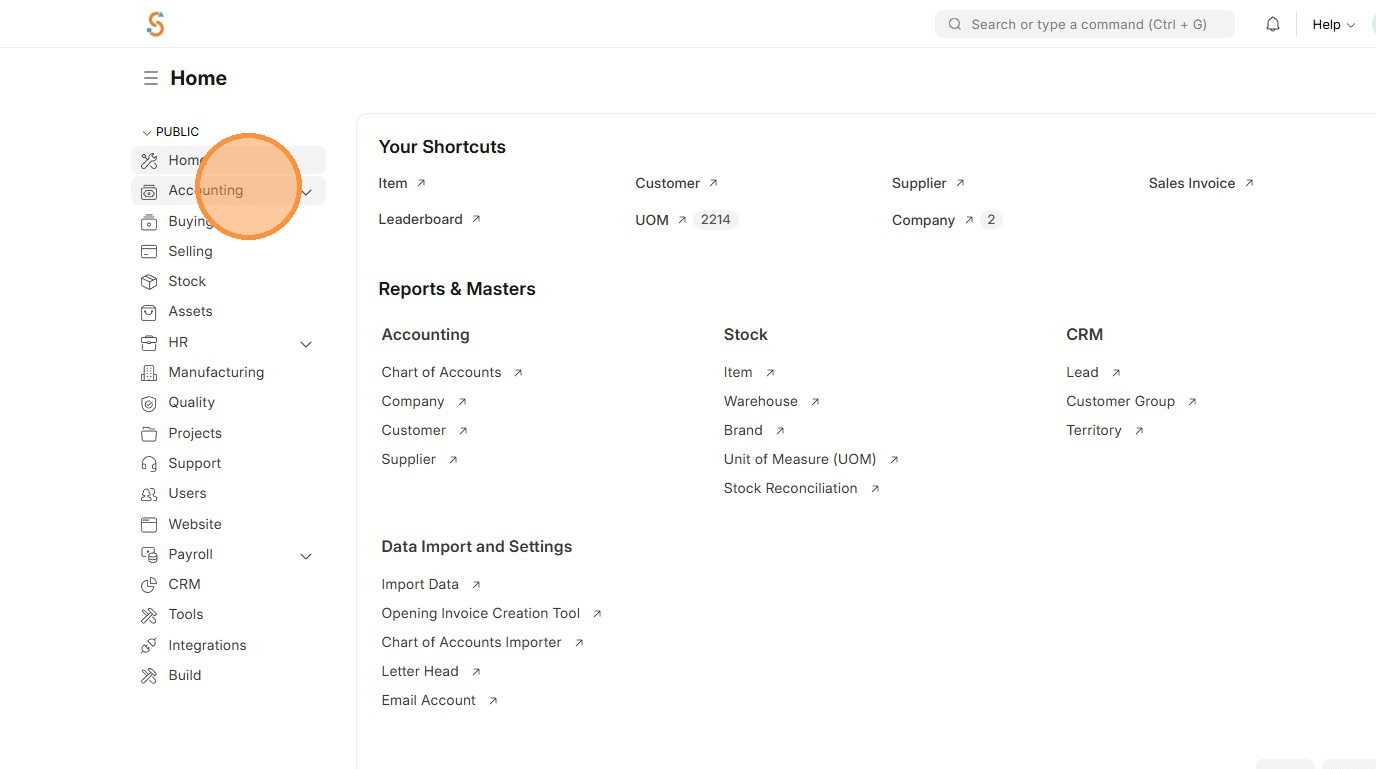
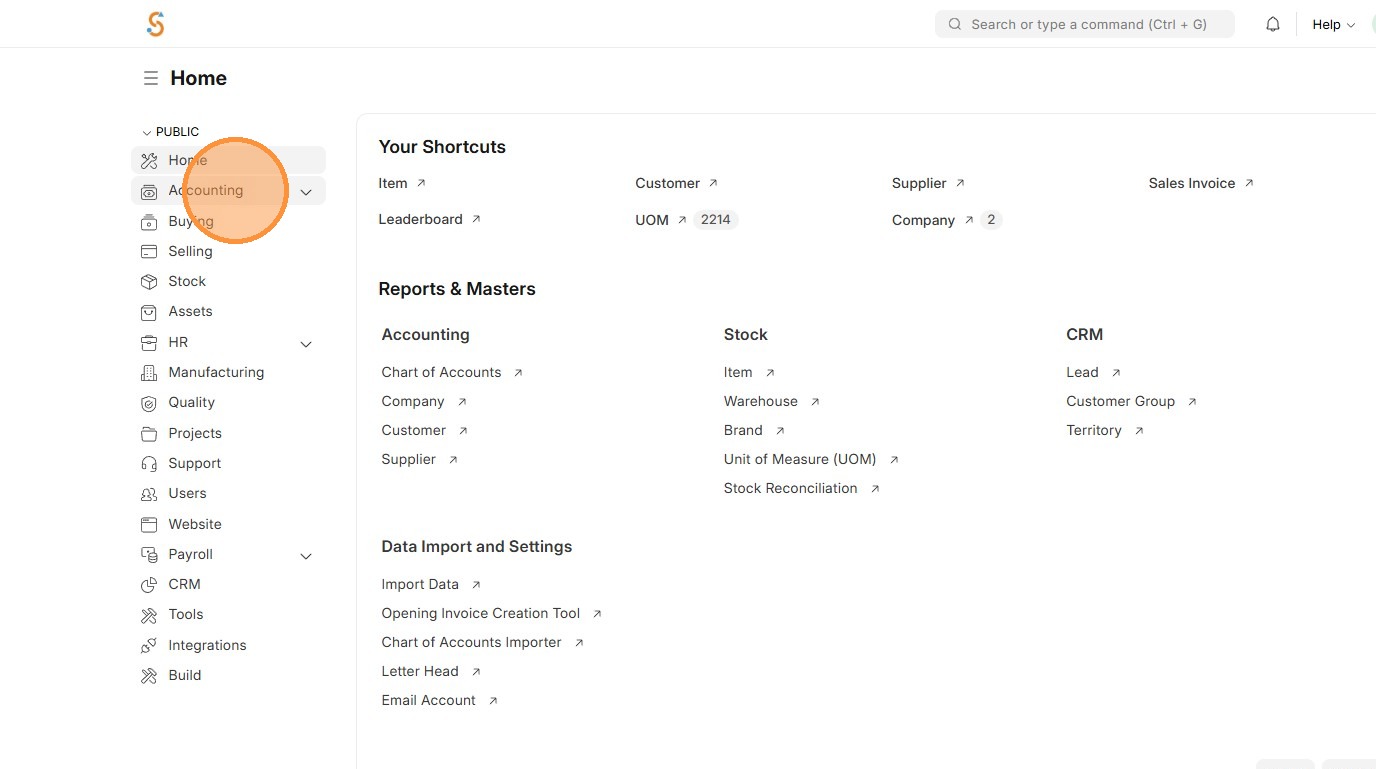
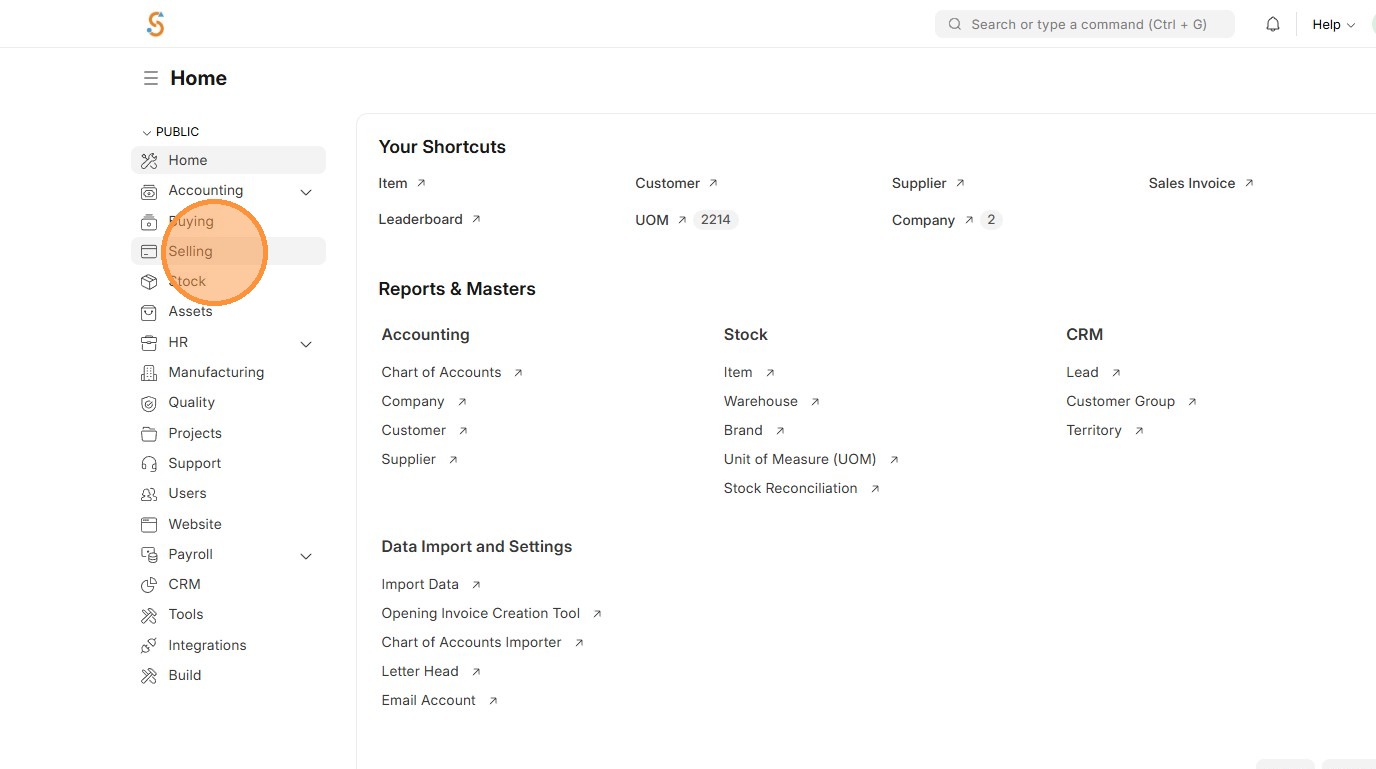
1. Click "Accounting"
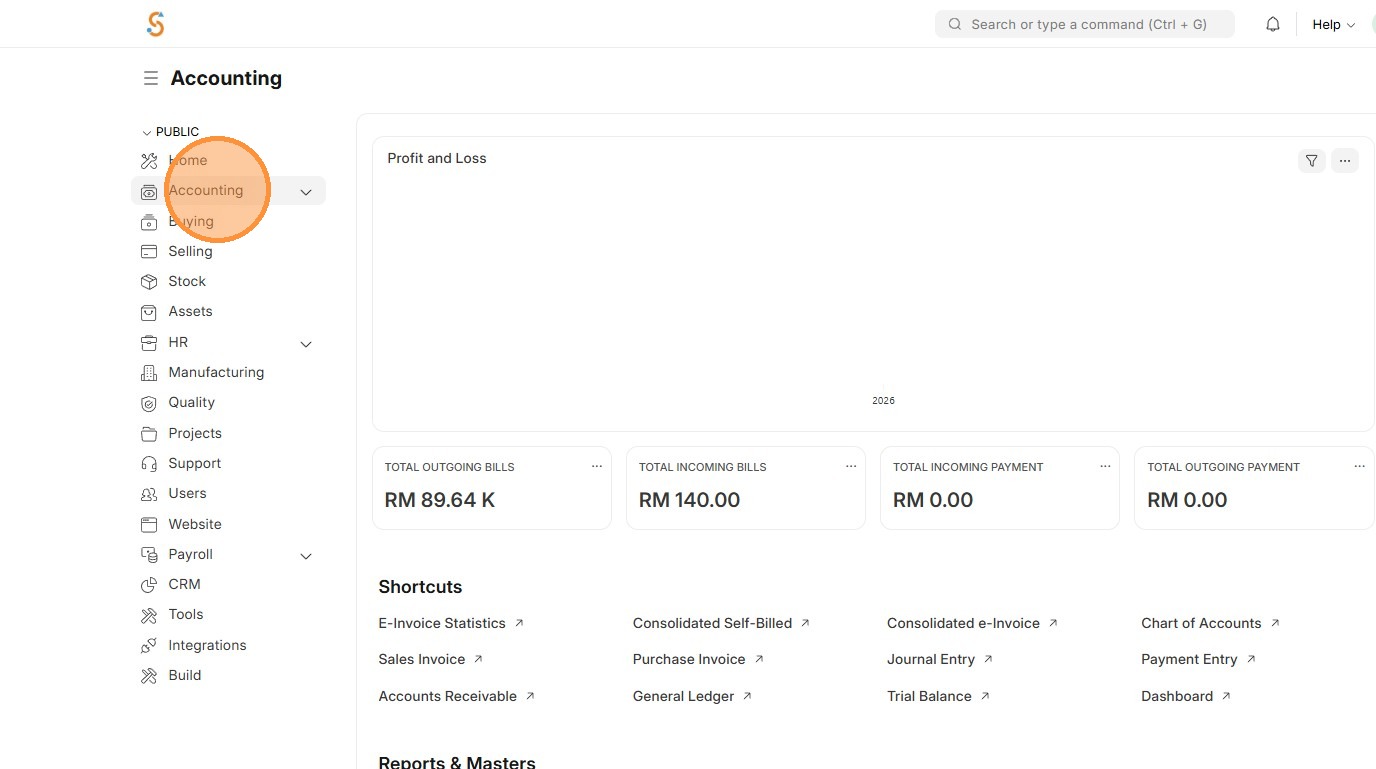
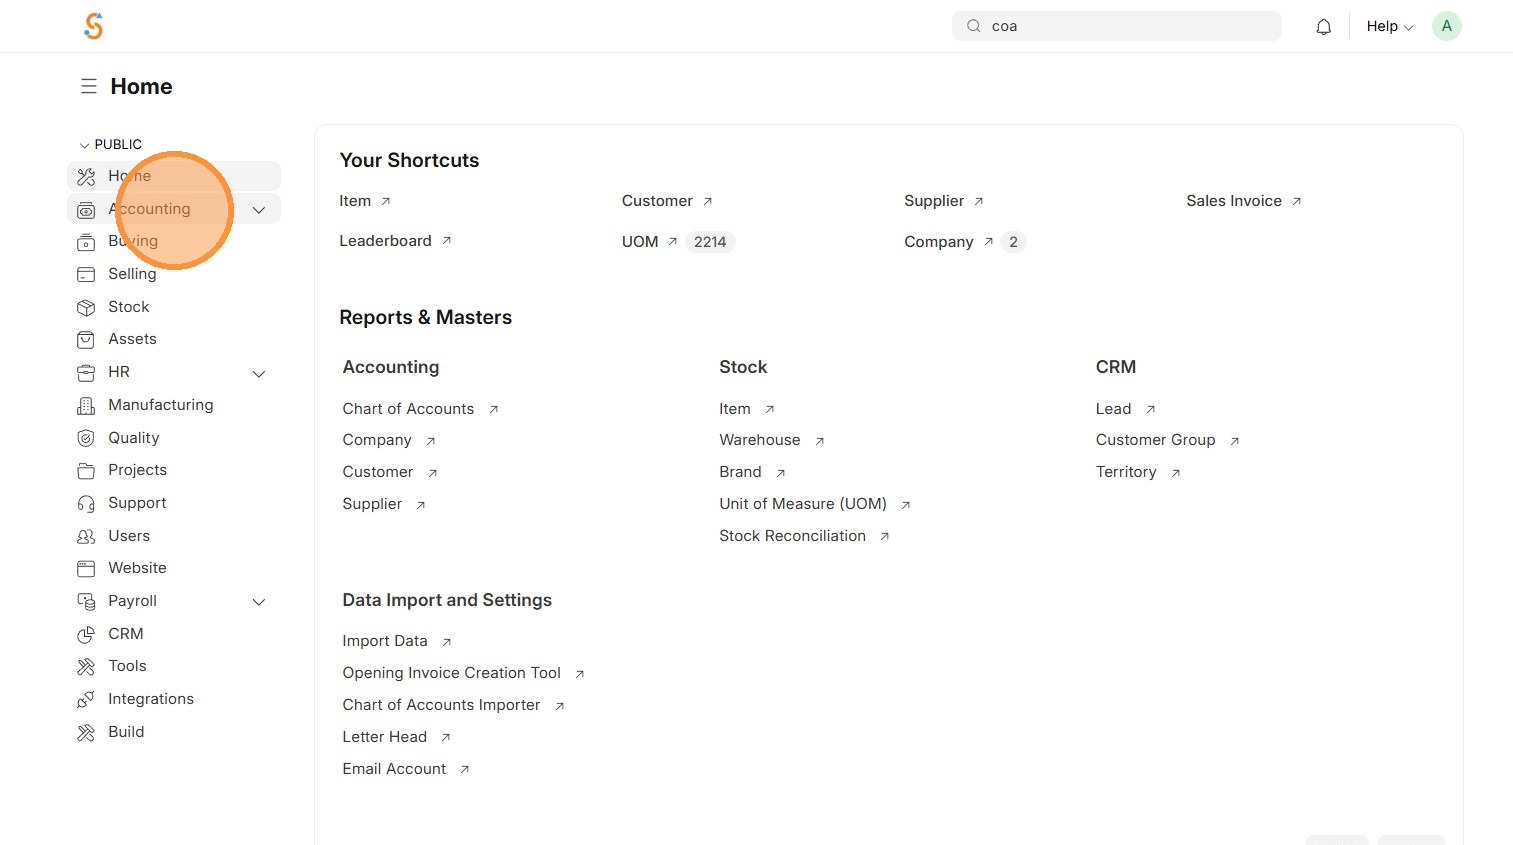
2. Click "Chart of Accounts"
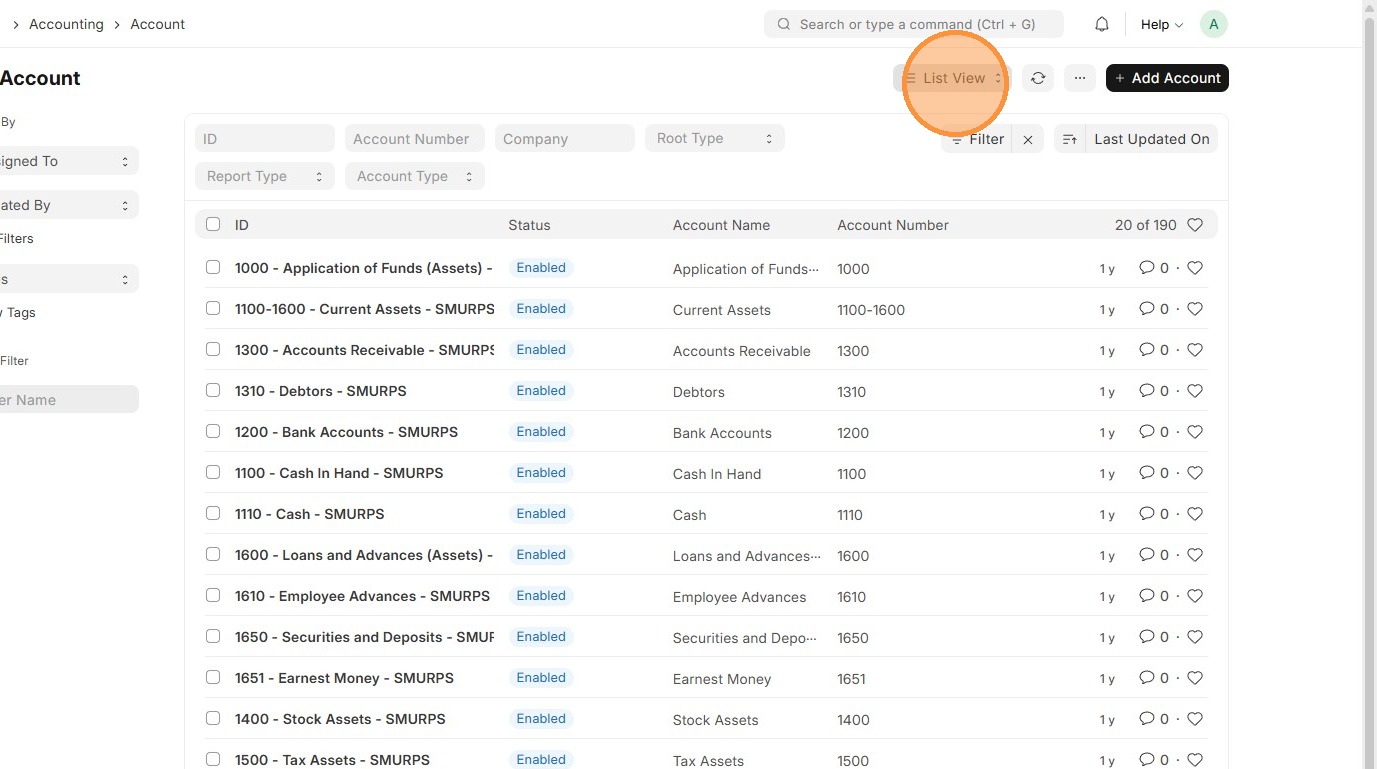
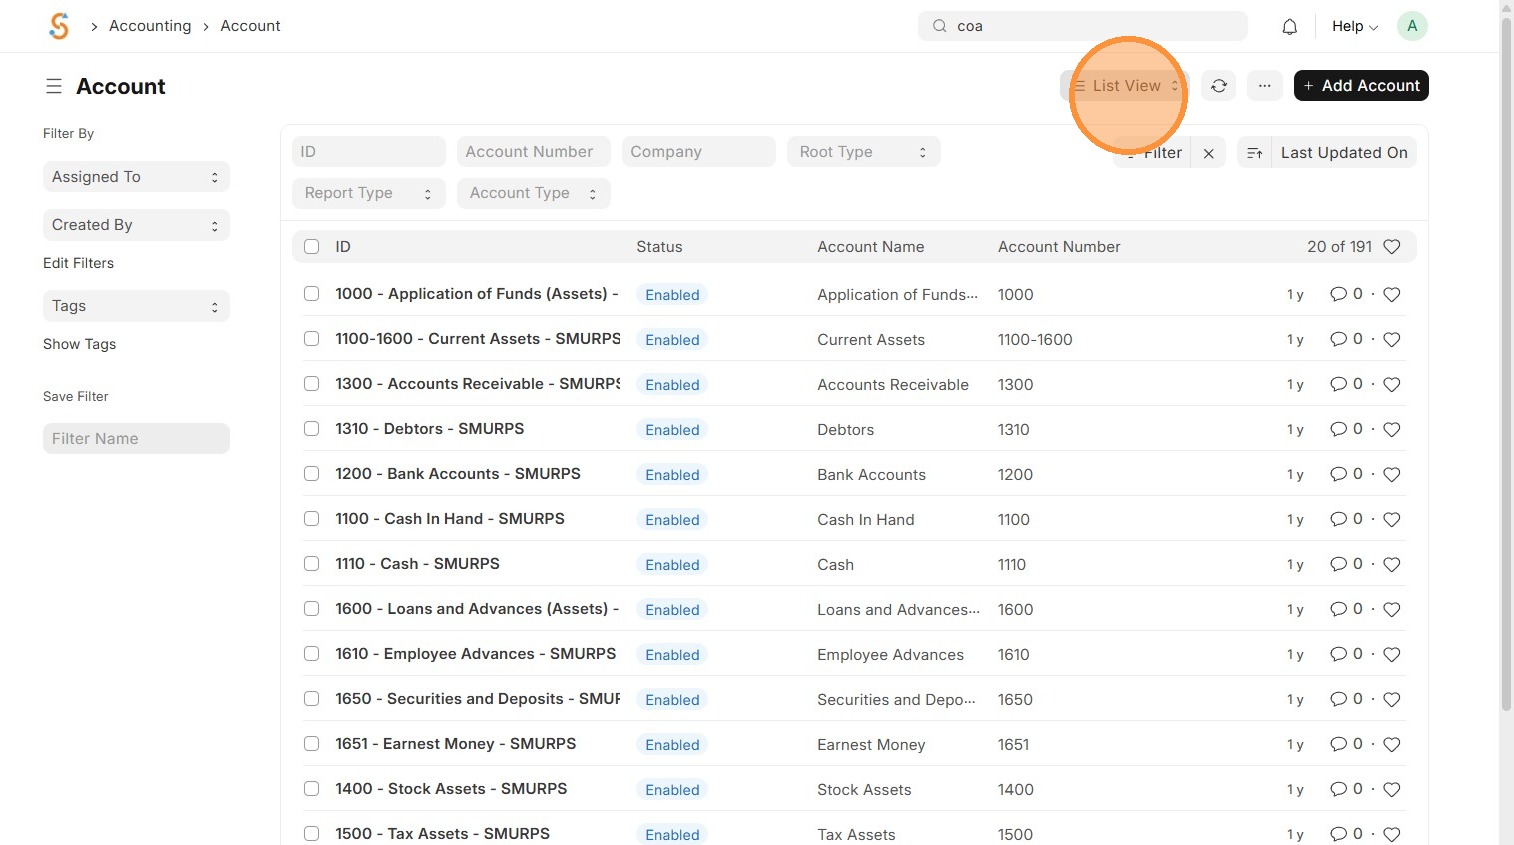
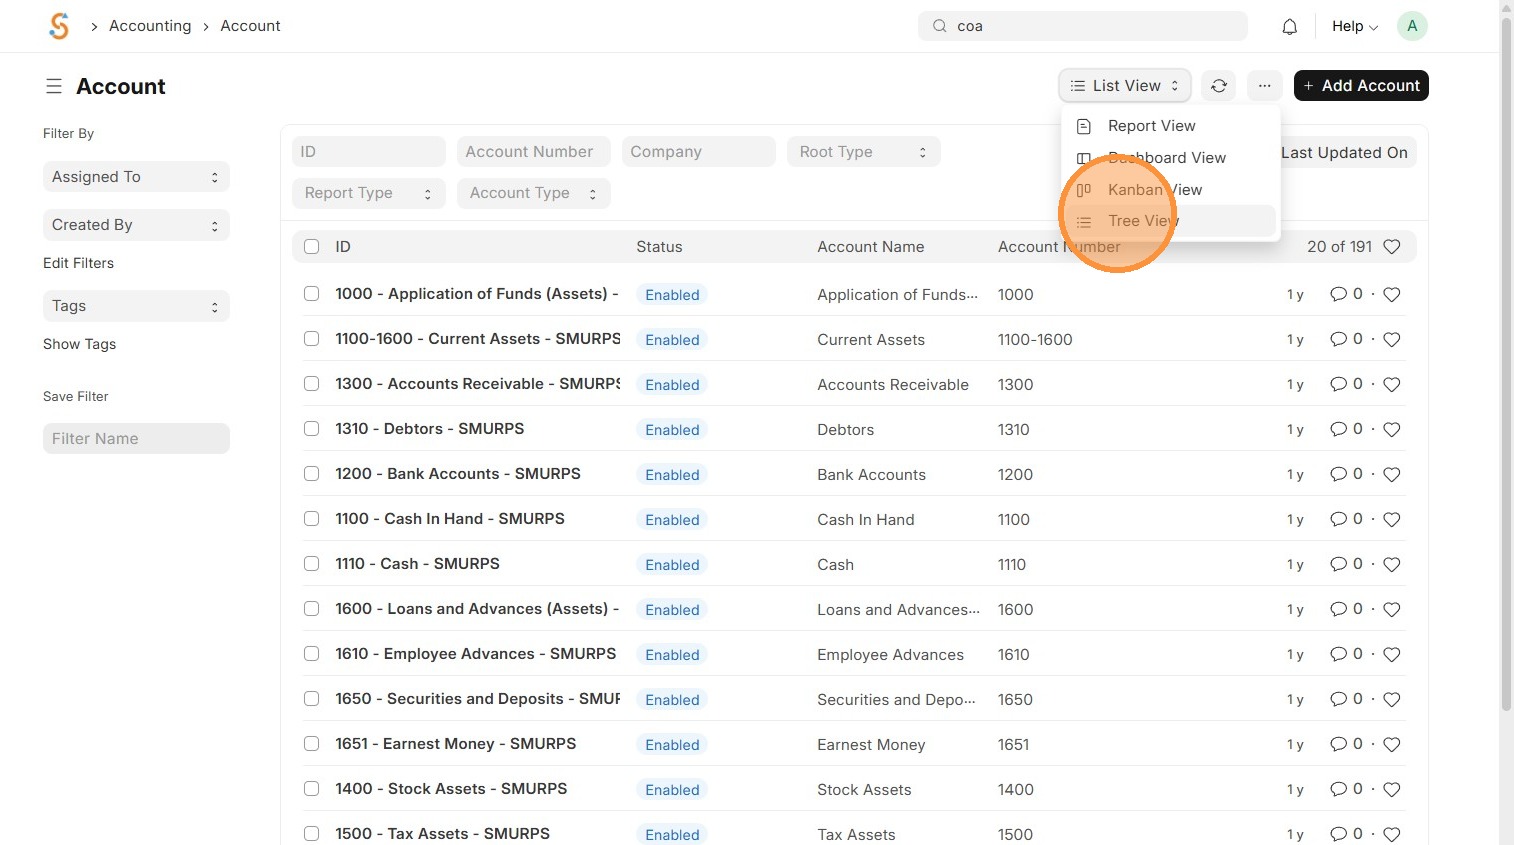
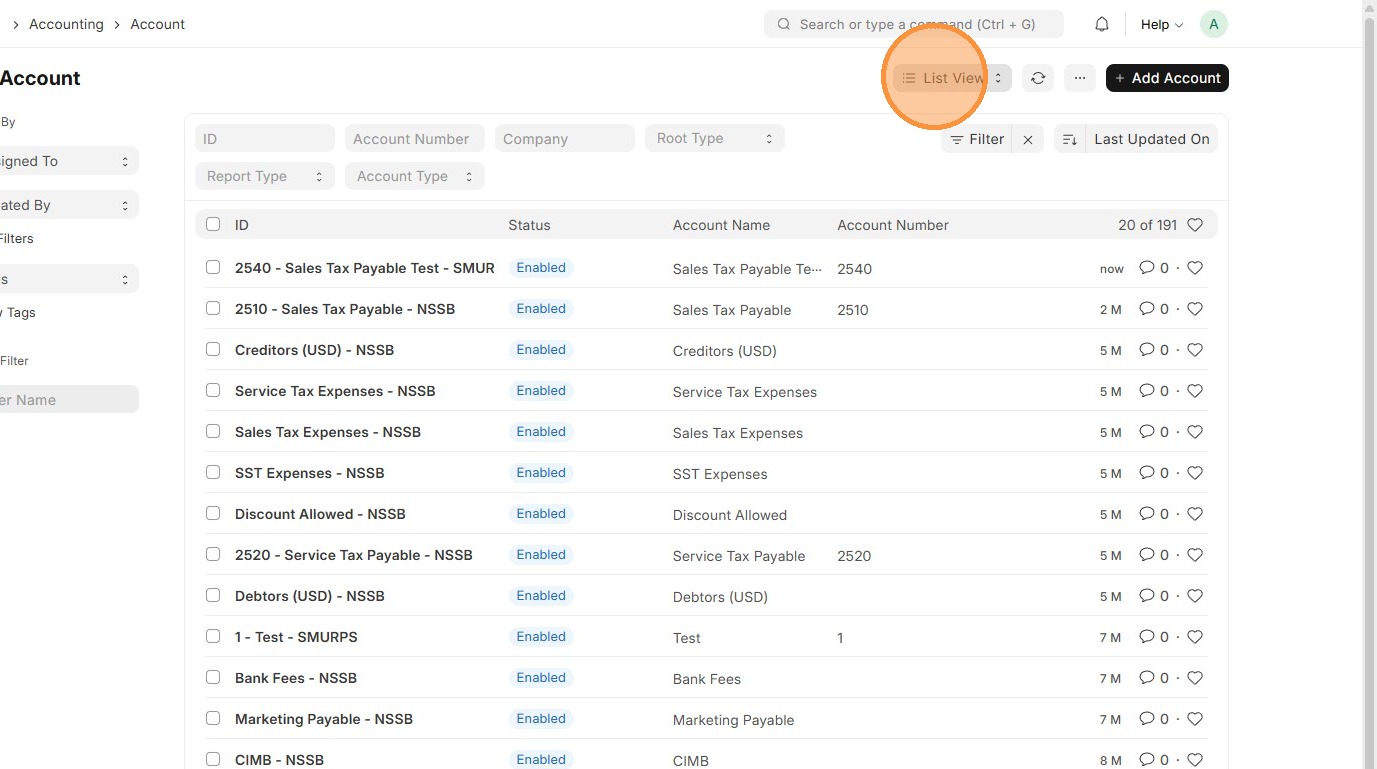
3. Click "List View"
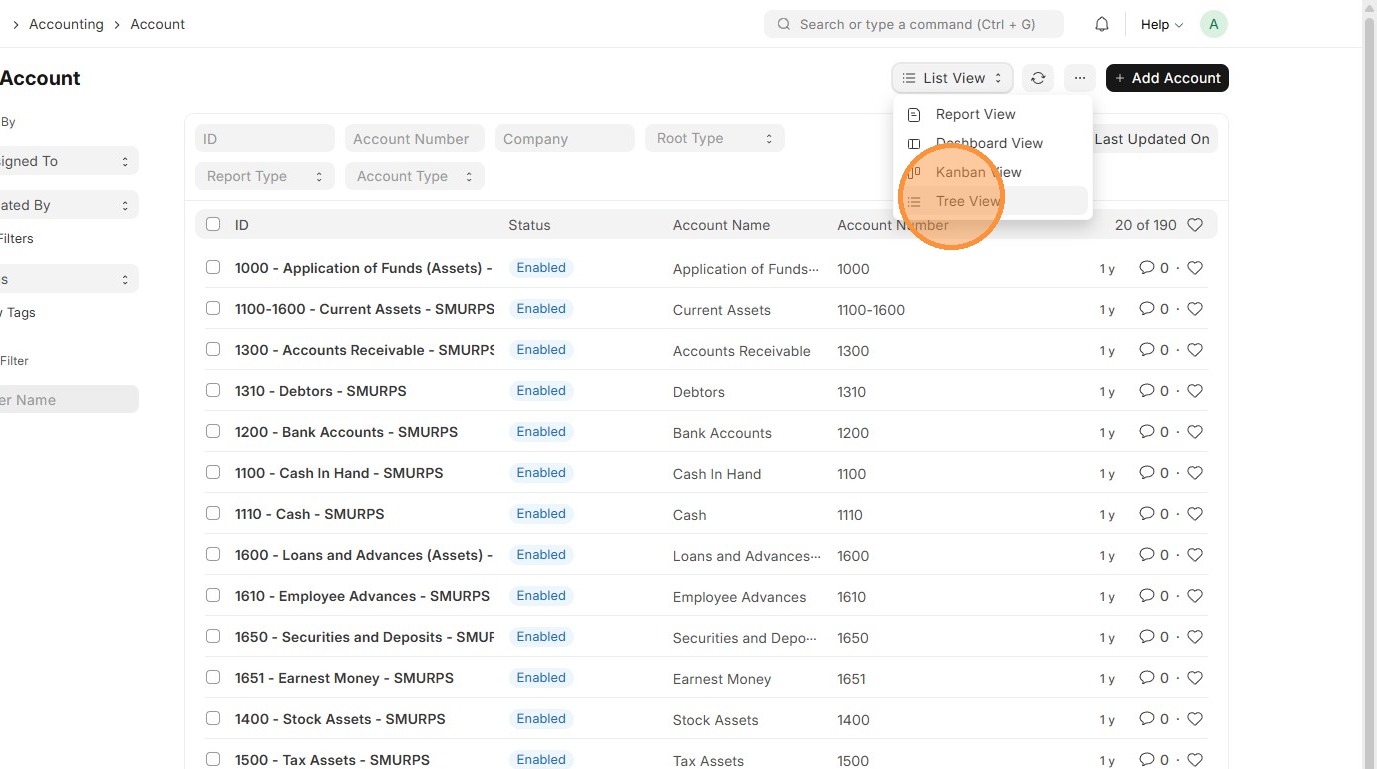
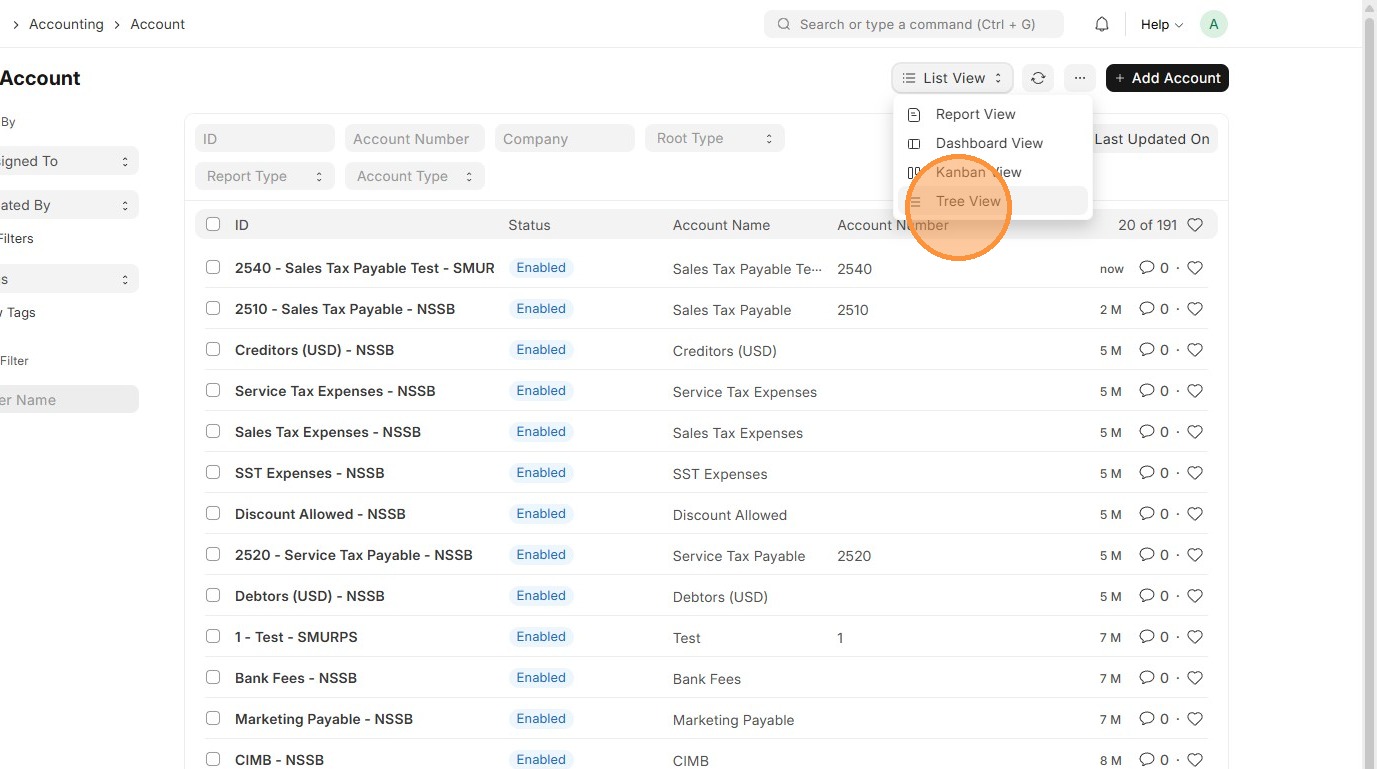
4. Click "Tree View"
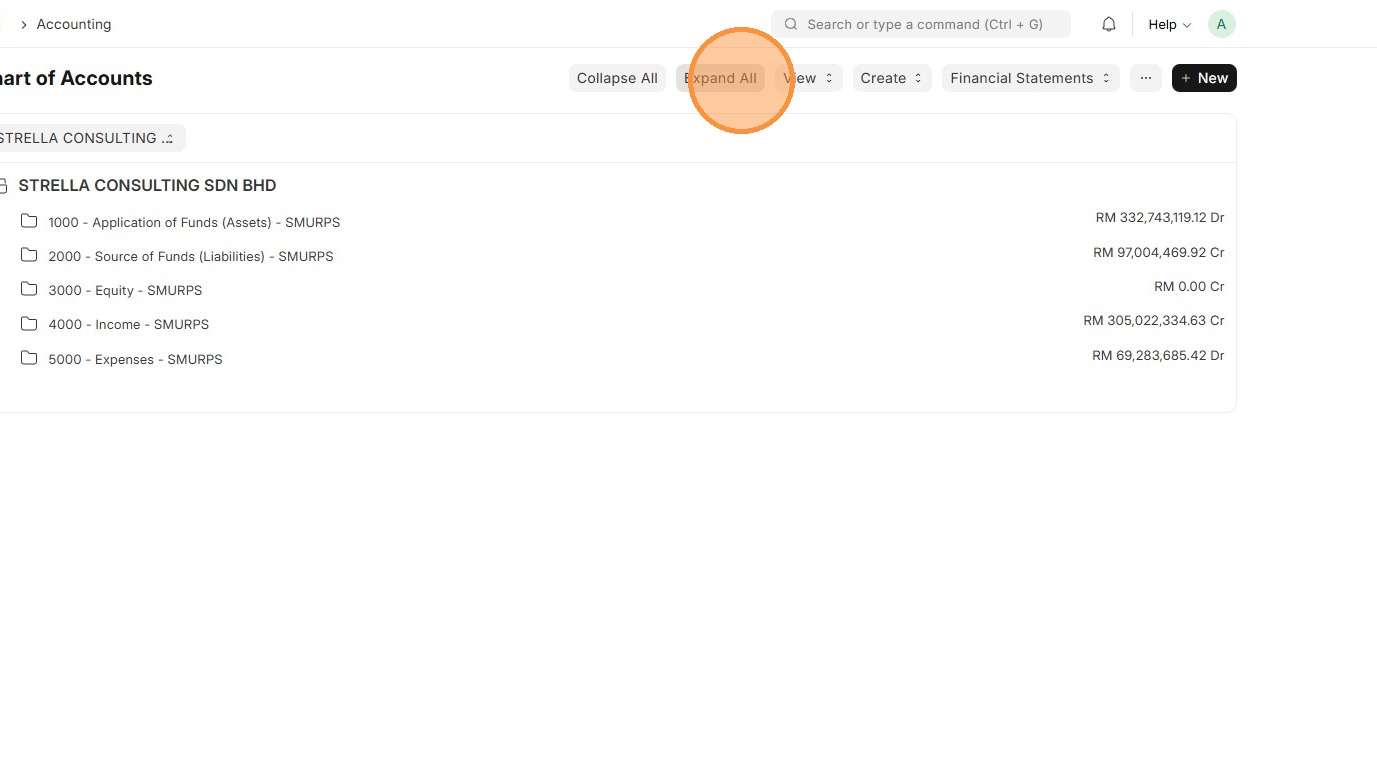
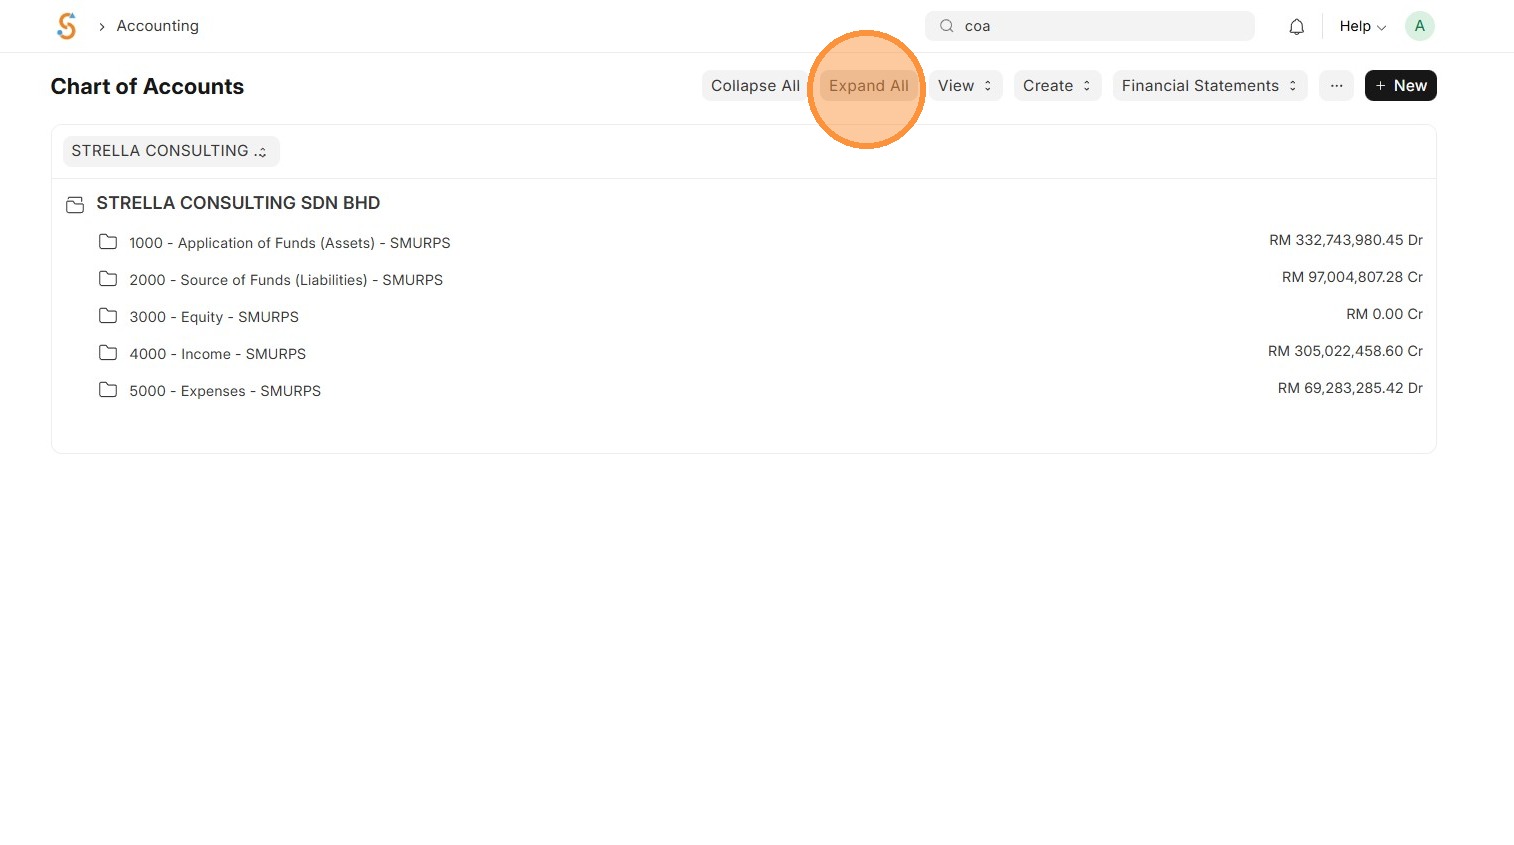
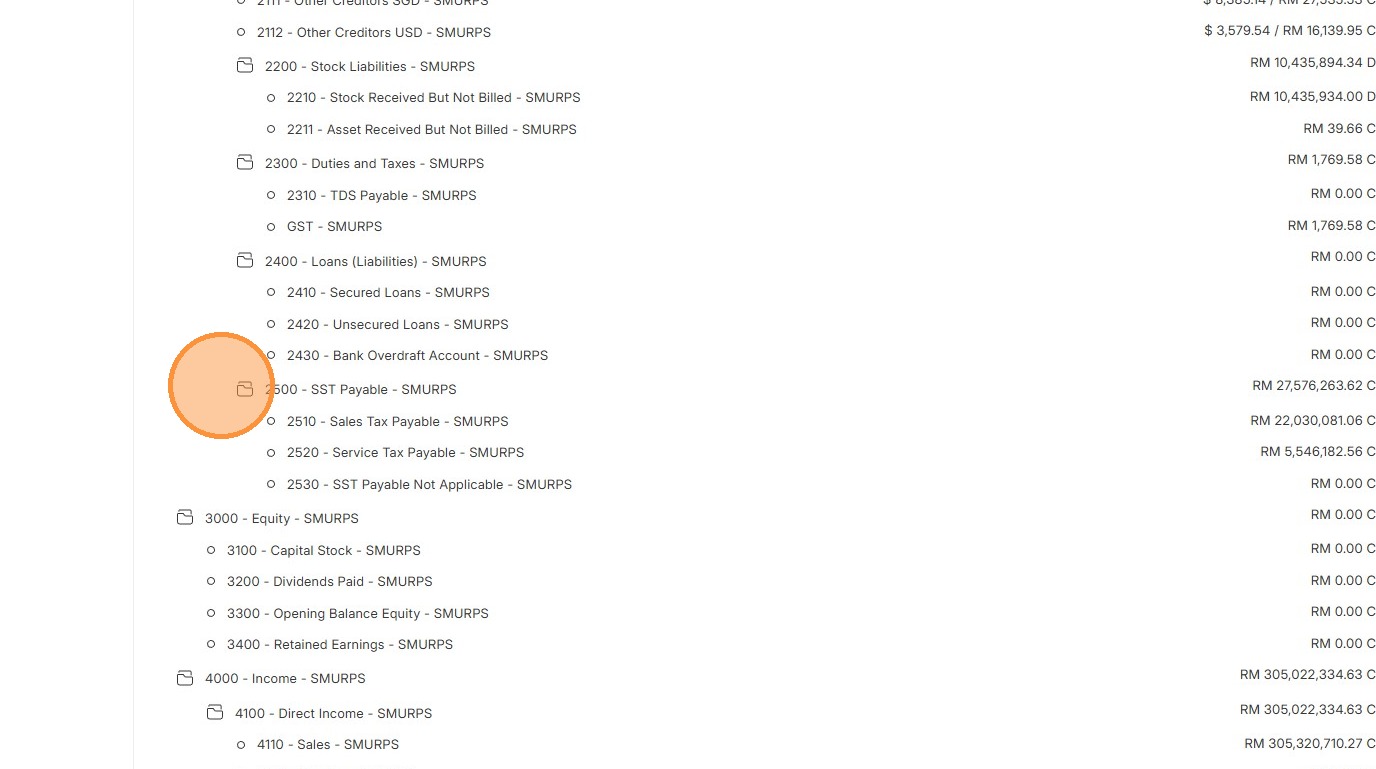
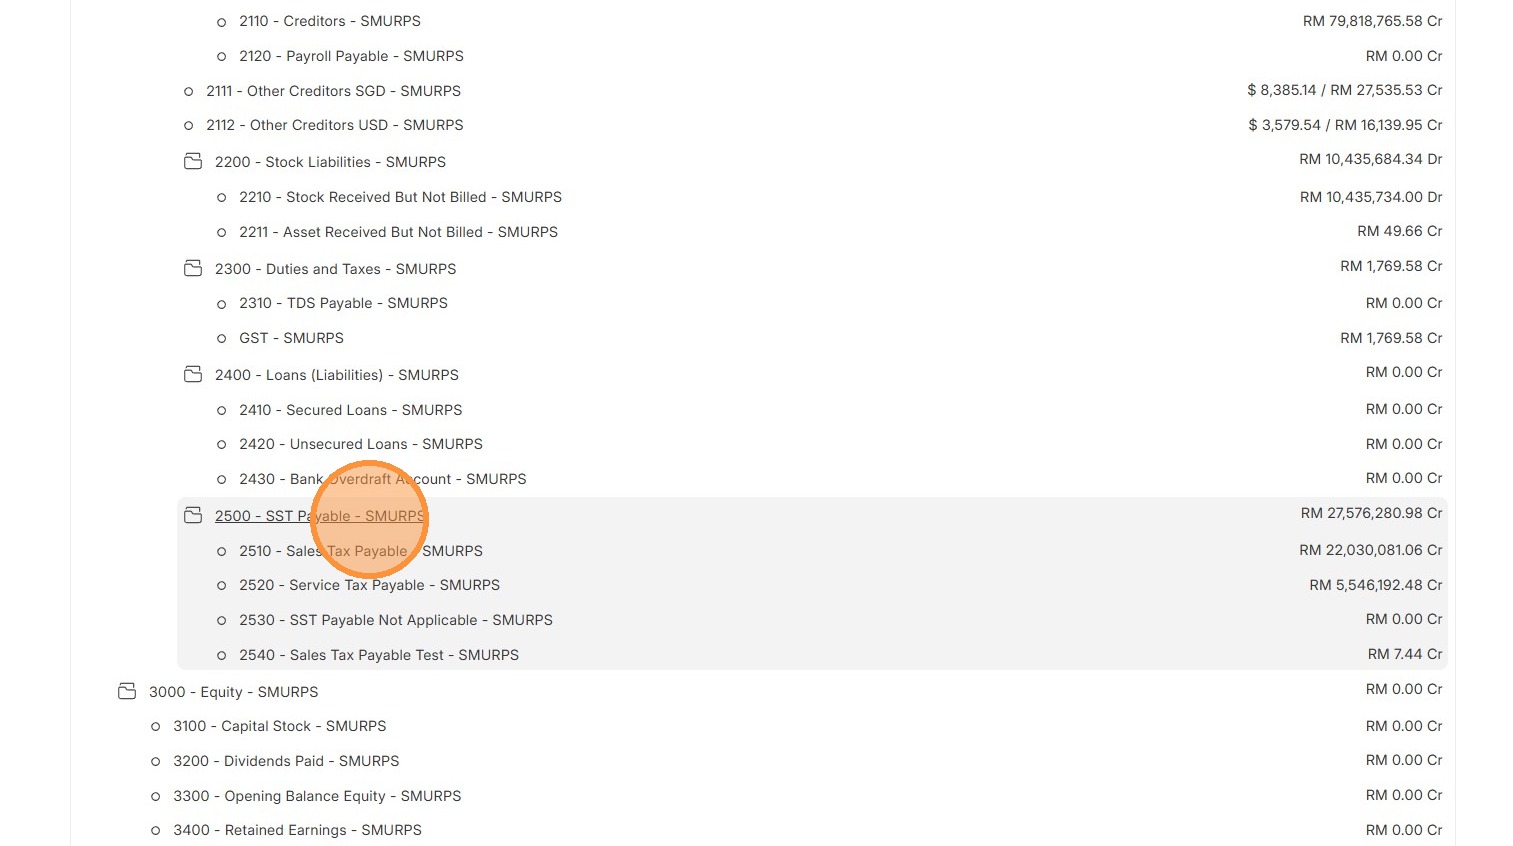
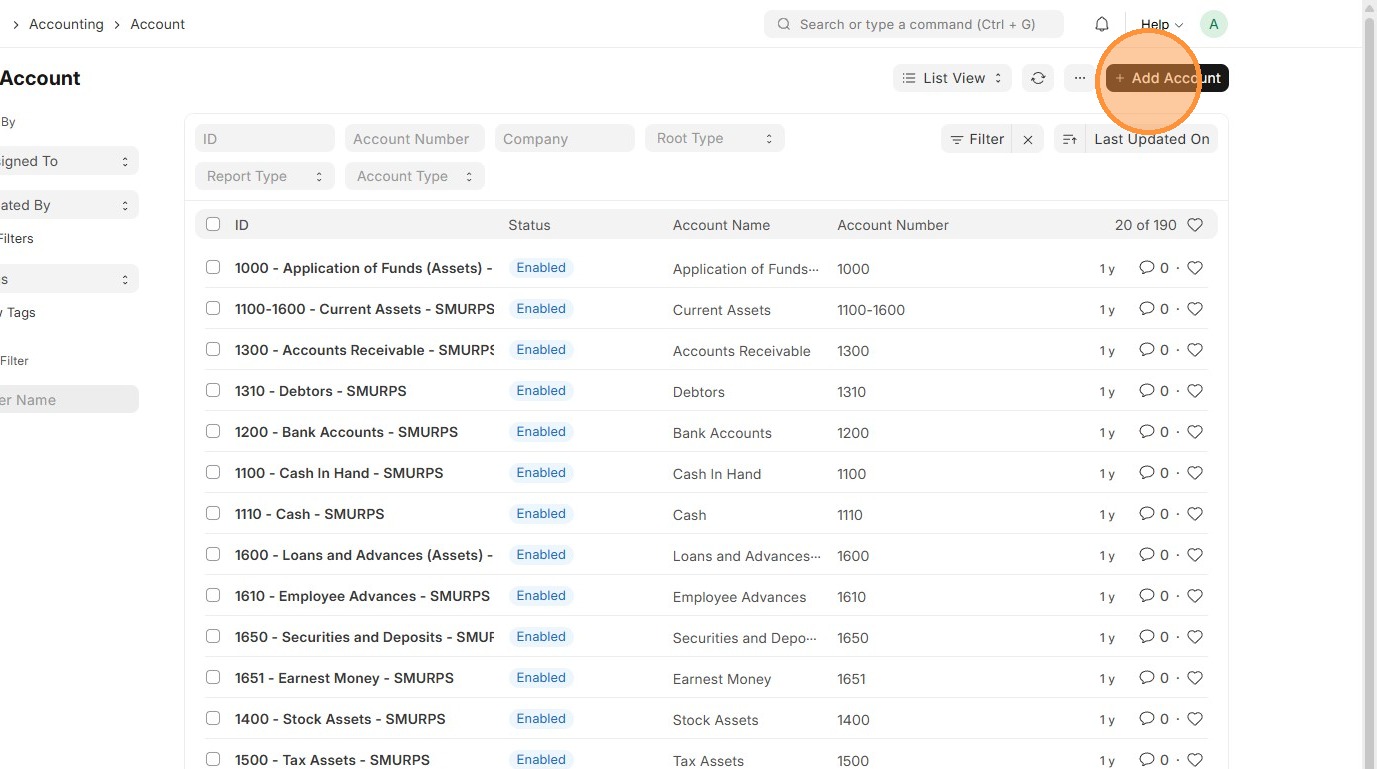
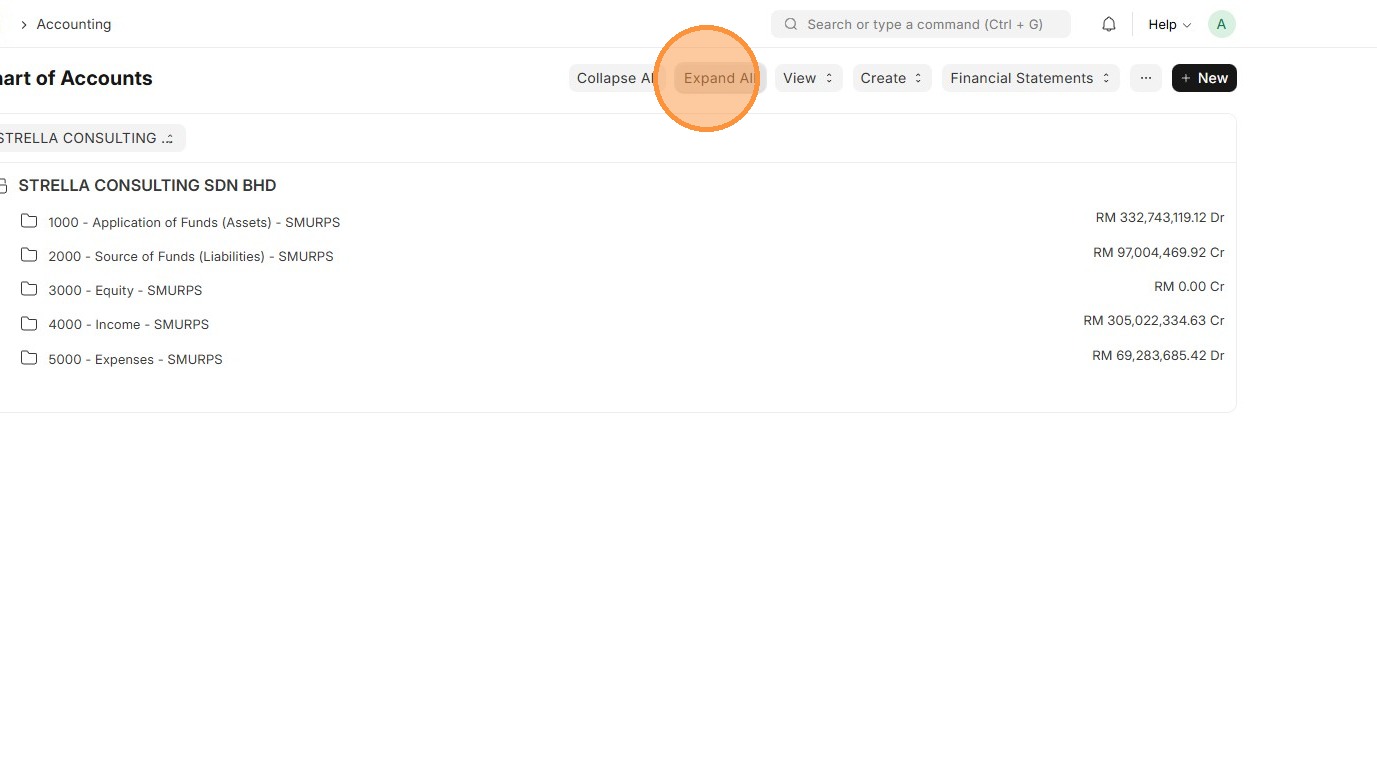
5. Click "Expand All" and review Chart of Accounts Structure
6. ReviewClick thedesired Charts ofParent Account structureto beforecreate creatingan a new COA.account
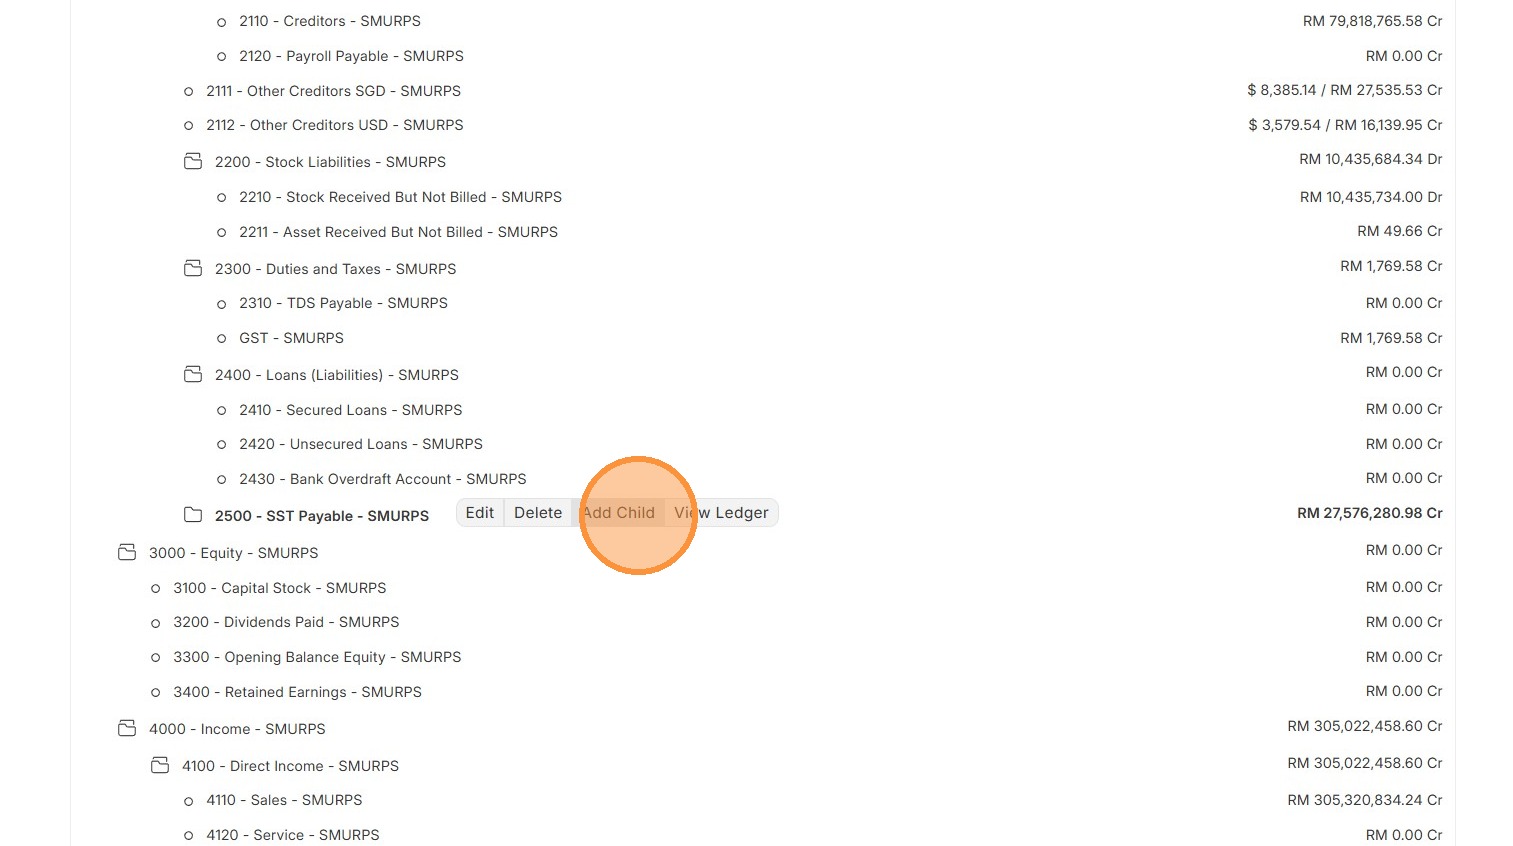
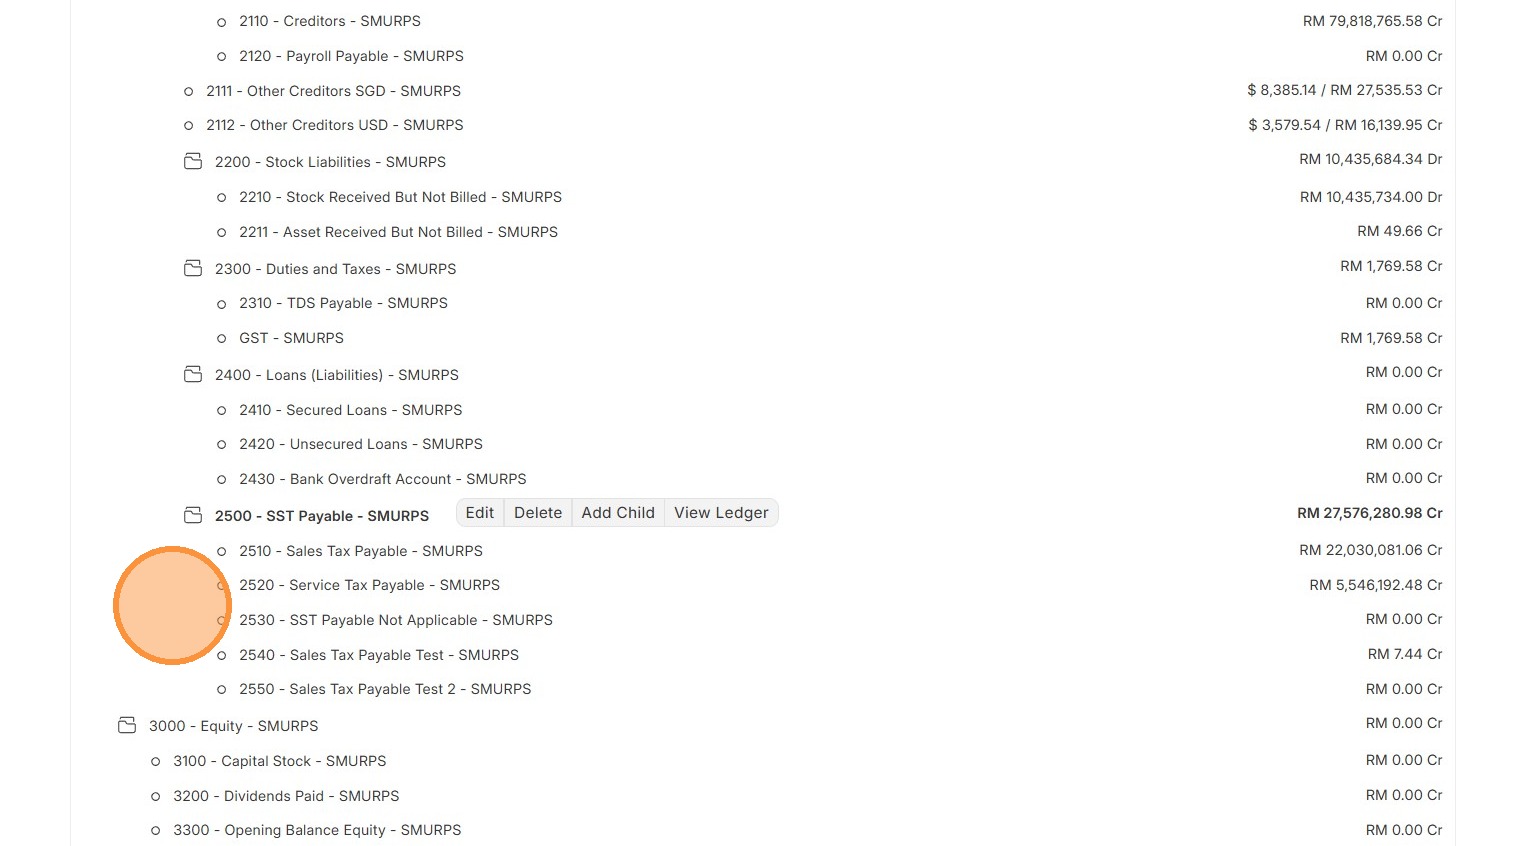
7. Click "Accounting"Add Child"
8. Click "Chart of Accounts"
9. Click "Add Account"
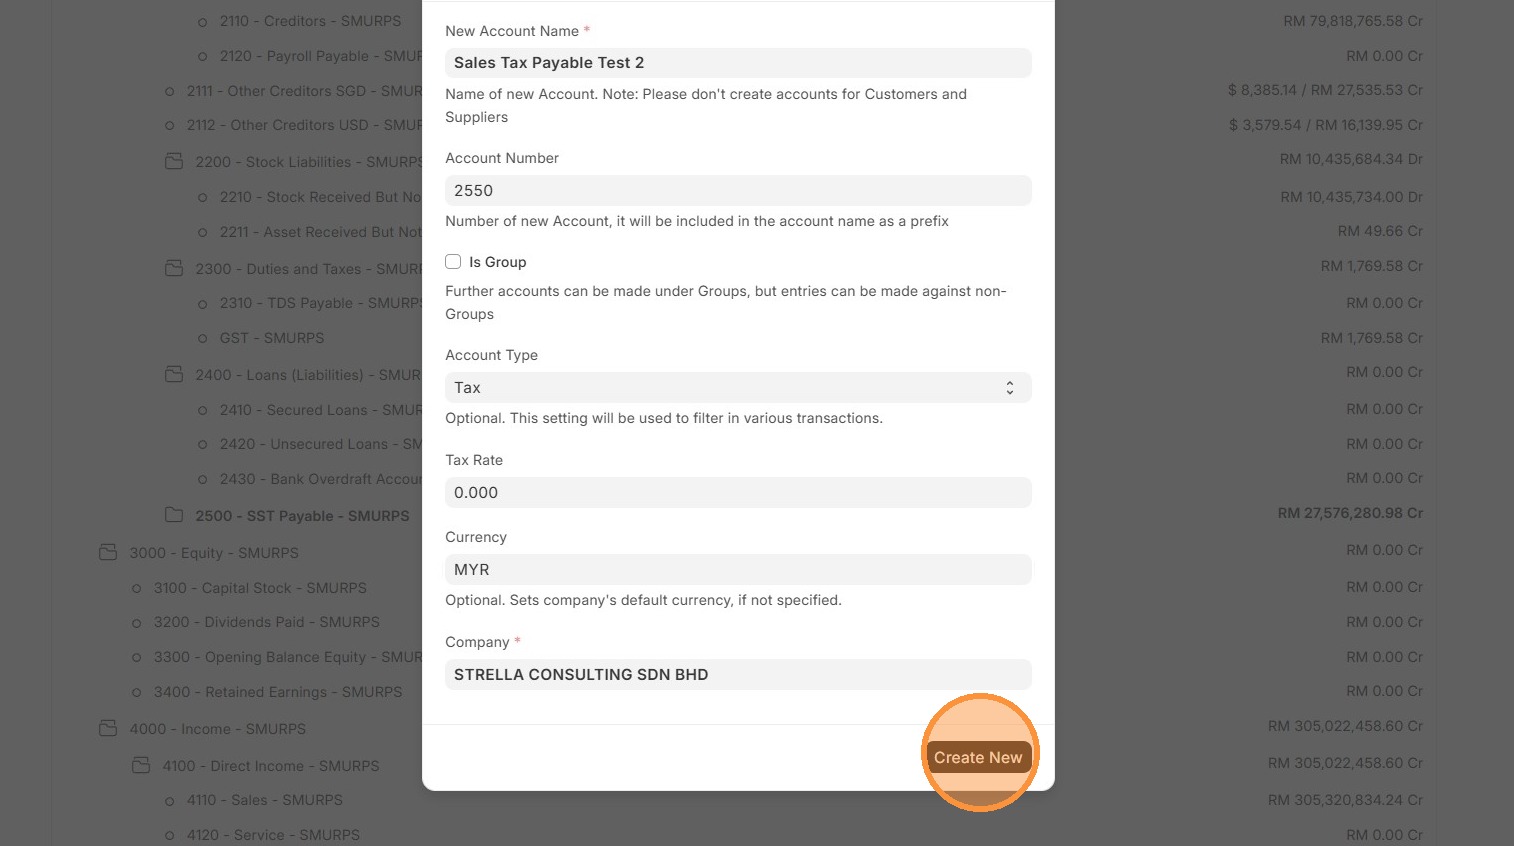
10. Enter "Account Name"
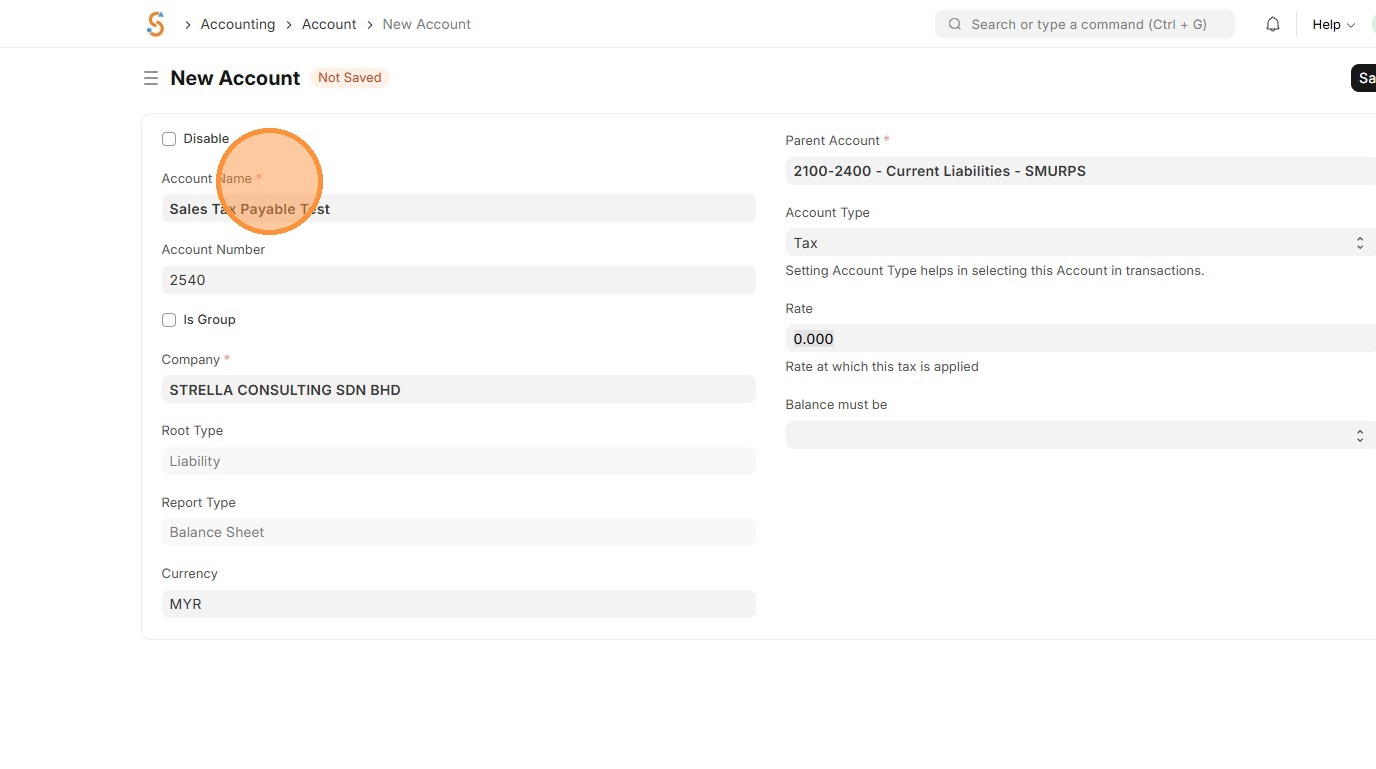
11. Enterand "Account Number"
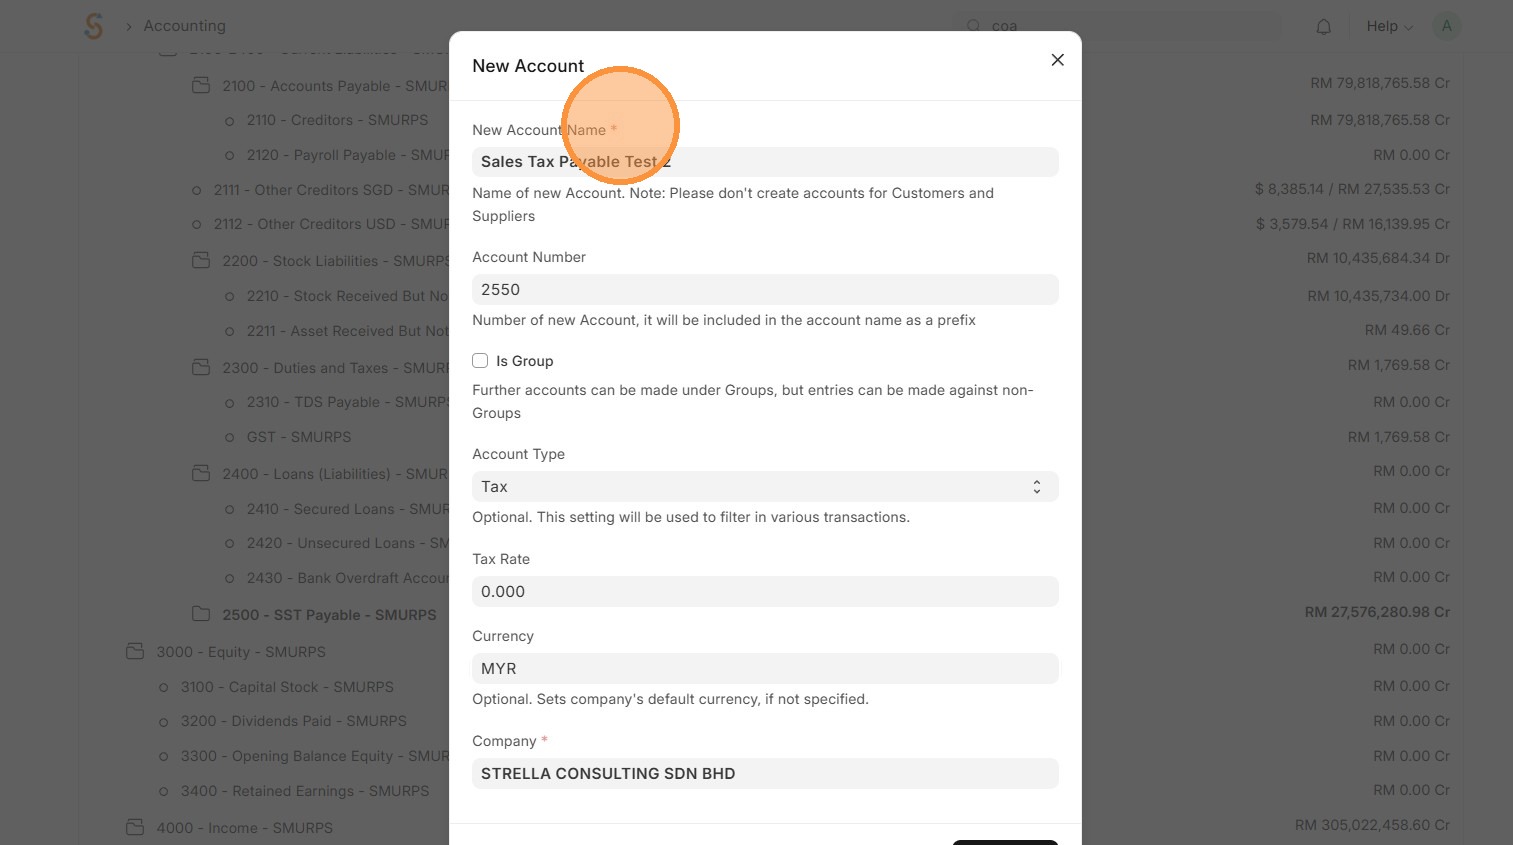
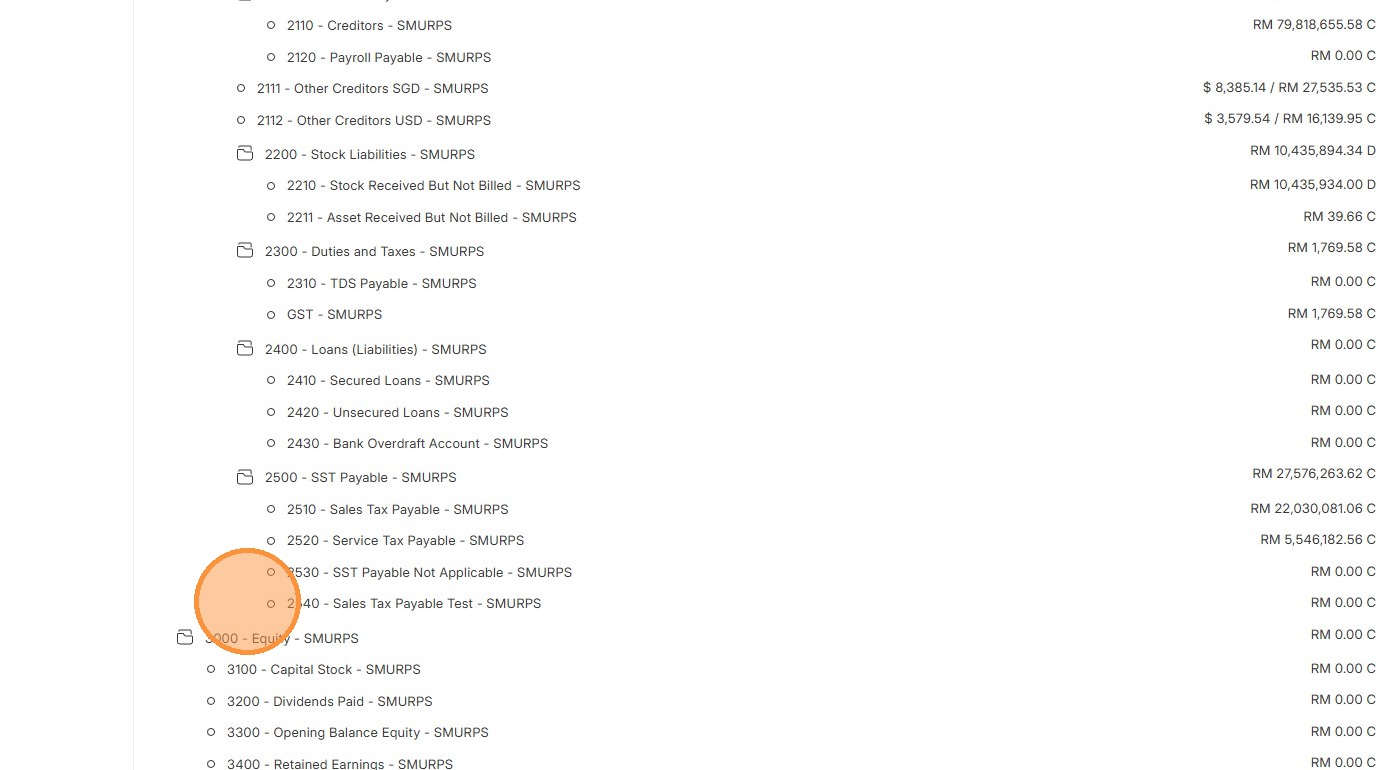
9. Check 'Is Group' only if Accountits isa Parent Group
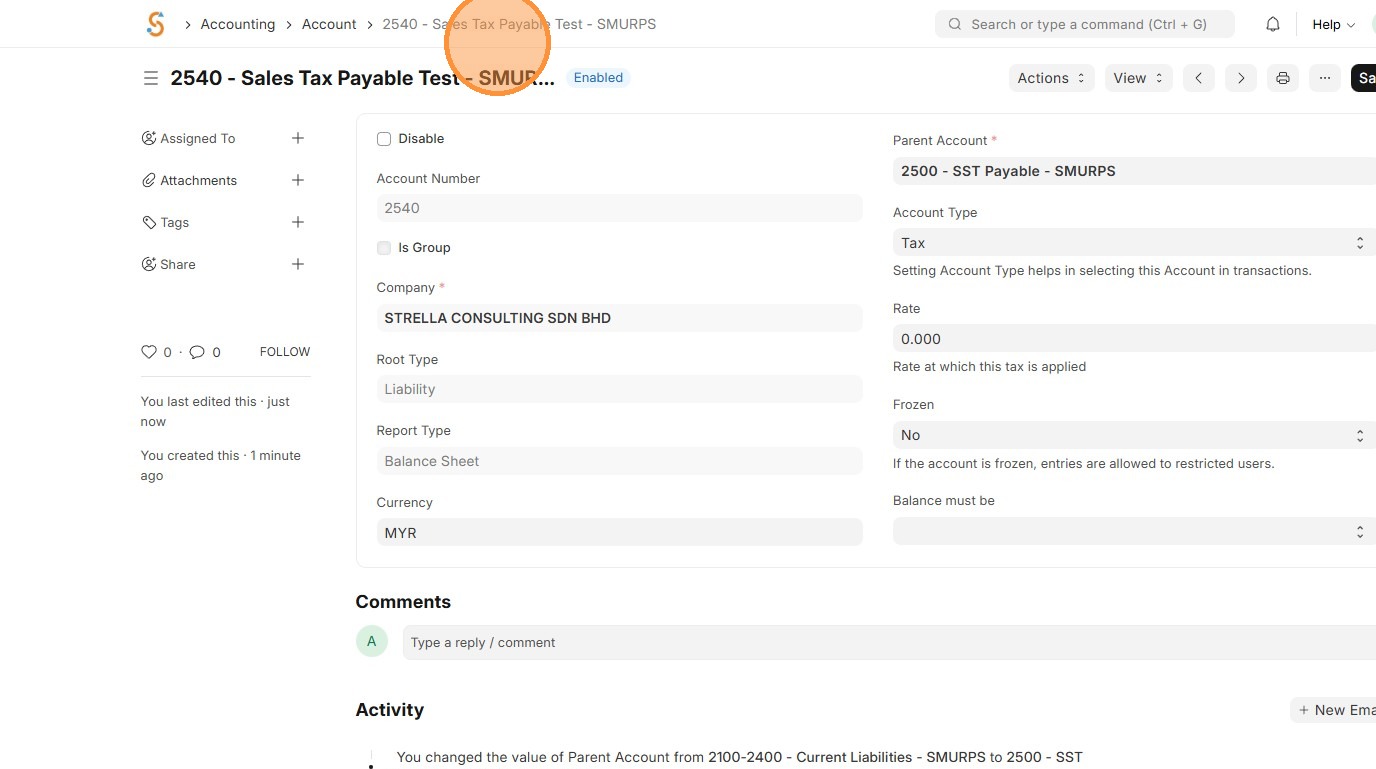
12. Review the Root Type, Report TypeAccount and Currency.
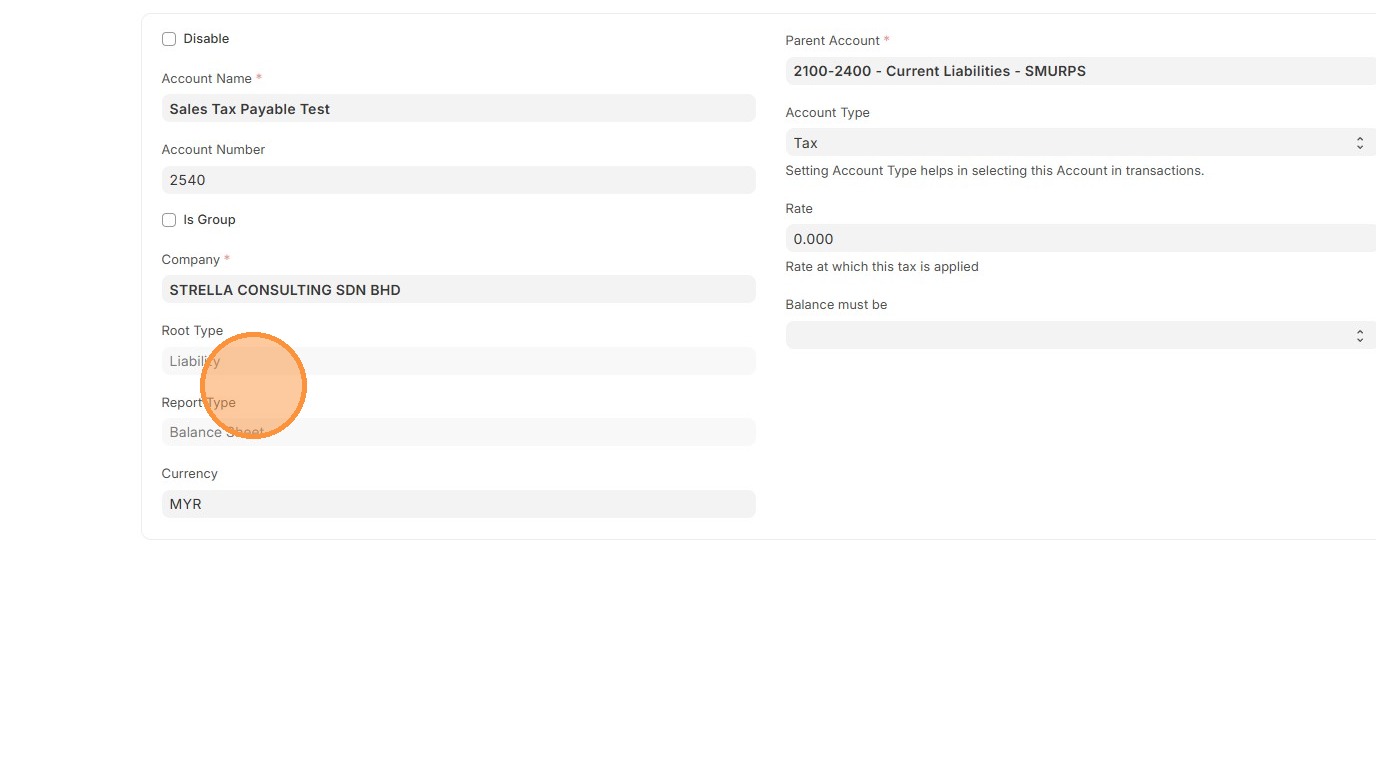
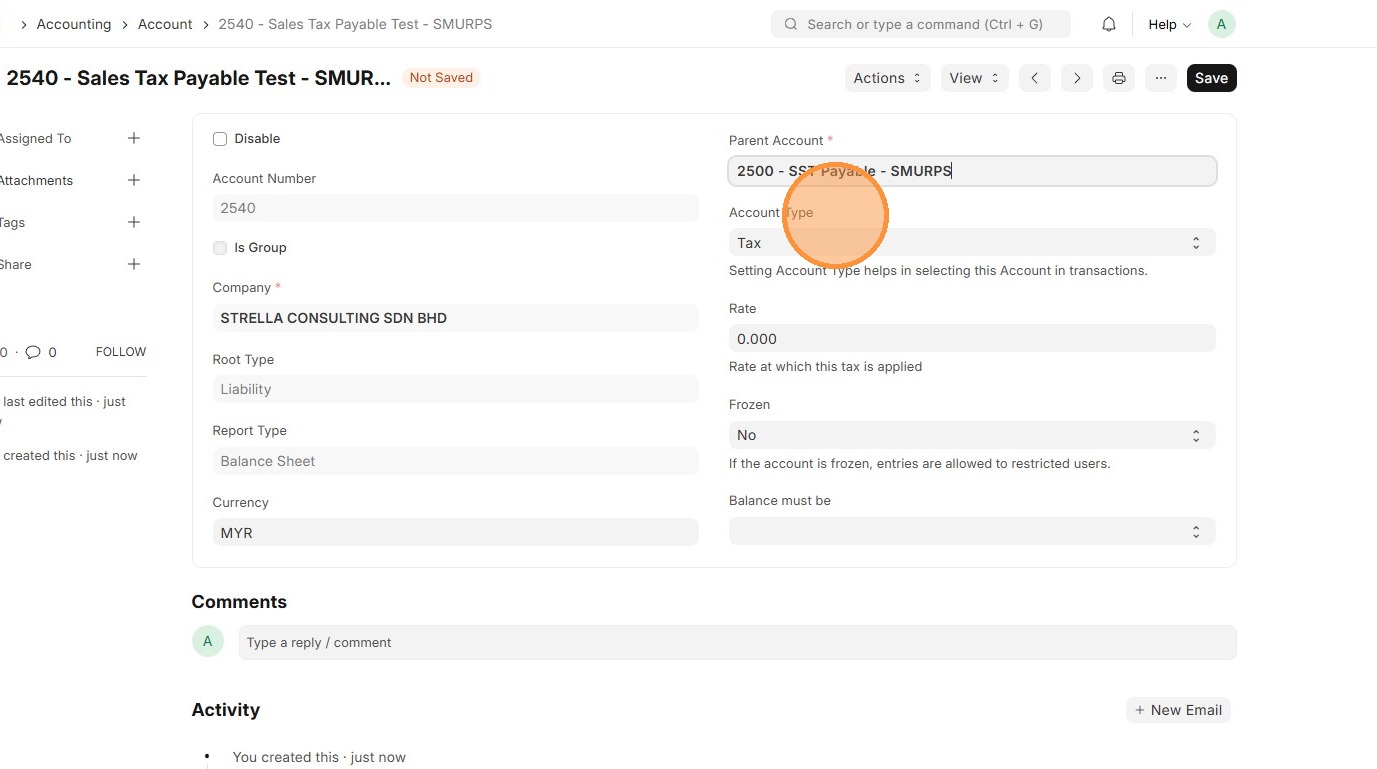
13. Select "Parent Account" andappropriate "Account Type" based on Account objective.

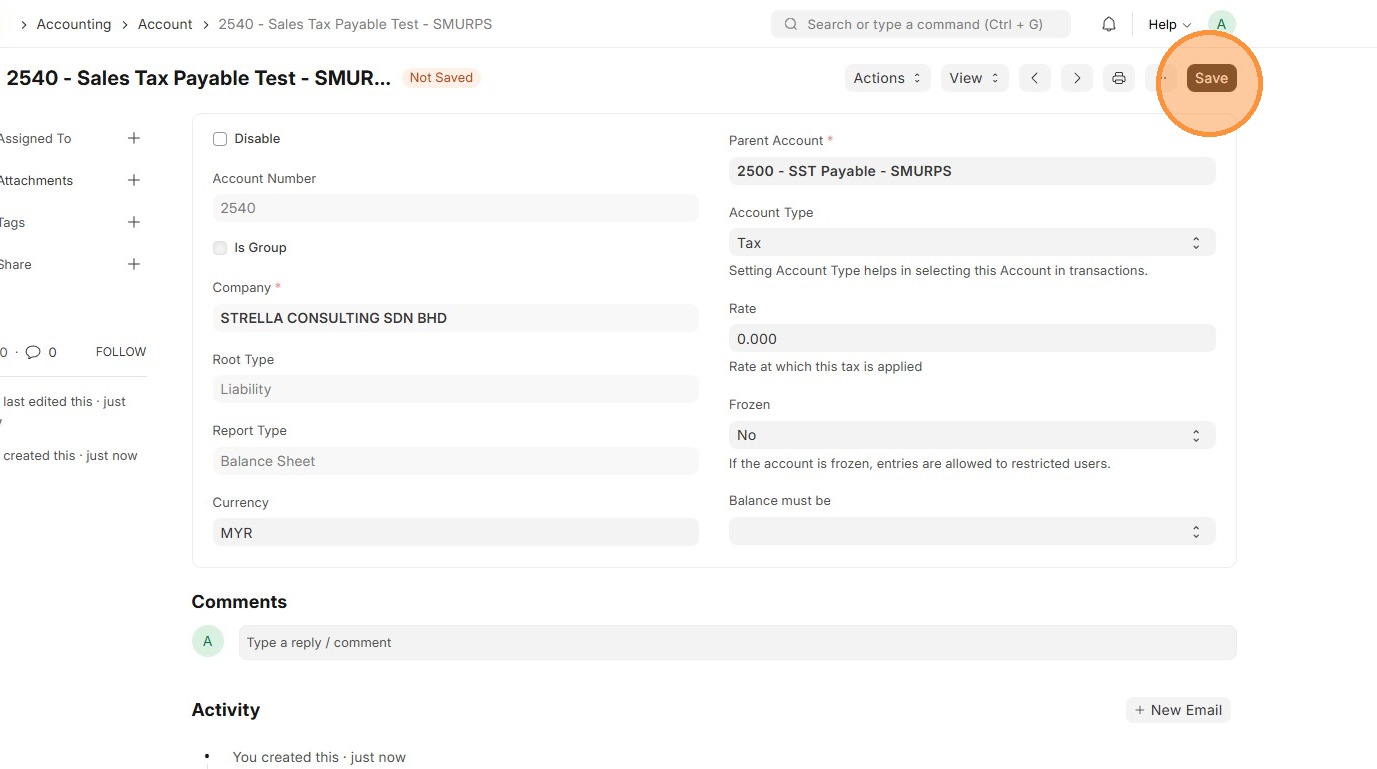
14.10. Click "Save"Create New" to create Chart of Accounts
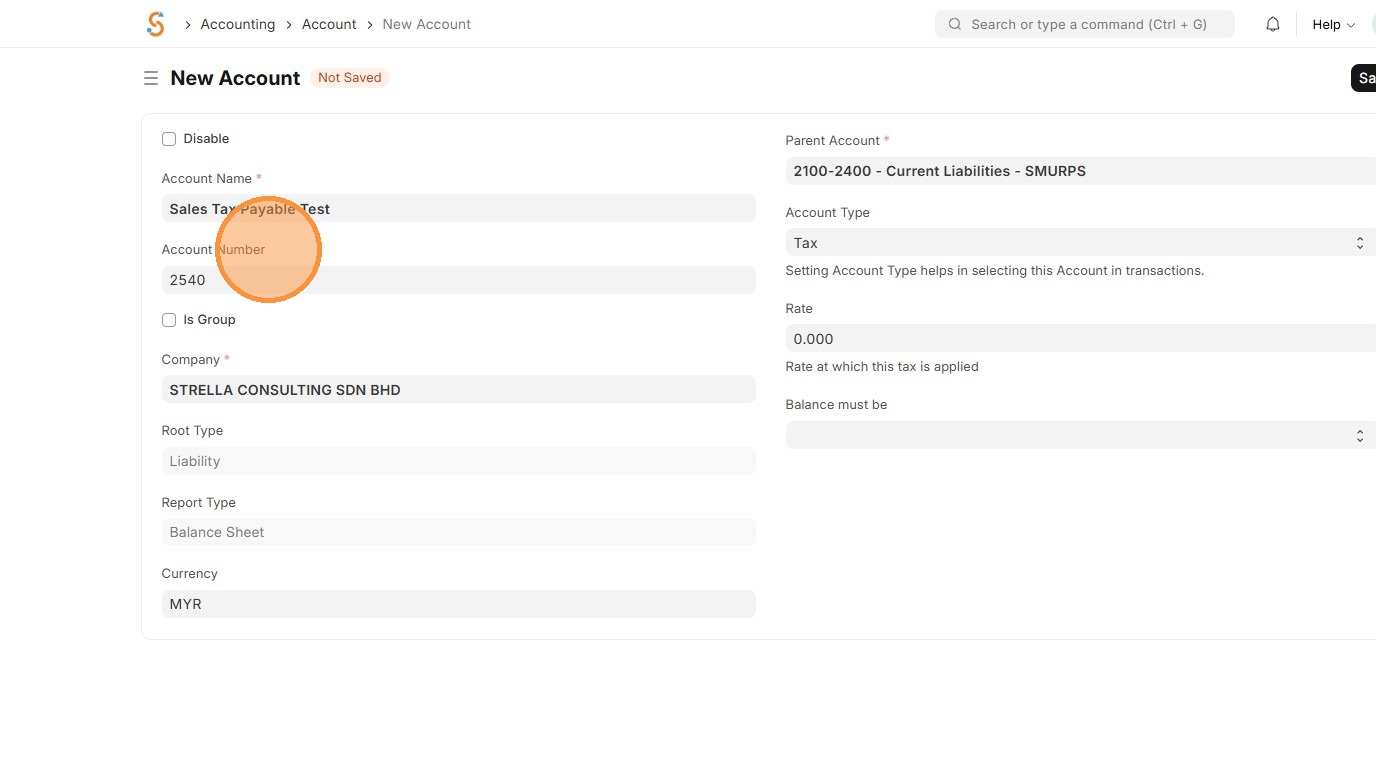
15. Review that Account ID is created.
16. Click "Account"
17. Click "List View"
18. Click "Tree View"
19. Click "Expand All"
20.11. Verify account tree that Account newly created account is linkedupdated to correct Parent Account.accordingly
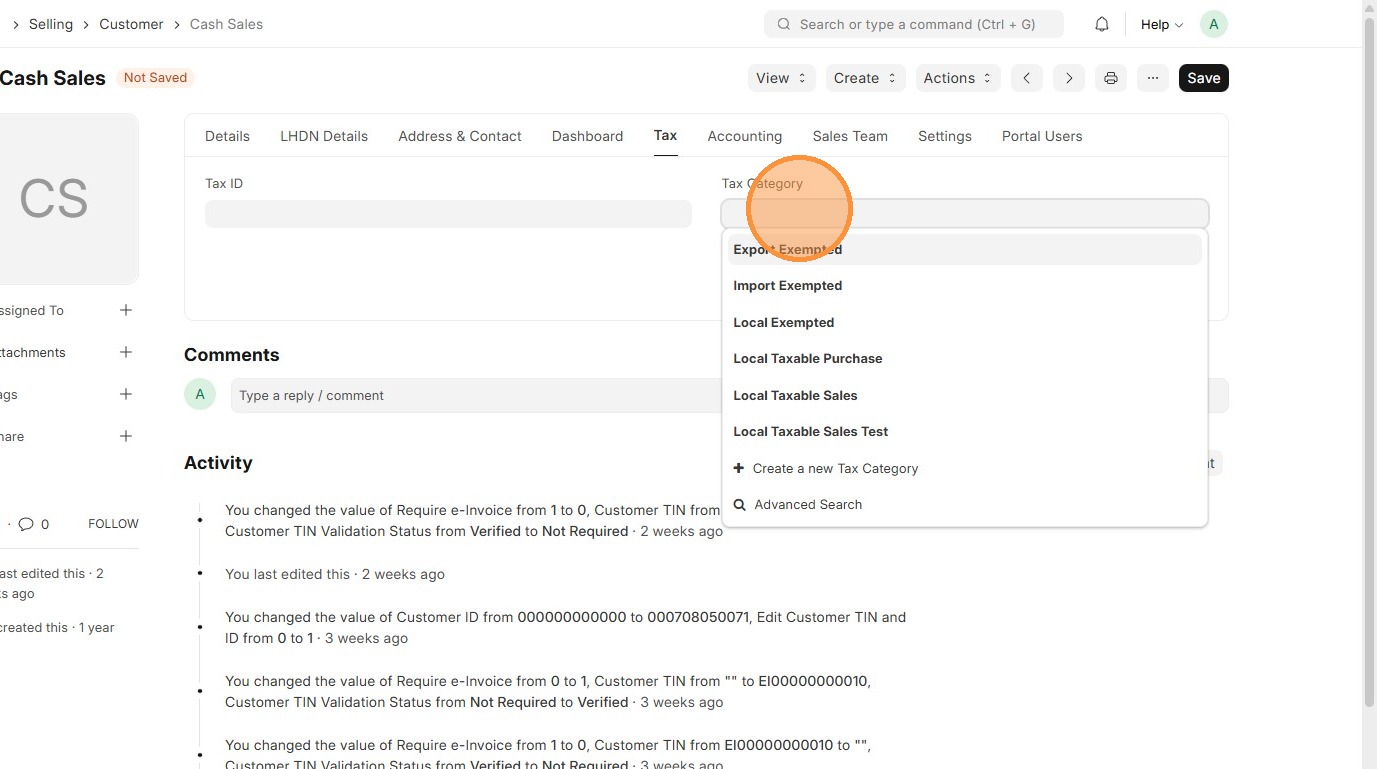
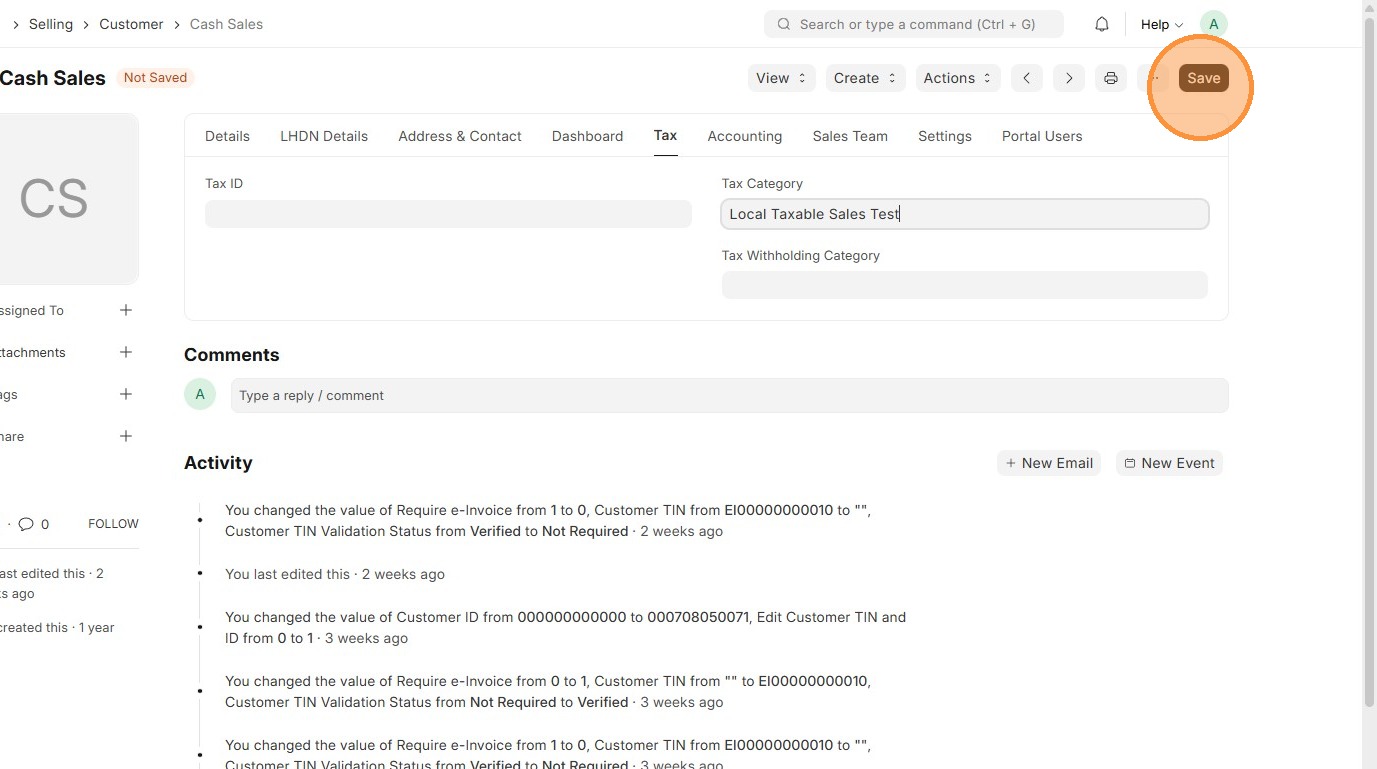
Tax Category
Tax Categories are used to define different tax scenarios and can be assigned to specific Customers, Suppliers, or Items.
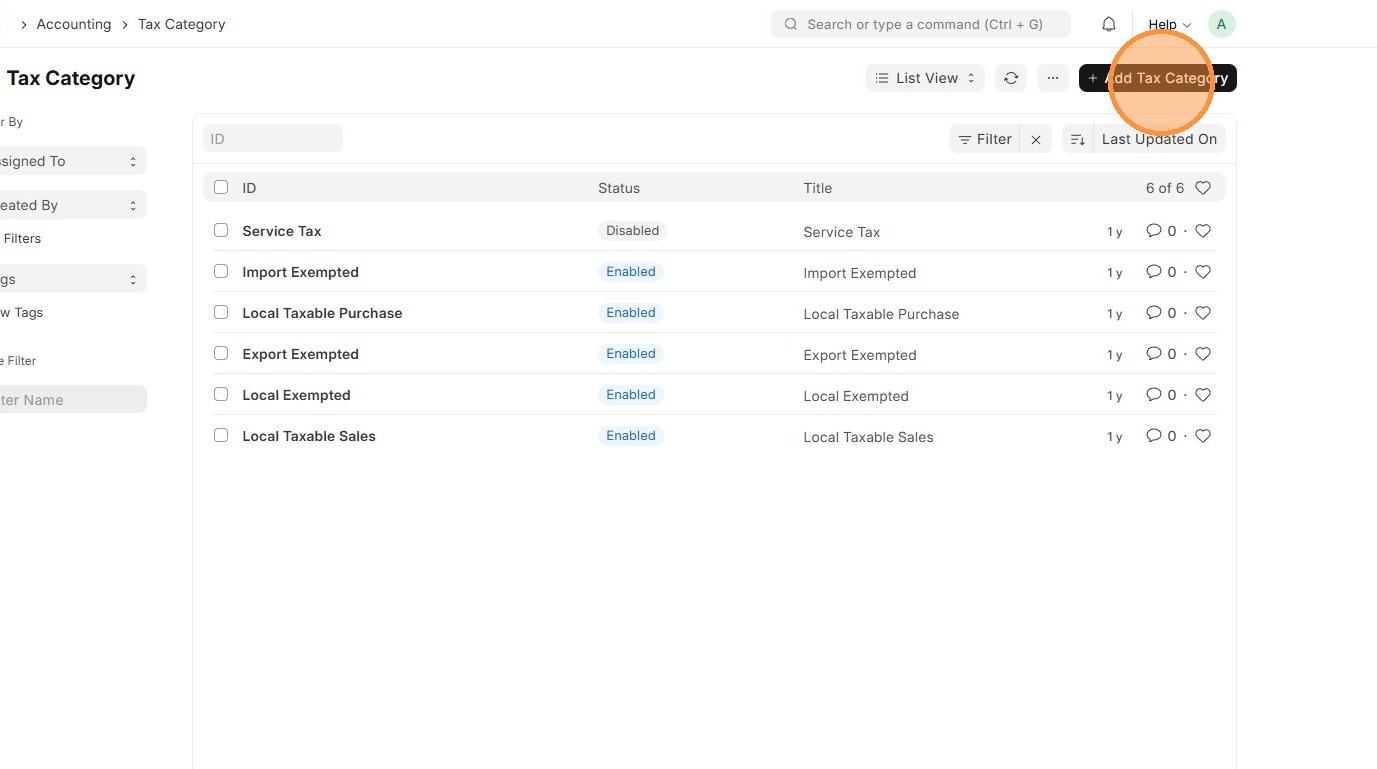
1. Click "Accounting"
2. Click "Tax Category"

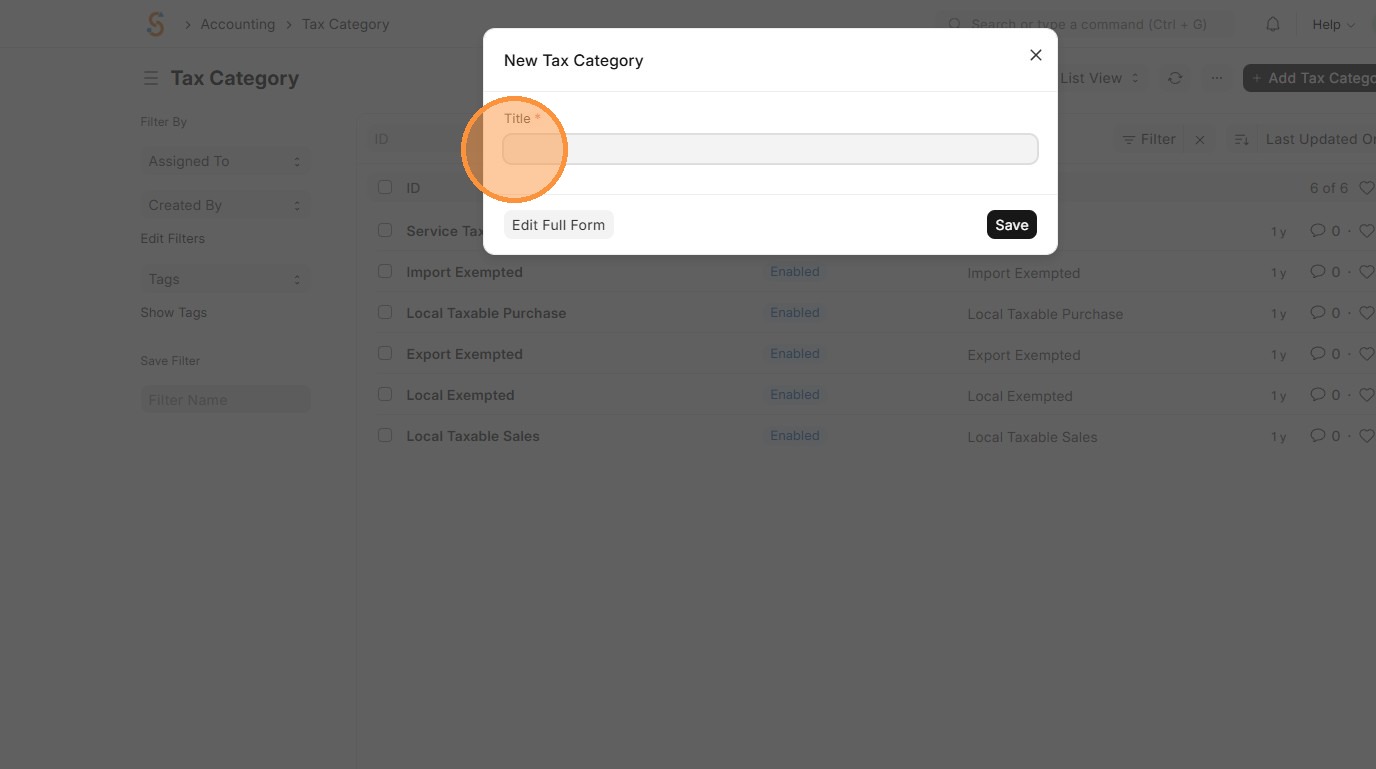
3. Click "Add Tax Category"
4. Enter Tax Category.
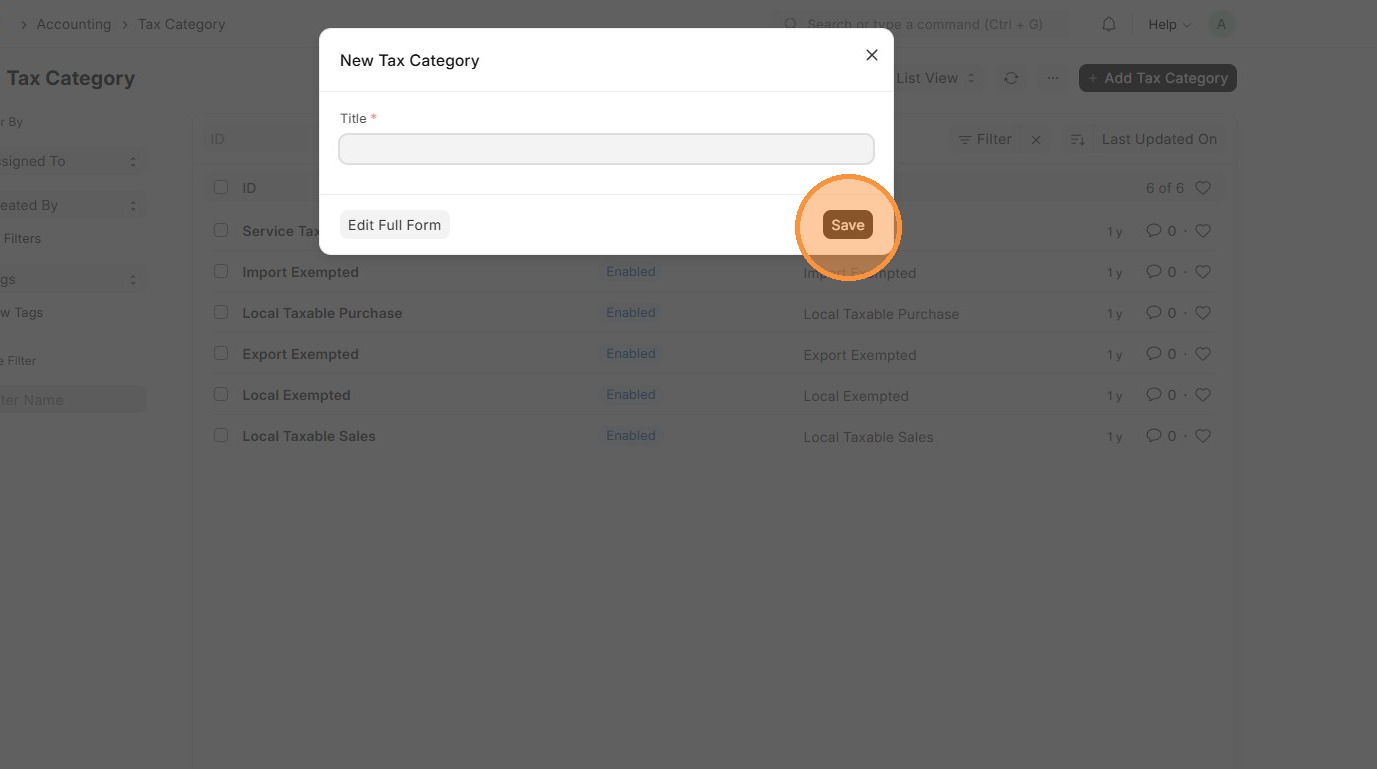
5. Click "Save" and Tax Category is created.
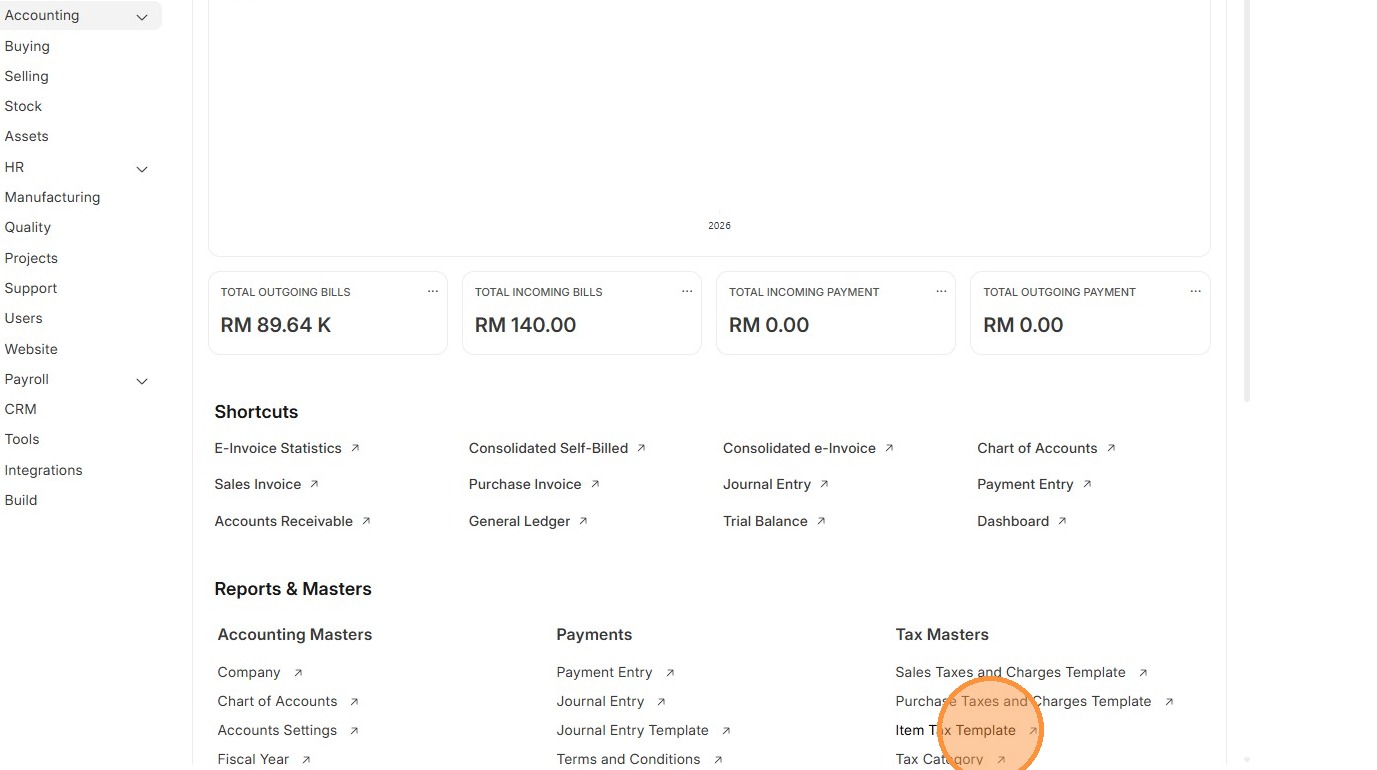
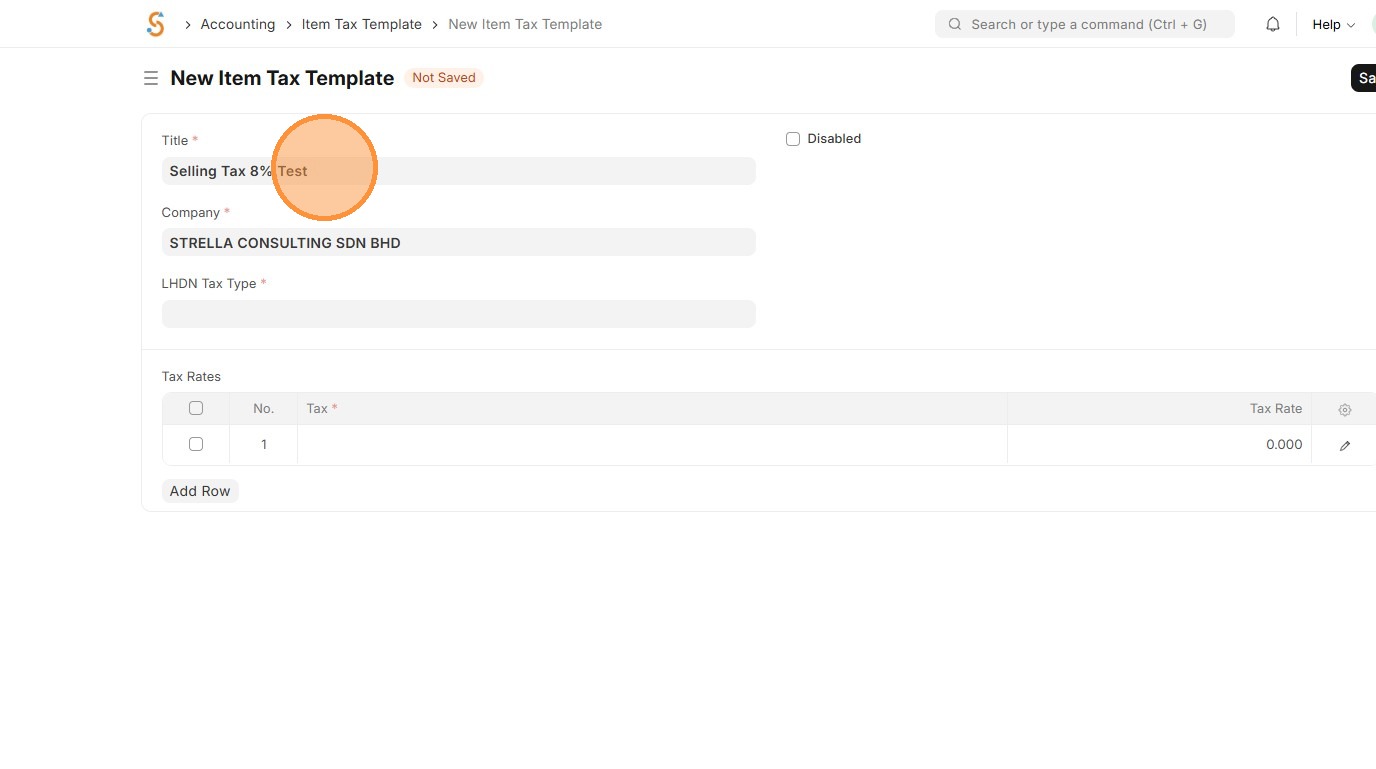
Item Tax Template
Item Tax Templates are used to define the applicable tax rate for a specific tax account and can be assigned to individual items.
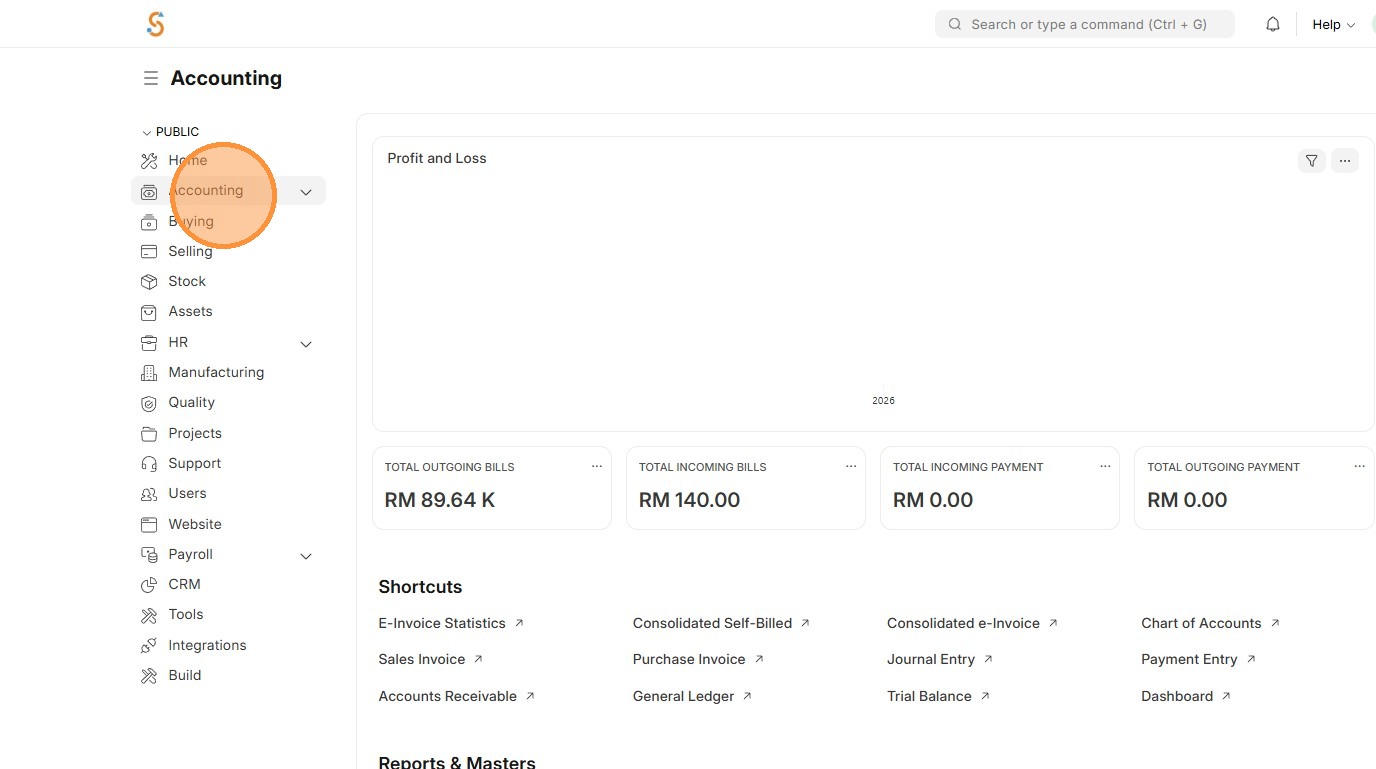
1. Click "Accounting"
2. Click "Item Tax Template"
3. Click "Add Item Tax Template"

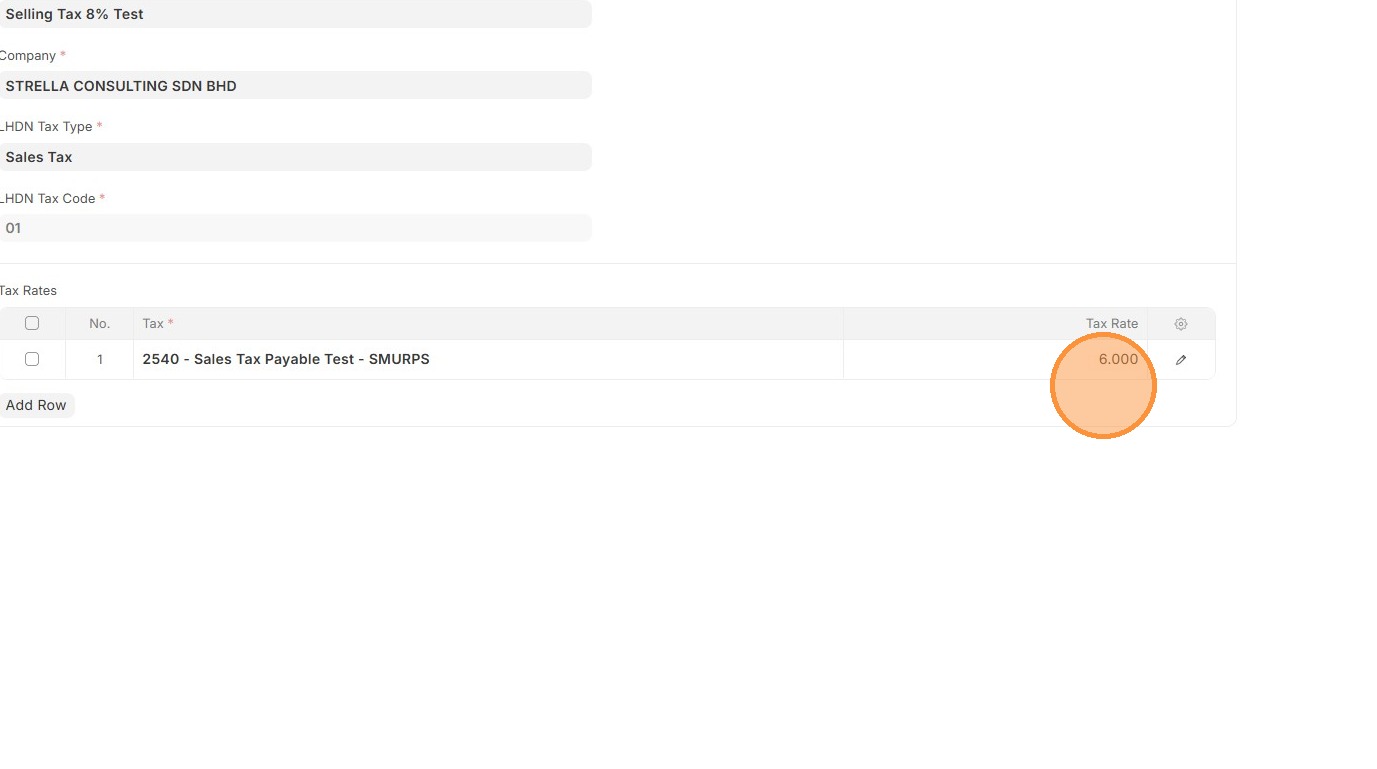
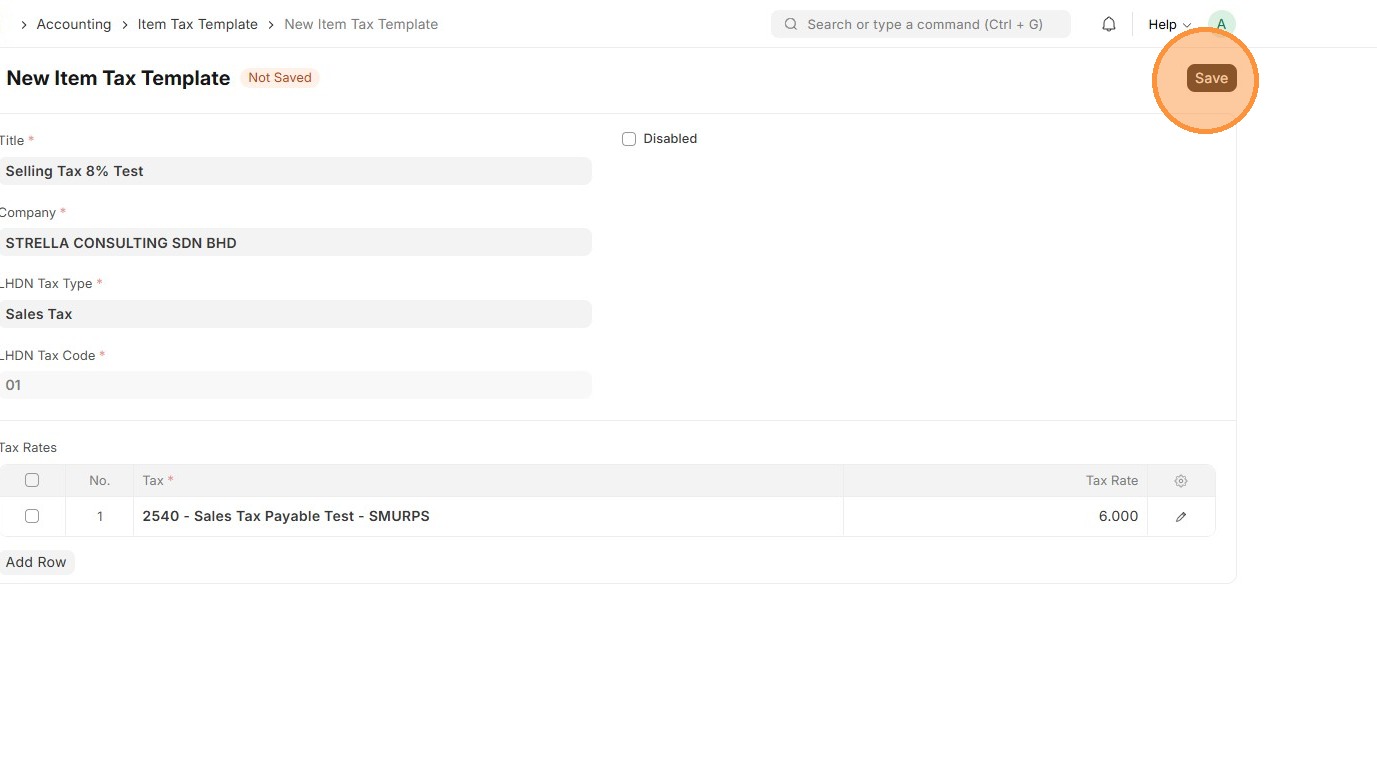
4. Enter Item Tax Template title.
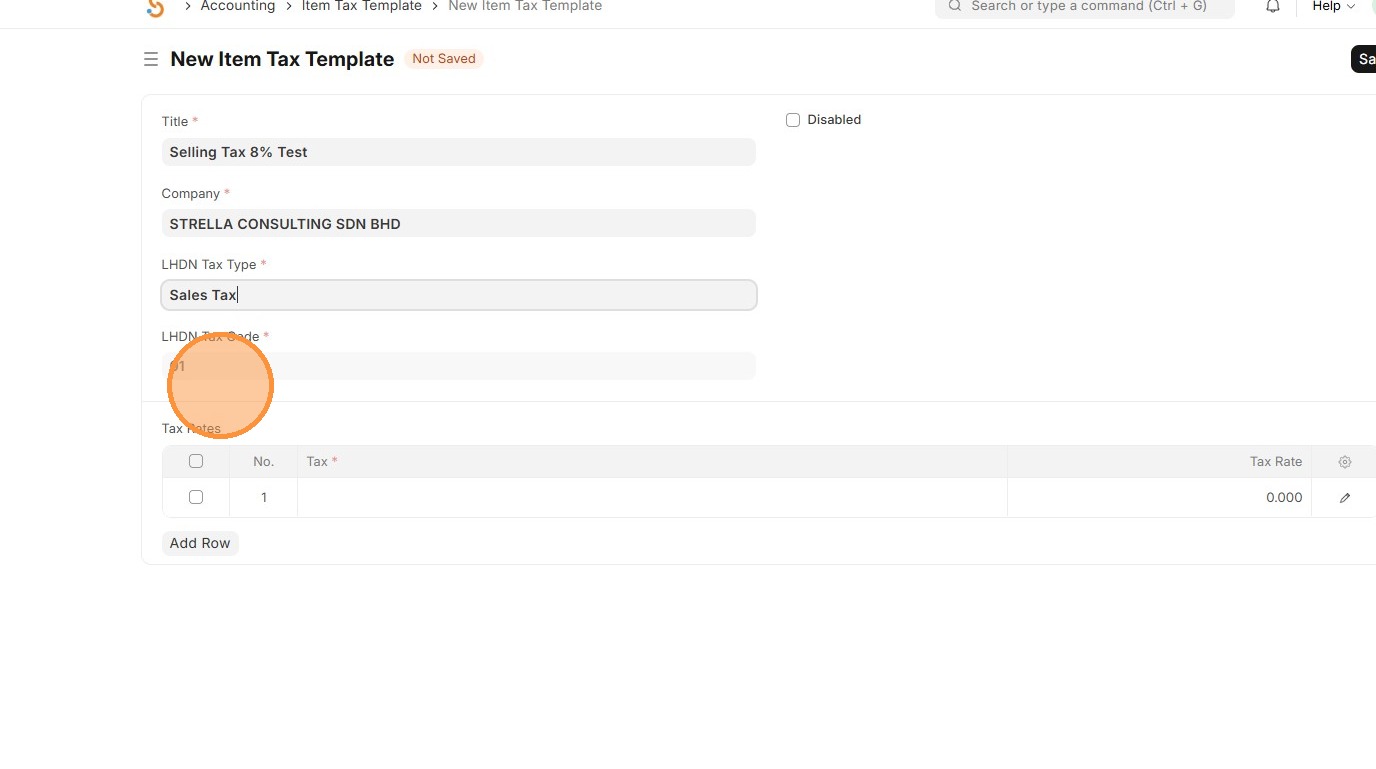
5. Select "LHDN Tax Type"
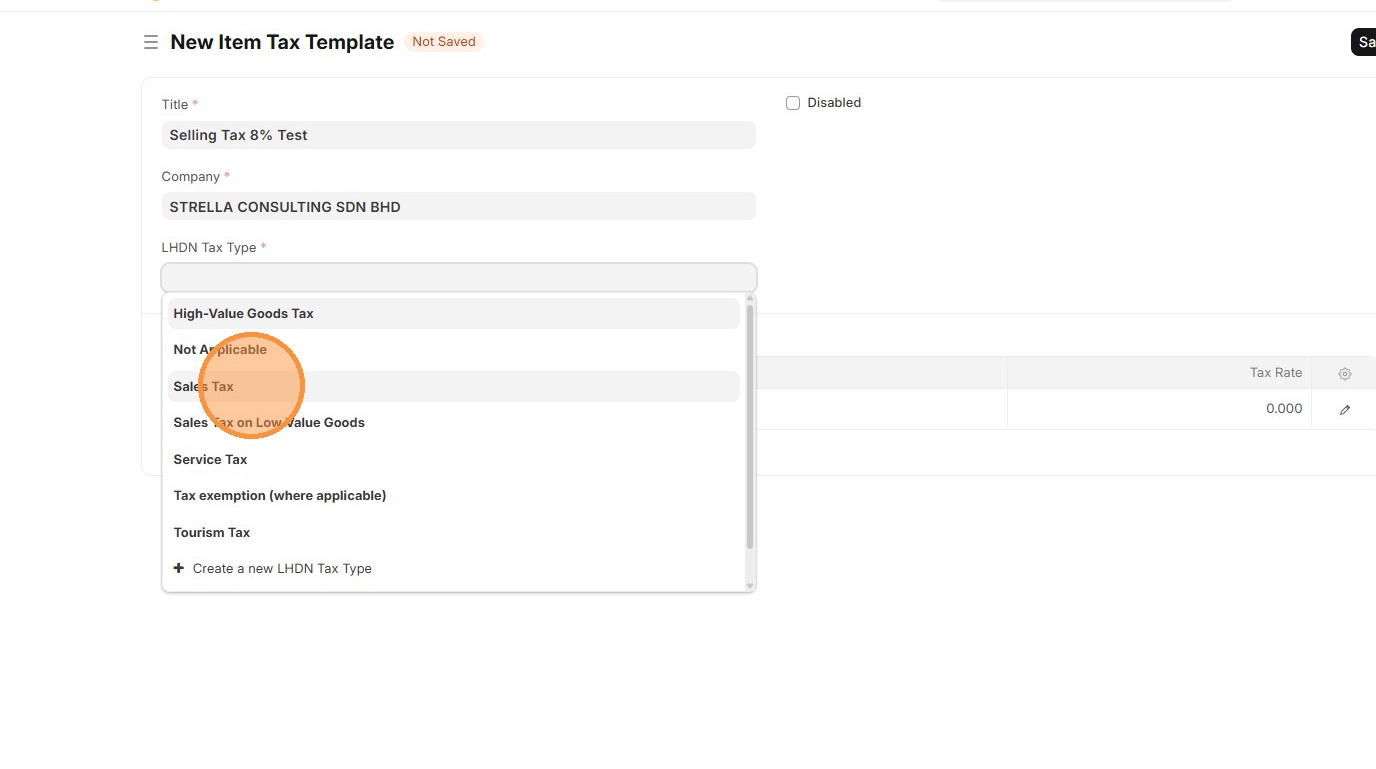
6. Verify that LHDN Tax Code is populated.
7. Select Chart of Accounts associated with Item Tax Template.

8. Enter Tax Rate in %
9. Click "Save"
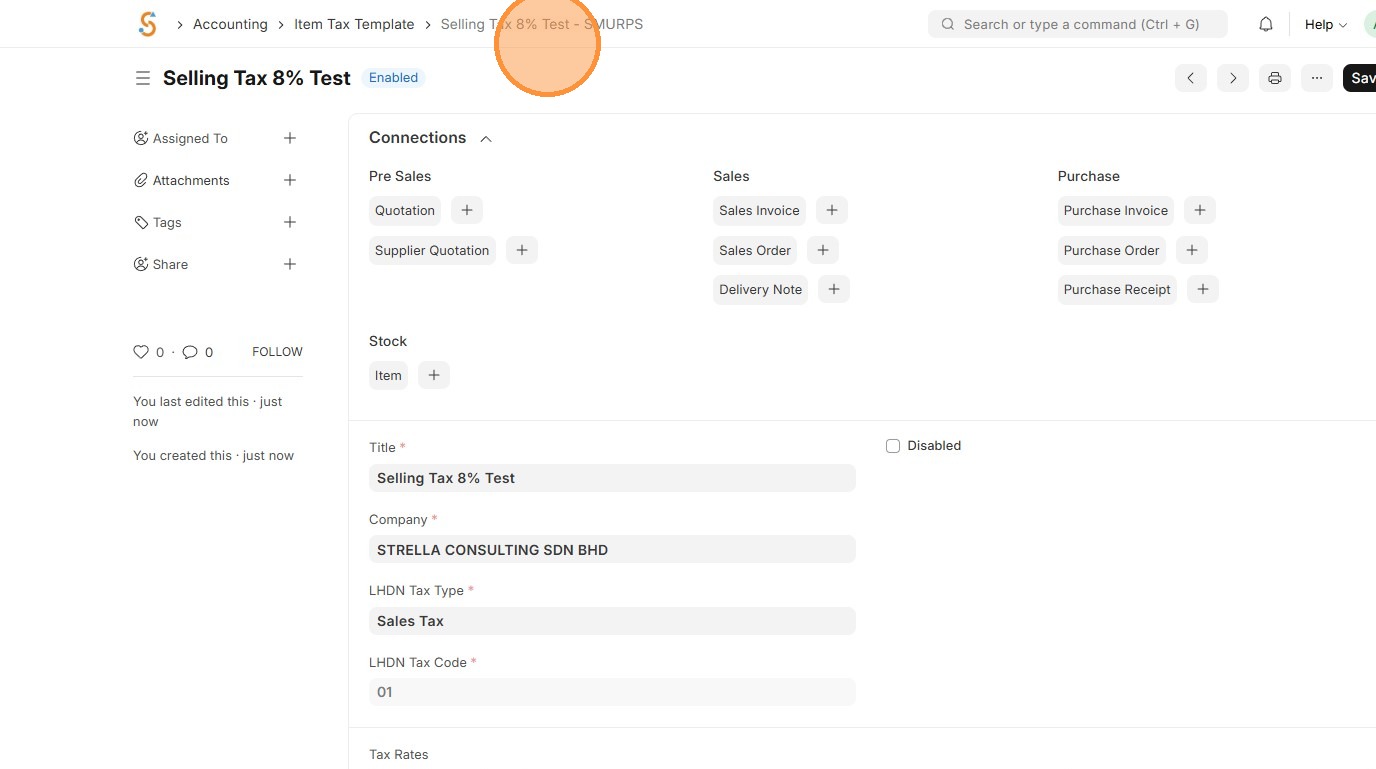
10. Verify that Item Tax Template ID is created.
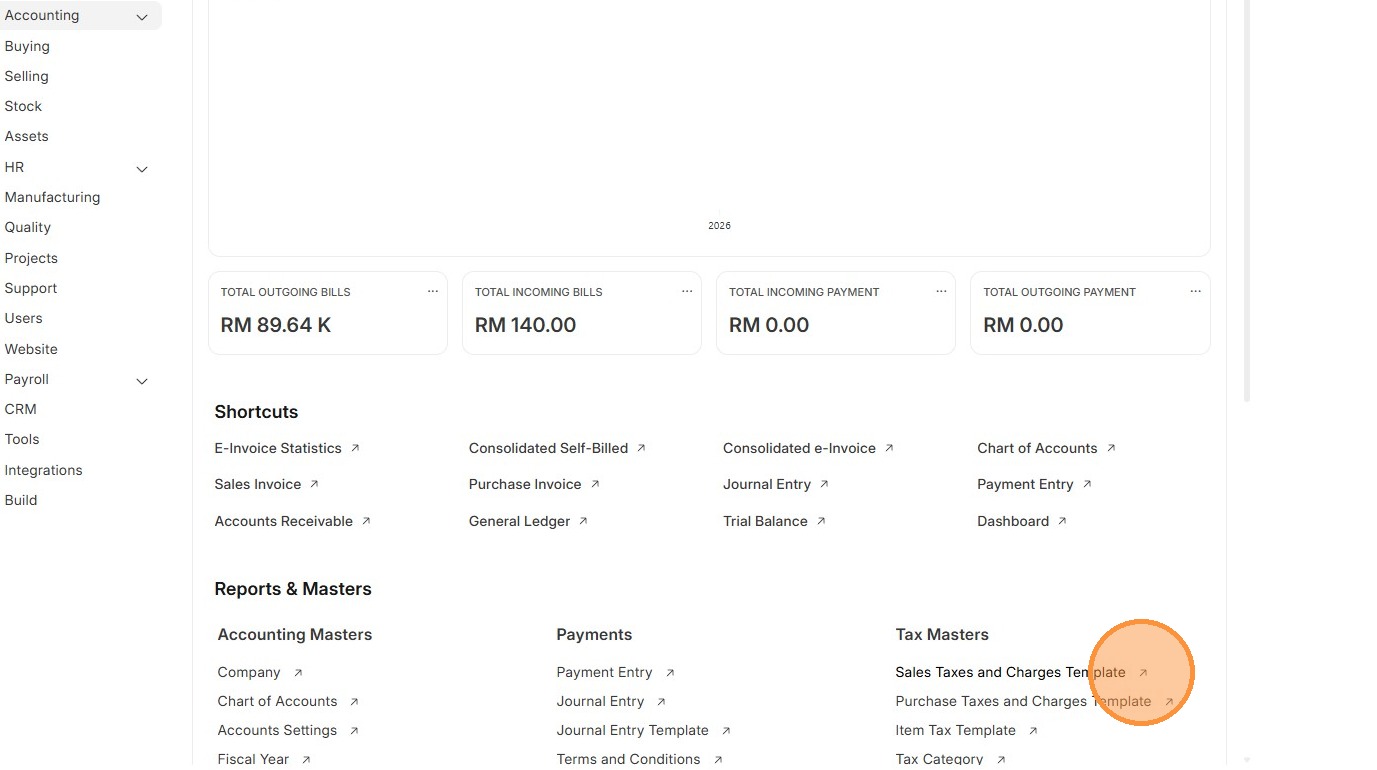
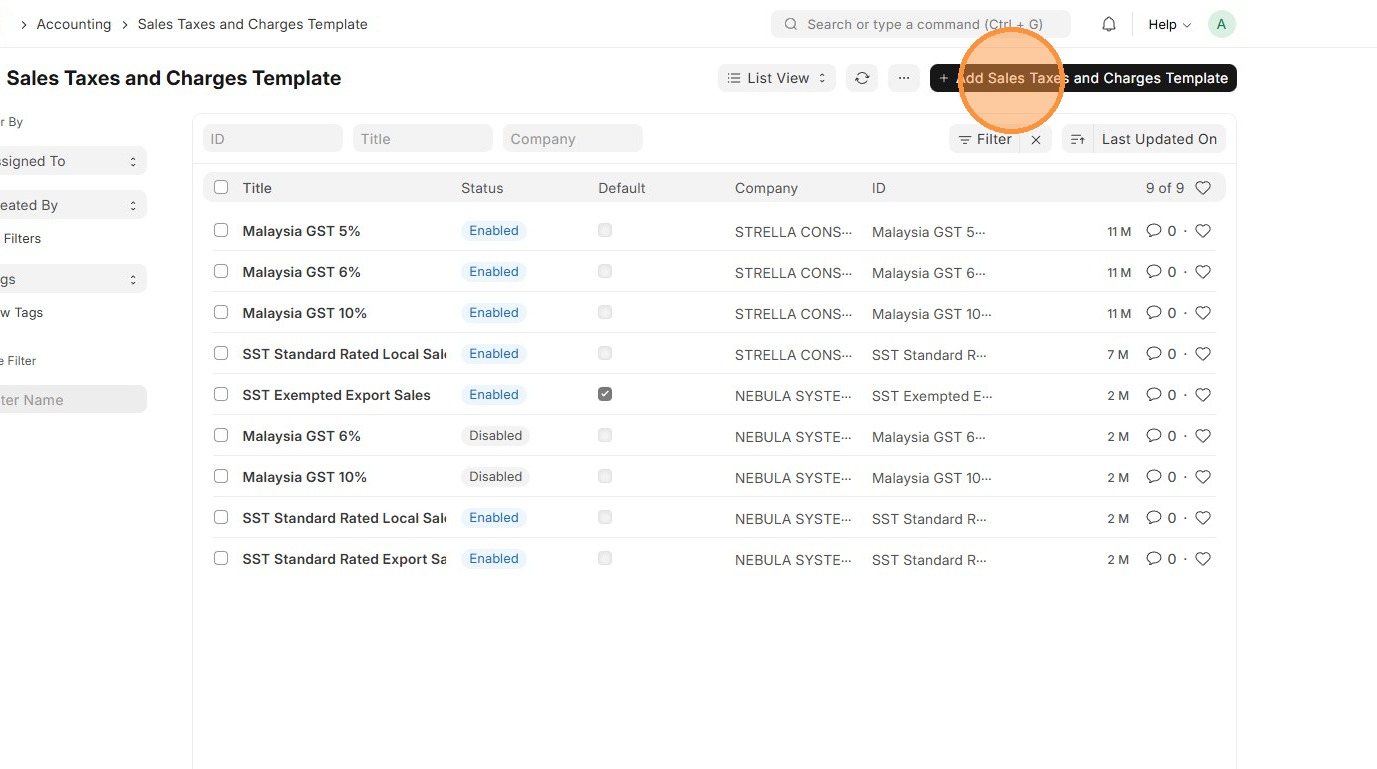
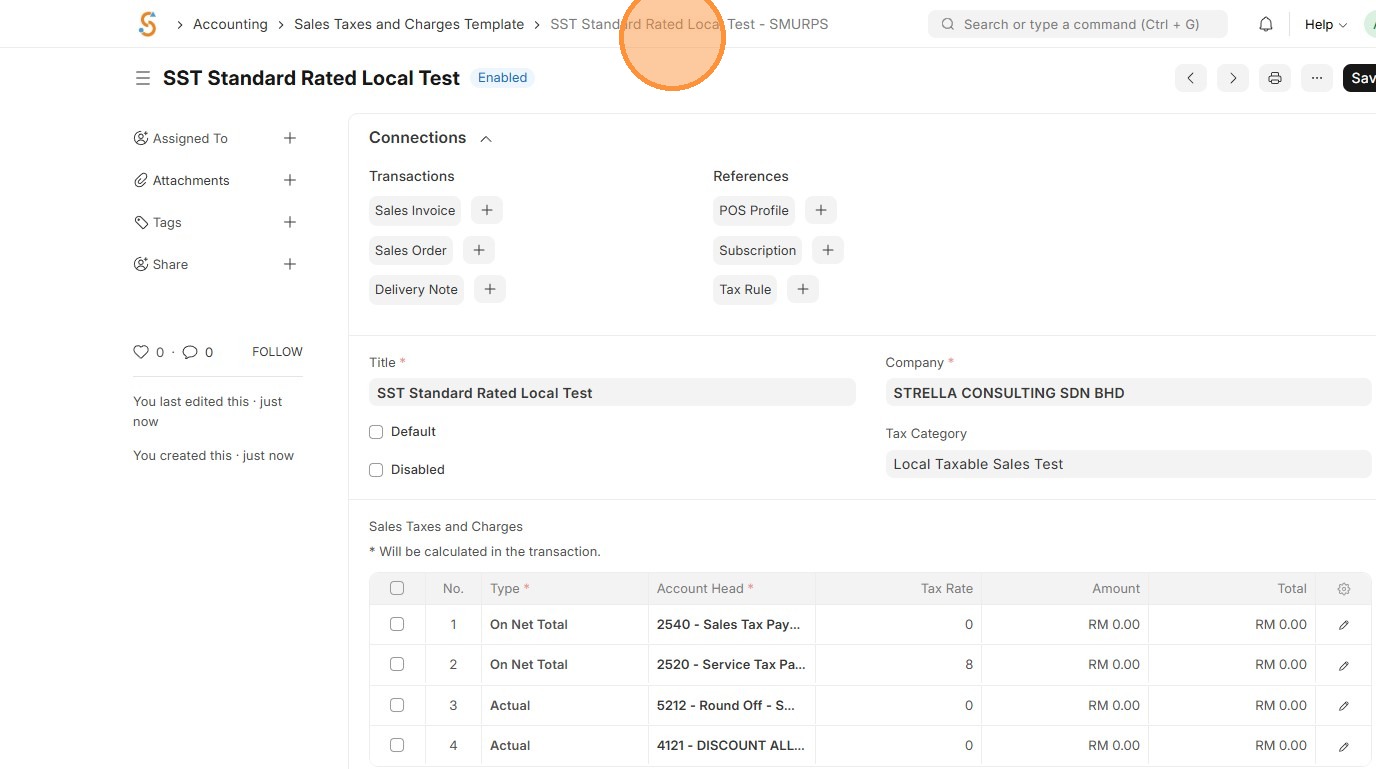
Sales Taxes and Charges Template
A Sales Taxes and Charges Template defines the taxes or extra charges that are applied automatically on a sales invoice. It ensures the right tax is added to each sale and posts it to the correct account for accurate accounting and reporting.
1. Click "Accounting"
2. Click Sales Taxes and Charges Template.
3. Click "Add Sales Taxes and Charges Template"
4. Enter Sales Taxes and Charges Template "Title"
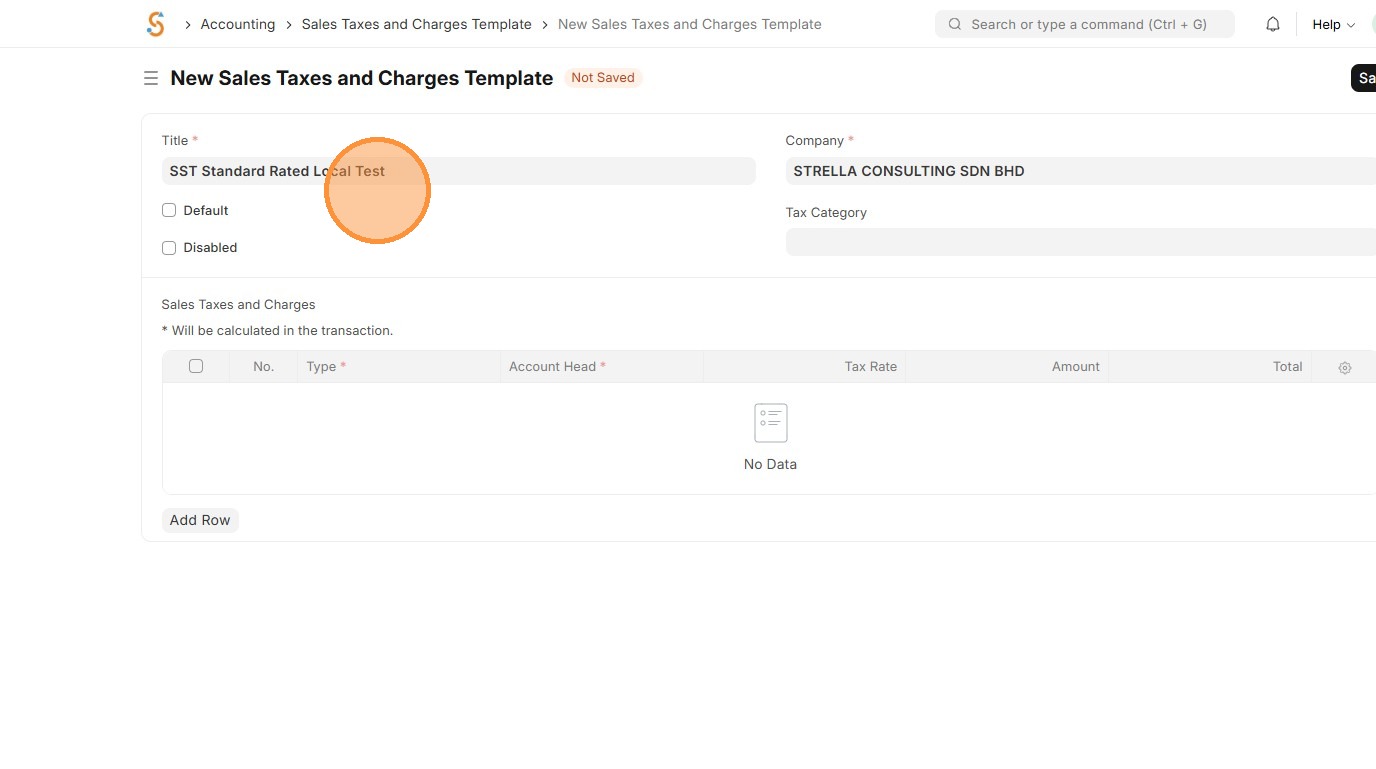
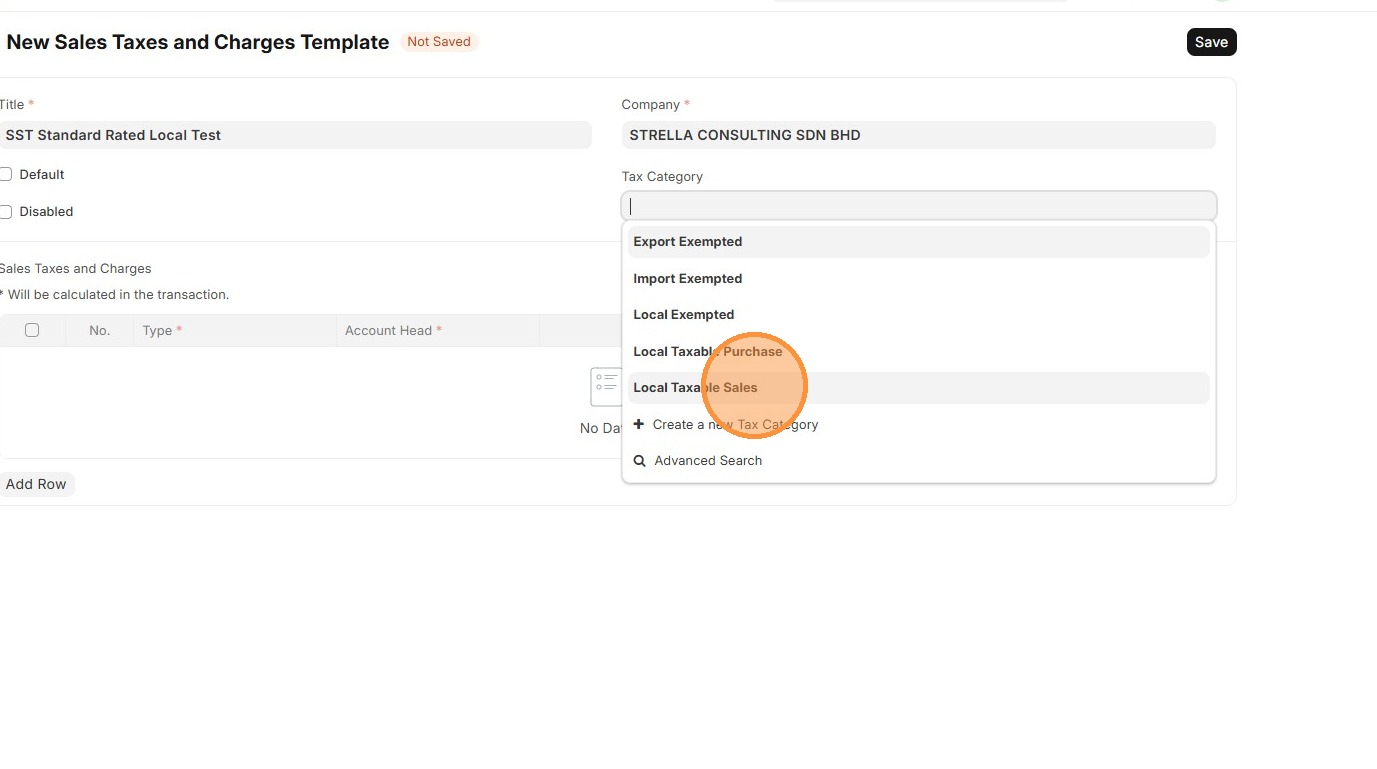
5. Select "Tax Category"
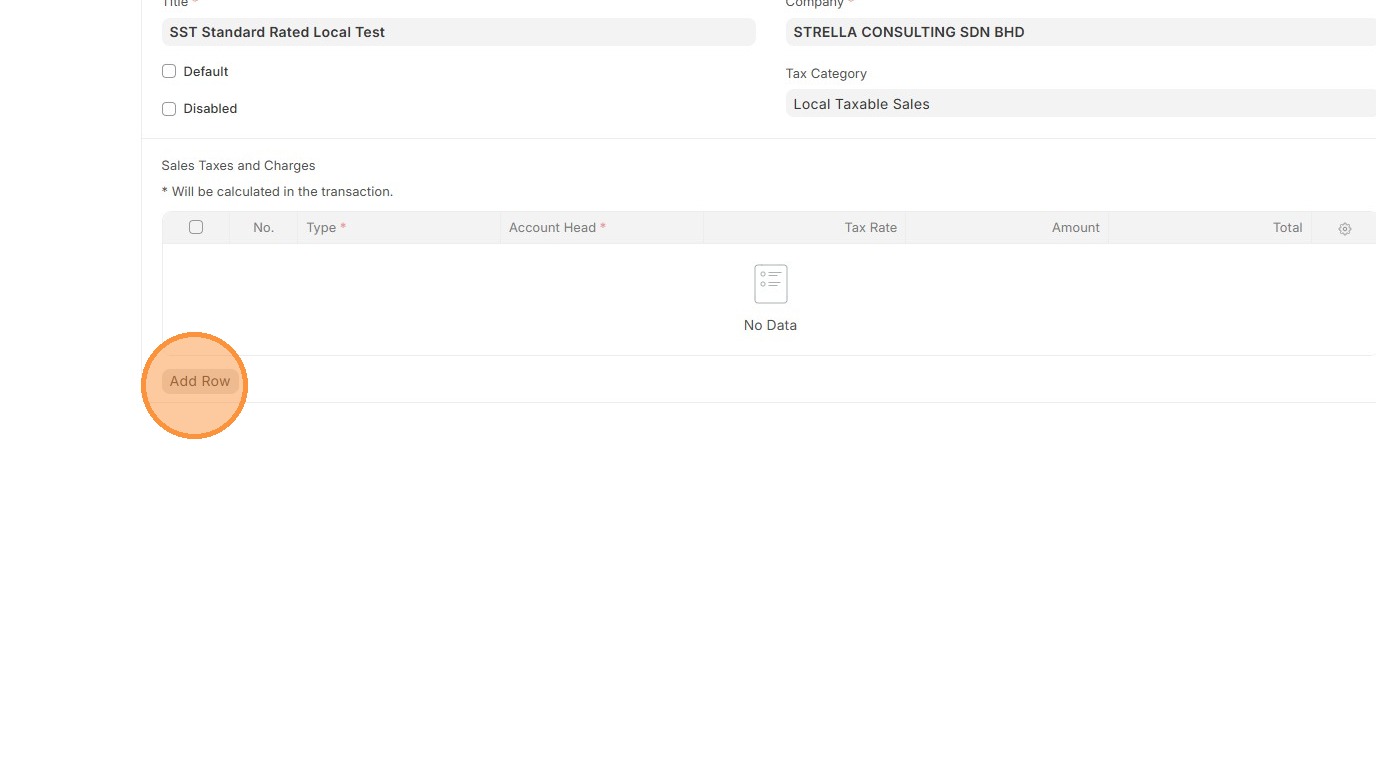
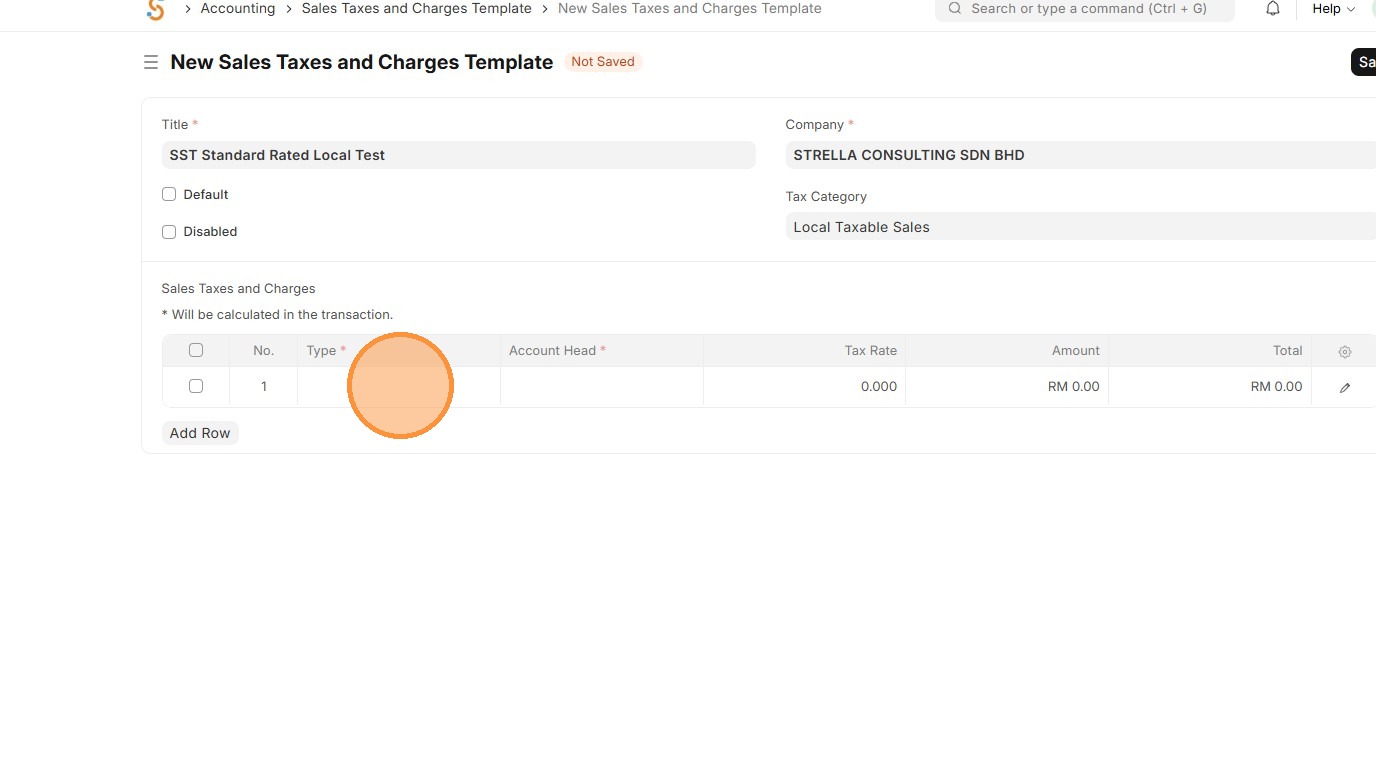
6. Click "Add Row"
7. Select "Type".
- On Net Total - Tax on total of items
- On Previous Row Total - Tax on cumulative total up to another row
- Actual - Fixed amount instead of percentage
- On Item Quantity - Tax per unit quantity
8. Select the appropriate "Account Head" that is linked to the payment Chart of Accounts.
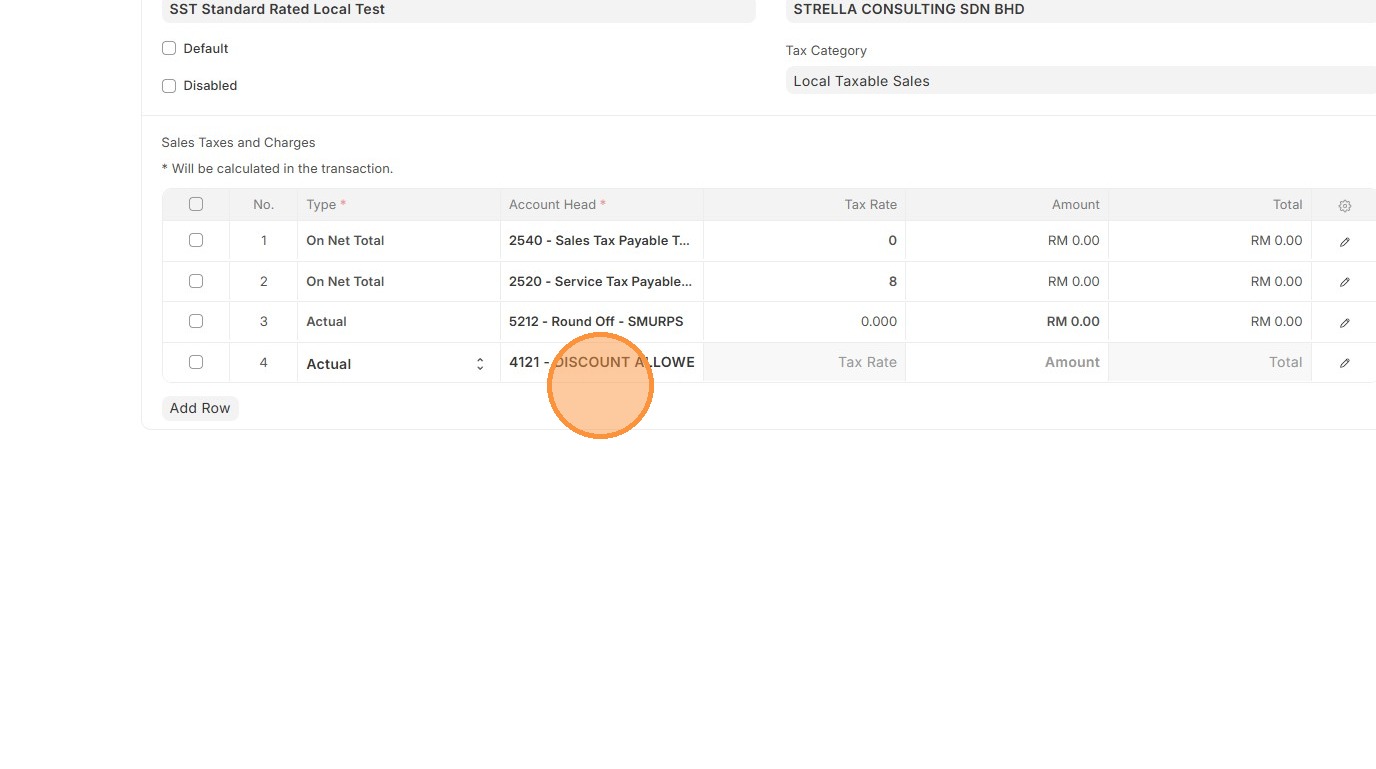
9. Verify that "Tax Rate" is fetched accordingly based on Item Tax Template.

10. Click "Save"
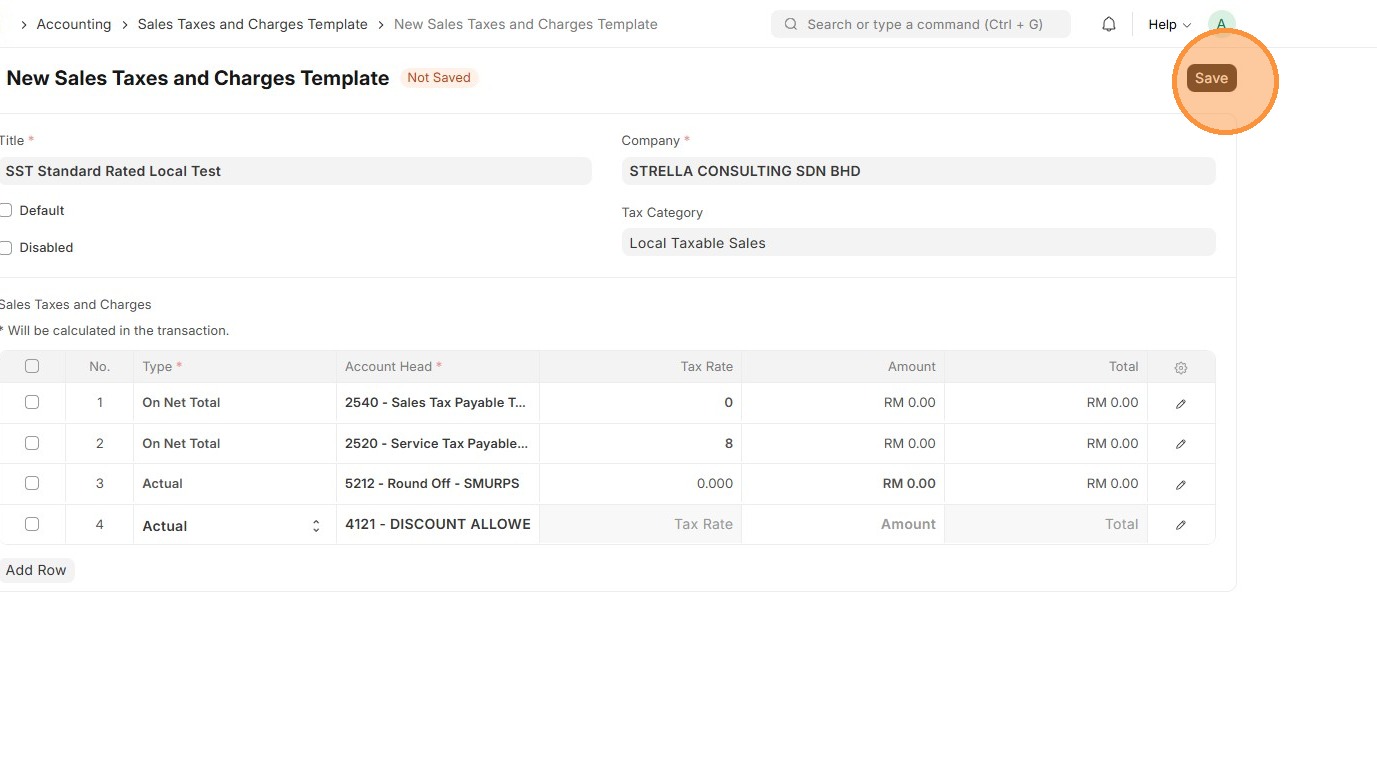
11. Verify that Sales Taxes and Charges Template ID is created correctly.
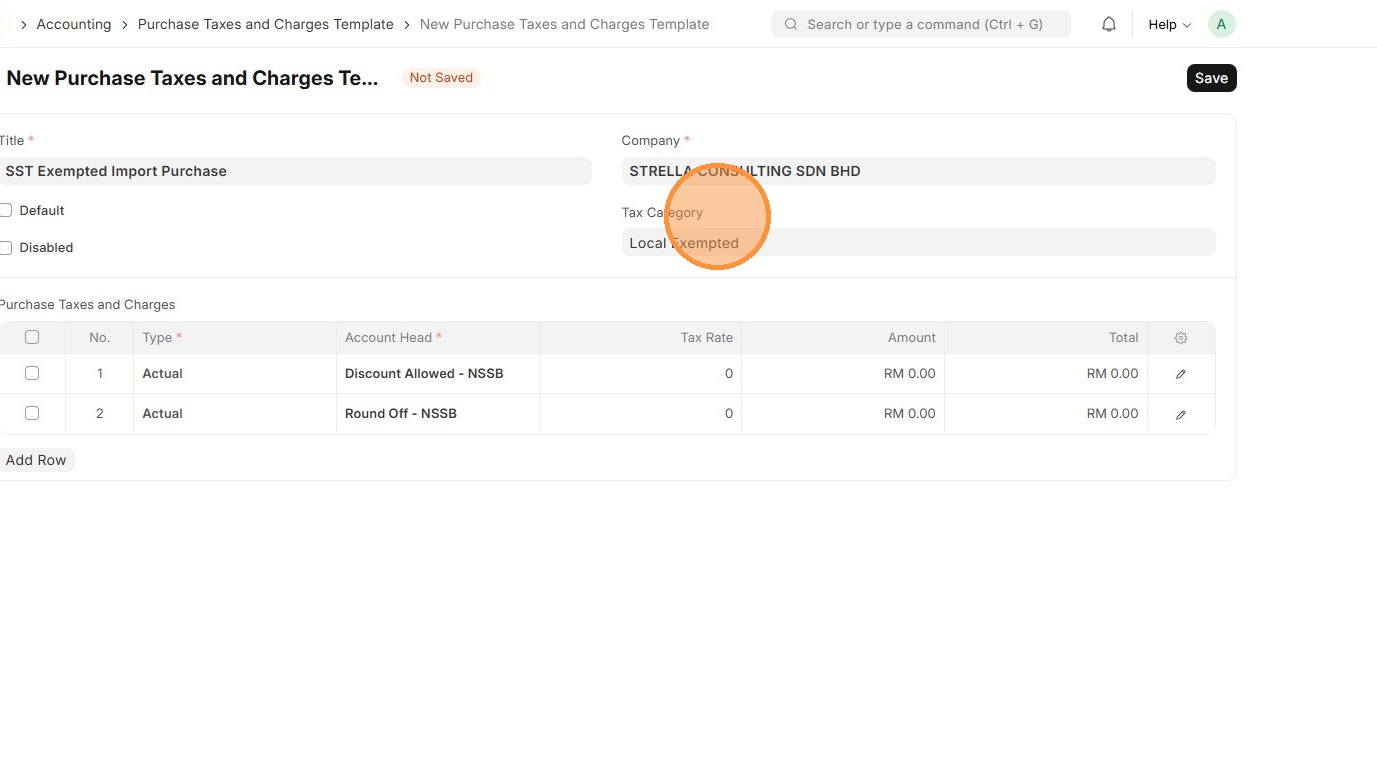
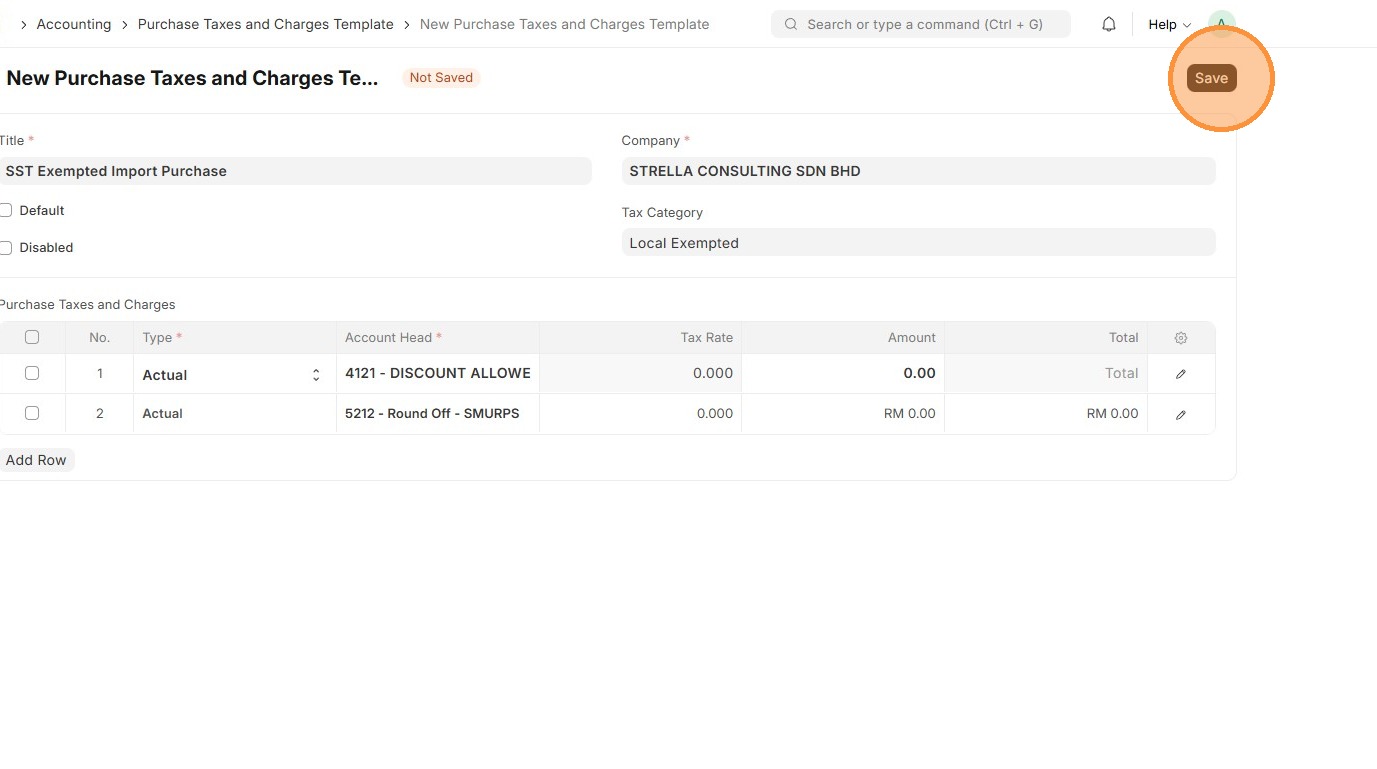
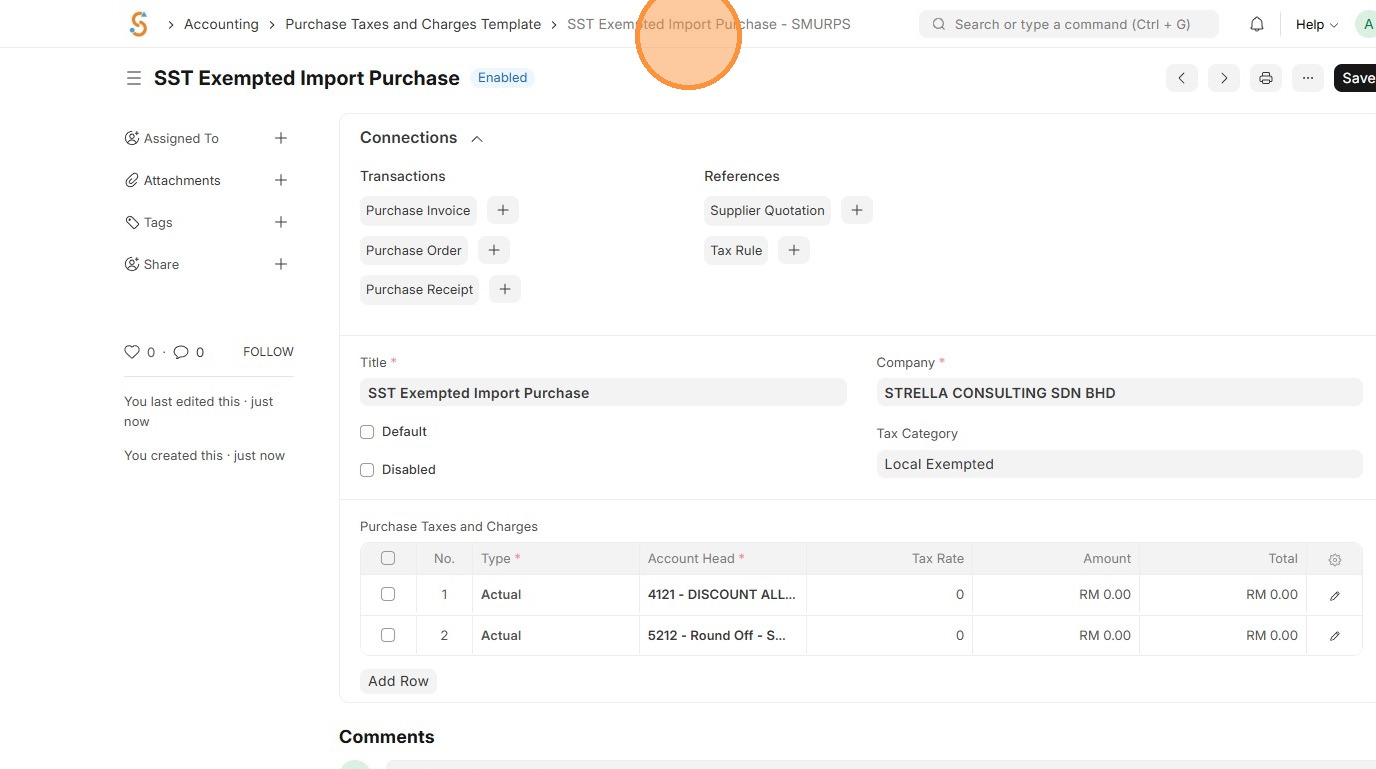
Purchase Taxes and Charges Template
A Purchase Taxes and Charges Template defines the taxes or extra charges that are applied automatically on purchase invoices. It ensures that the correct taxes are calculated, applied, and posted to the right accounts when buying from suppliers.
1. Click "Accounting"
2. Click "Purchase Taxes and Charges Template"
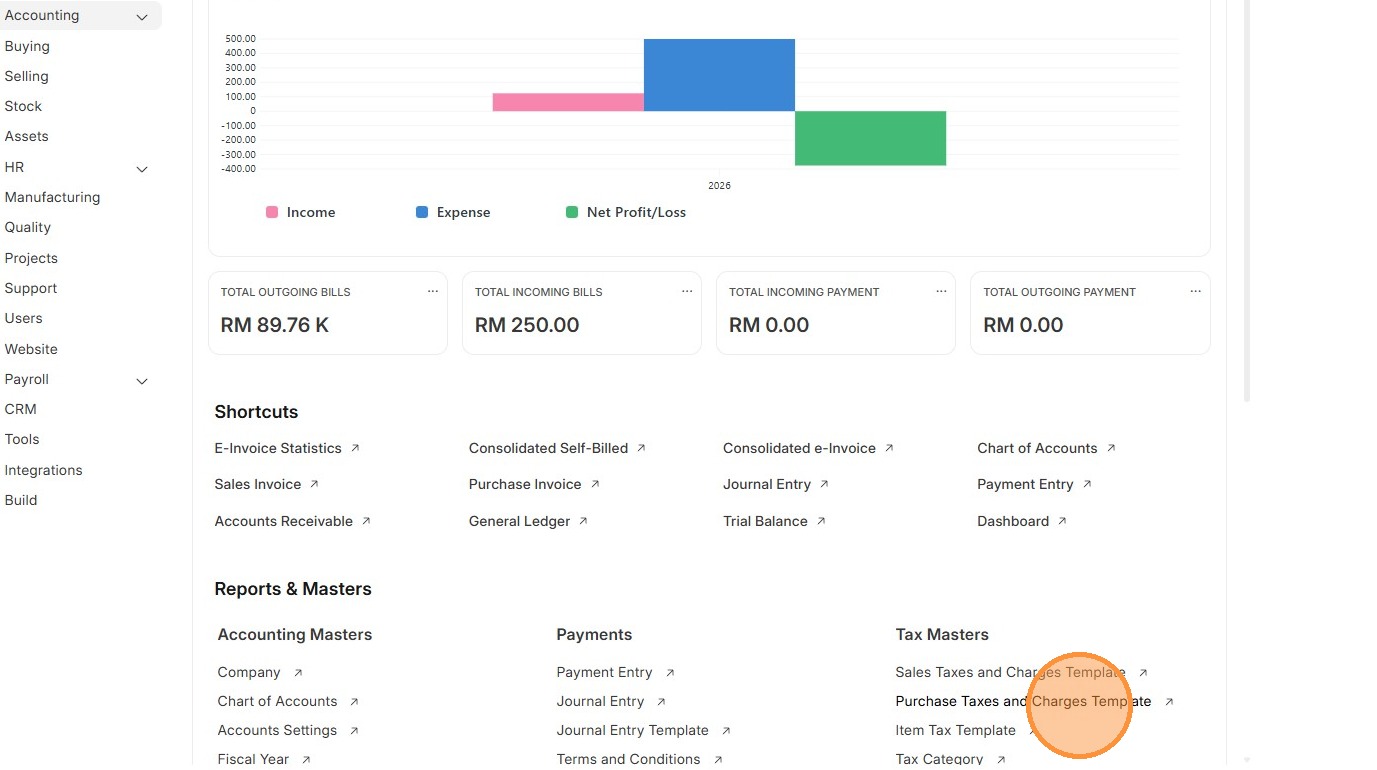
3. Click "Add Purchase Taxes and Charges Template"
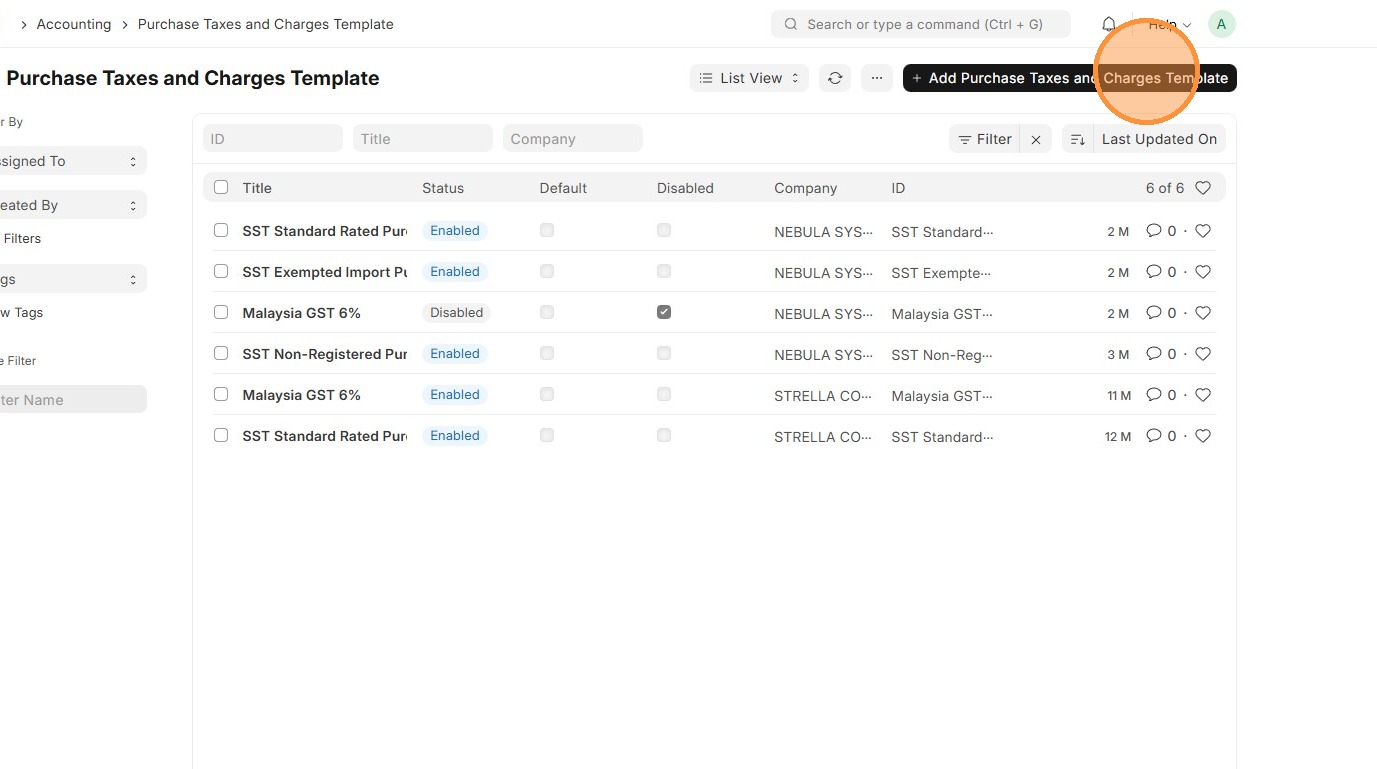
4. Enter "Title"
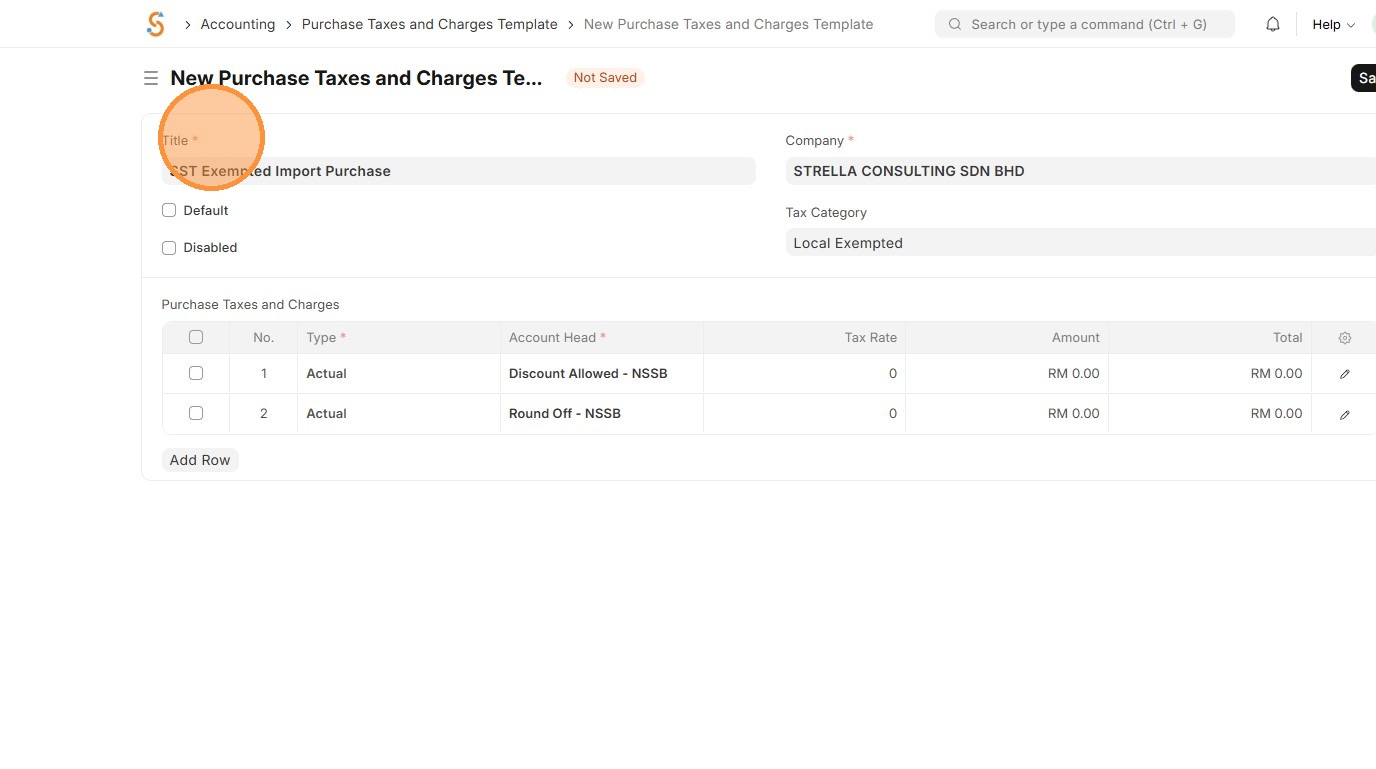
5. Select Tax Category.
6. Select "Type" appropriate "Account Head" based on Chart of Accounts.
-
On Net Total - Tax on total of items
-
On Previous Row Total - Tax on cumulative total up to another row
-
Actual - Fixed amount instead of percentage
-
On Item Quantity - Tax per unit quantity
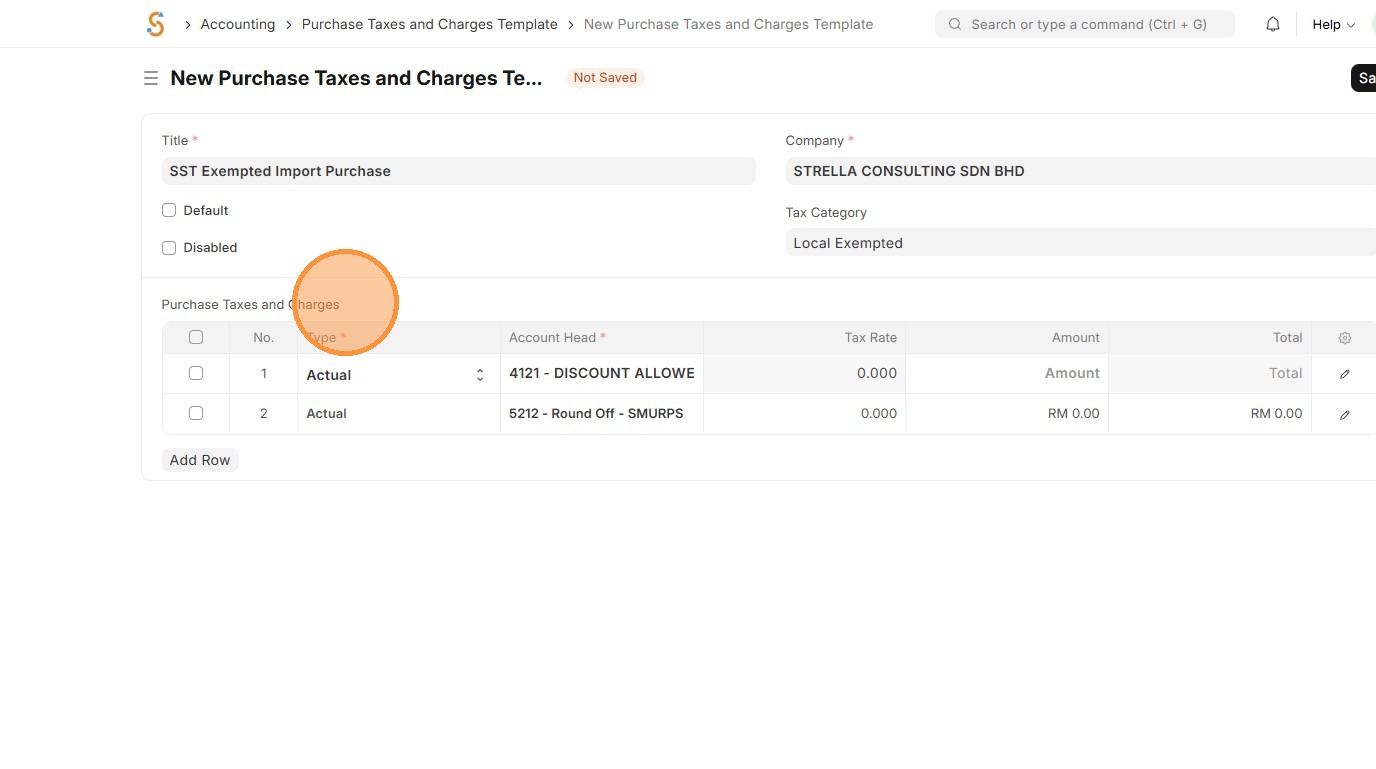
7. Click "Add Row"
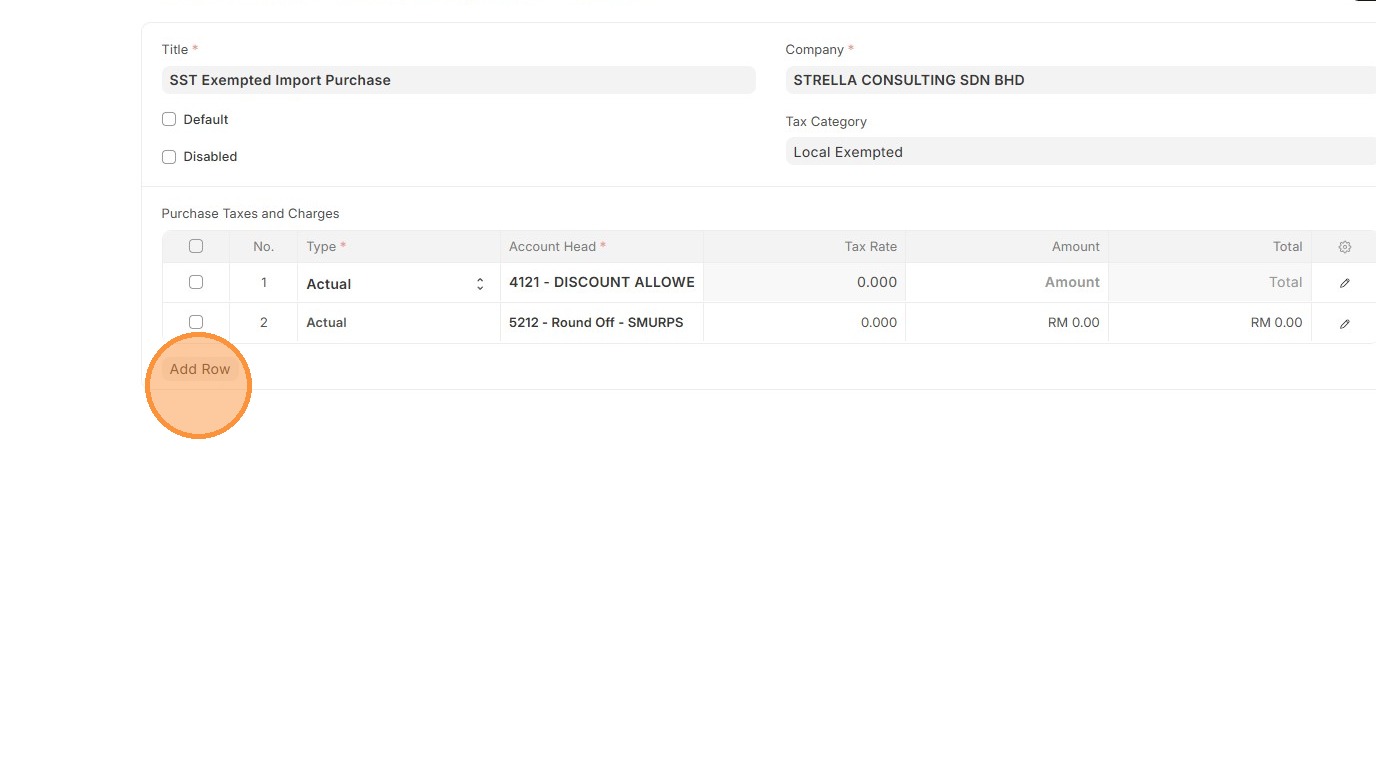
8. Click "Save"
9. Verify that Purchase Taxes and Charges Template ID is created
Tax Rule
A Tax Rule tells the system when and how to apply a tax based on conditions like item, customer, supplier, or location. This is applicable for both Sales and Purchase
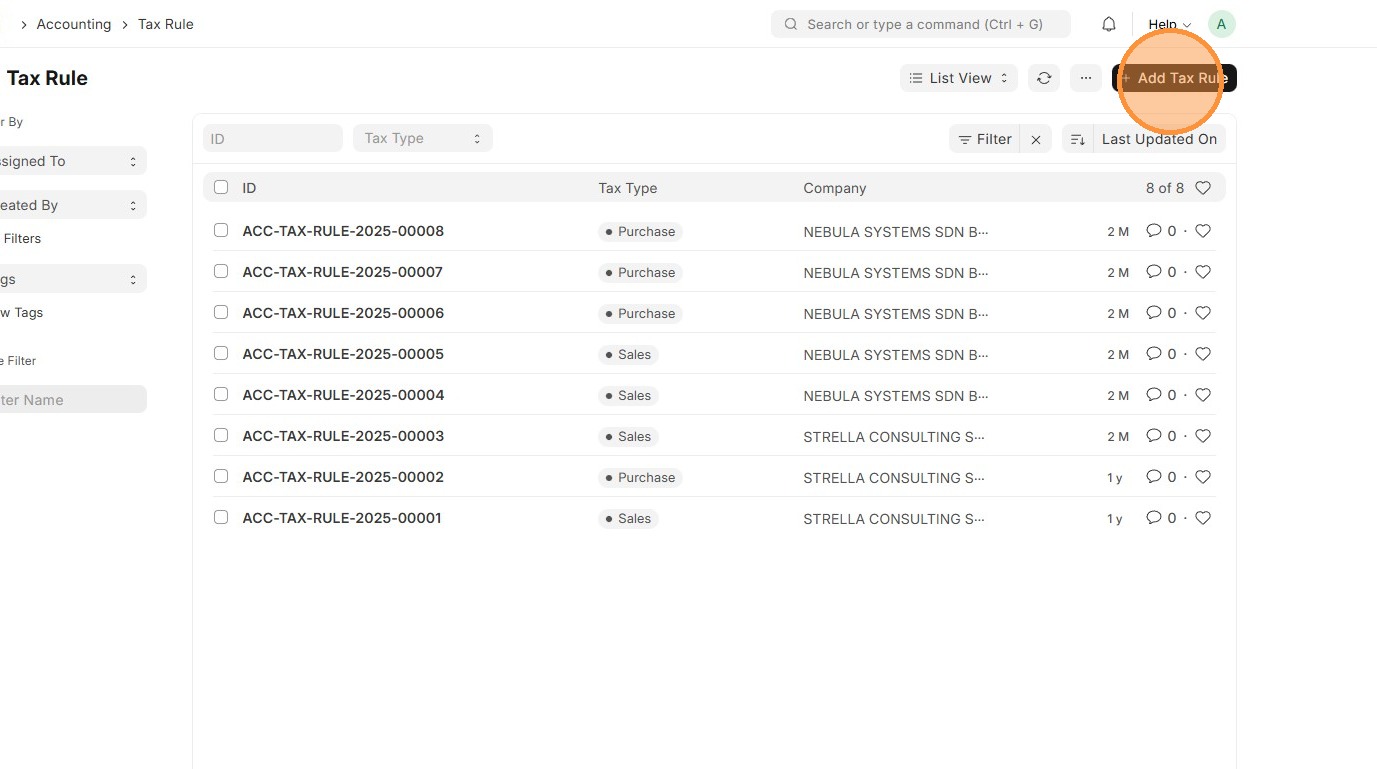
1. Click "Accounting"
2. Click "Tax Rule"
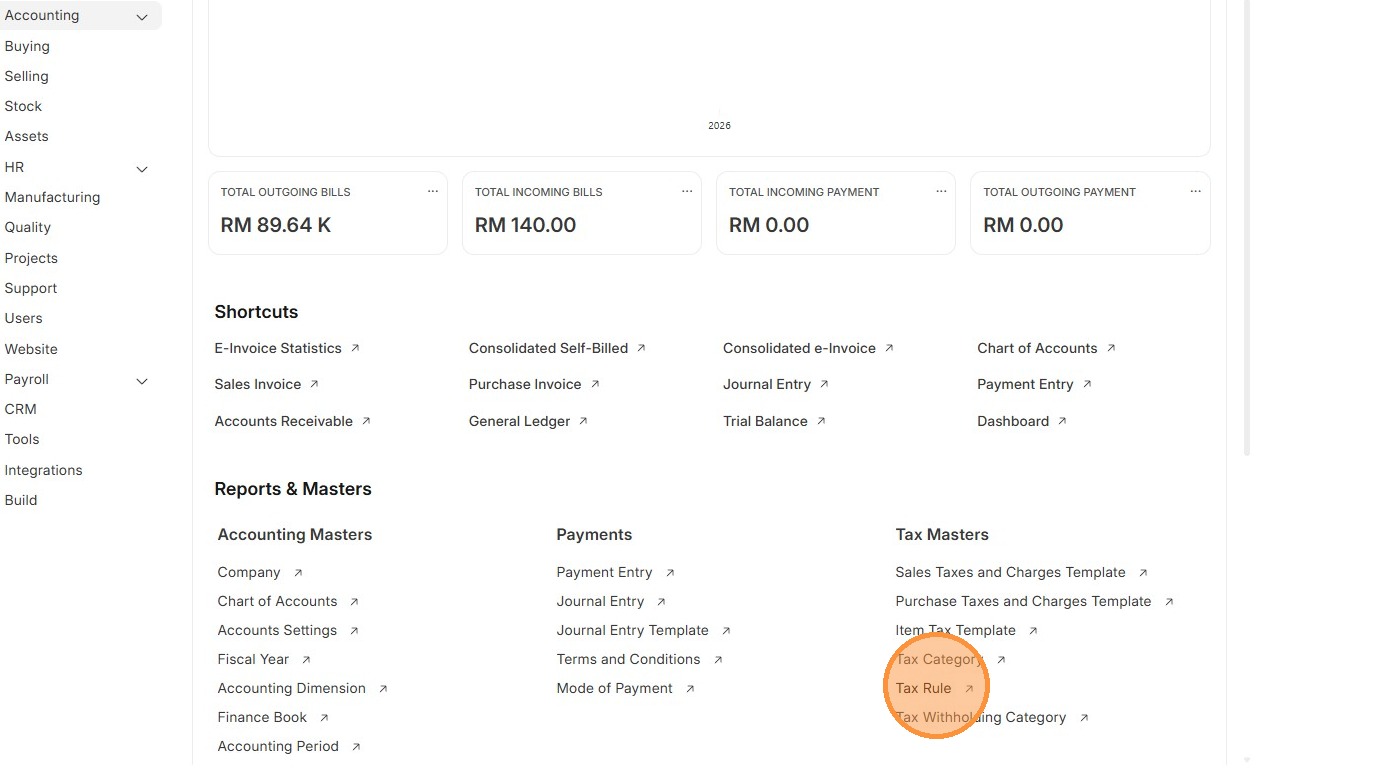
3. Click "Add Tax Rule"
4. Select "Tax Type" either Sales or Purchase
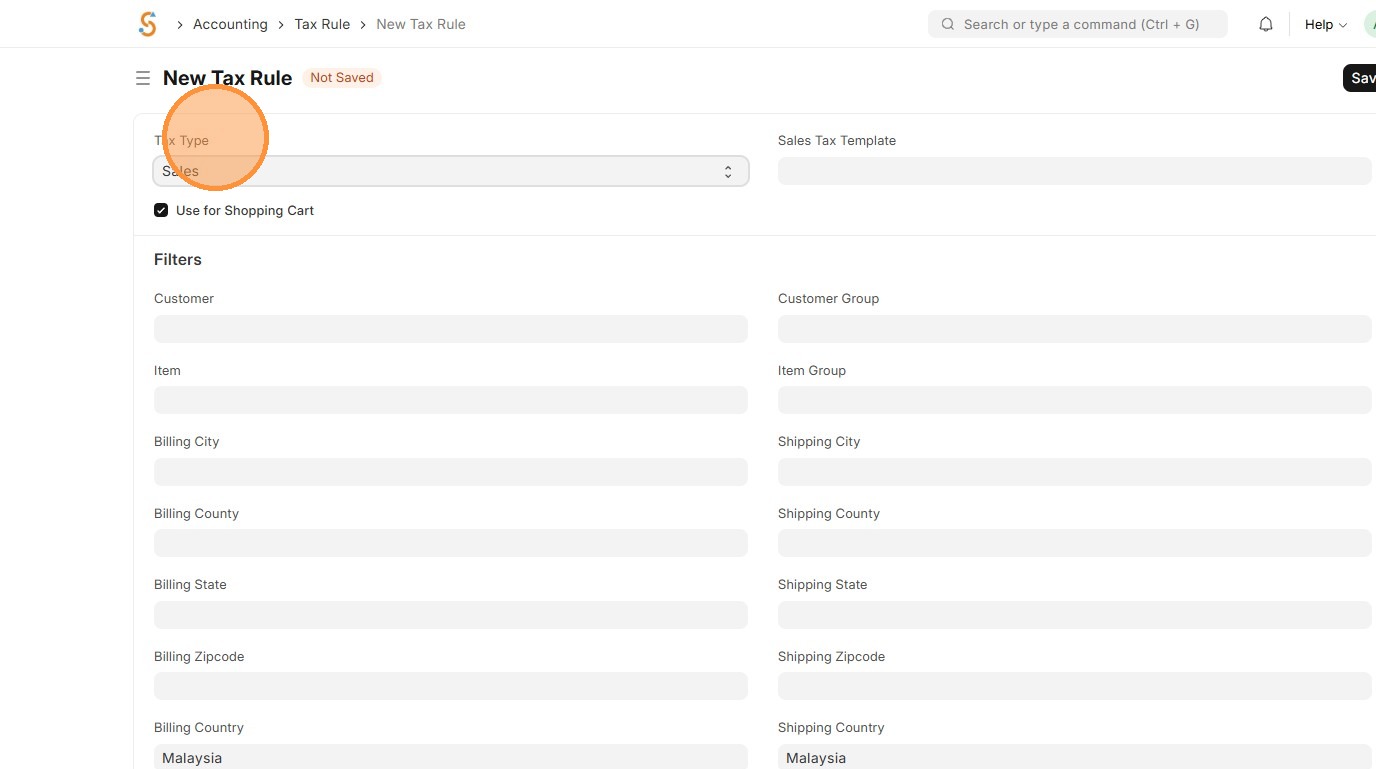
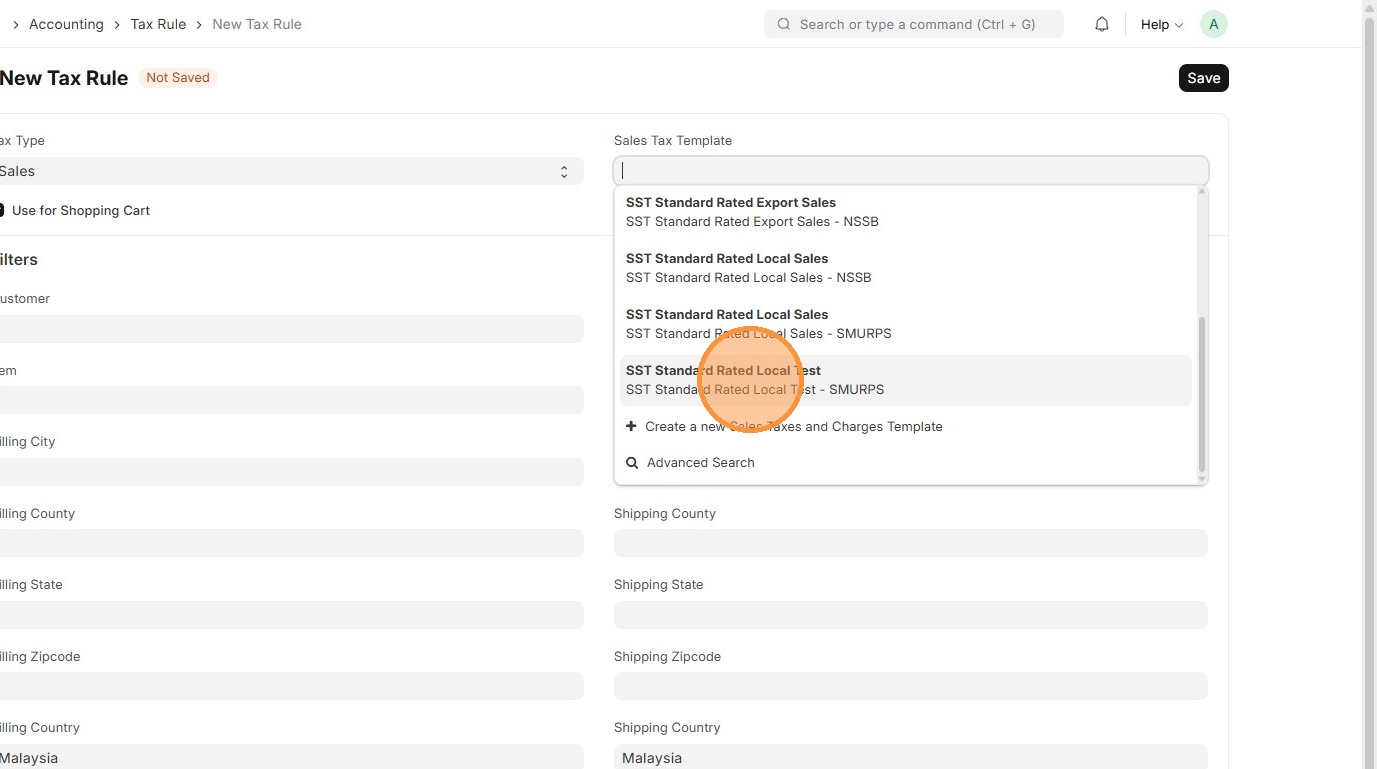
5. Select appropriate Sales Taxes and Charges
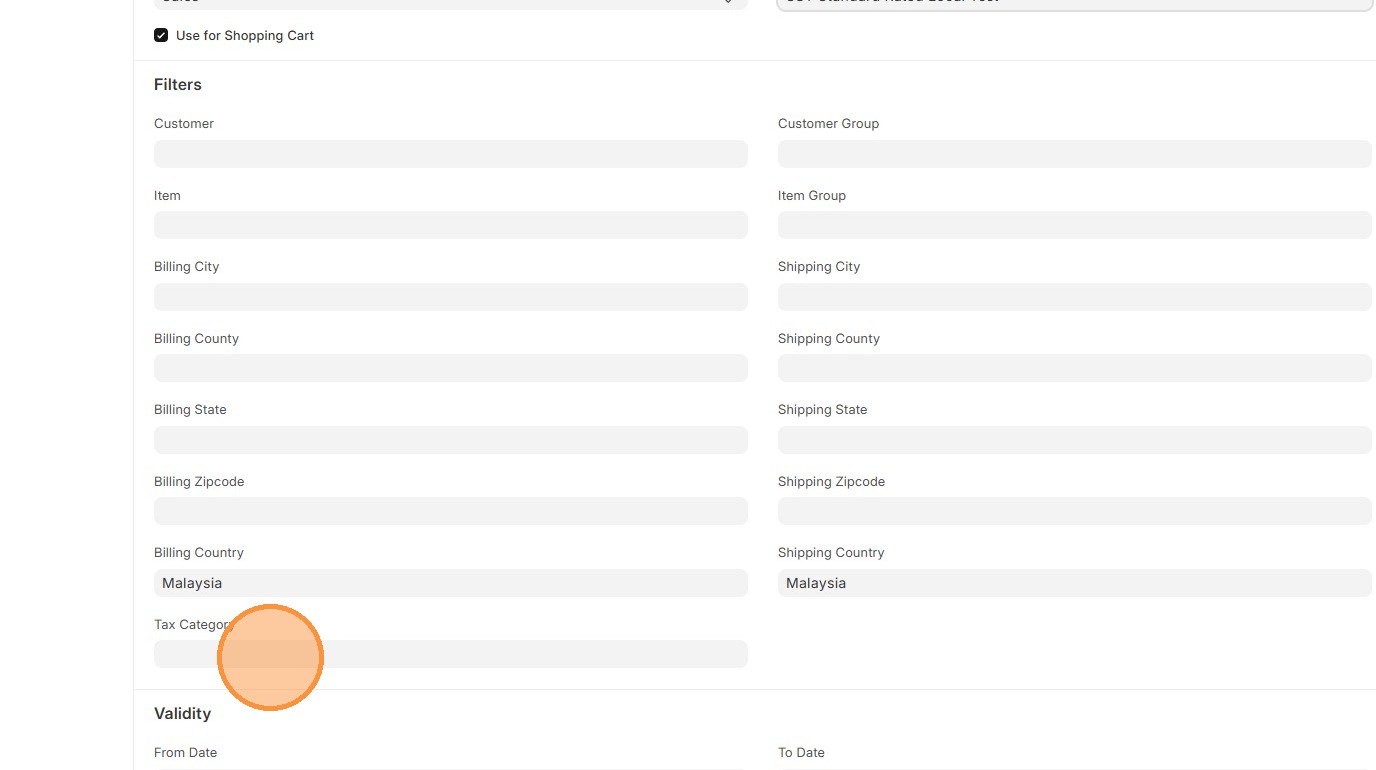
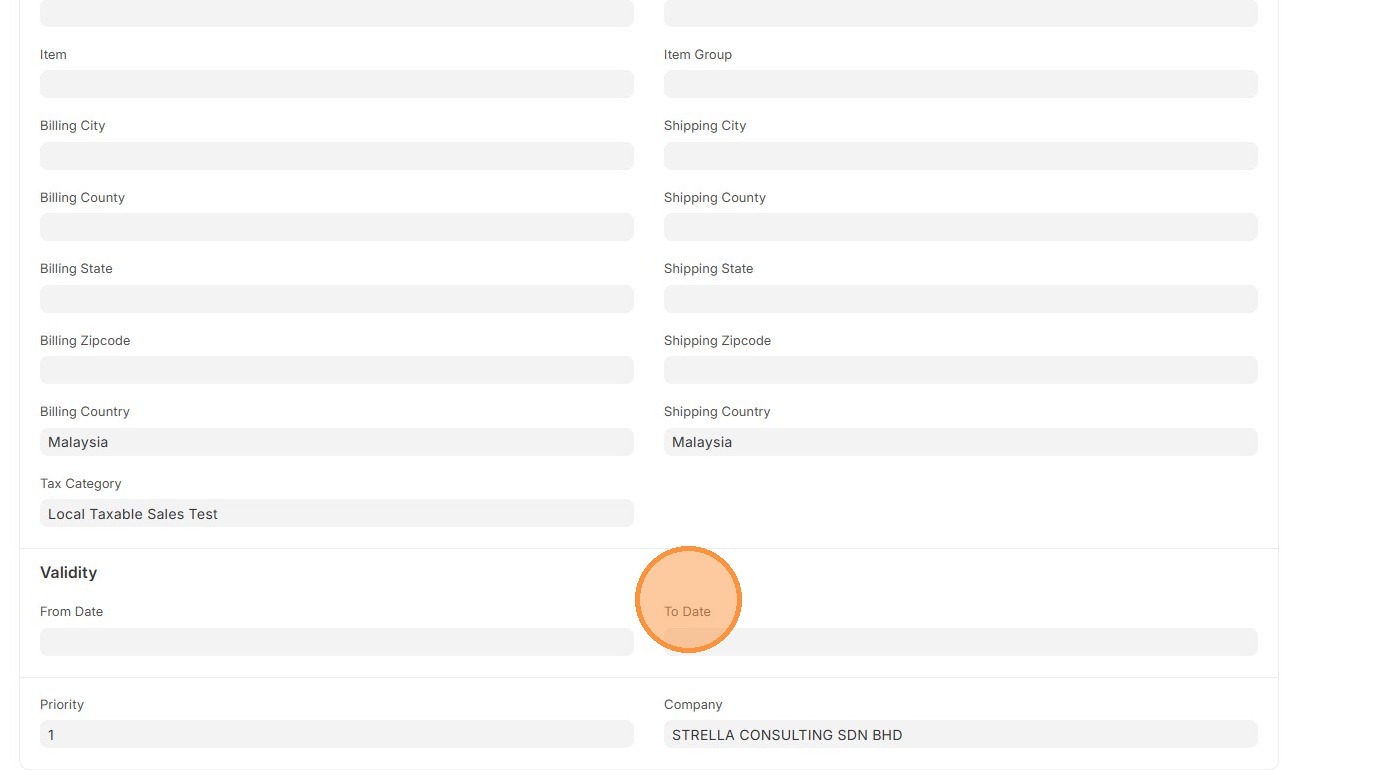
6. Update the ‘Filters’ that determine where the Sales Tax Template applies.
7. OPTIONAL: Click "From Date" if applicable
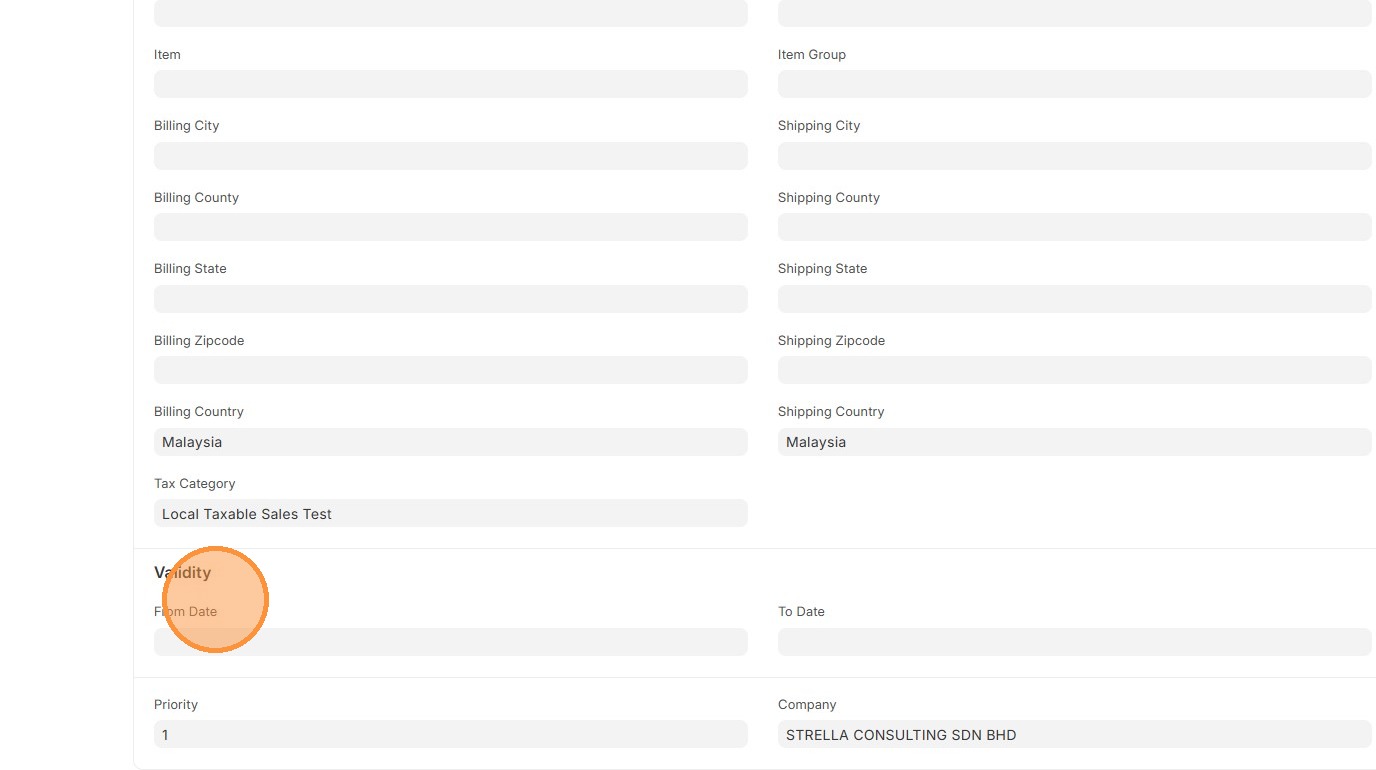
8. OPTIONAL: Click "To Date" if applicable
9. Click "Save"
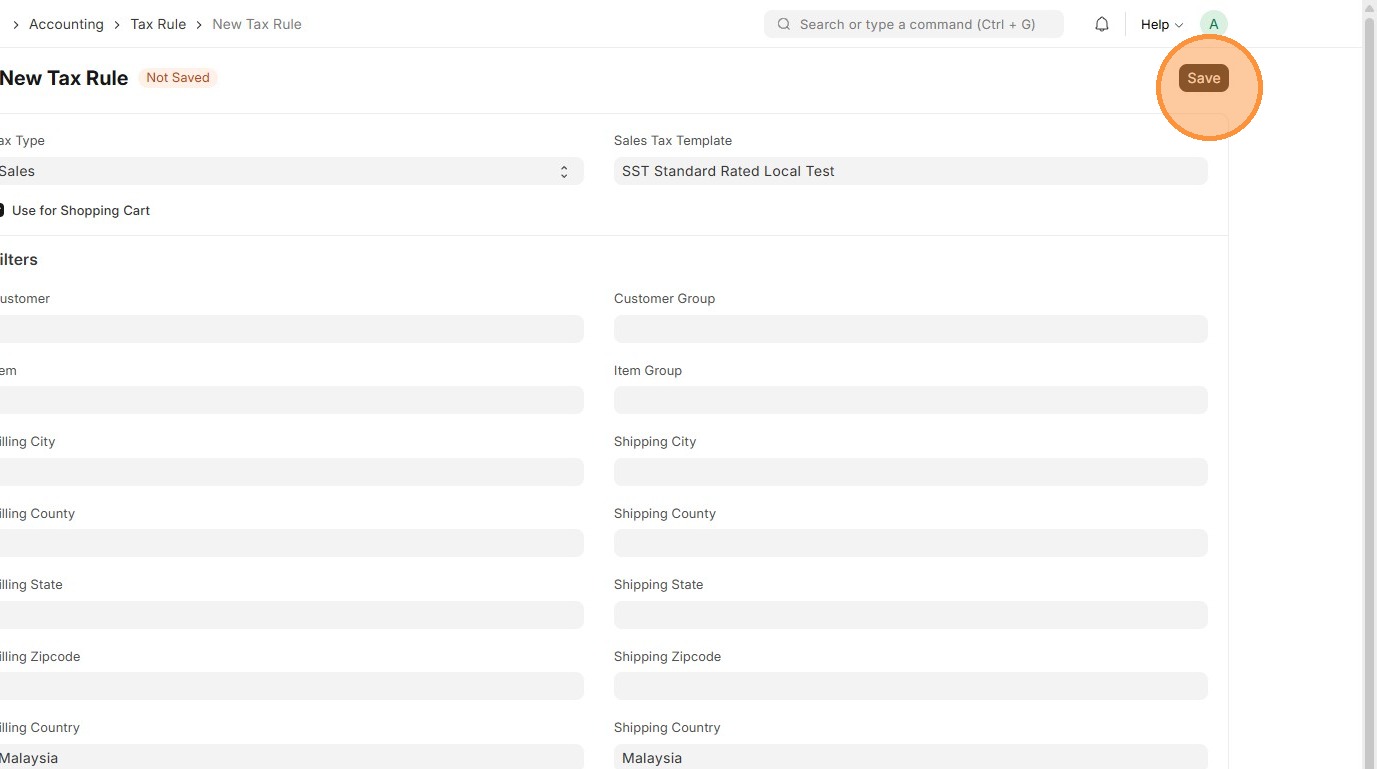
10. Verify that Tax Rule ID is created

Item Master Data
Users should update the Item Master Data with the correct Tax Category and Item Tax Template so the system can automatically apply and calculate the right taxes on every sale or purchase.
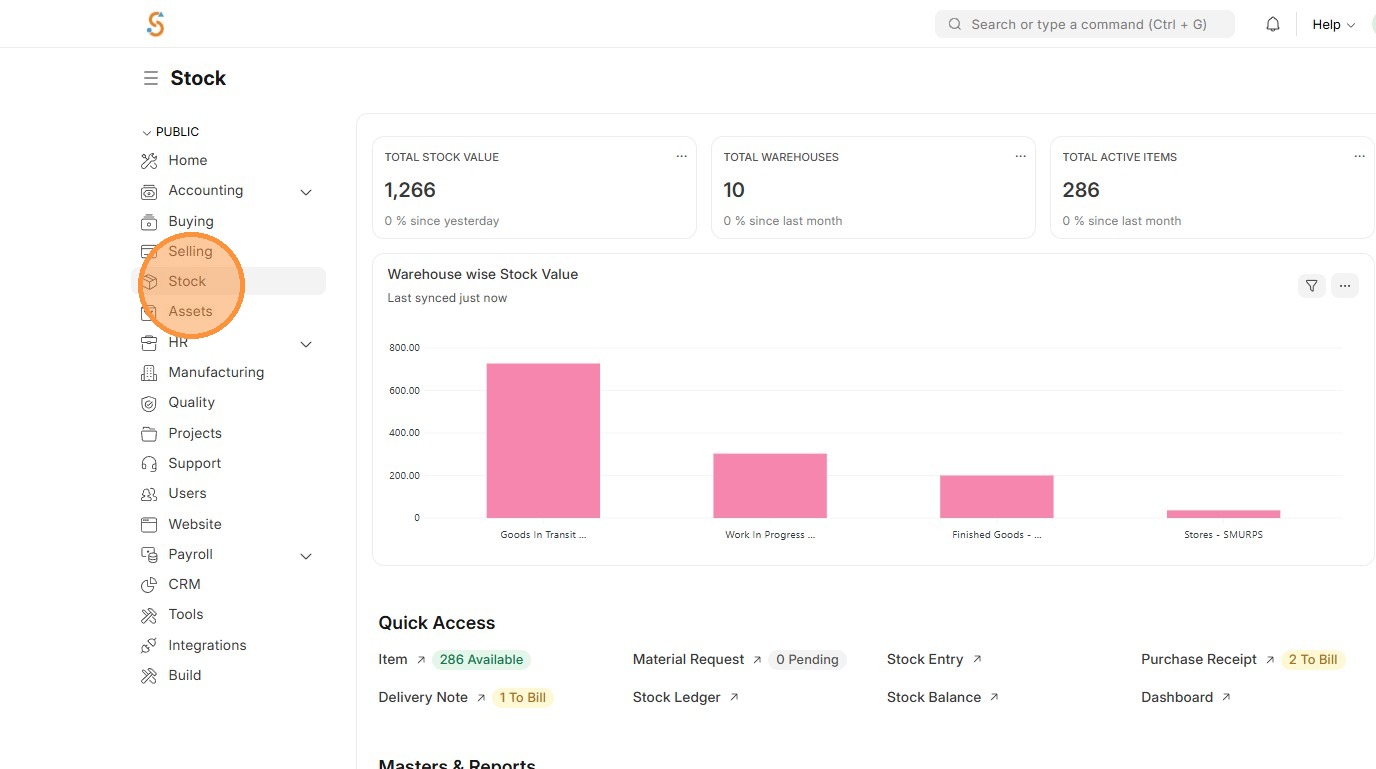
1. Click "Stock"
2. Click "Item"
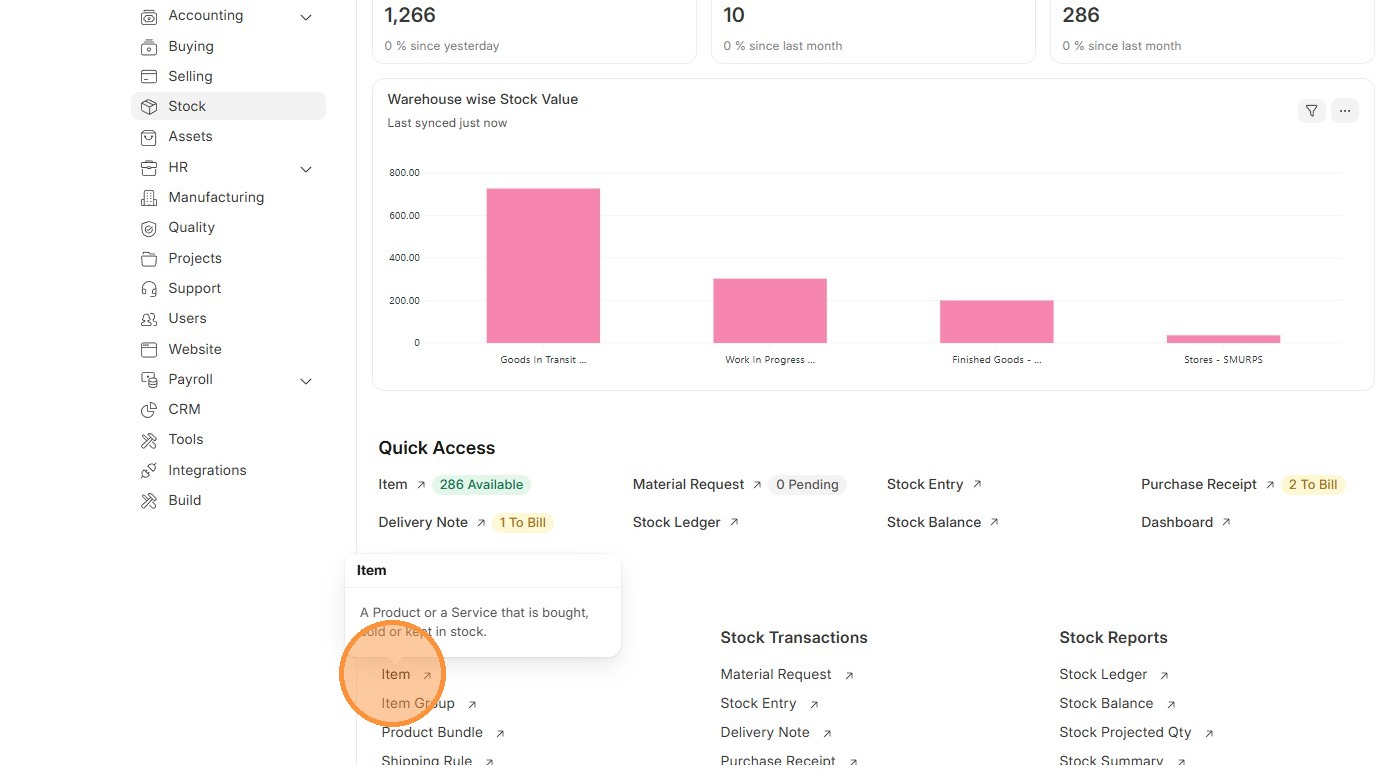
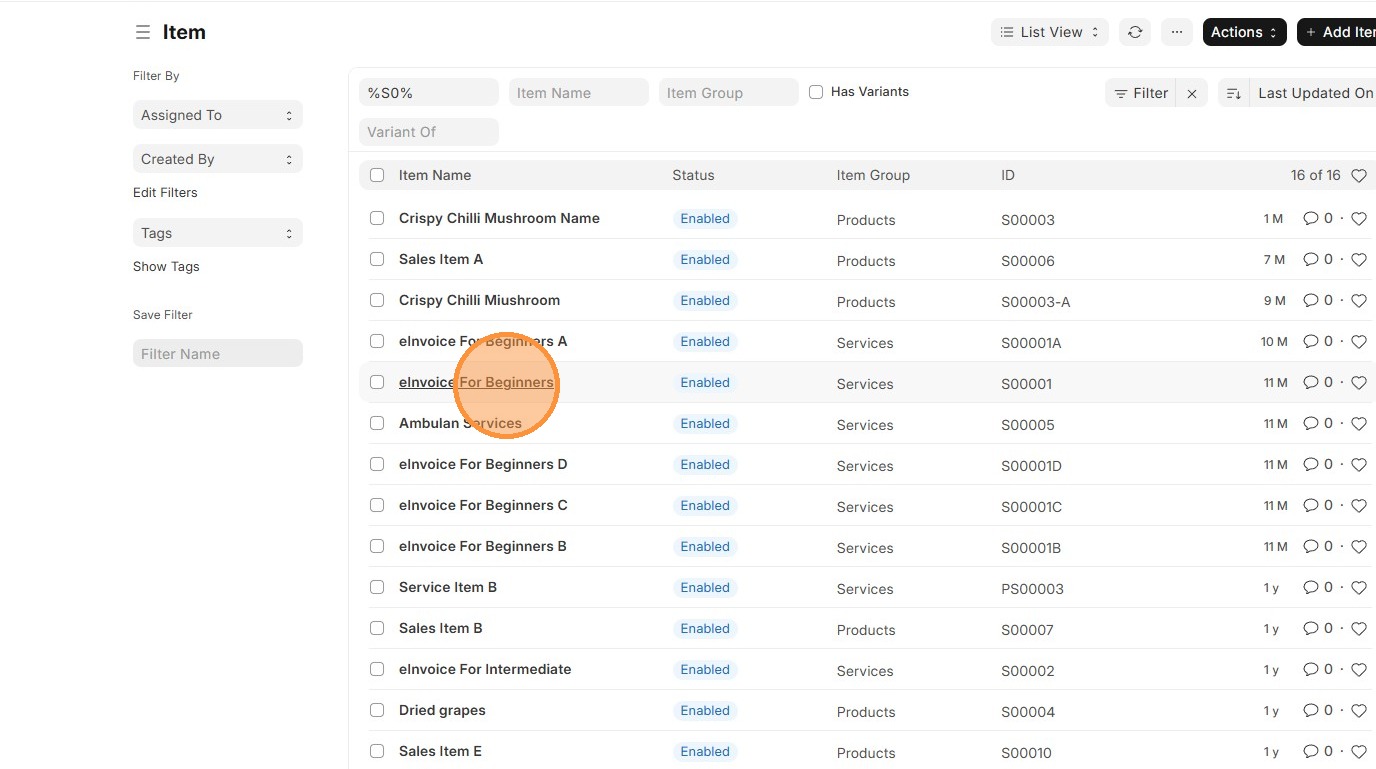
3. Select "Item"
4. Click "Tax" tab
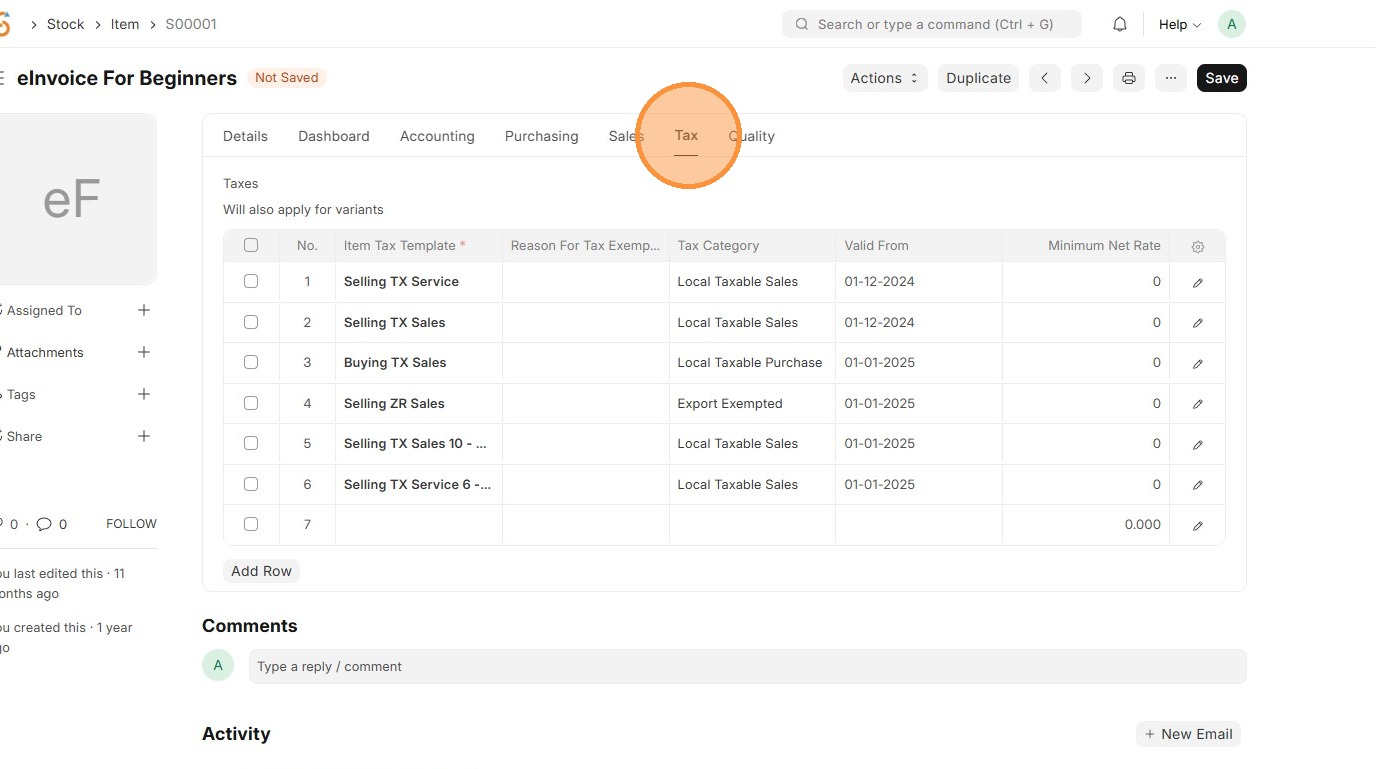
5. Click "Add Row"
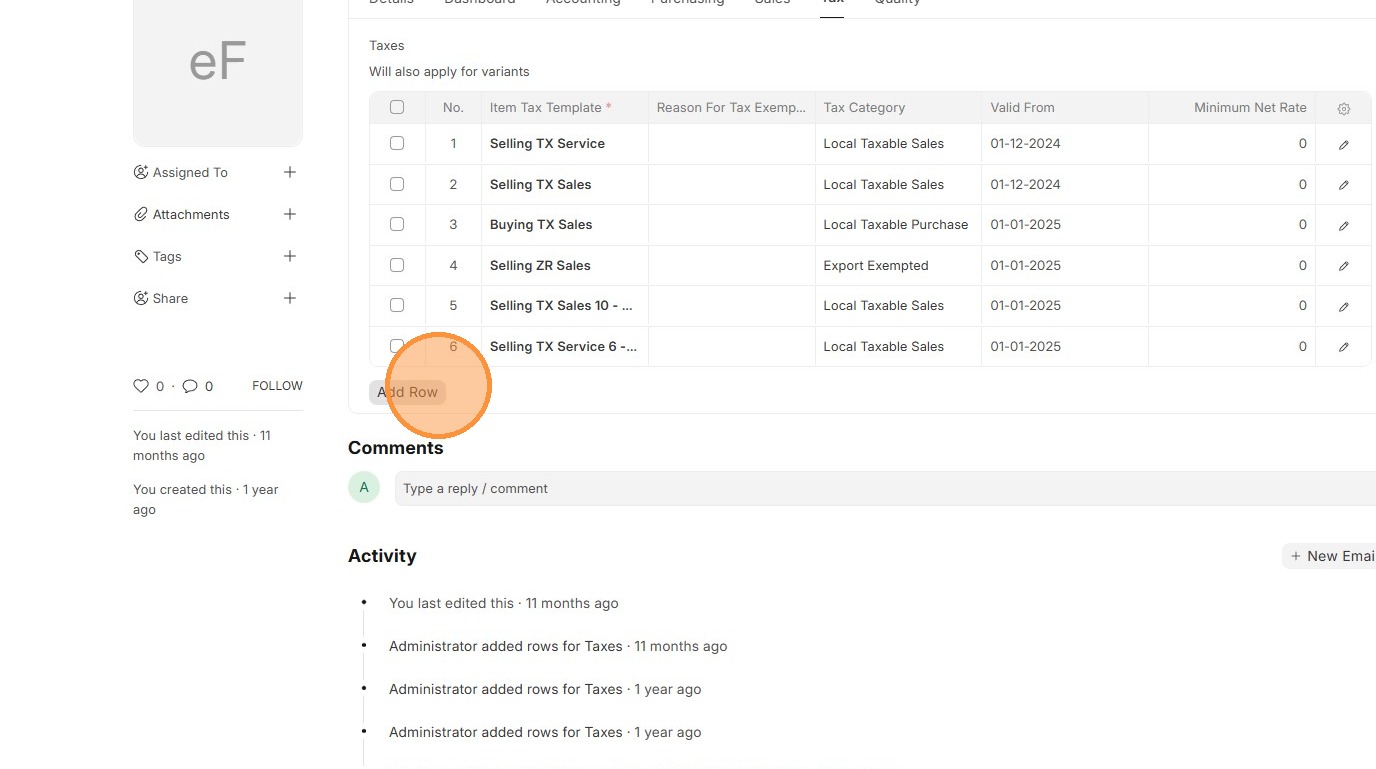
6. Select the Item Tax Template.
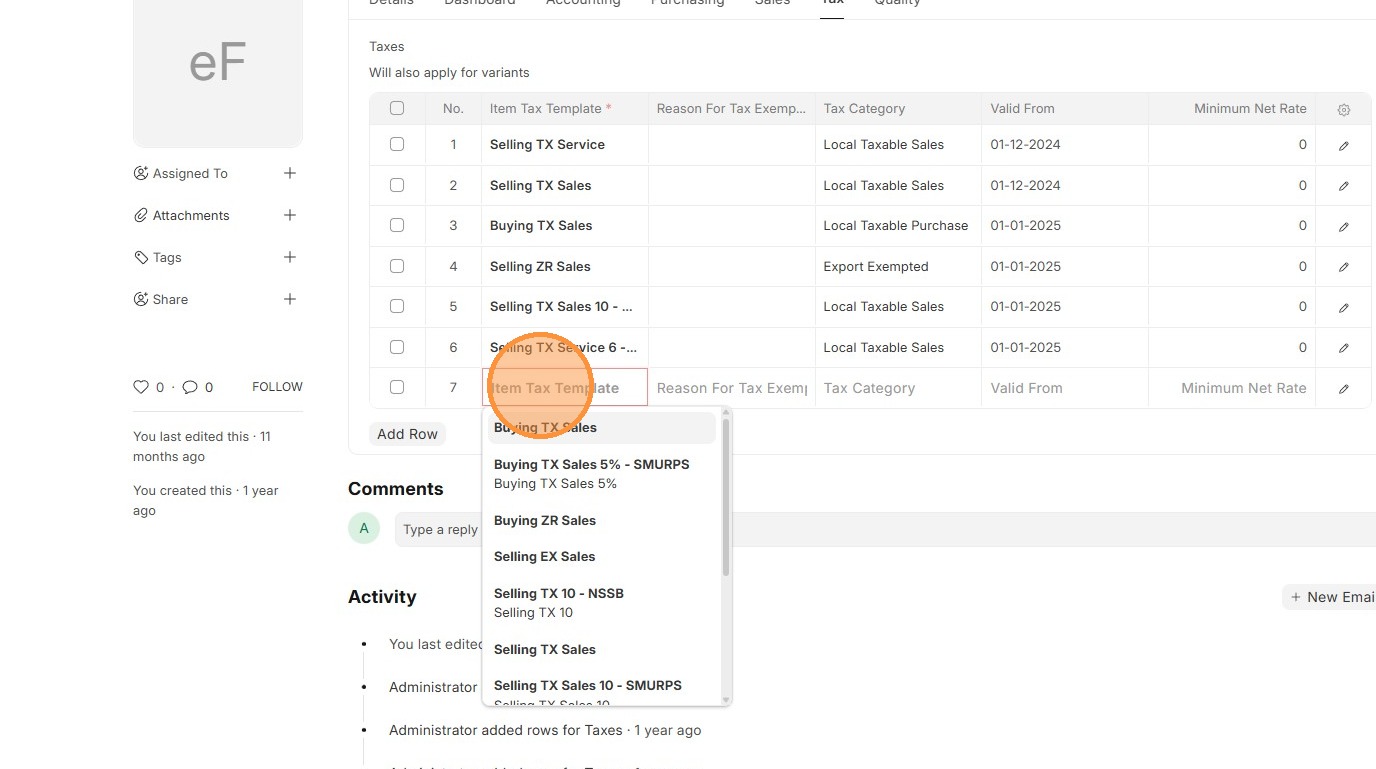
7. Select Tax Category that is associate with "Item Tax Template"
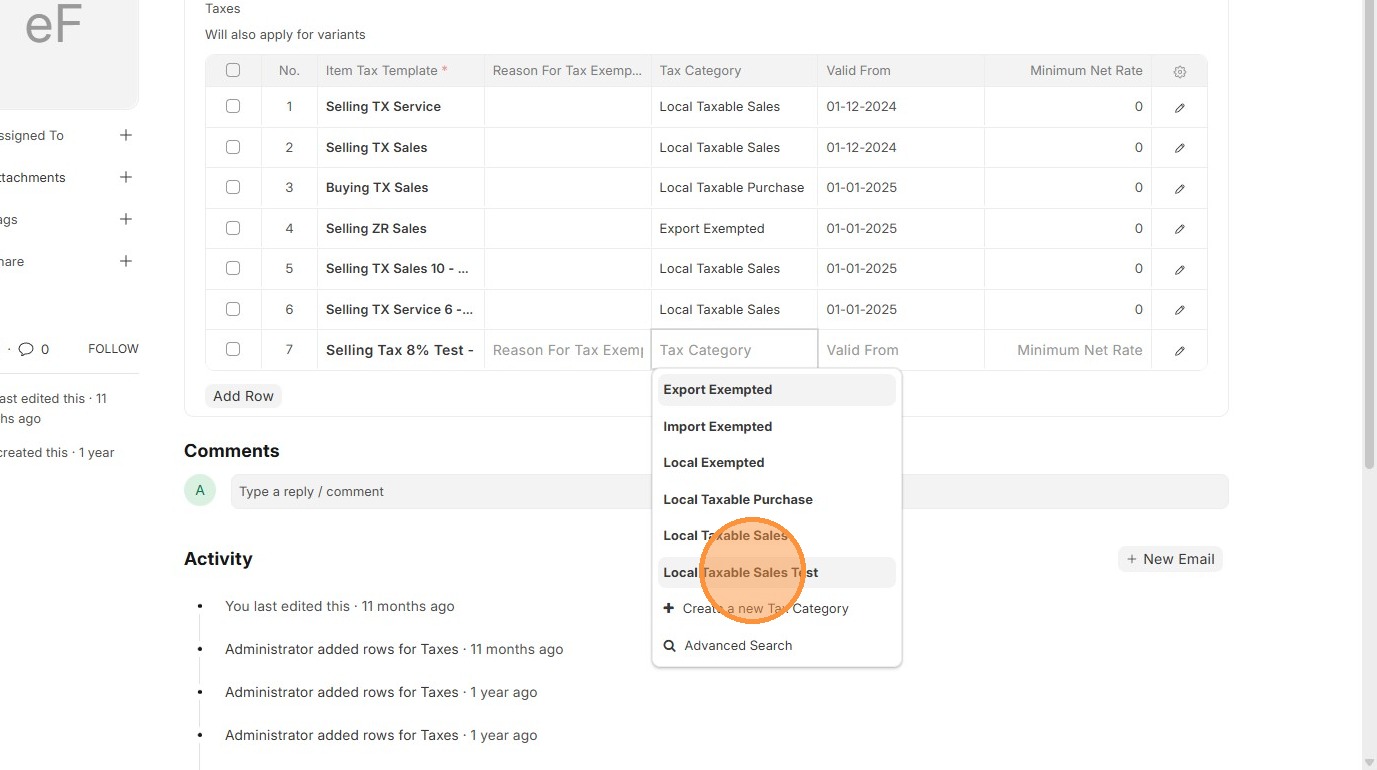
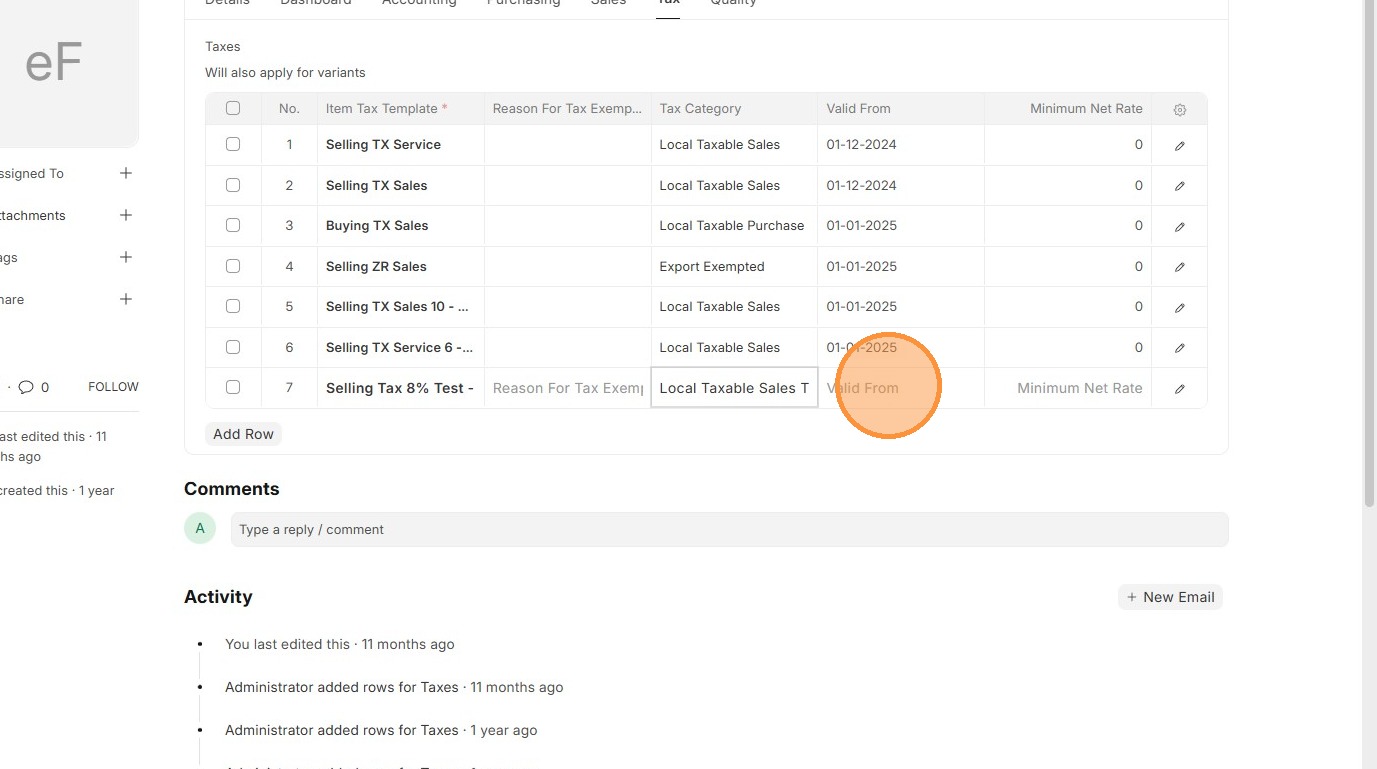
8. OPTIONAL Set the "Valid From" field for system to implement the "Item Tax Template"
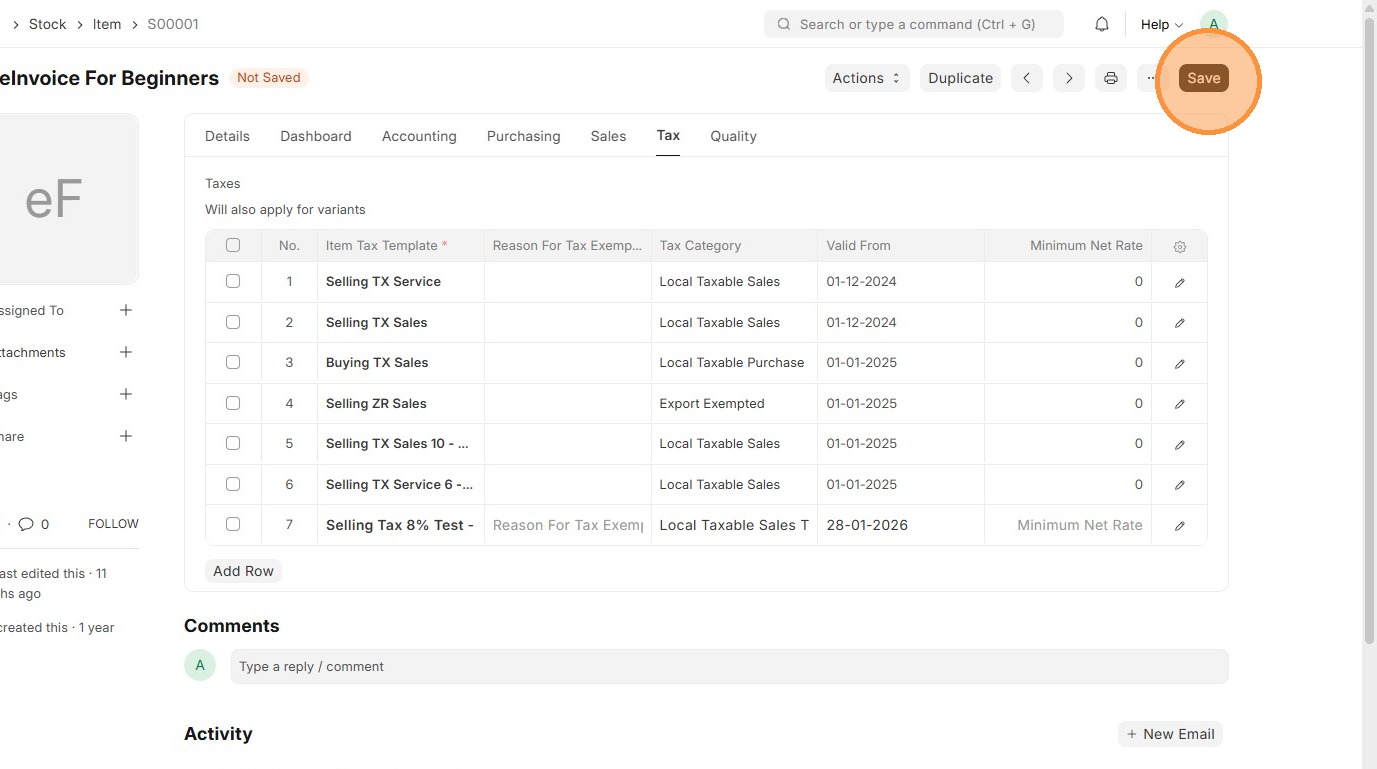
9. Click "Save"
Customer Master Data
Users should update each Customer with the correct Tax Category so the system knows which taxes to apply when selling to them.
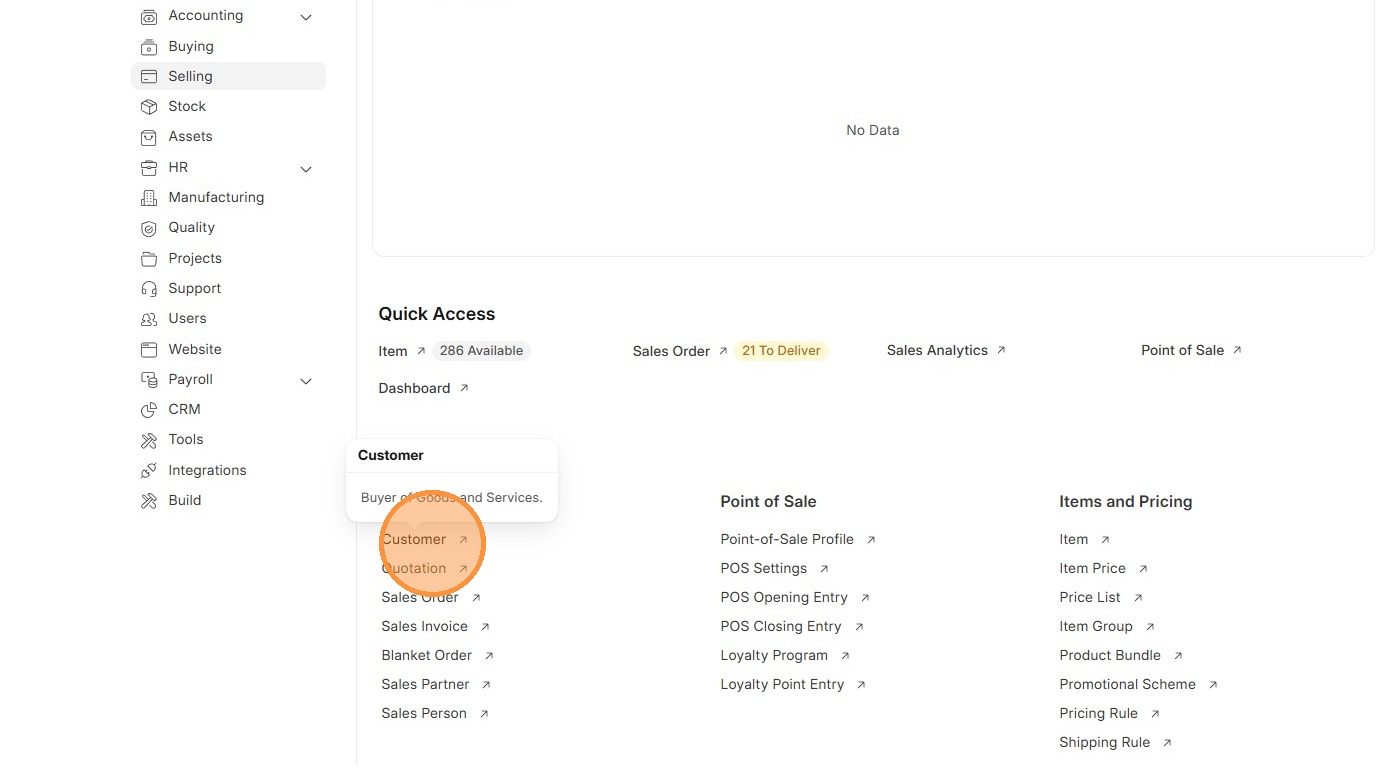
1. Click "Selling"
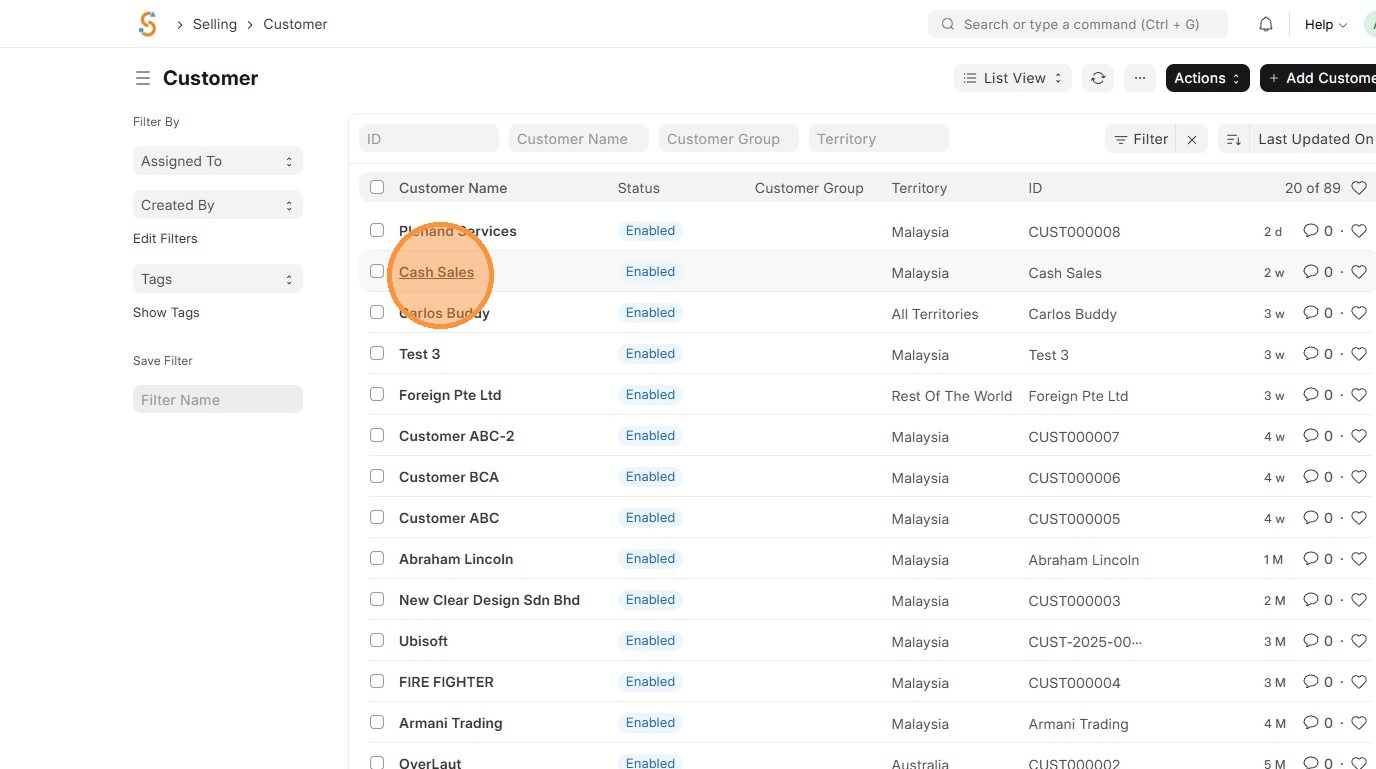
2. Click "Customer"
3. Select "Customer" to update.
4. Click "Tax" tab.
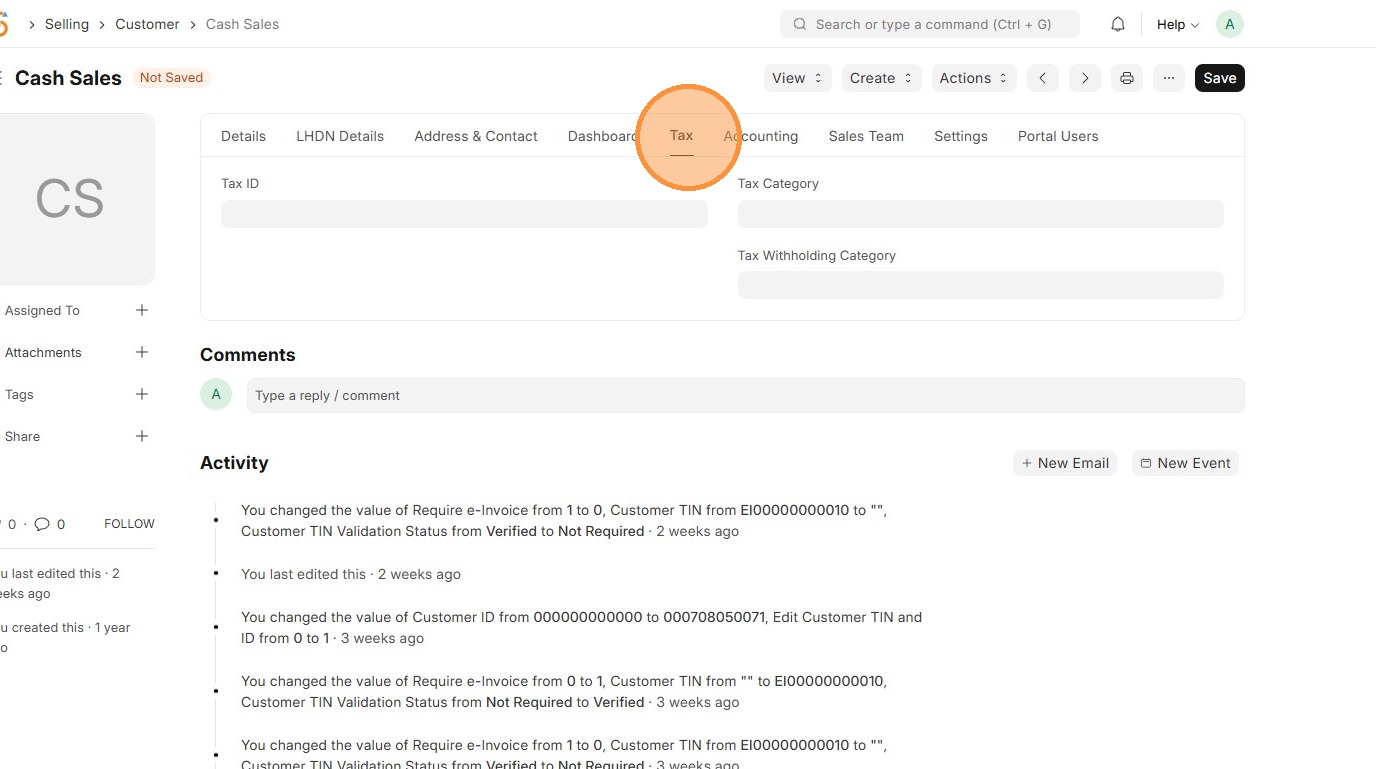
5. Select the appropriate Tax Category.
6. Click "Save"
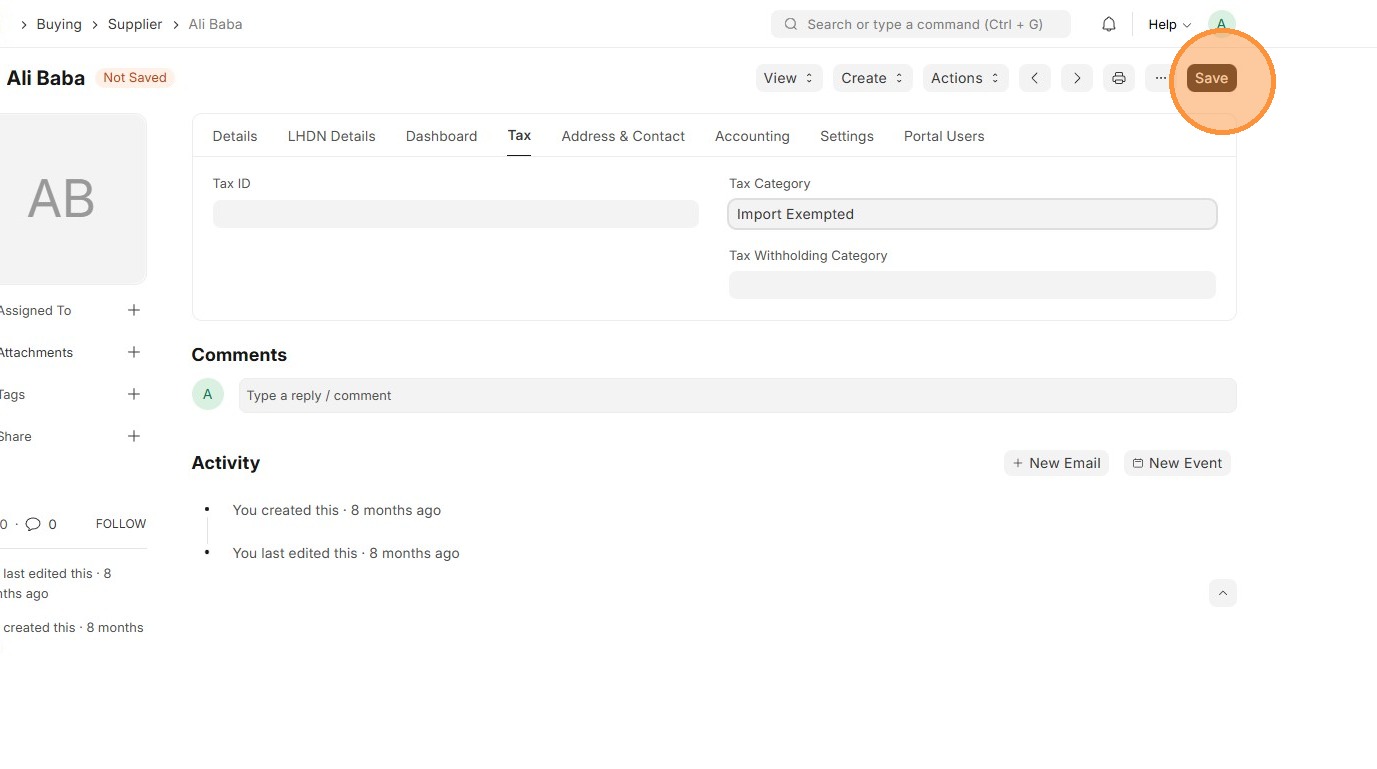
Supplier Master Data
Users should update each Supplier with the correct Tax Category so system can automatically apply the right taxes on purchases.
1. Click "Buying"
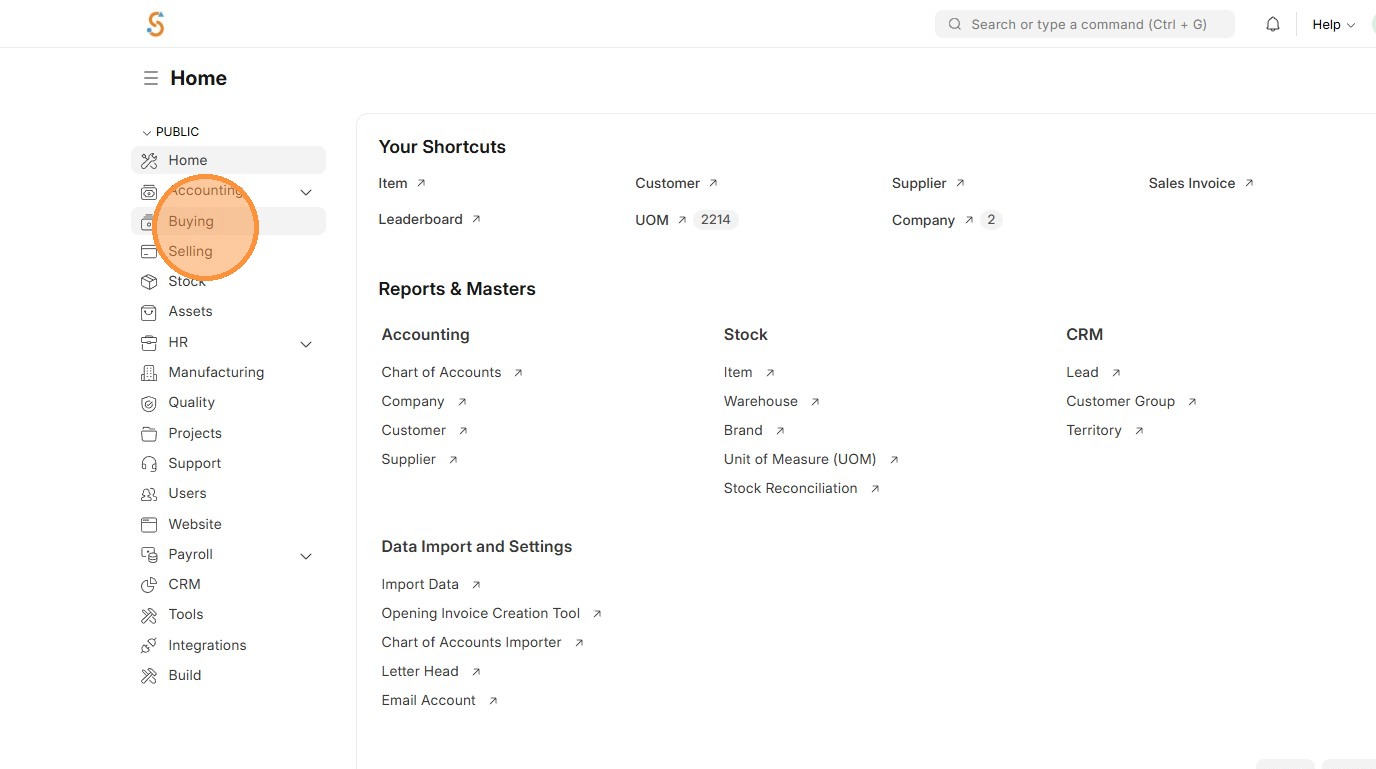
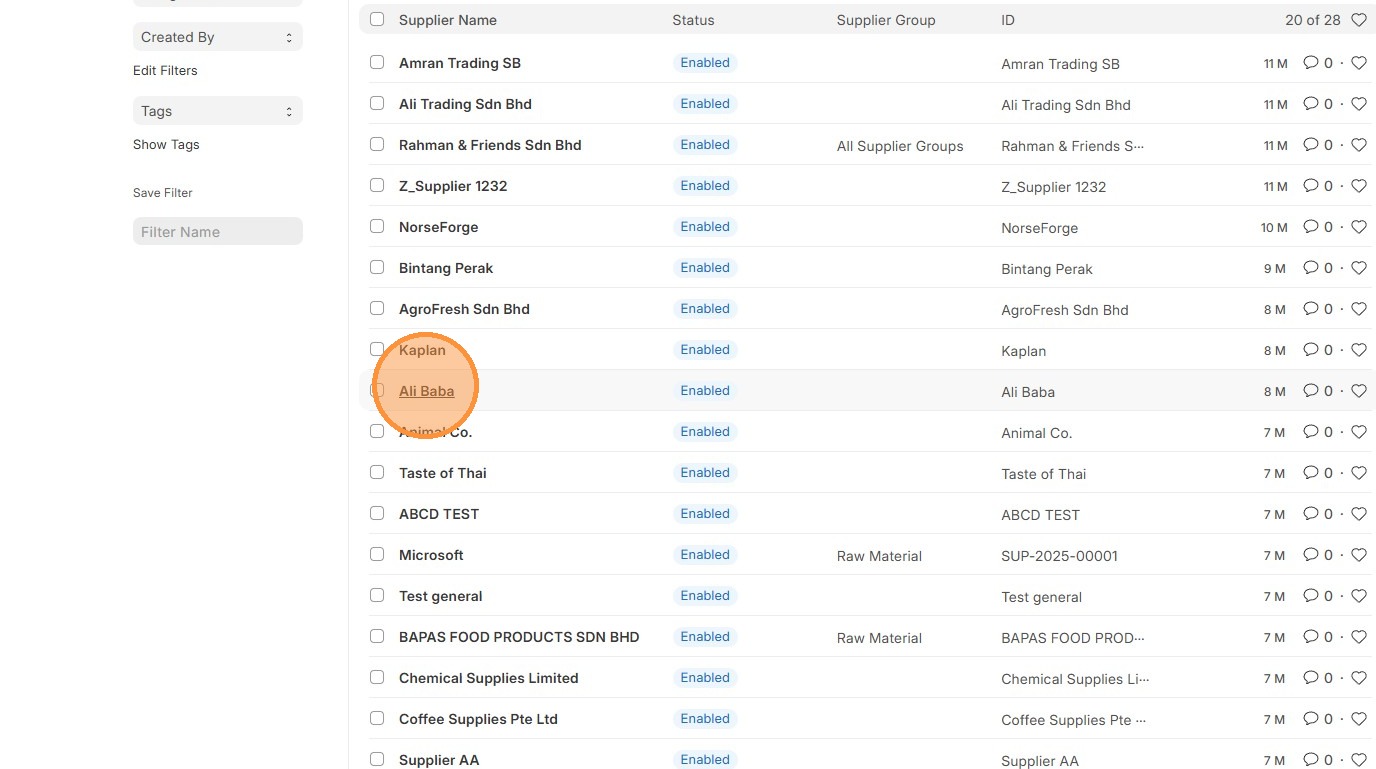
2. Click "Supplier"

3. Click "Supplier"
4. Click "Tax" tab
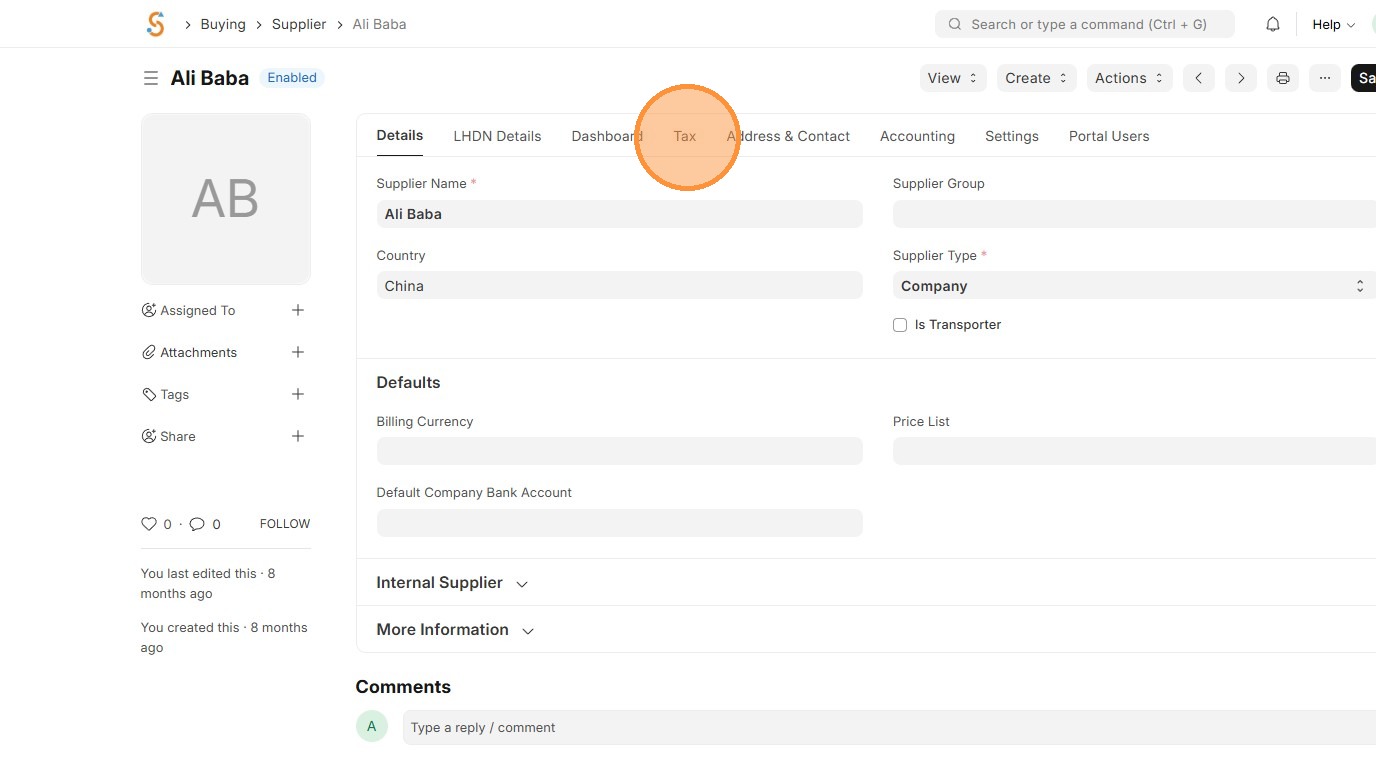
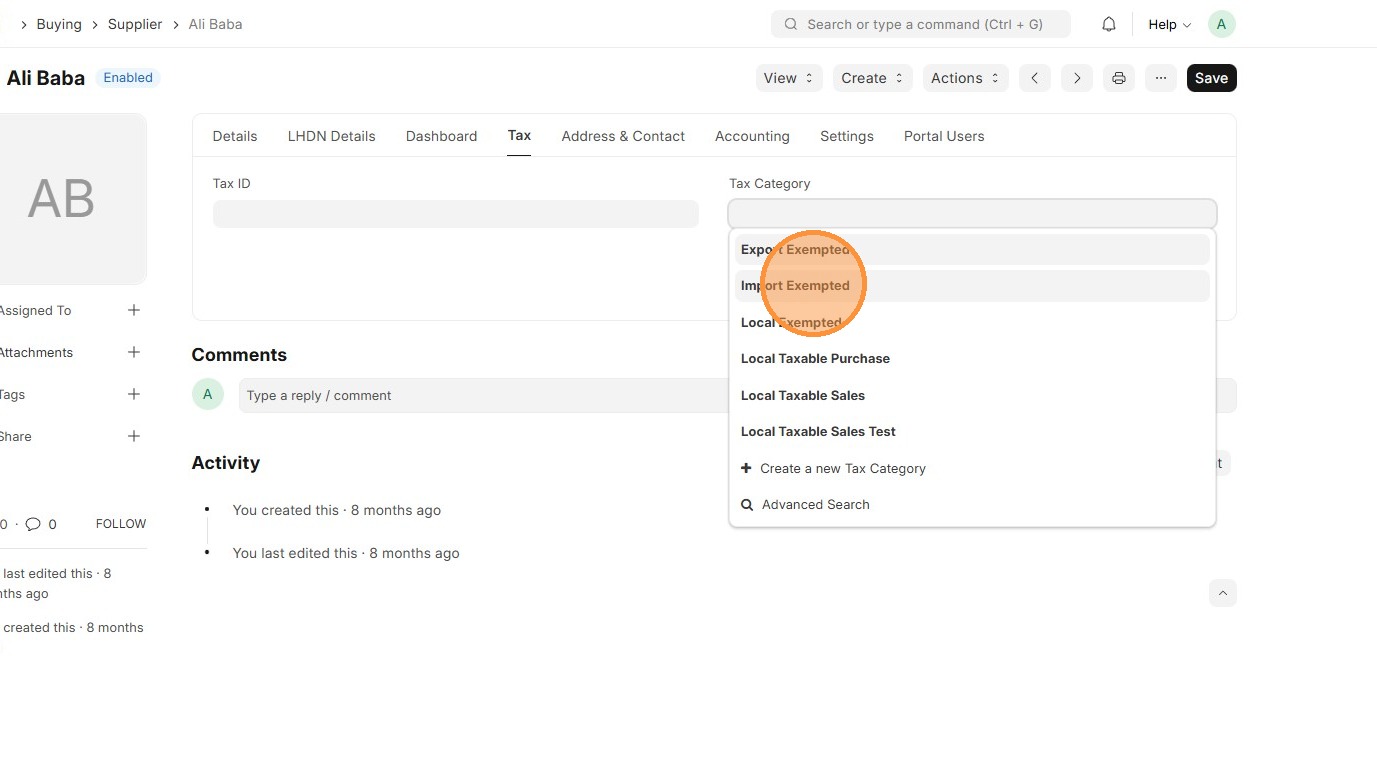
5. Click on "Tax Category".
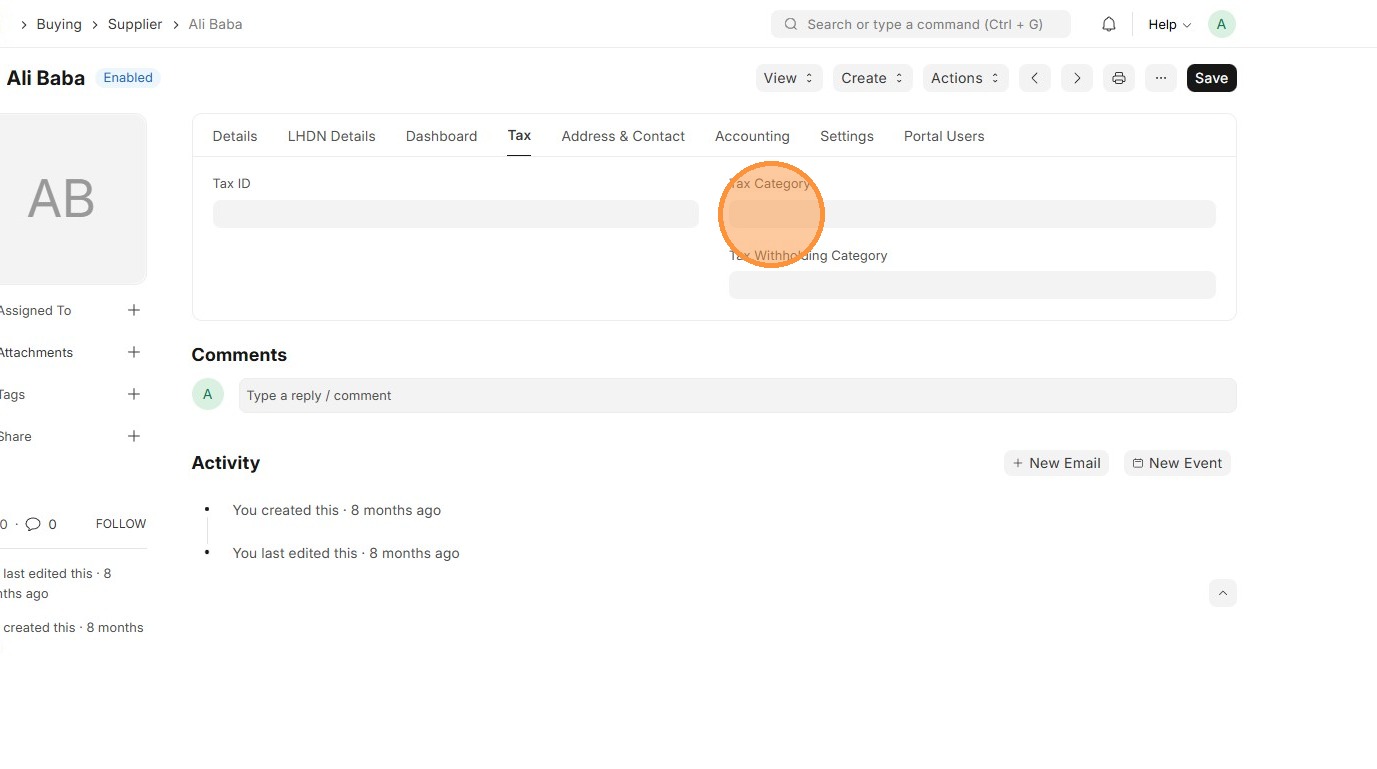
6. Select "Tax Catergory"
7. Click "Save"