Transactions
Order to Cash
Order-to-Cash process flows from Sales Order → Delivery Note → Sales Invoice, with taxes automatically applied at the invoice stage using the Sales Tax master data. This ensures accurate tax calculation, posting to the correct accounts, compliance, and efficient, error-free accounting throughout the sales process.
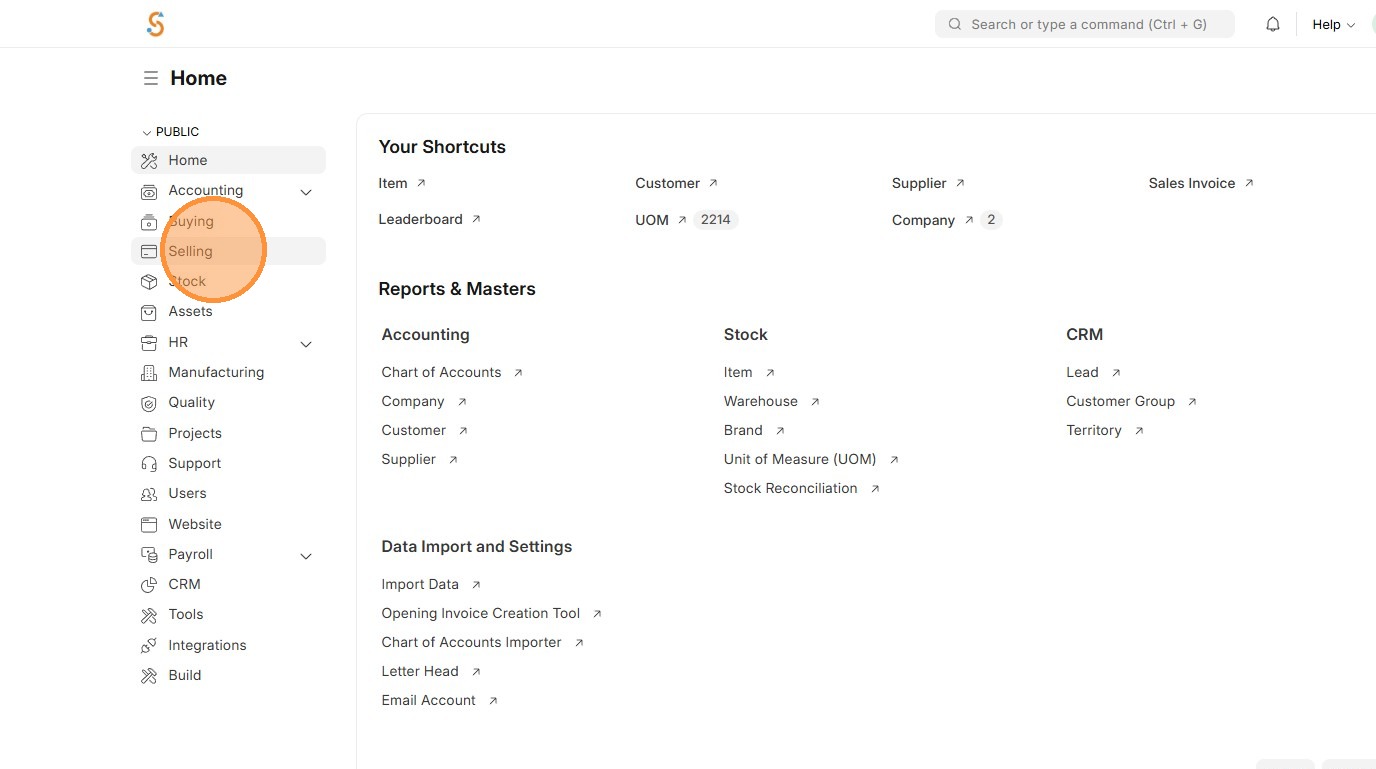
1. Click "Selling"
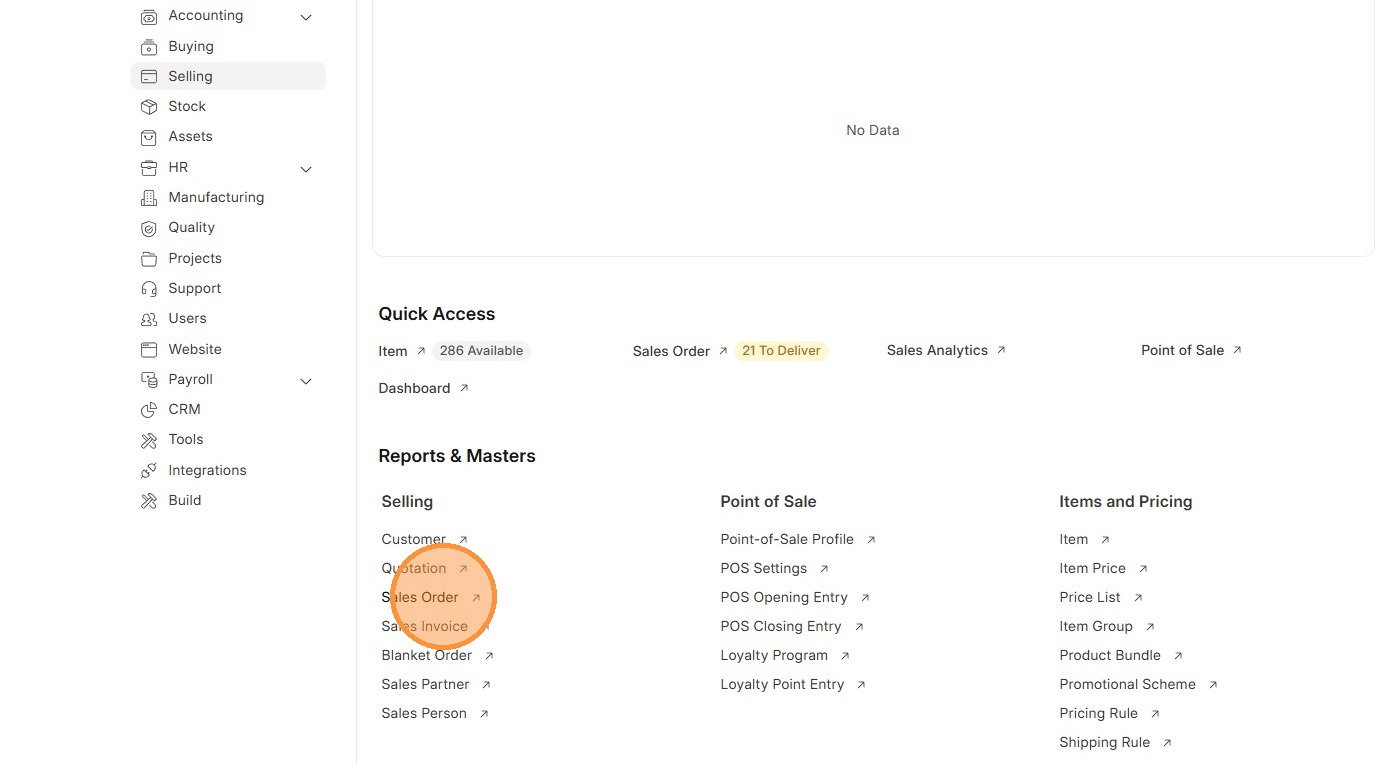
2. Click "Sales Order"
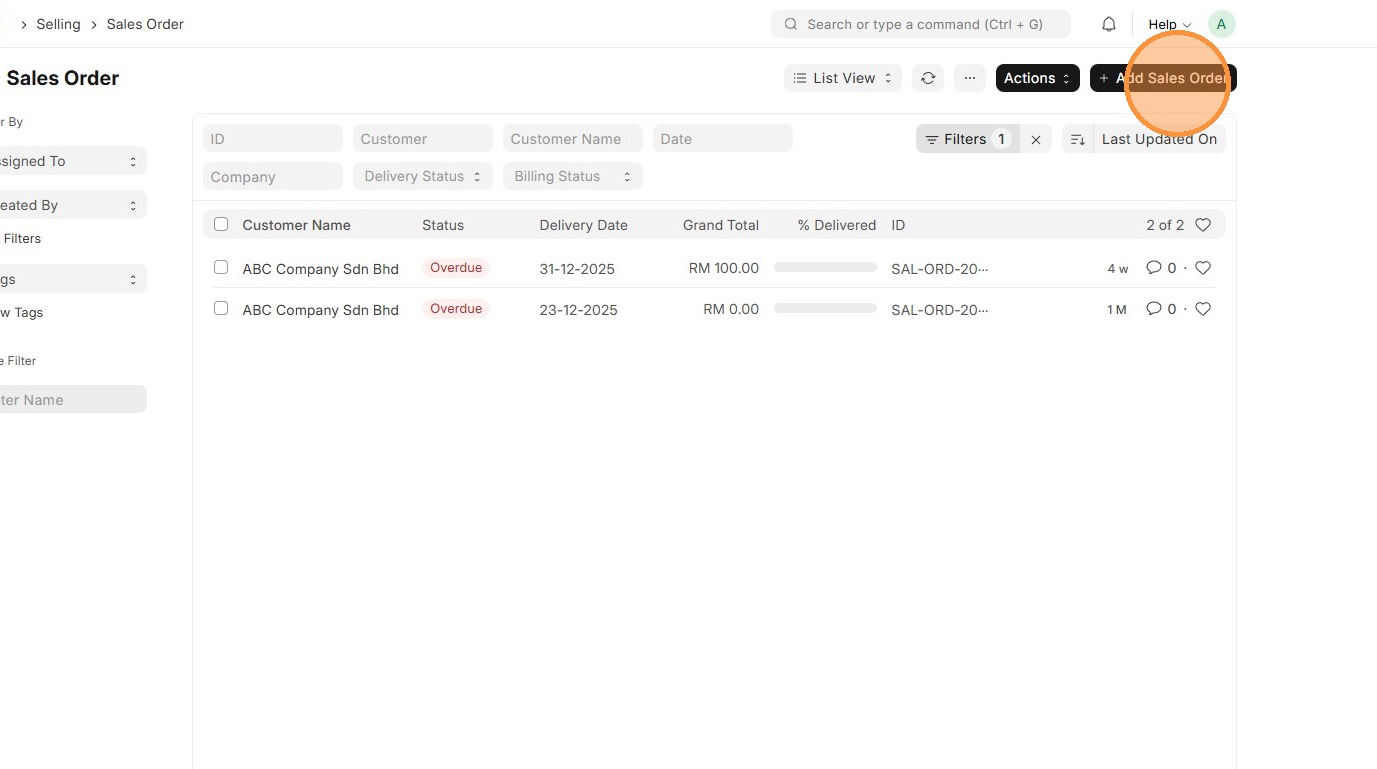
3. Click "Add Sales Order"
4. Select "Customer"

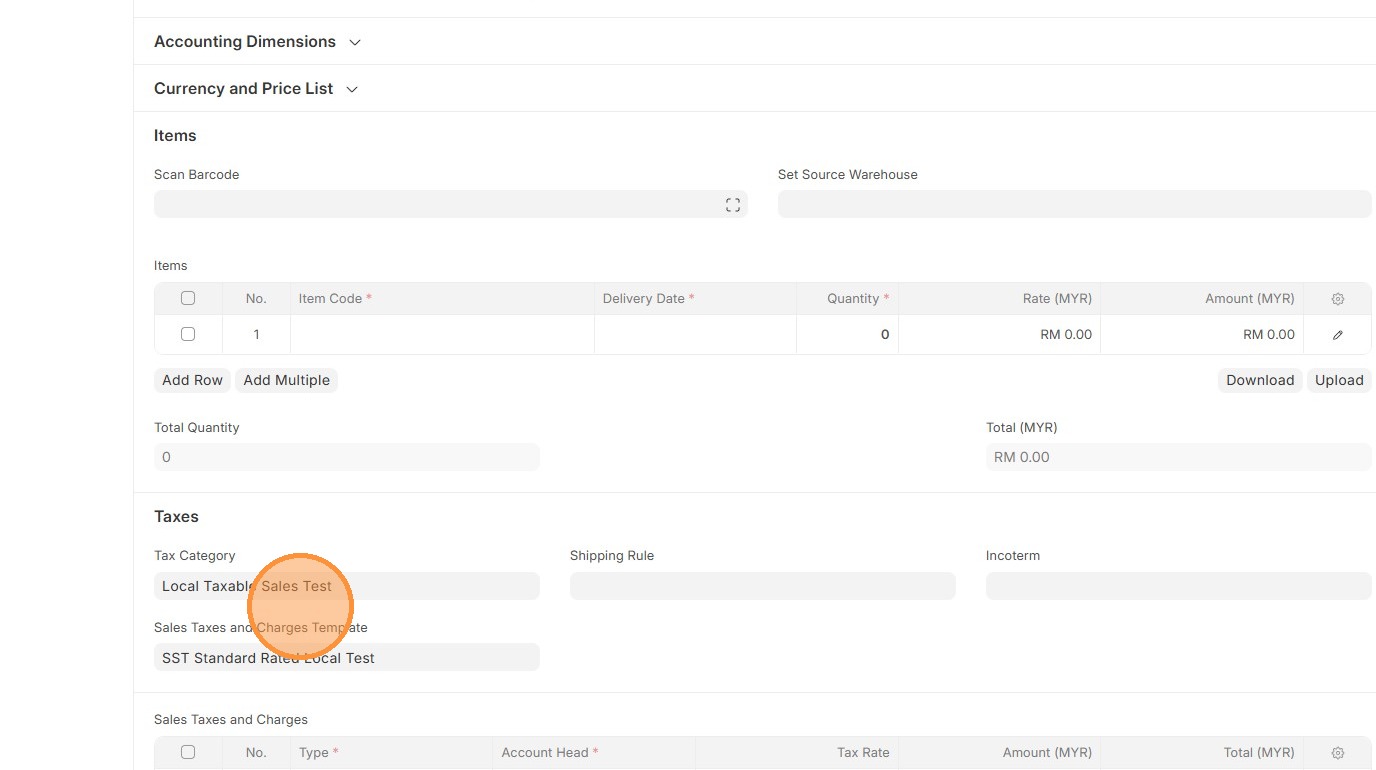
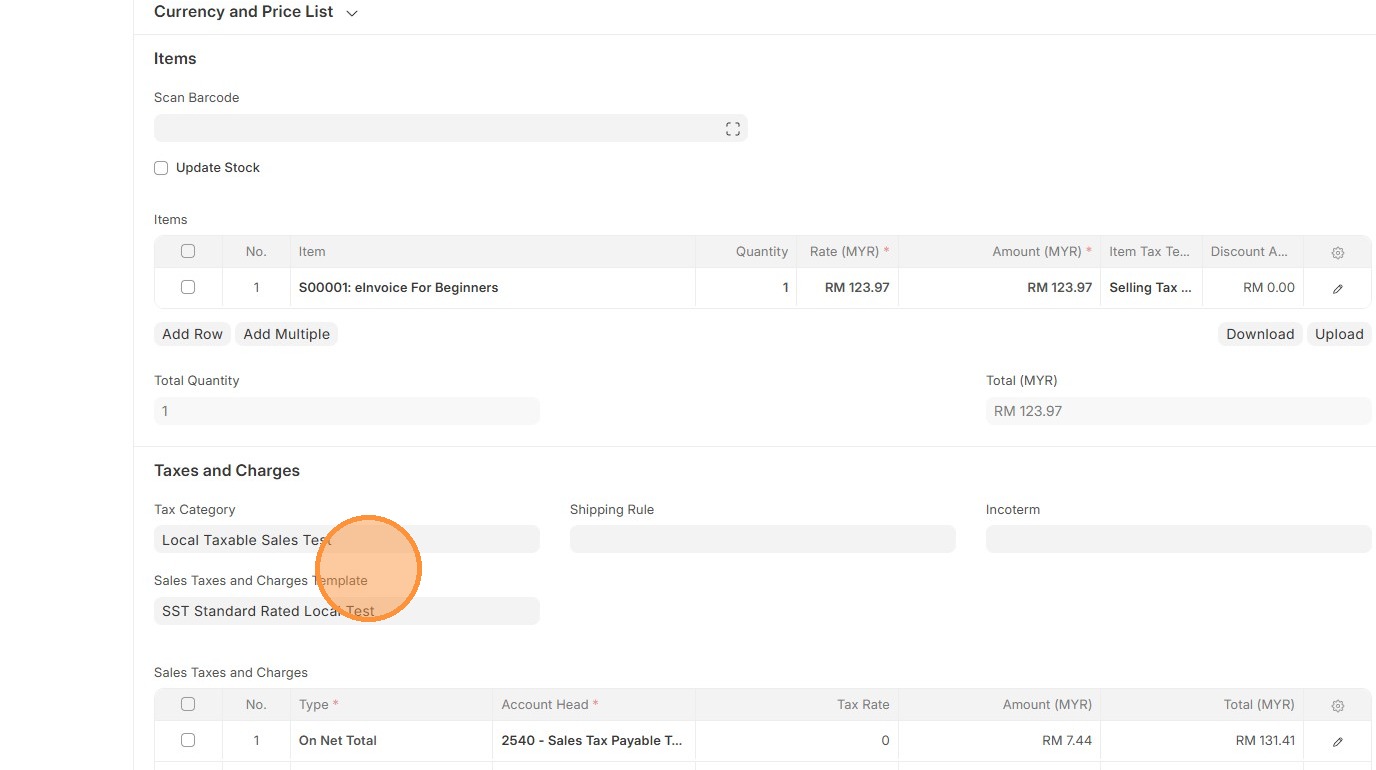
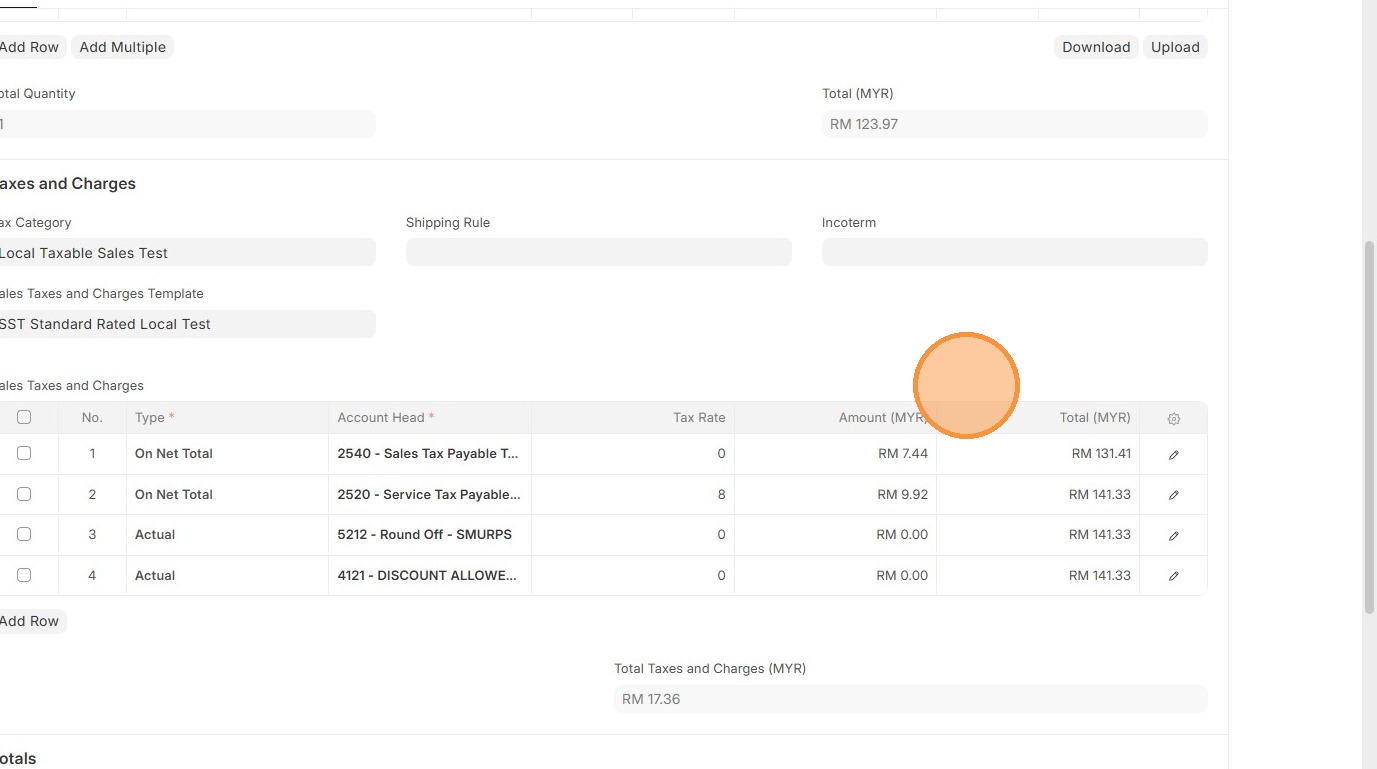
5. Verify that "Tax Category" matches the "Tax Category" in Customer Master Data and "Sales Taxes and Charges Template" matches "Tax Rule".
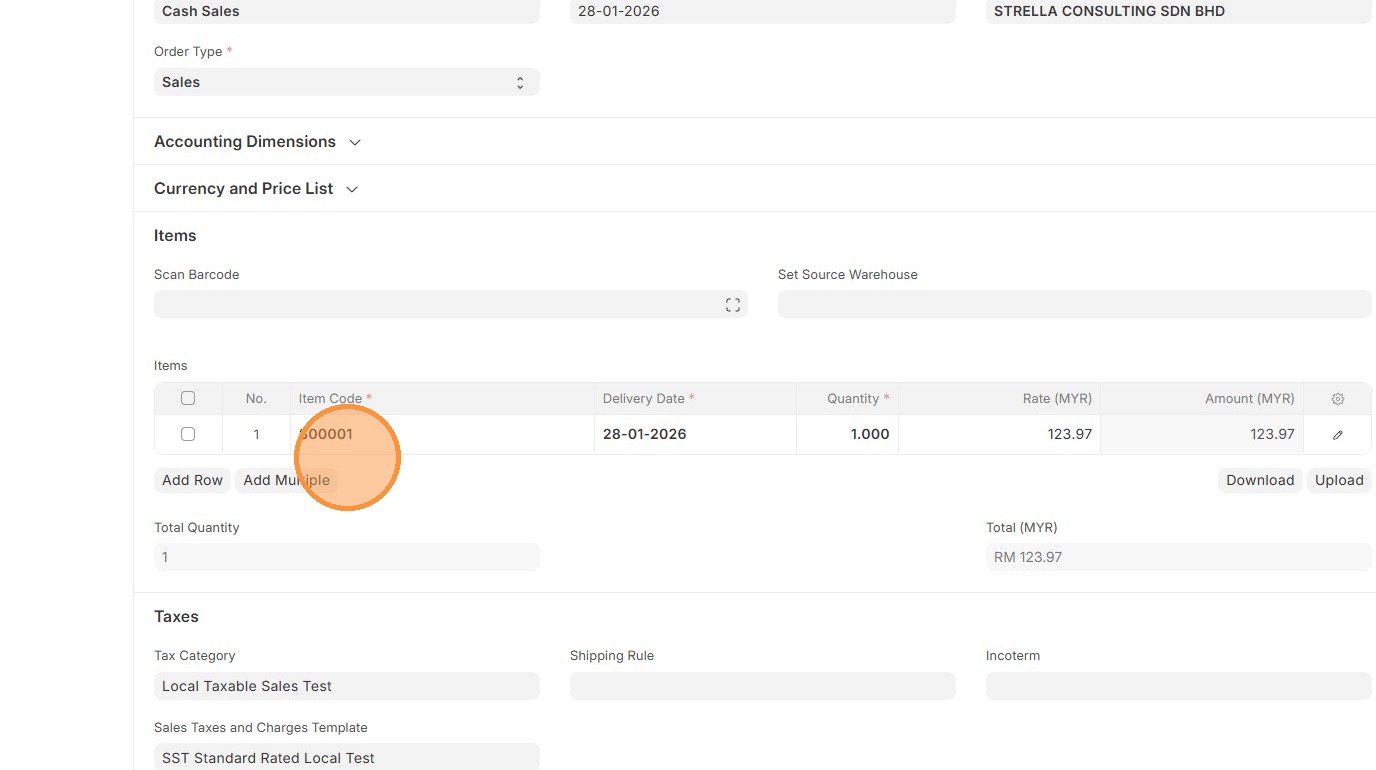
6. Select "Item Code"
7. Click "Edit".

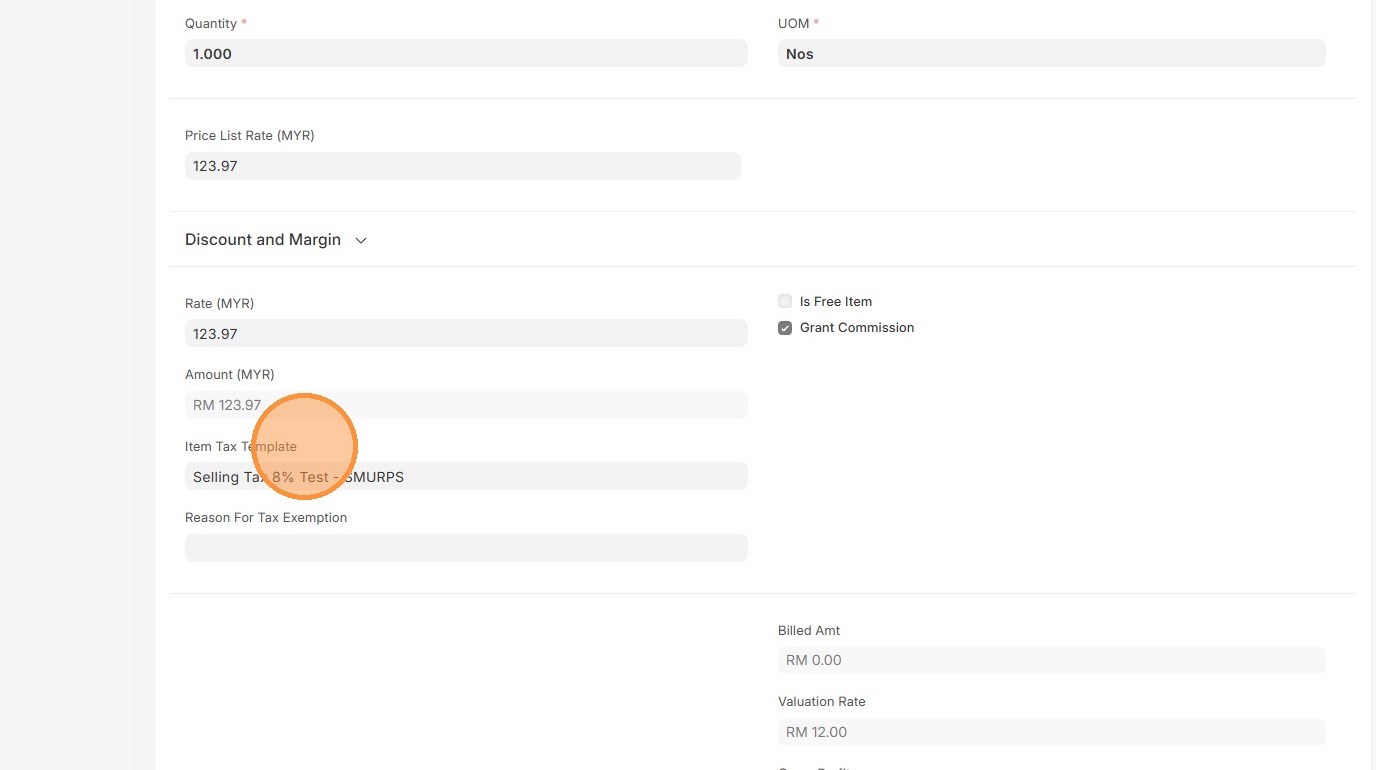
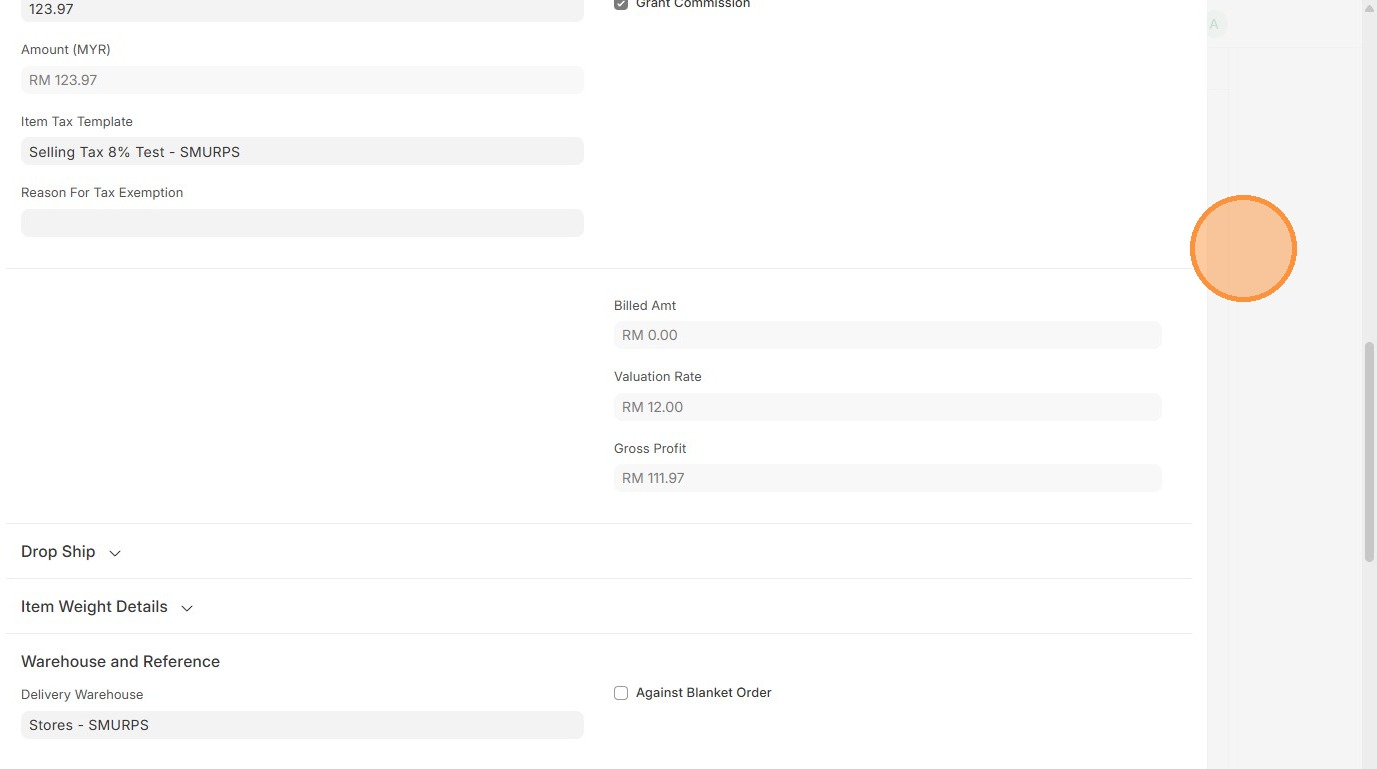
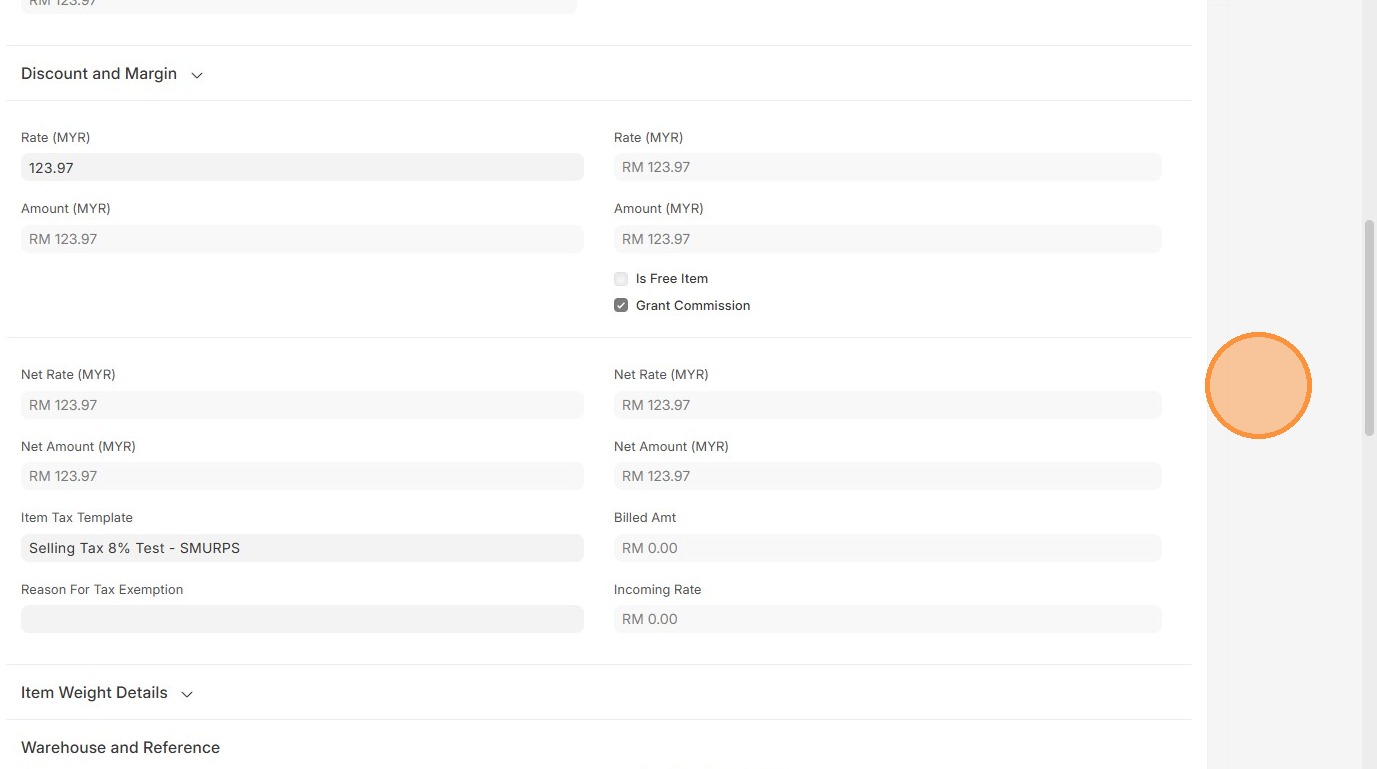
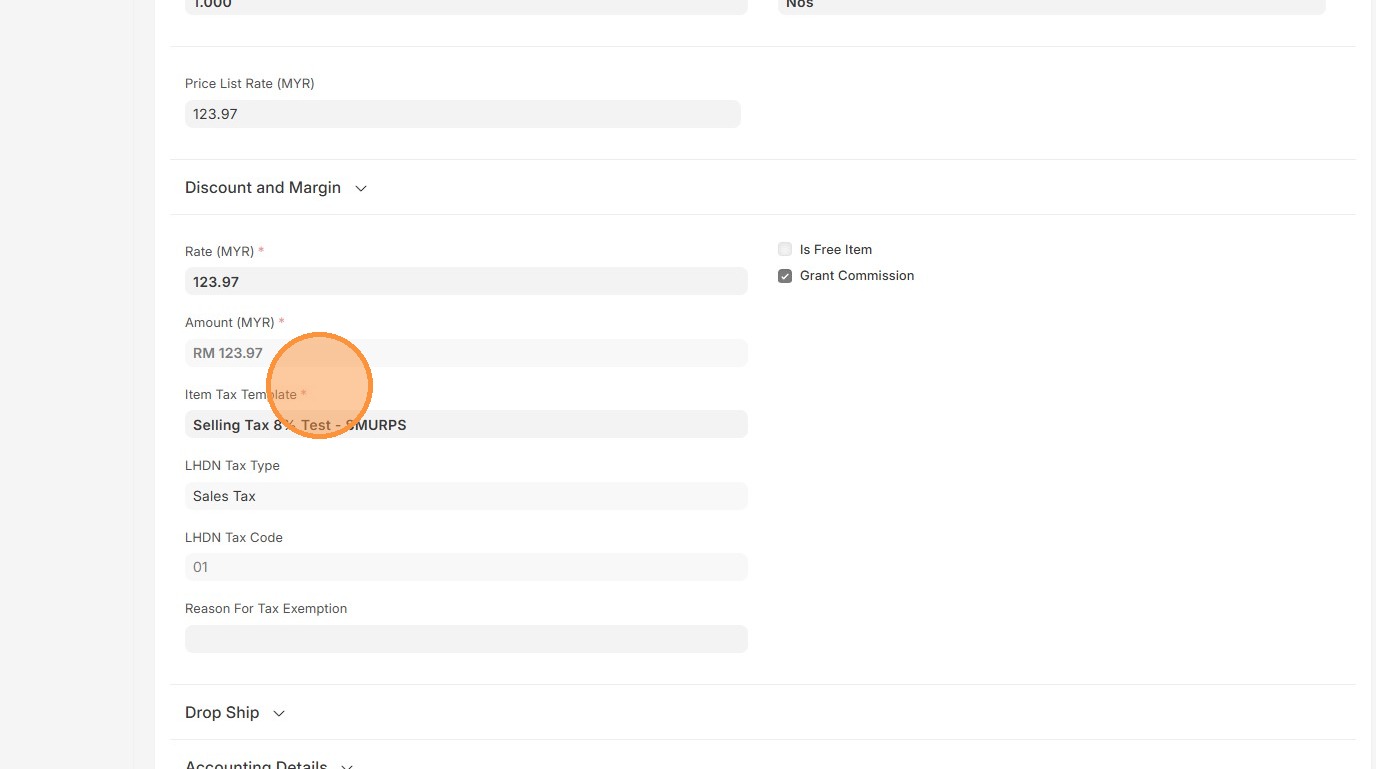
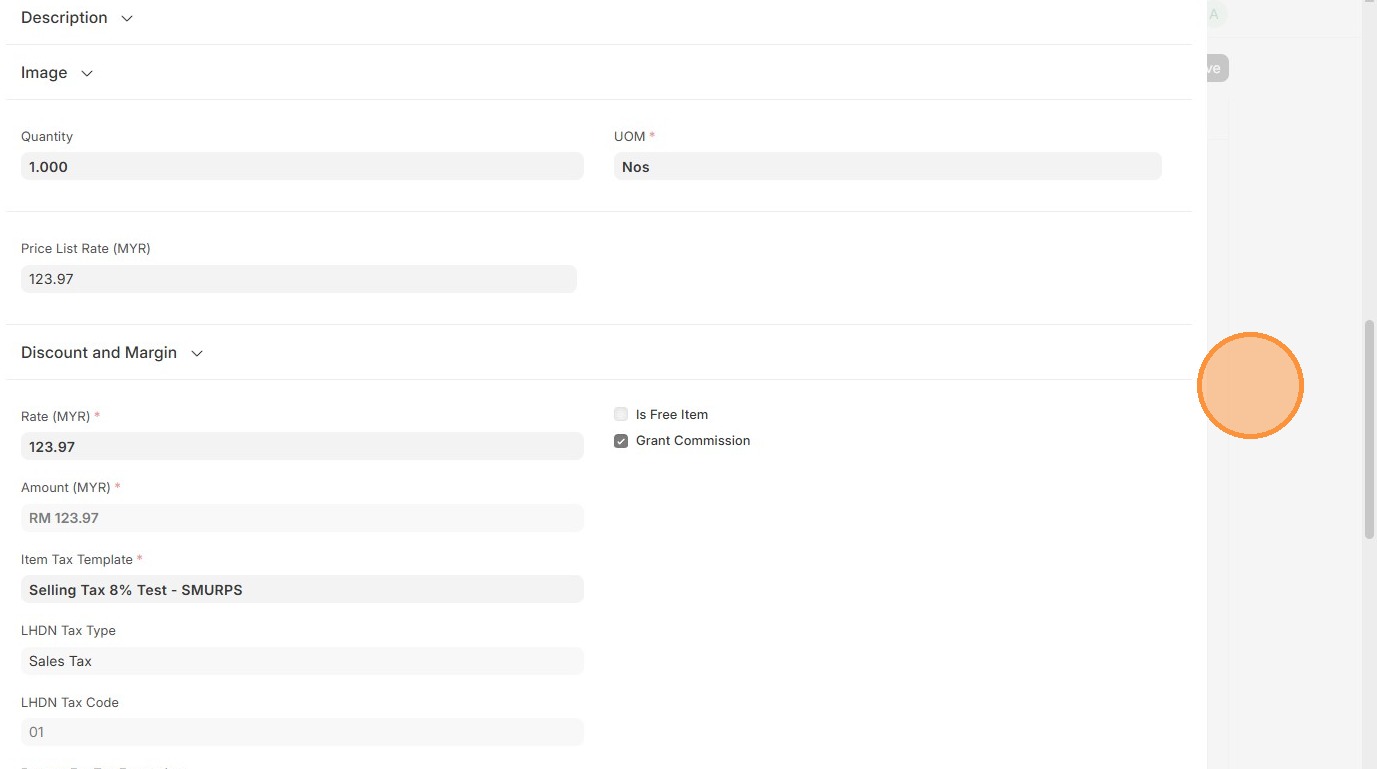
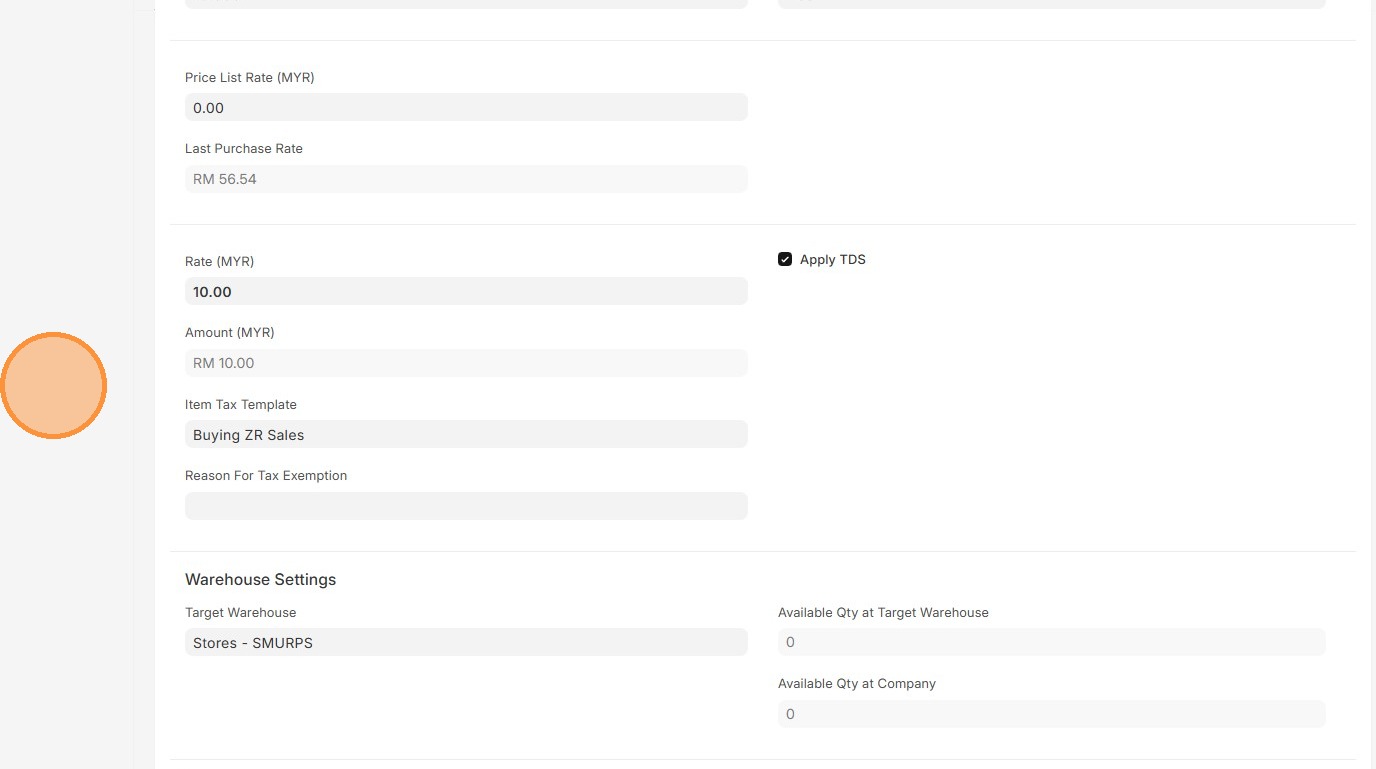
8. Verify "Item Tax Template"
9. Click here to close pop up.
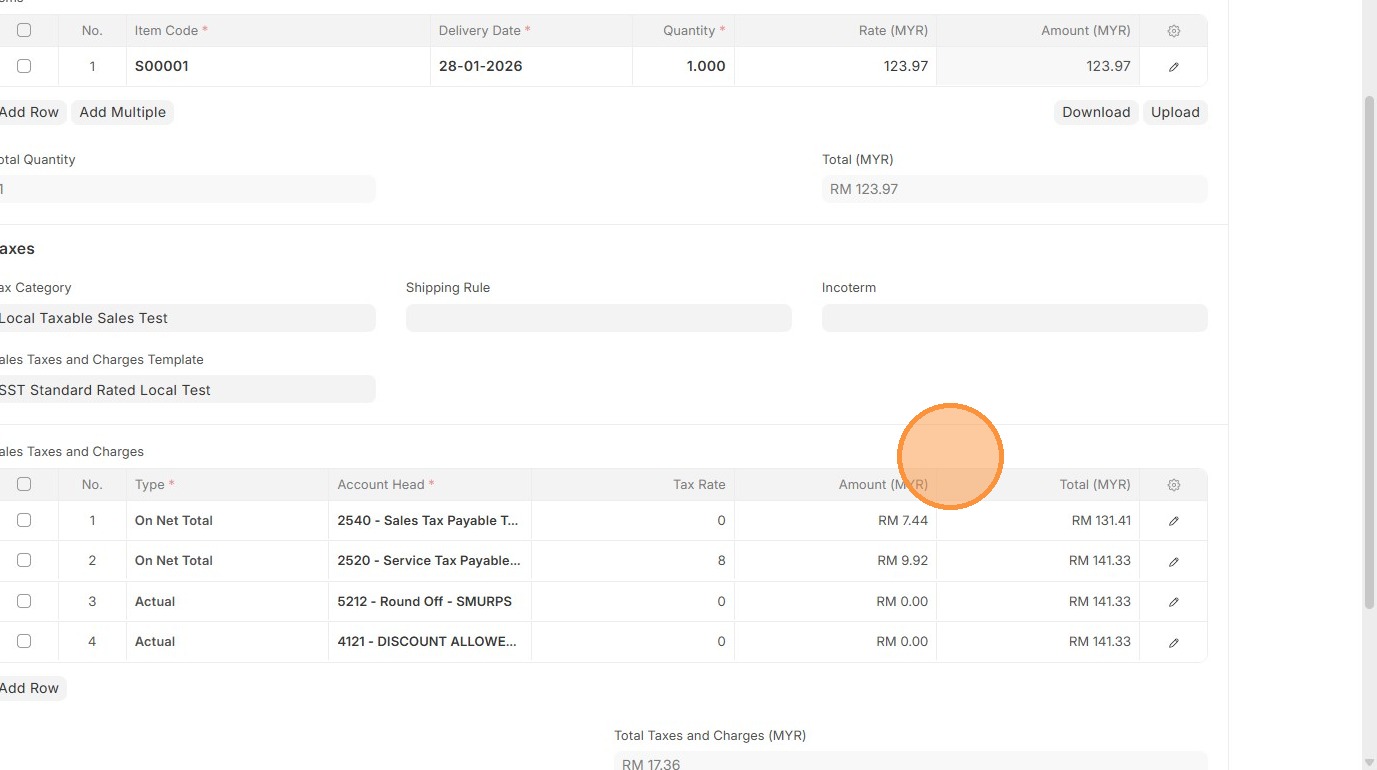
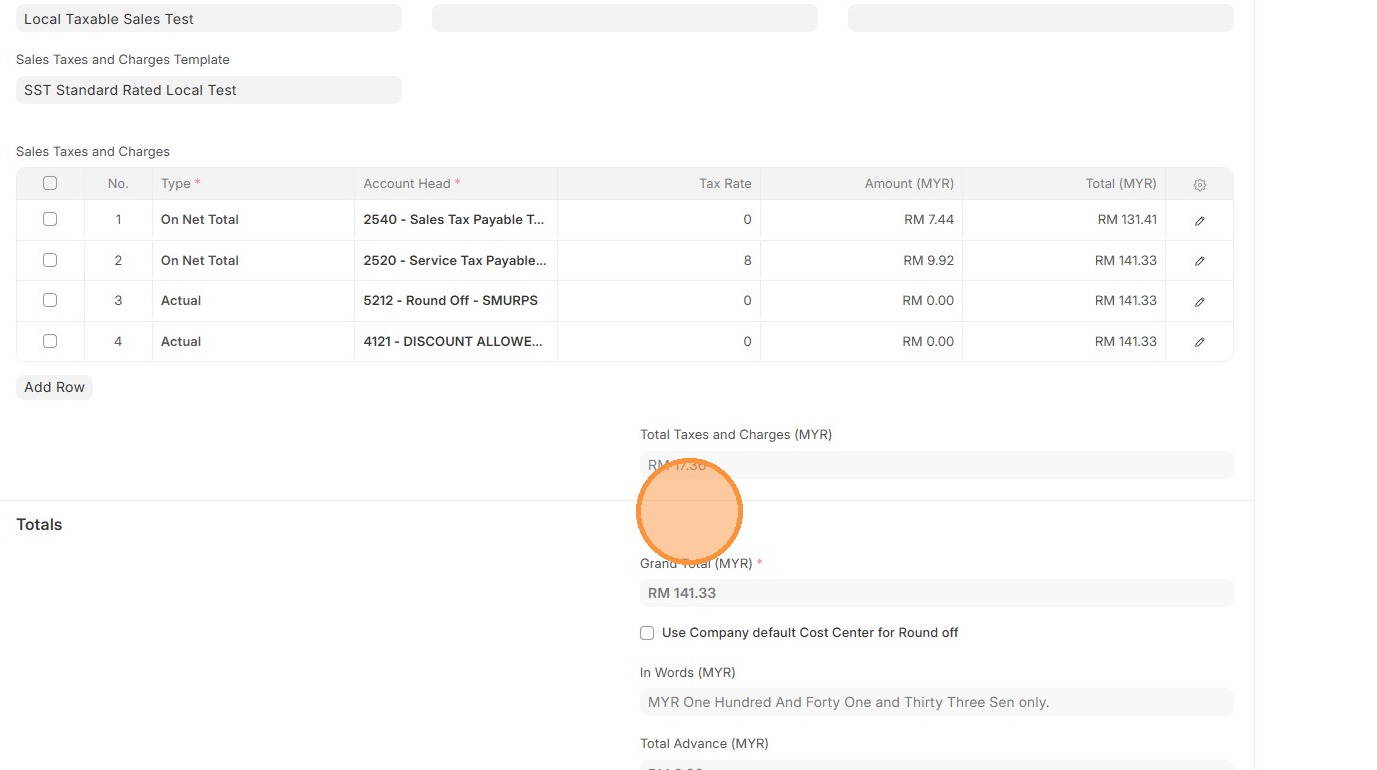
10. Verify "Sales Taxes and Charges" table matches the newly created/selected one.
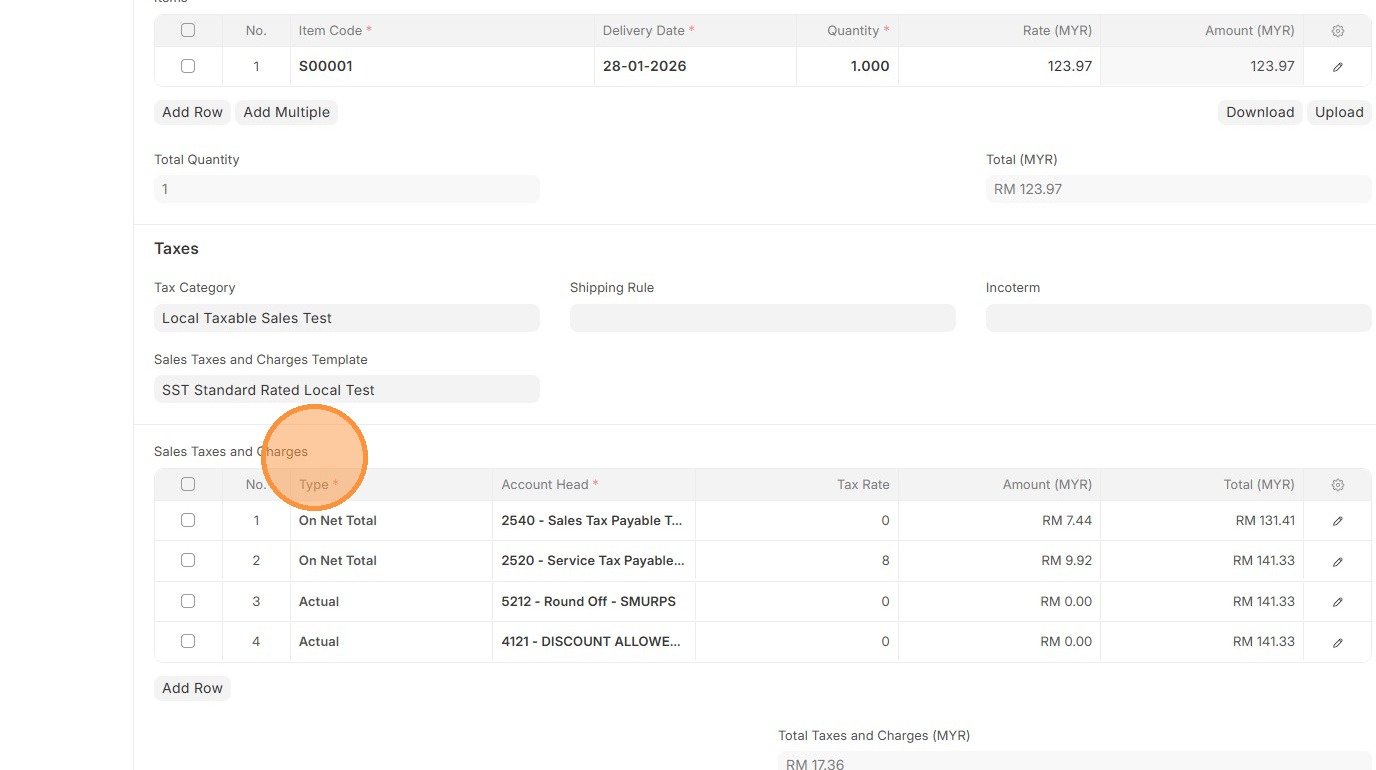
11. Verify the "Amount (MYR)" calculation.
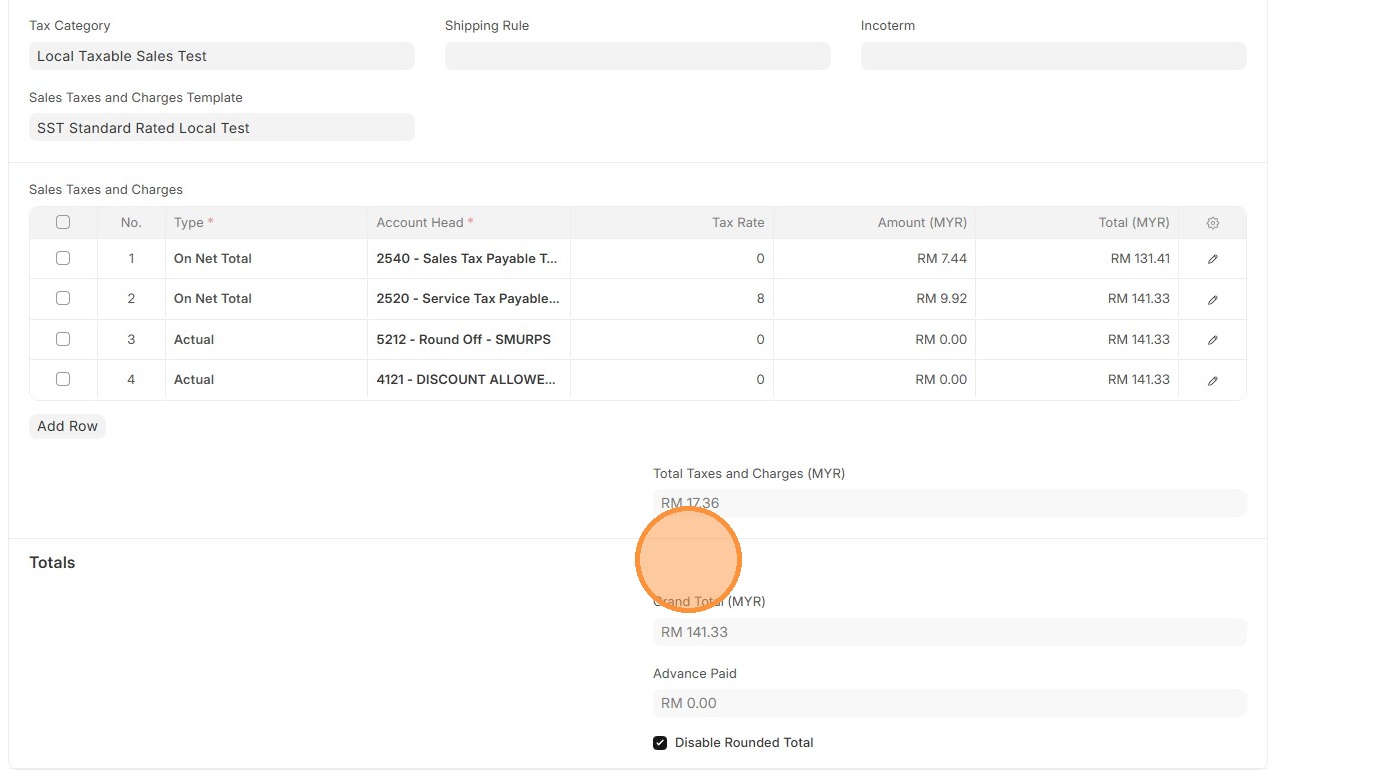
12. Verify "Totals Taxes and Charges (MYR)" and "Grand Total"
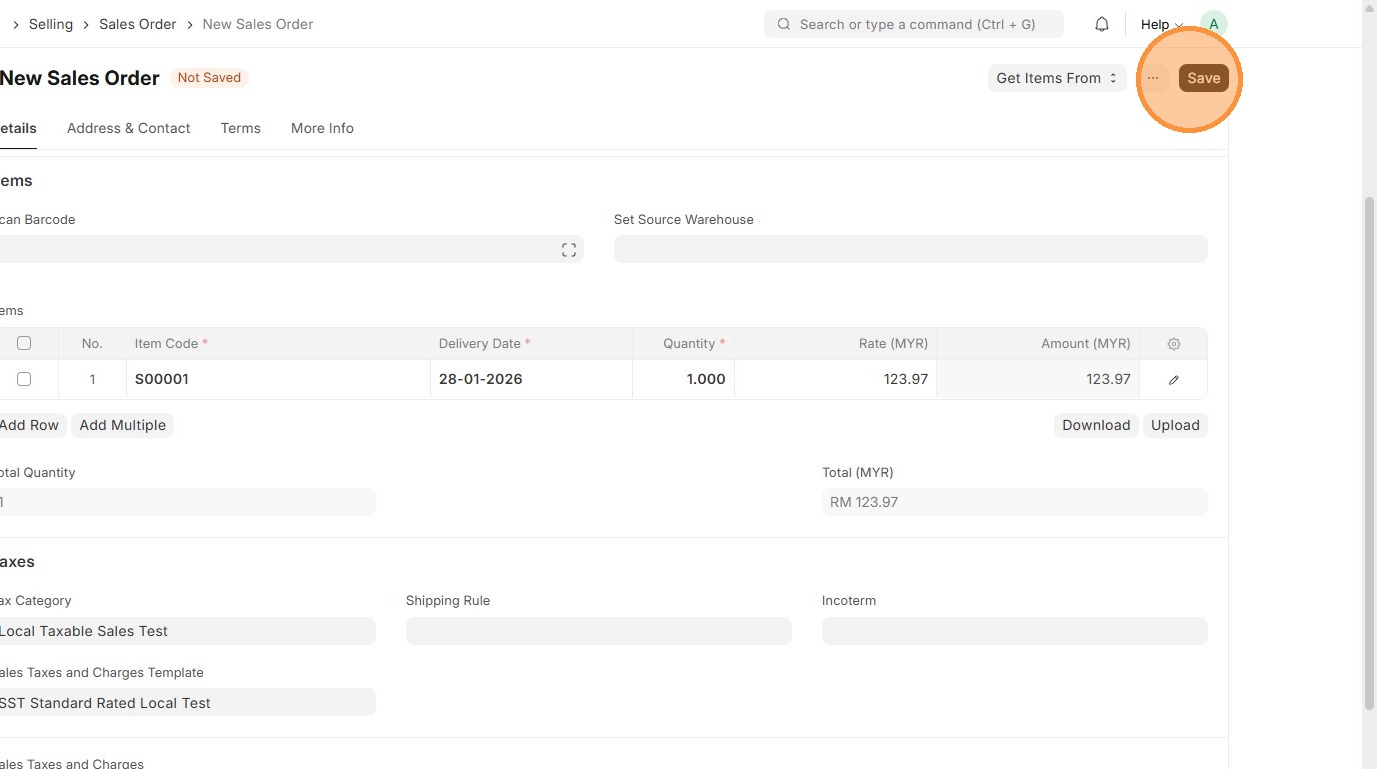
13. Click "Save"
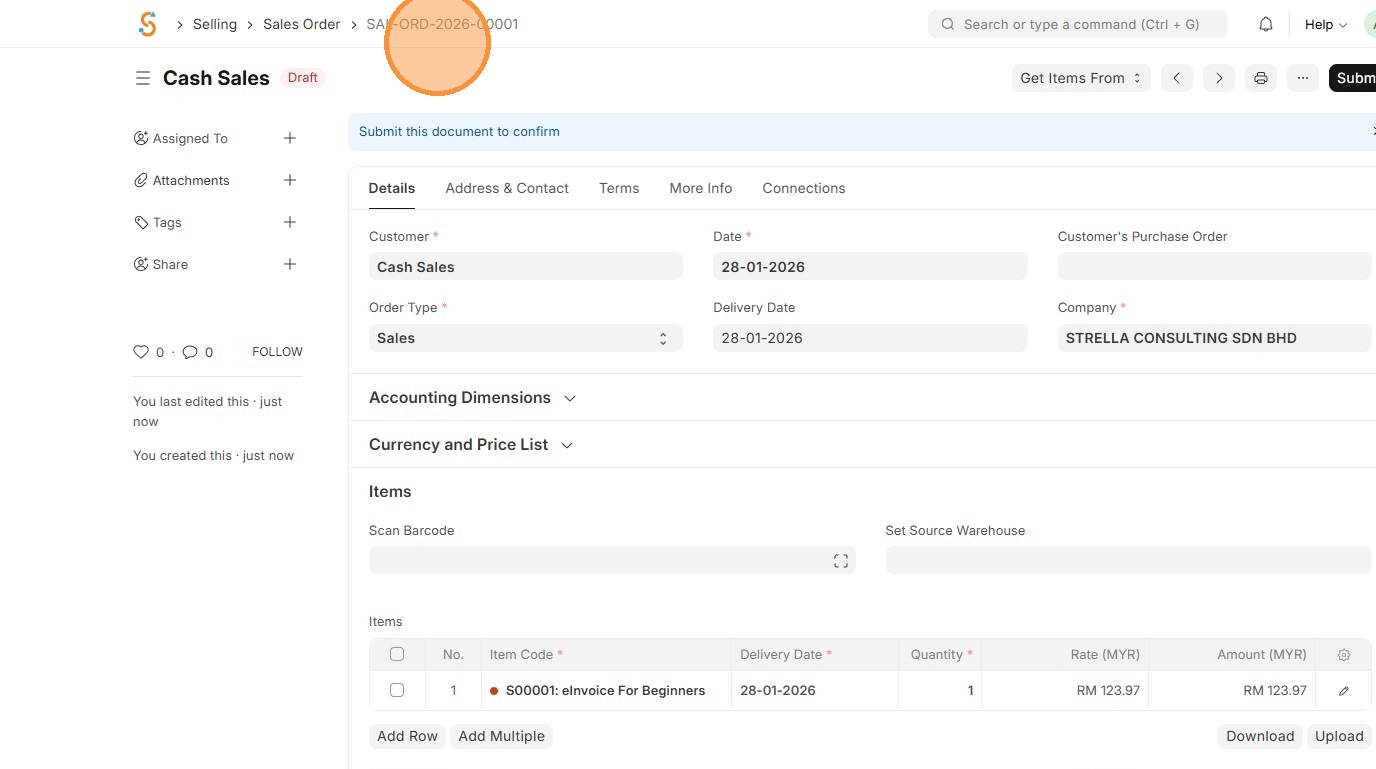
14. Verify that Sales Order ID is created.
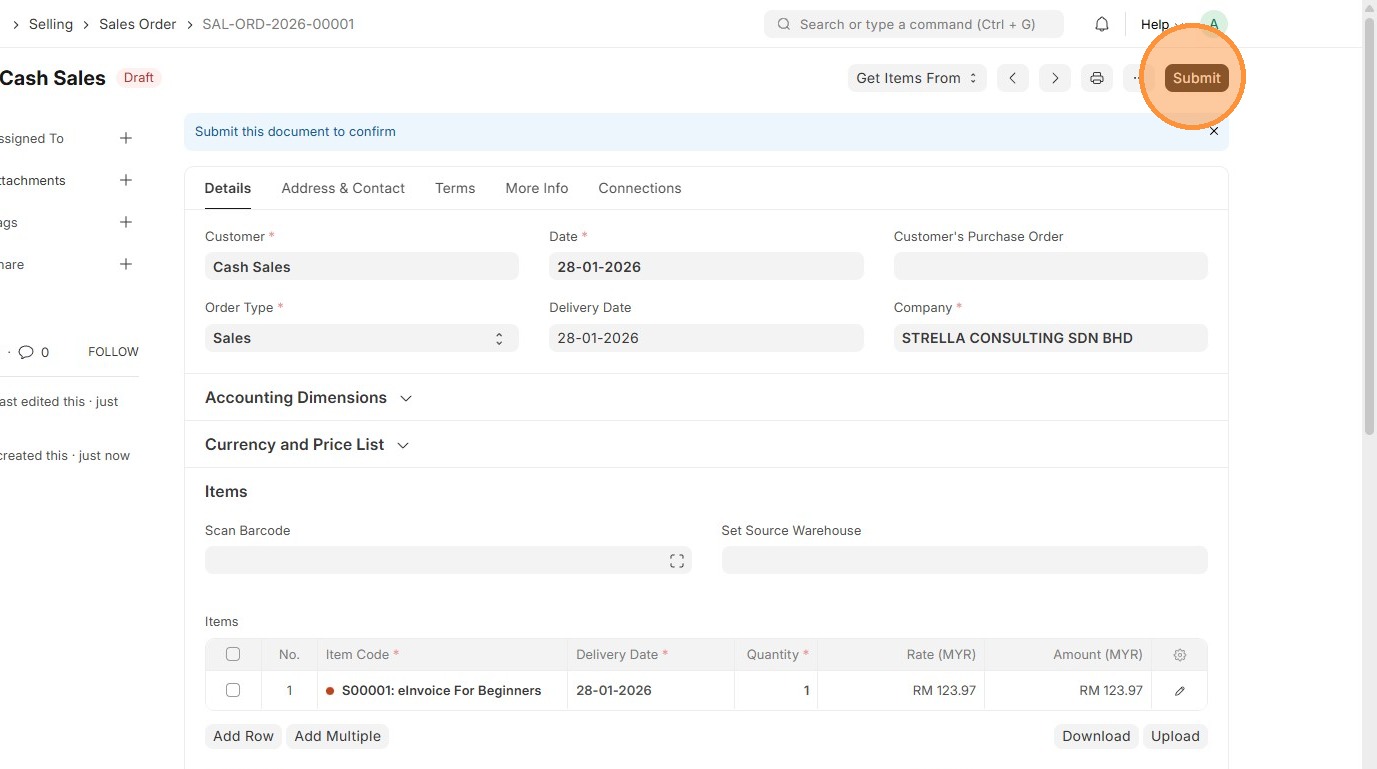
15. Click "Submit"
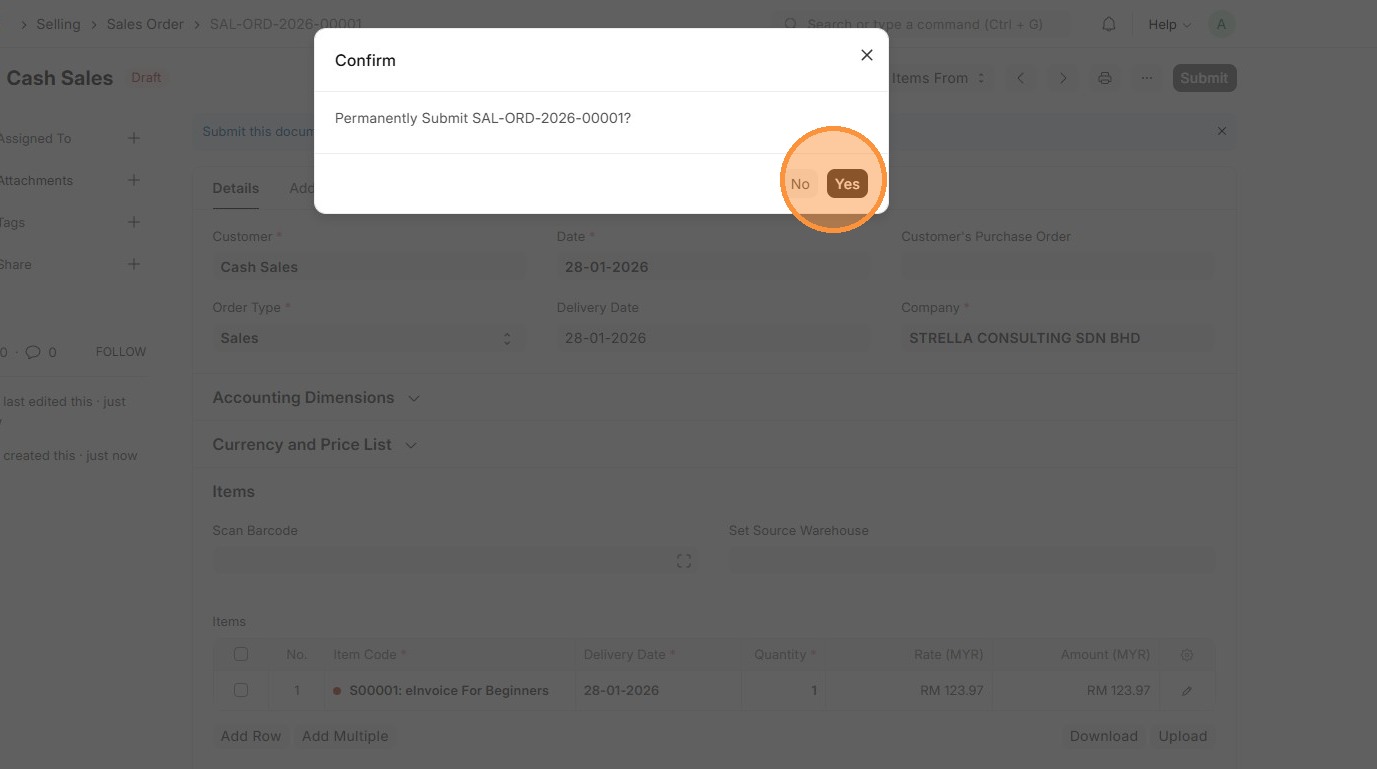
16. Click "Yes"
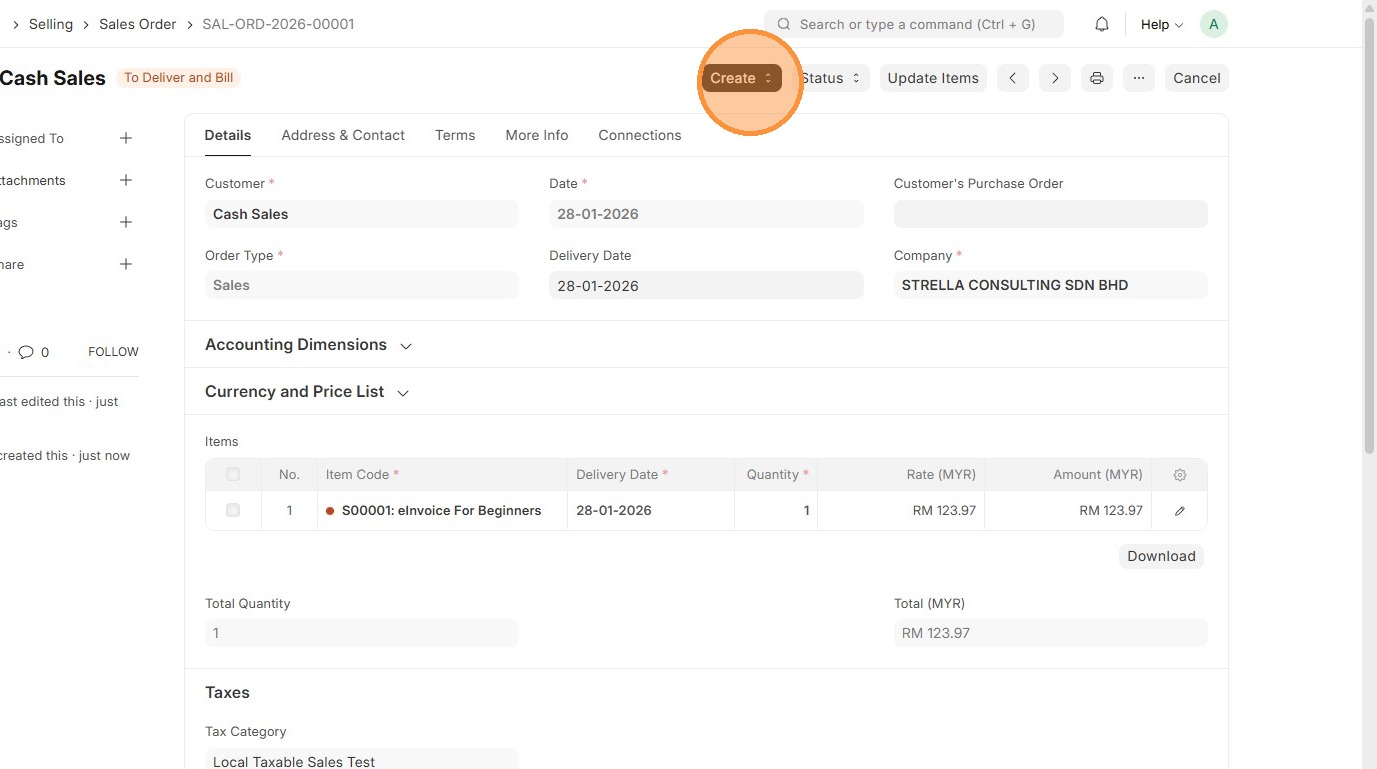
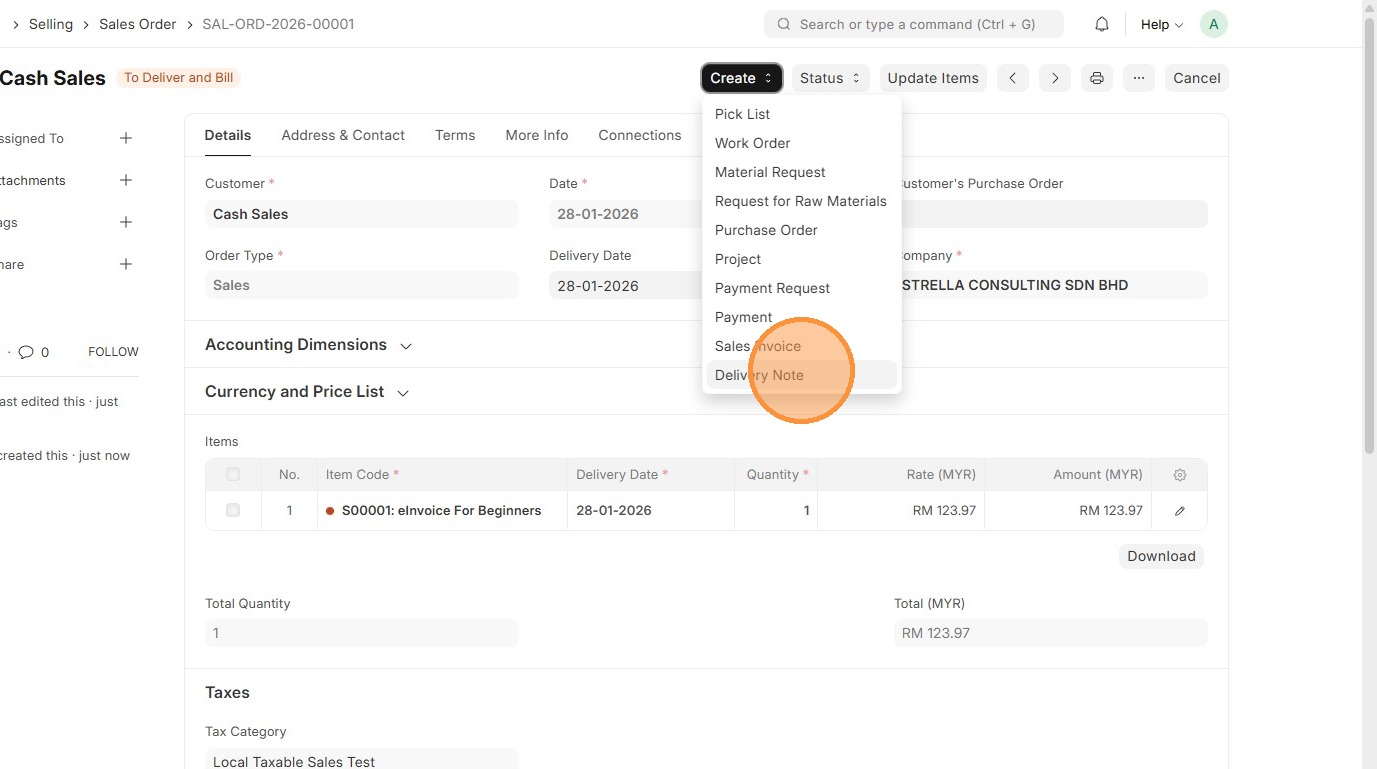
17. Click "Create"
18. Click "Delivery Note"
19. Verify that "Customer" and "Sales Taxes and Charges Template" matches the Sales Order.
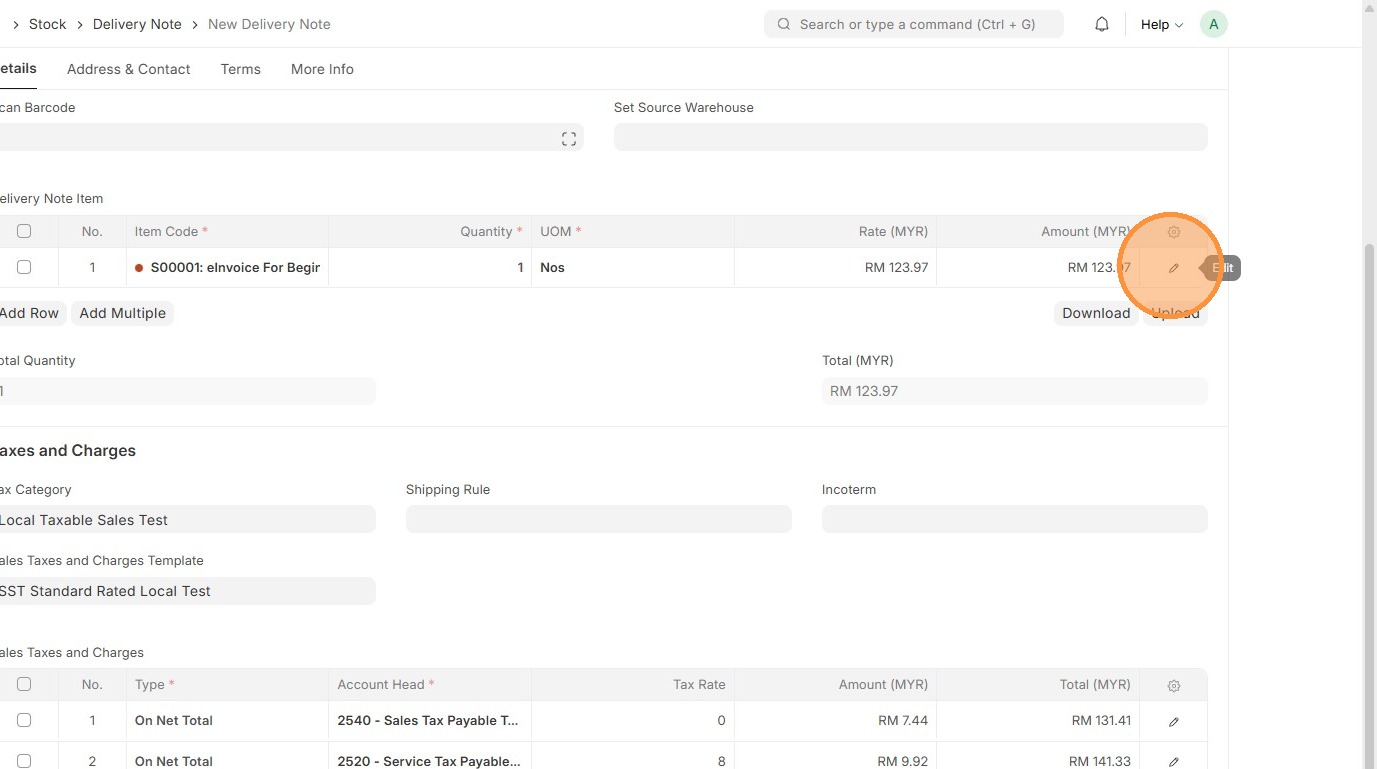
20. Click "Edit".
21. Verify "Item Tax Template" matches the one in Sales Order.
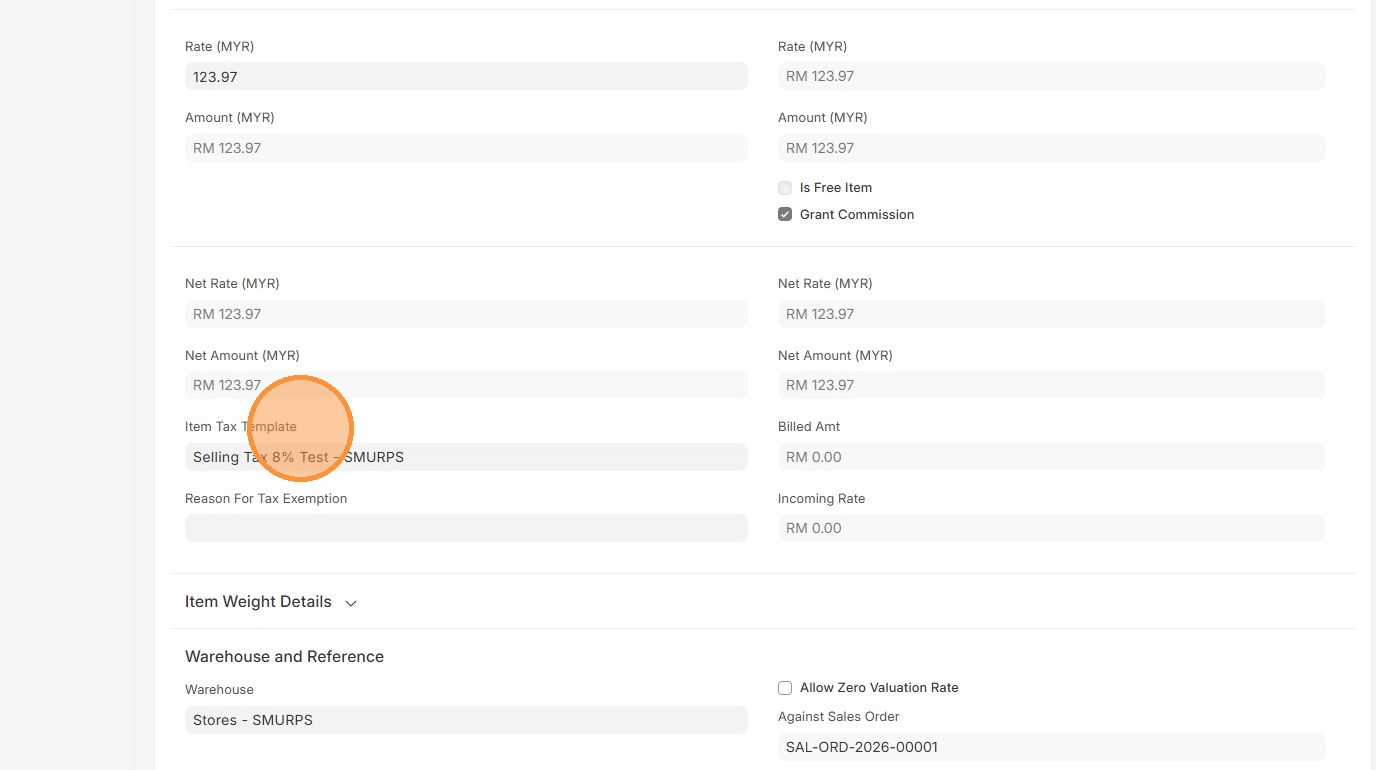
22. Click here to close pop up.
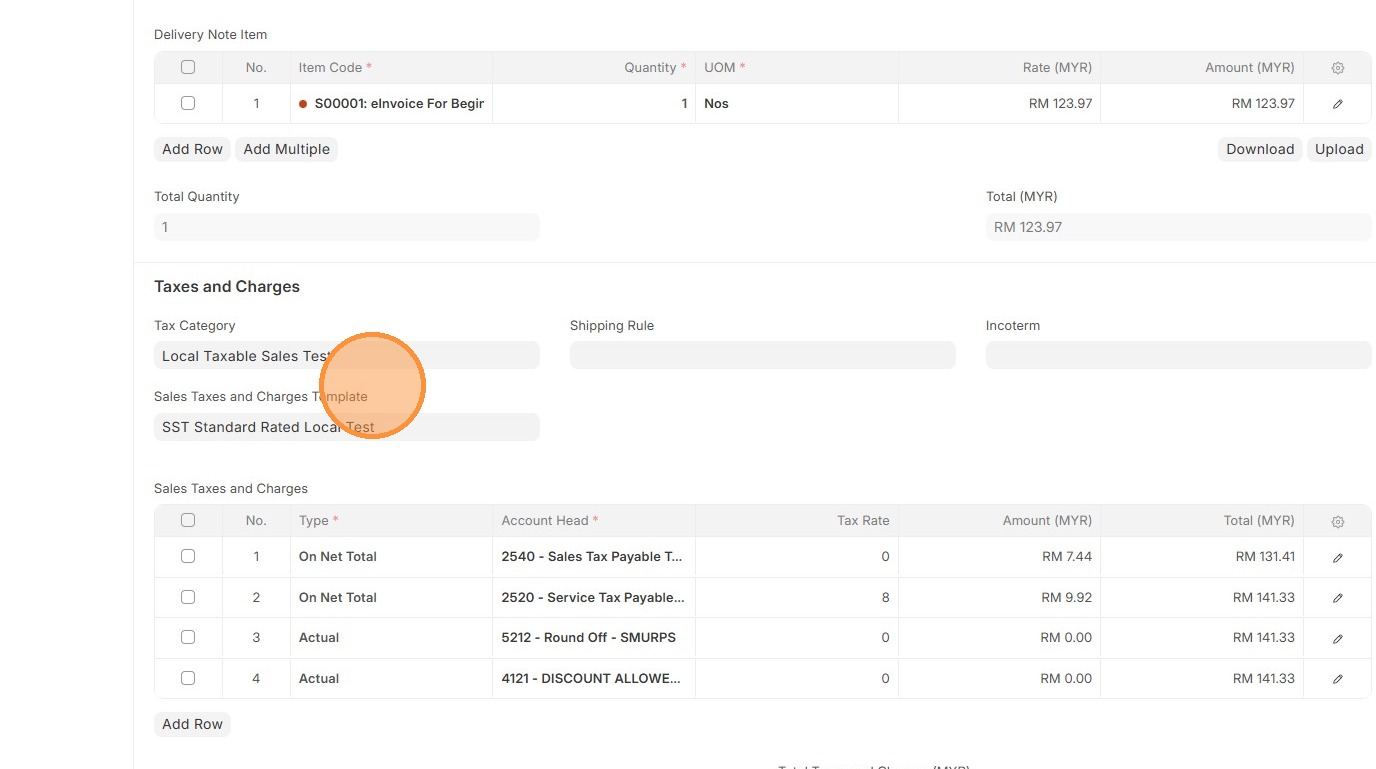
23. Verify "Sales Taxes and Charges" table matches the Sales Order.
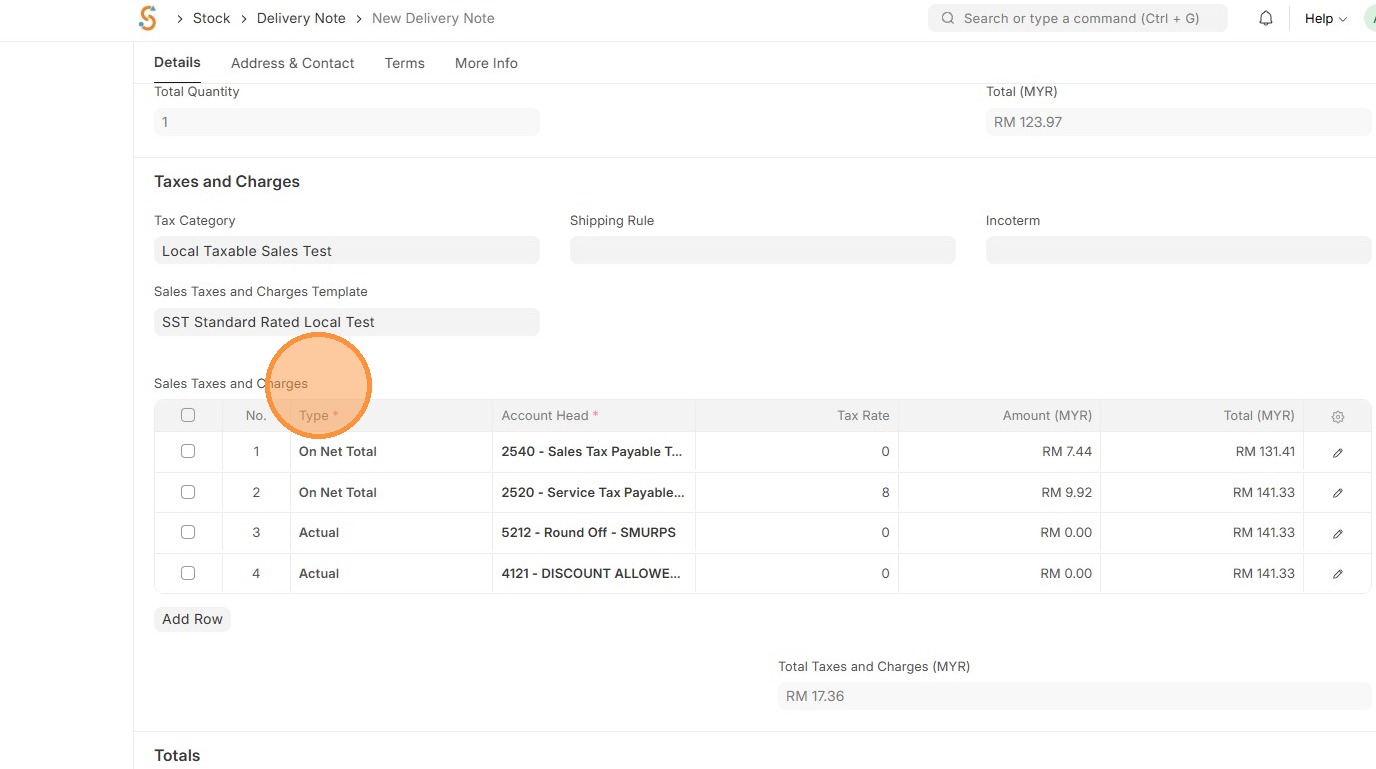
24. Verify "Amount (MYR)" table matches the Sales Order.
25. Verify that "Total Taxes and Charges (MYR)" and "Grand Total" in Delivery Order matches the Sales Order.
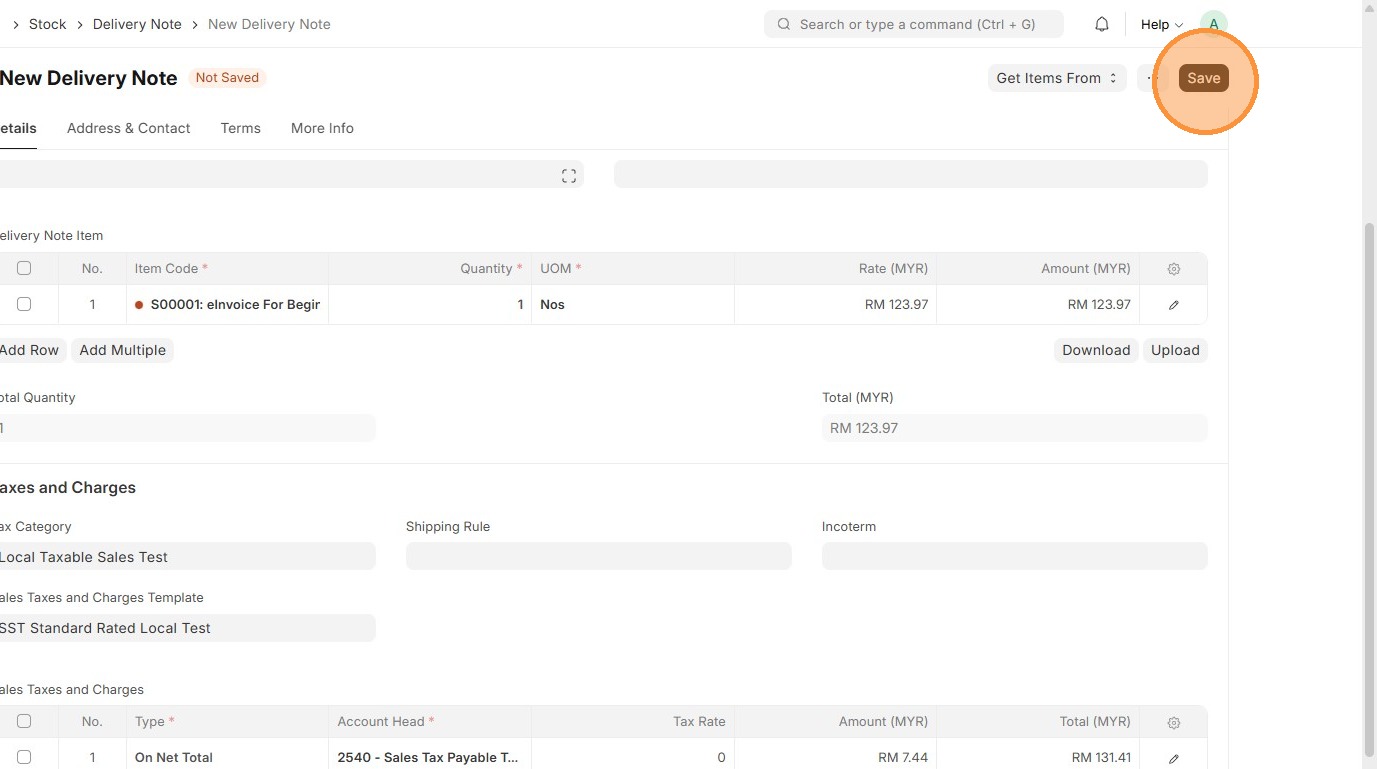
26. Click "Save"
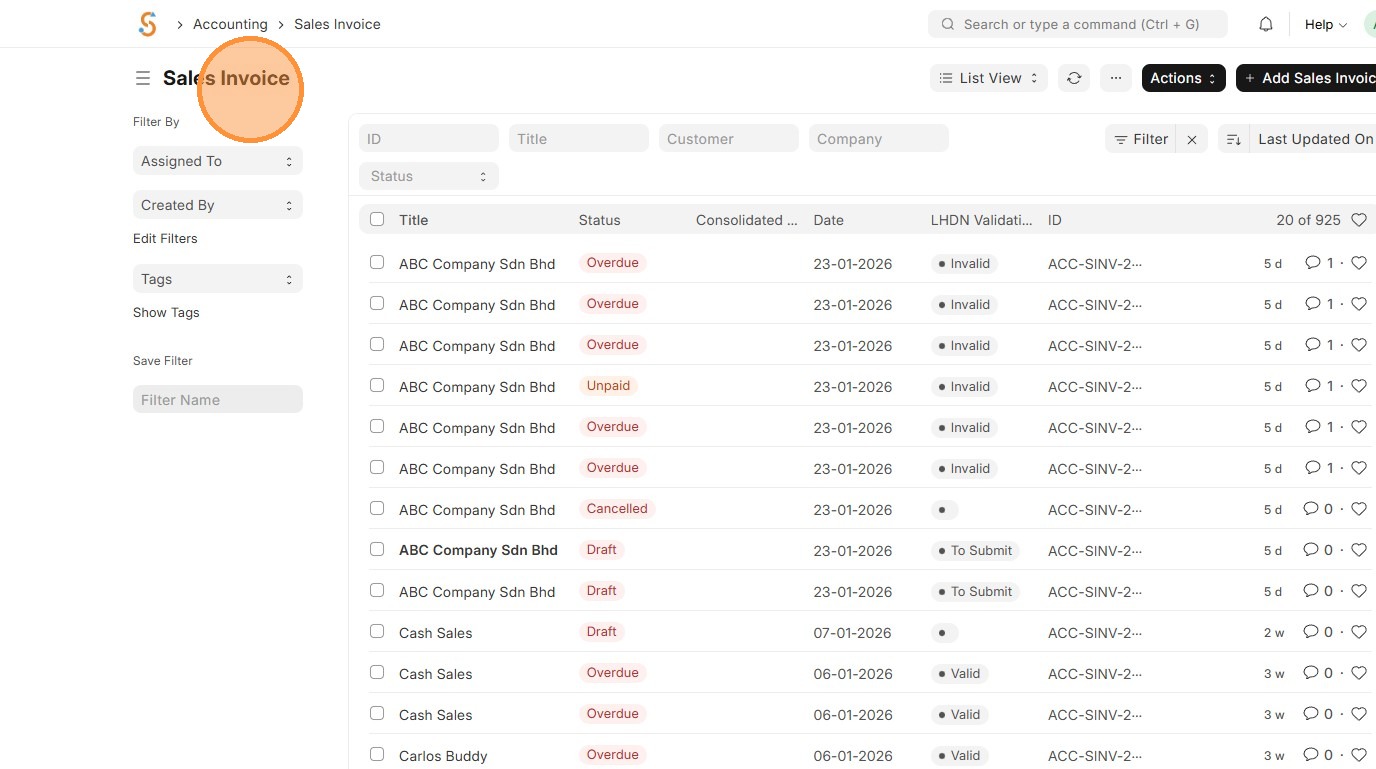
27. Go to "Sales Invoice"
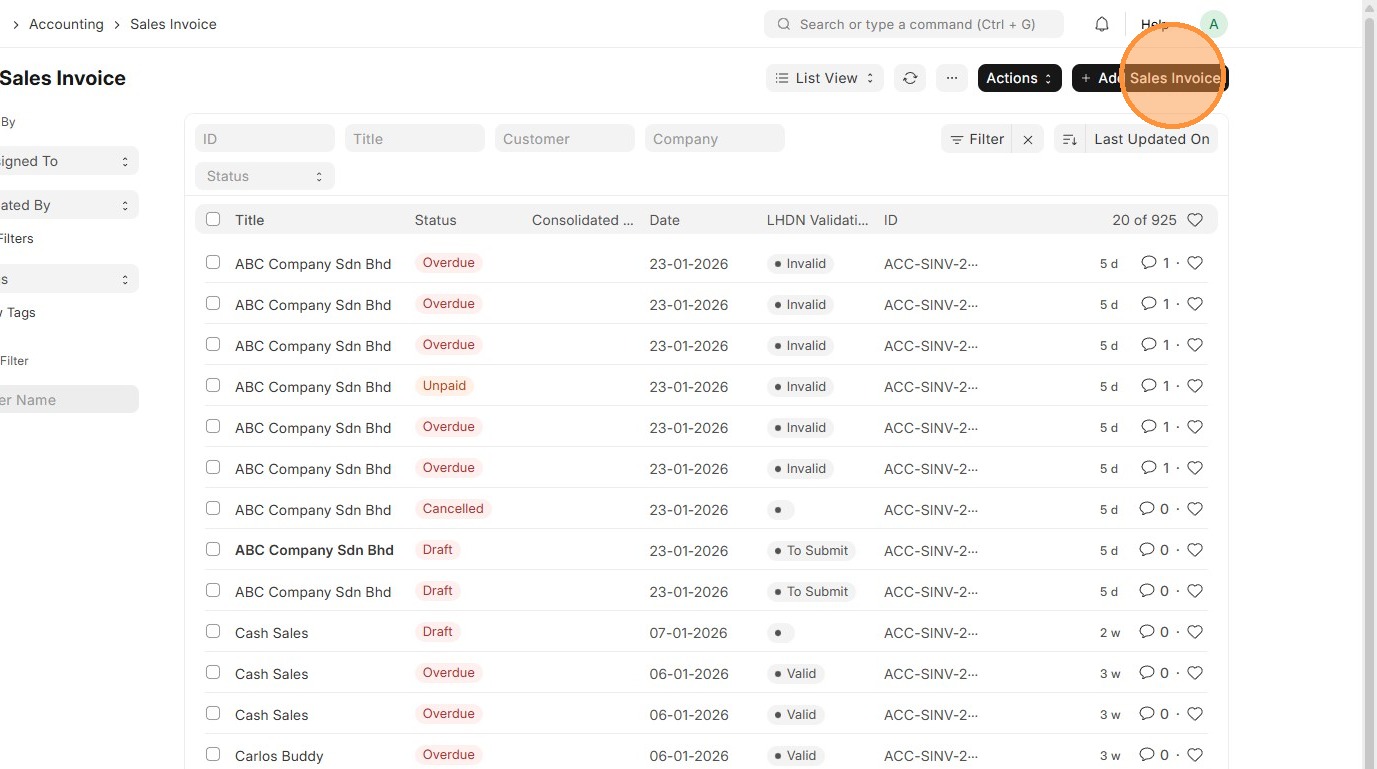
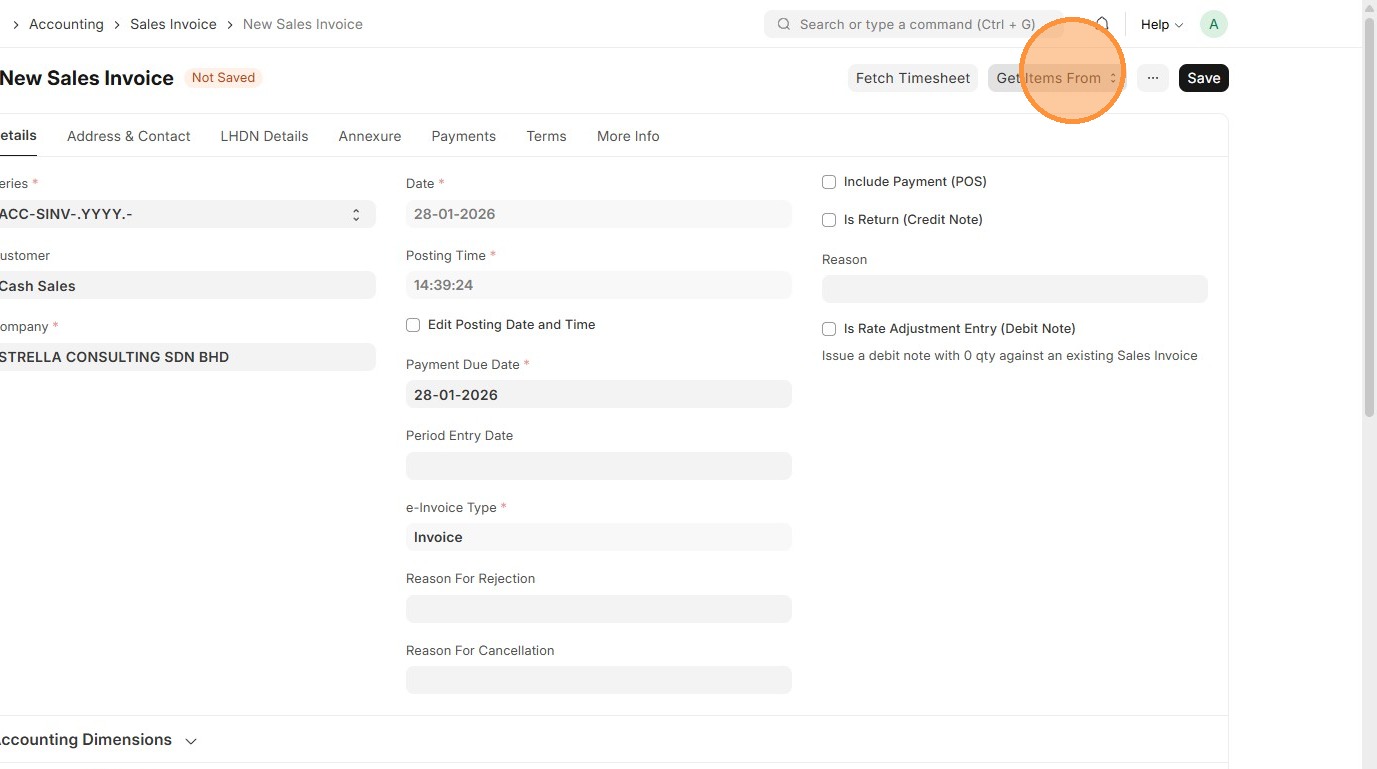
28. Click "Add Sales Invoice"
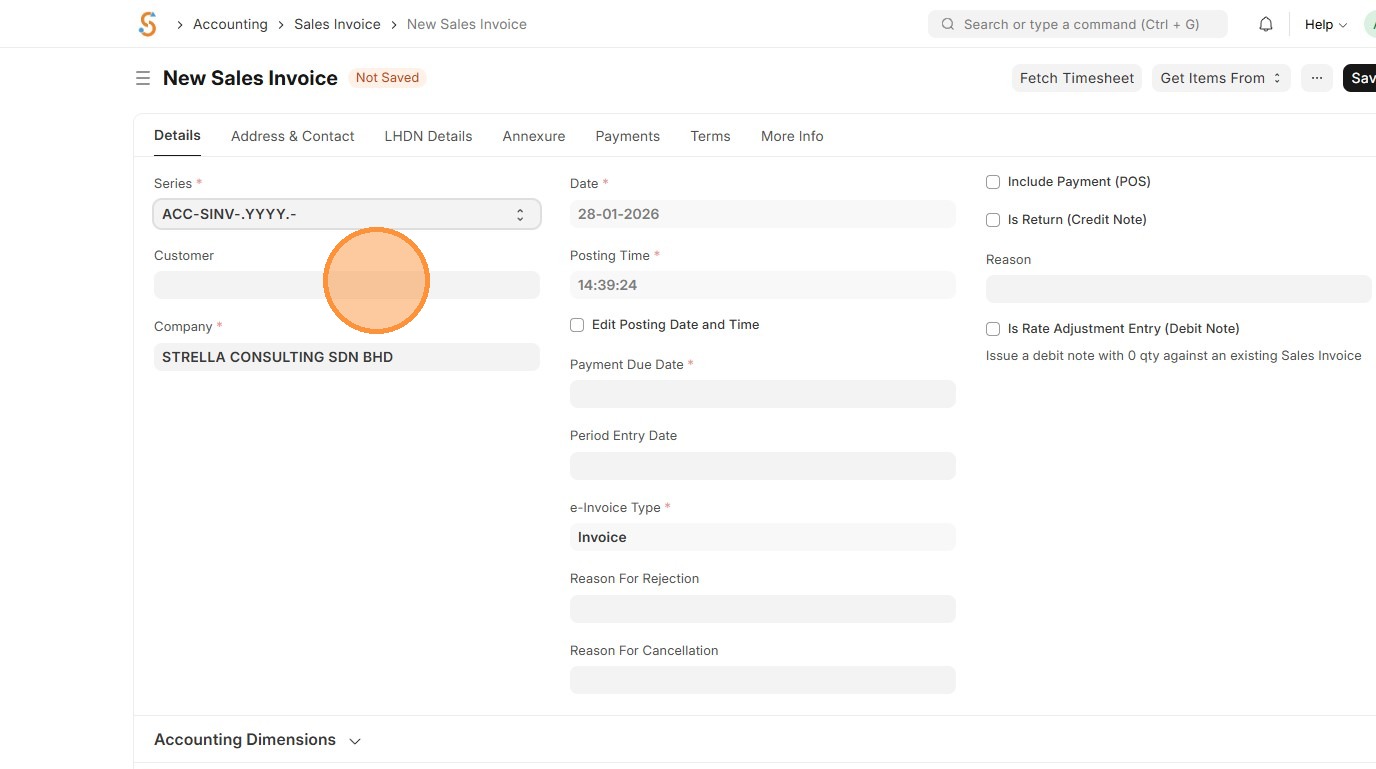
29. Select "Customer".
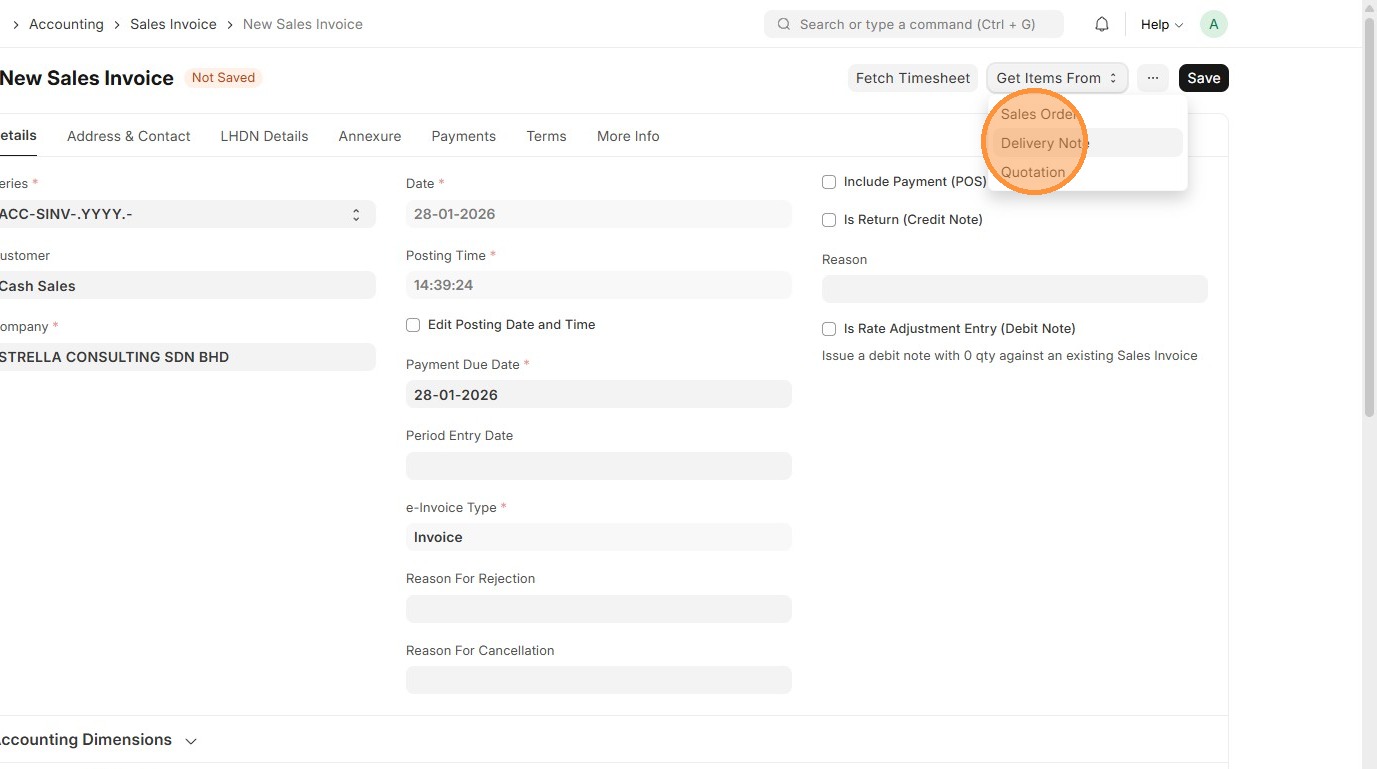
30. Click "Get Items From"
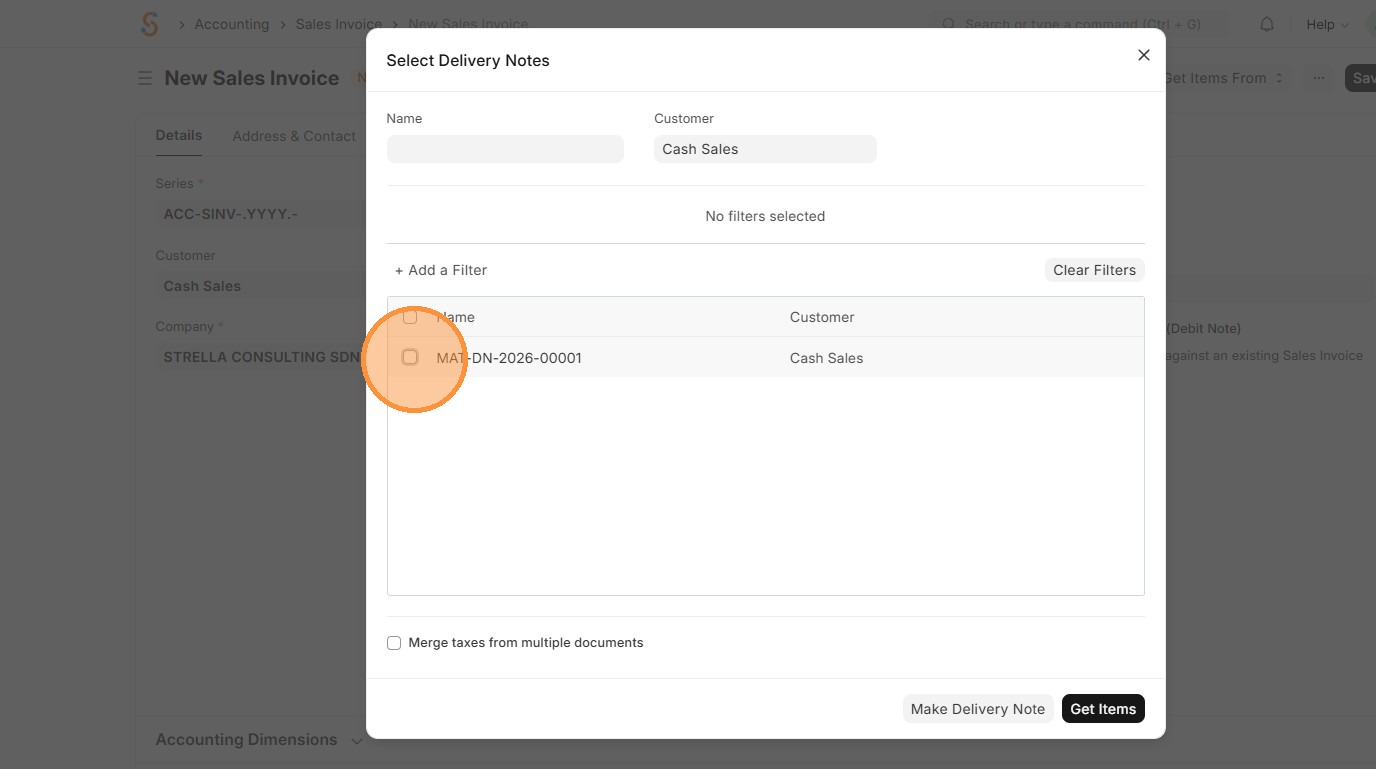
31. Click "Delivery Note"
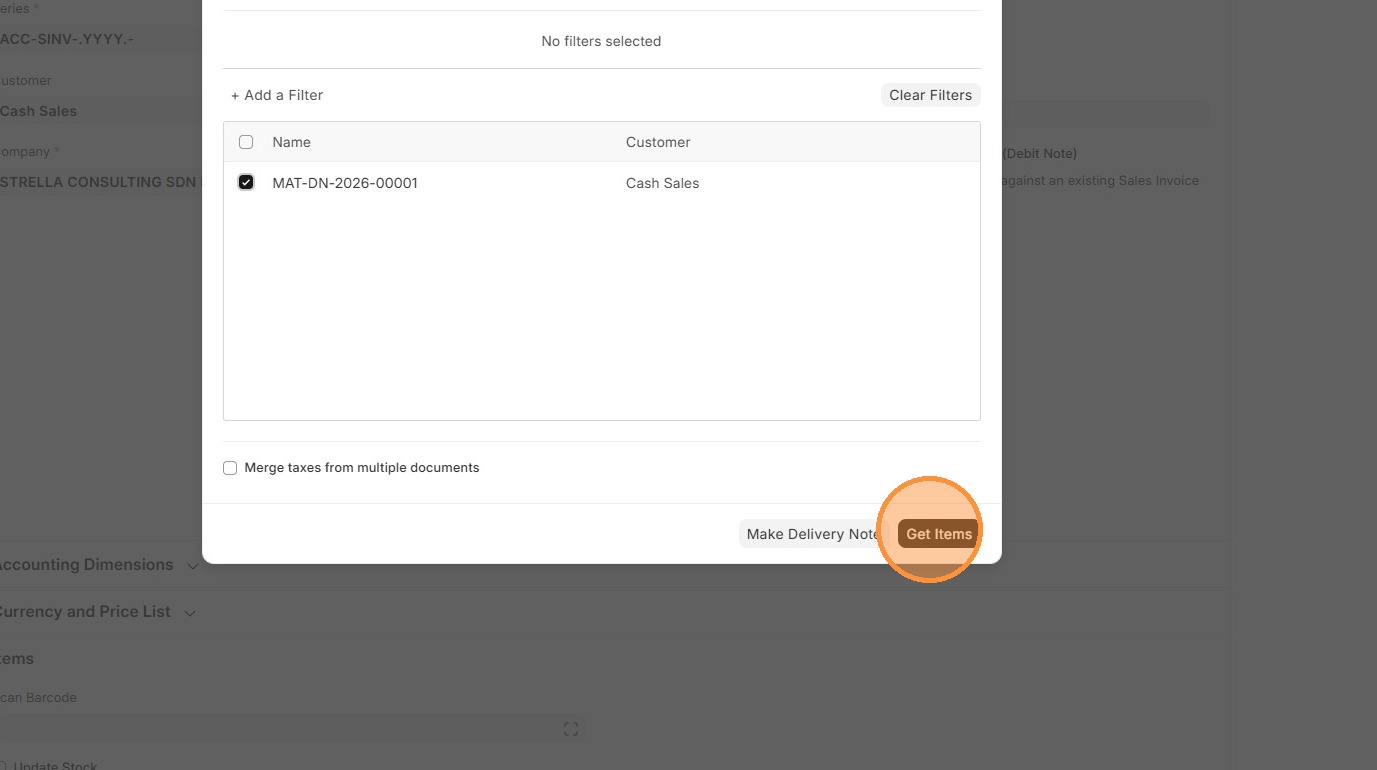
32. Click on checkbox.
33. Click "Get Items"
34. Verify that "Tax Category" and "Sales Taxes and Charges" matches Delivery Order.
35. Click "Edit".

36. Verify "Item Tax Template"
37. Click here to close pop up.
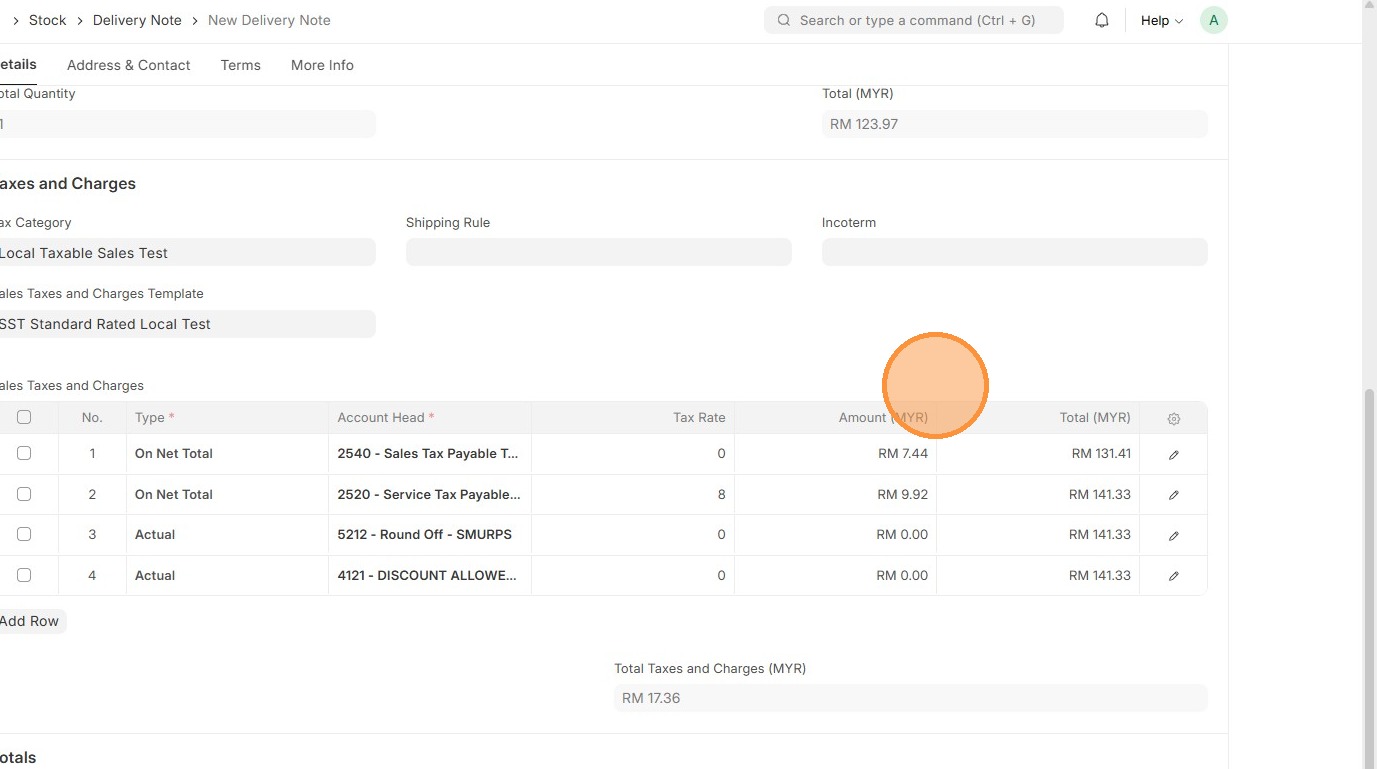
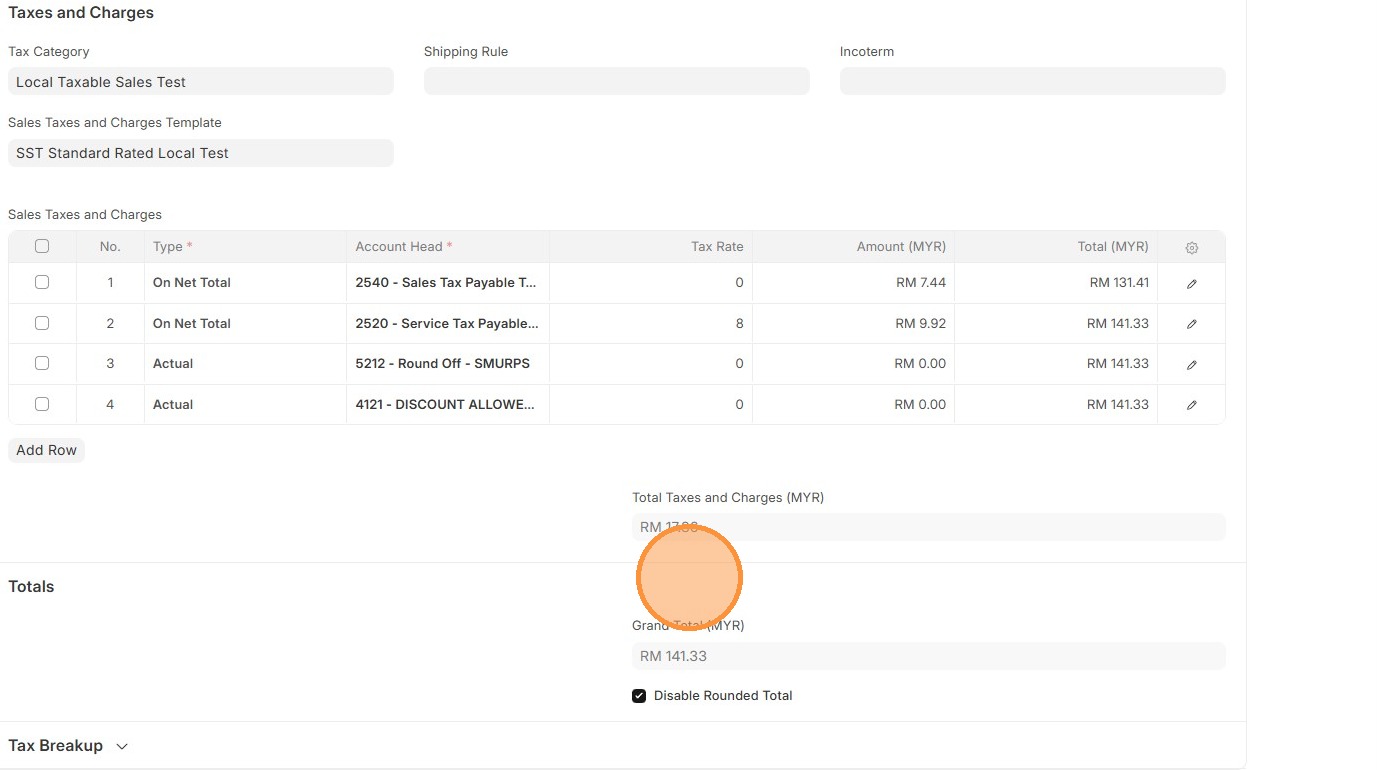
38. Verify that "Sales Taxes and Charges" table matches the one in Delivery Order.

39. Verify the "Amount (MYR)" calculation.
40. Verify that the "Total Taxes and Charges" and "Grand Total" matches the Delivery Order.
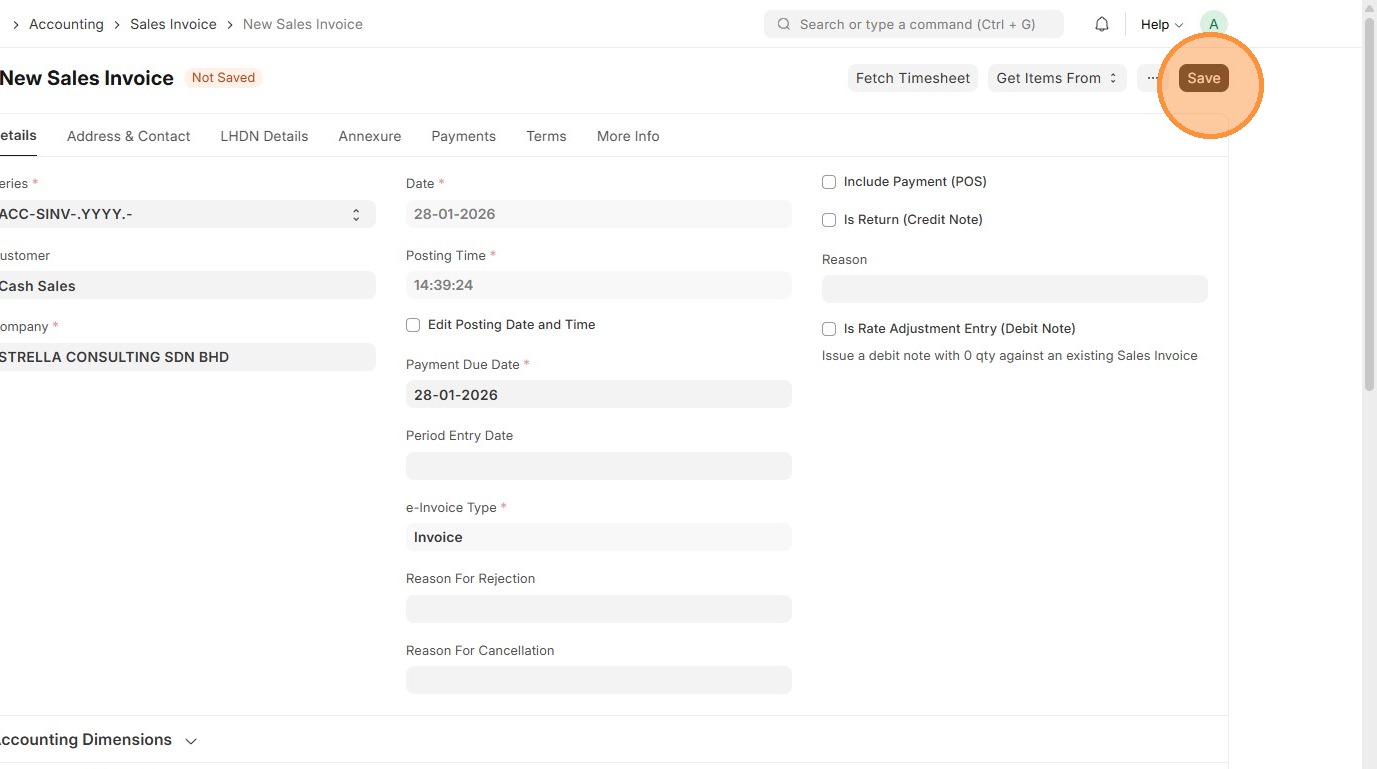
41. Click "Save"
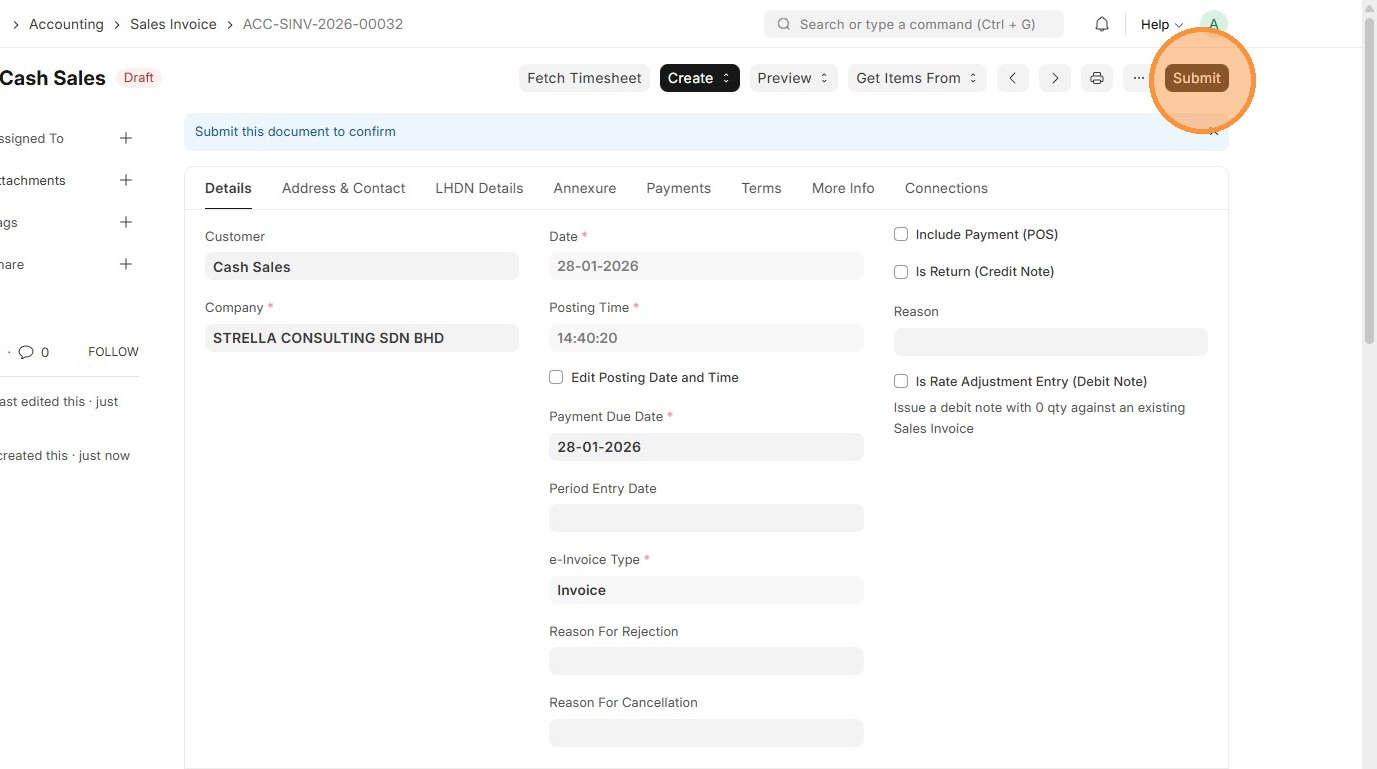
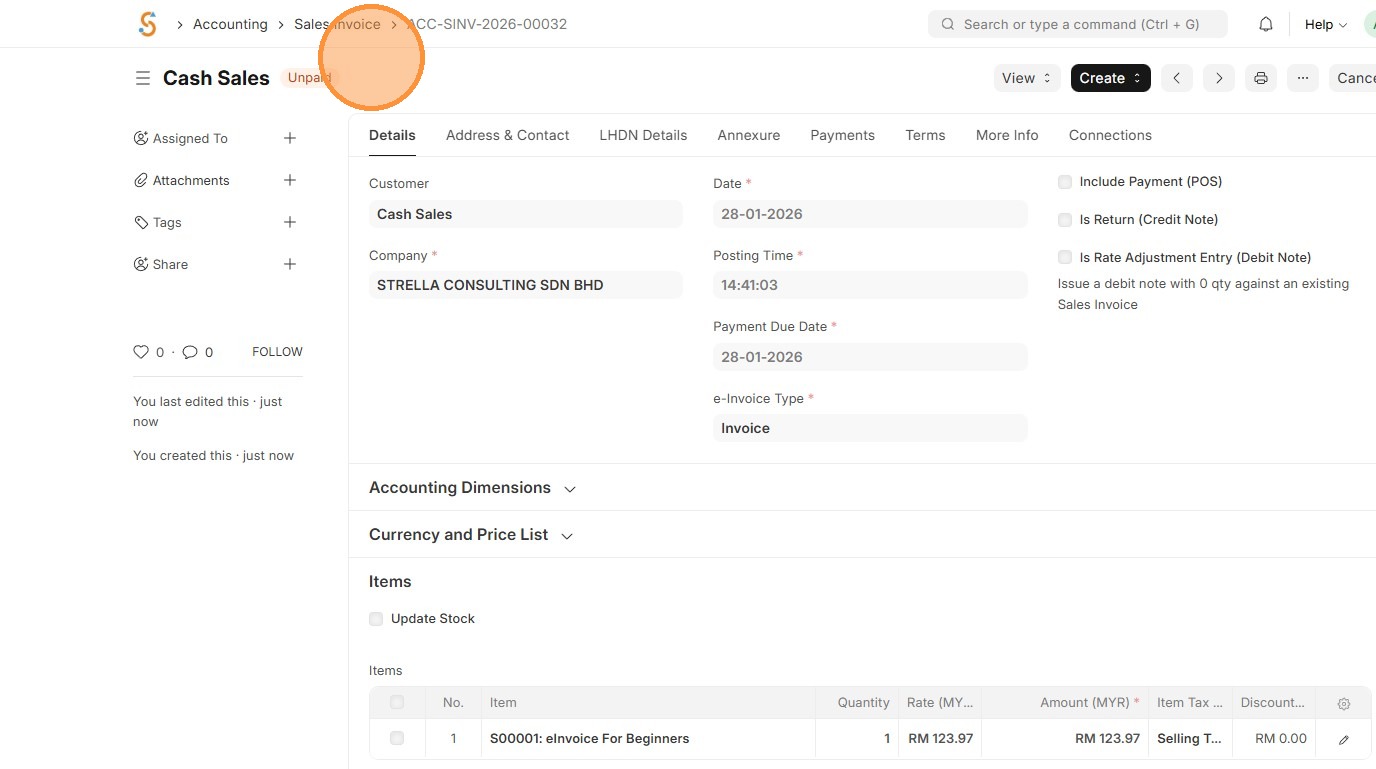
42. Click "Submit"
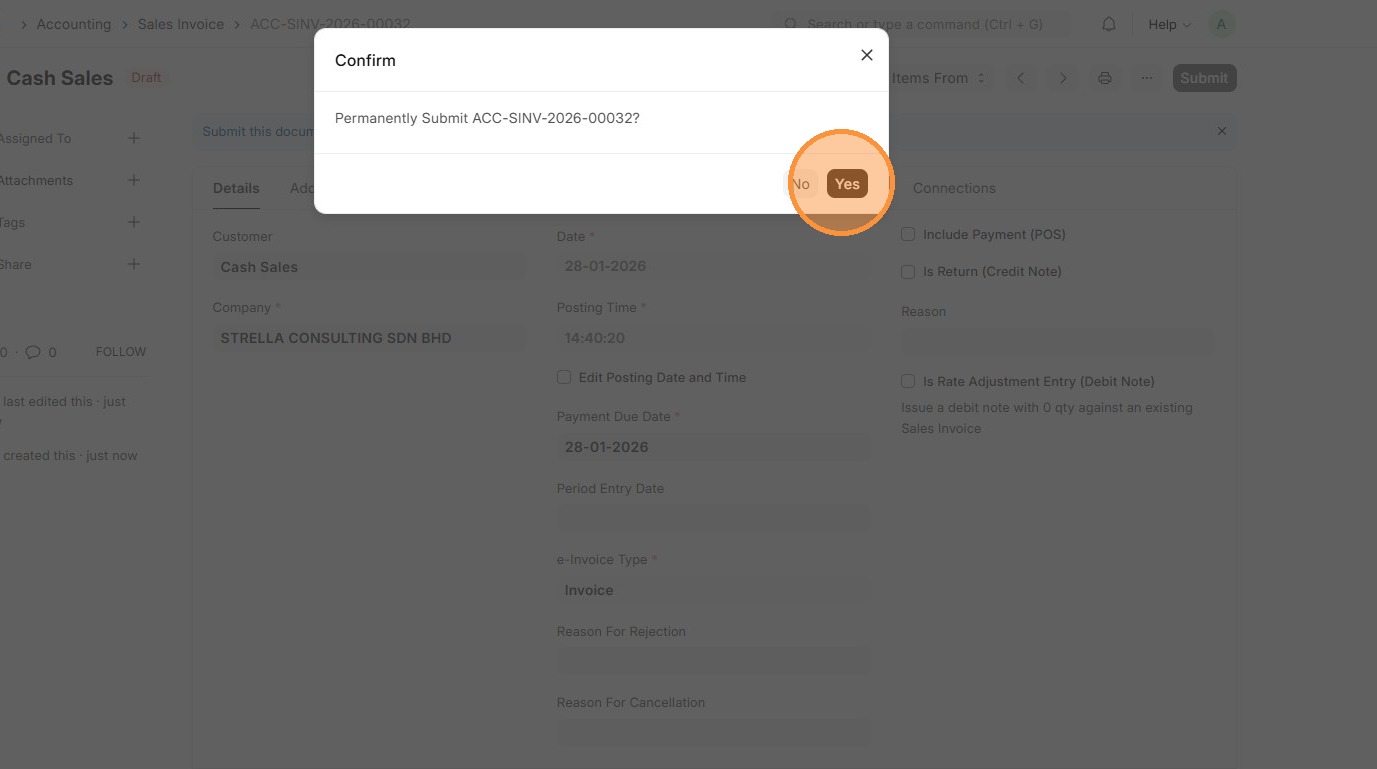
43. Click "Yes"
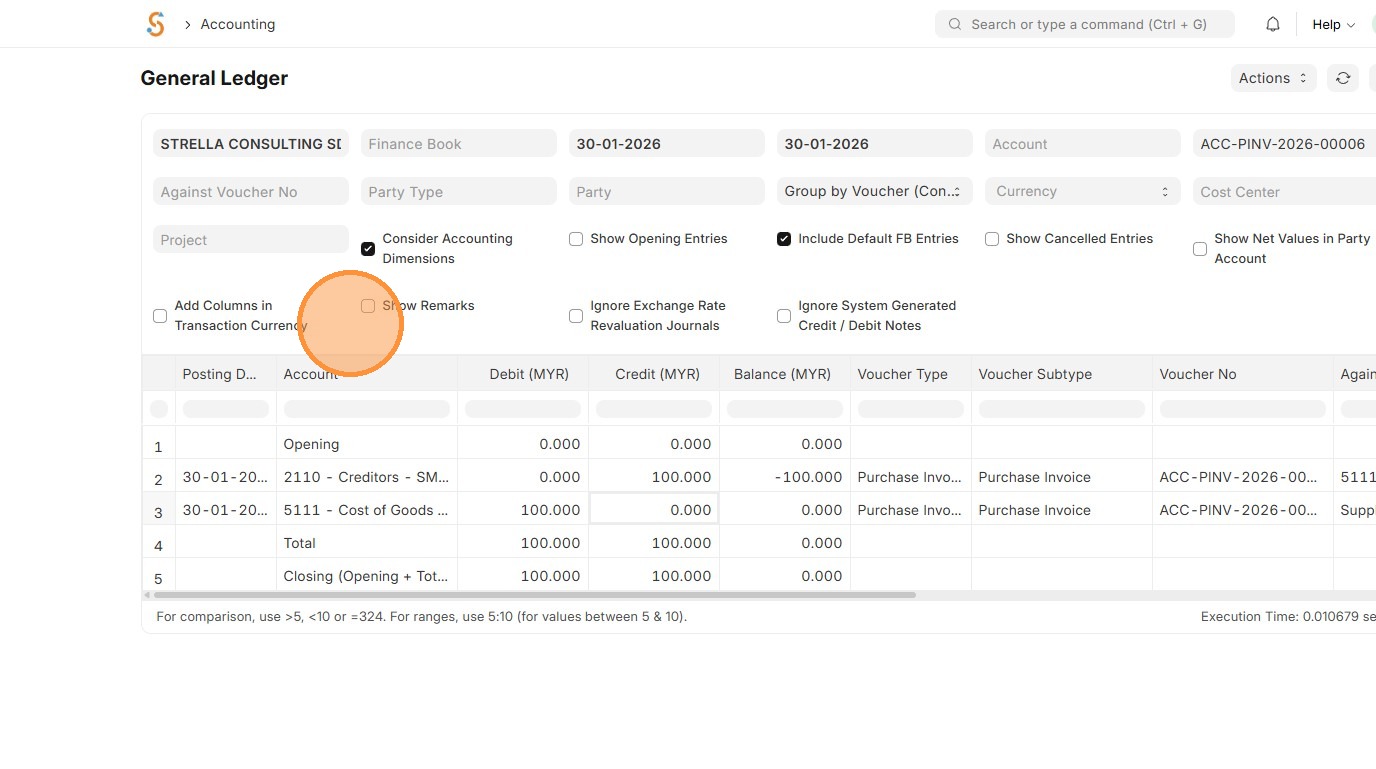
44. Verify the Sales Invoice ID is created.
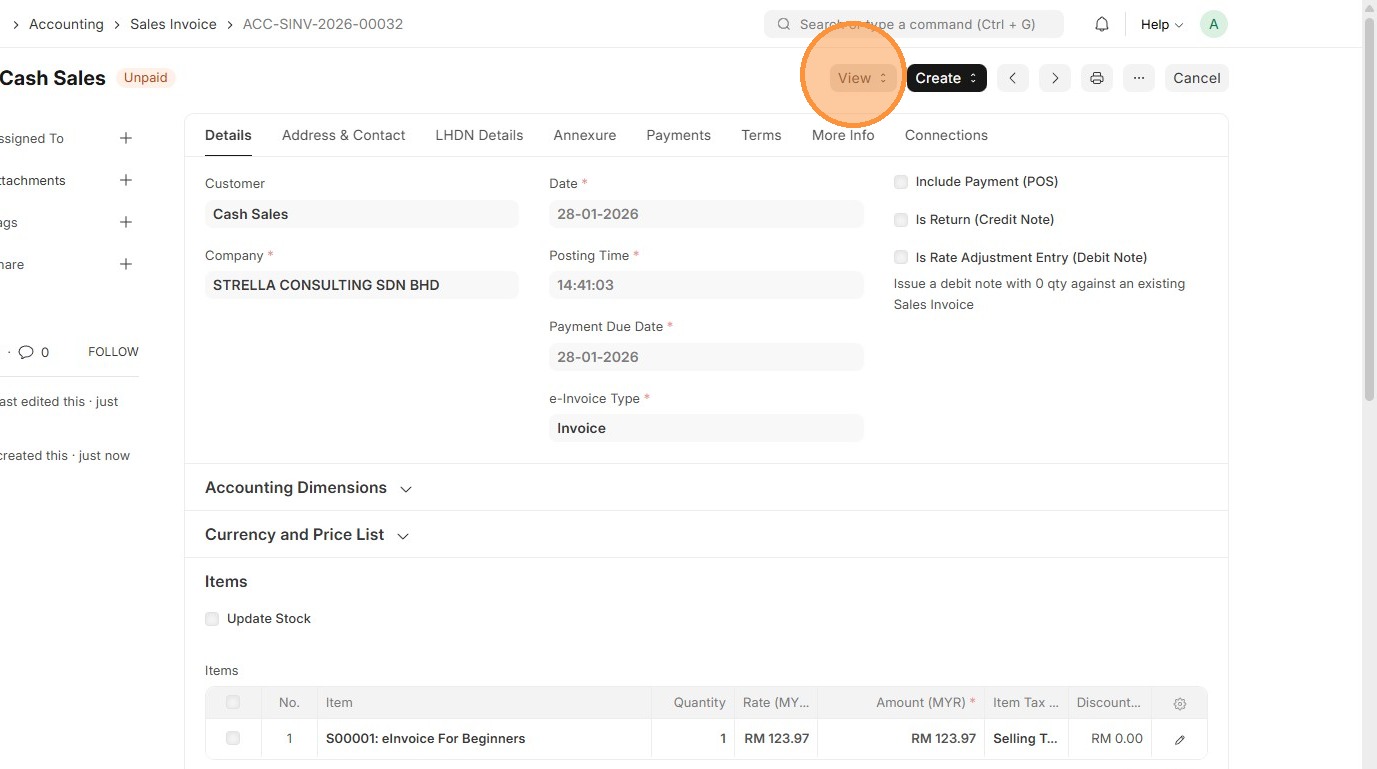
45. Click "View"
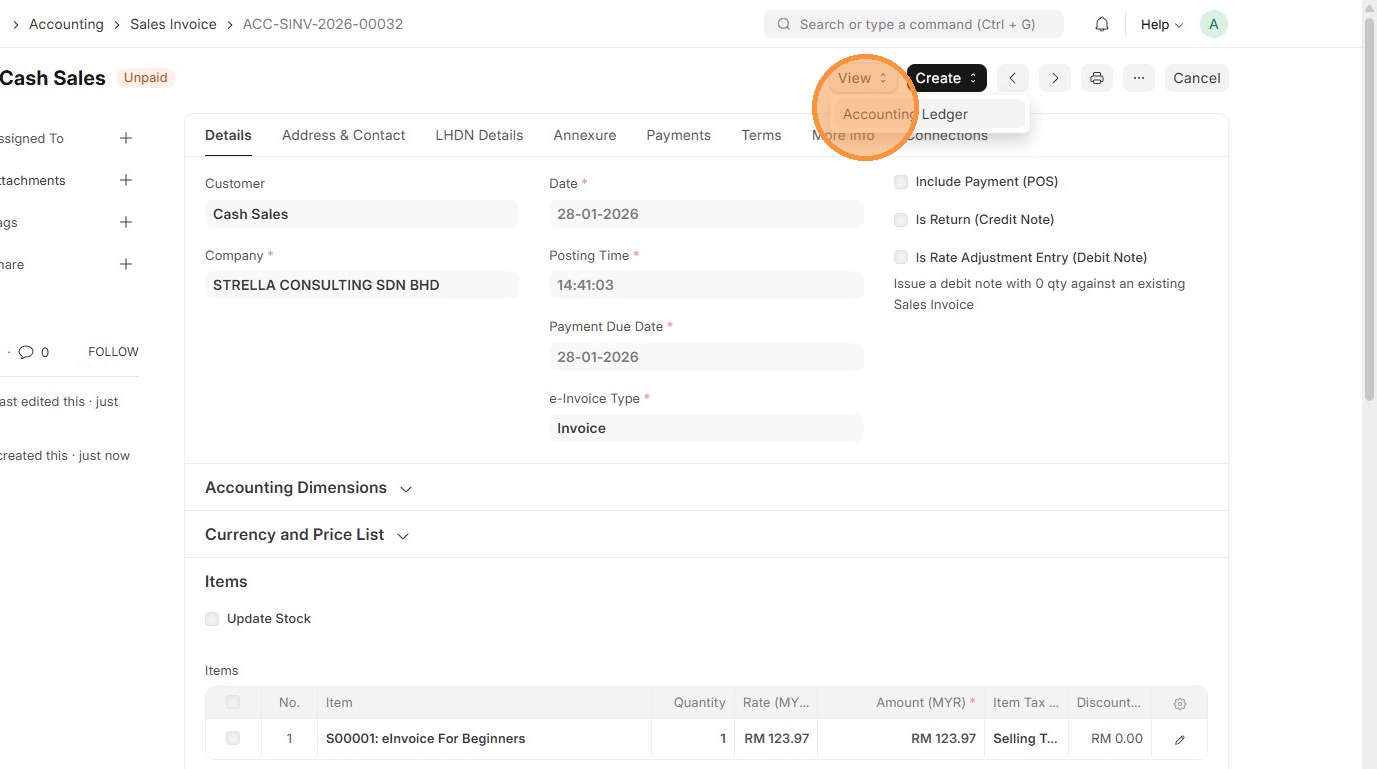
46. Click "Accounting Ledger"
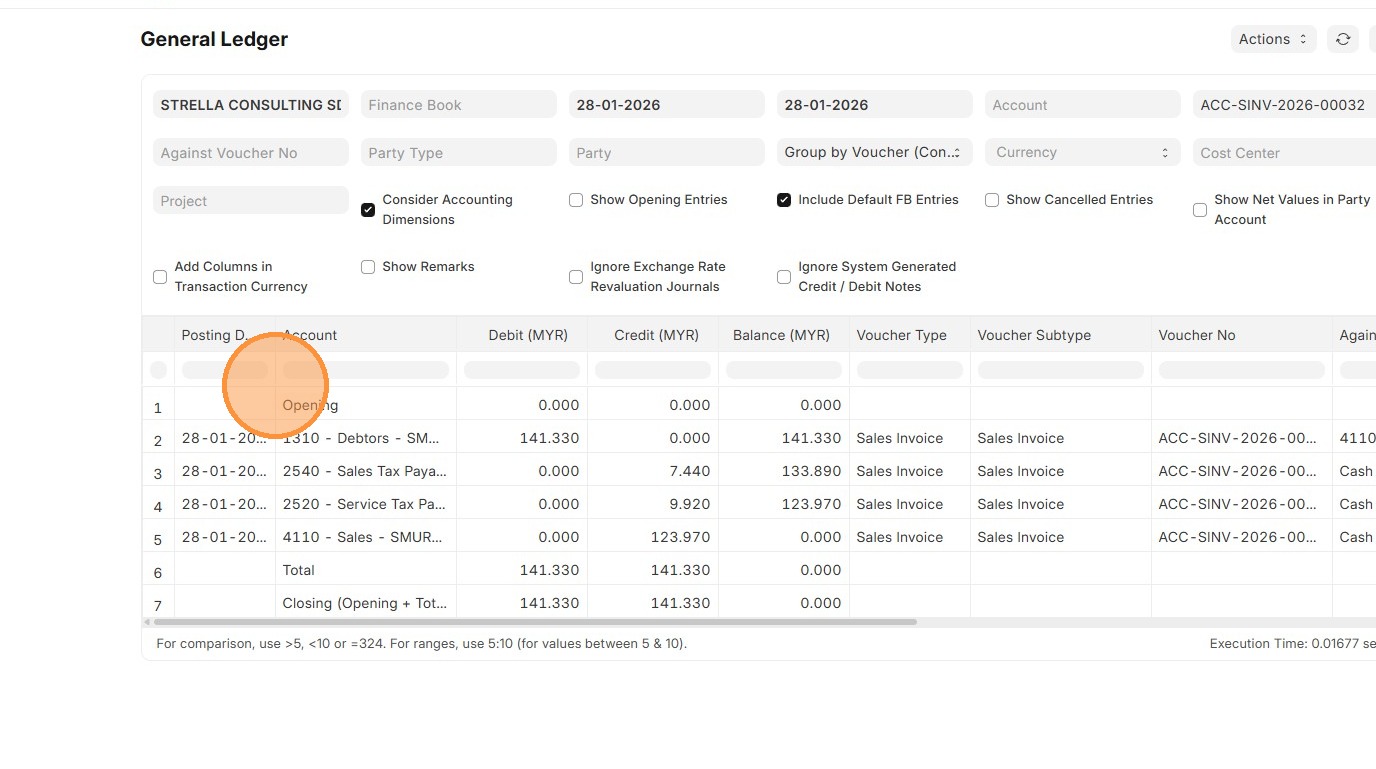
47. Verify the Account Ledger Posting against Sales Invoice.
Procure to Pay
Procure-to-Pay process flows from Purchase Order → Purchase Receipt → Purchase Invoice, with taxes automatically applied at the invoice stage using the Purchase Taxes and Charges master data. This ensures correct tax calculation, accurate posting to accounts, compliance, and efficient, error-free accounting throughout the purchasing process.
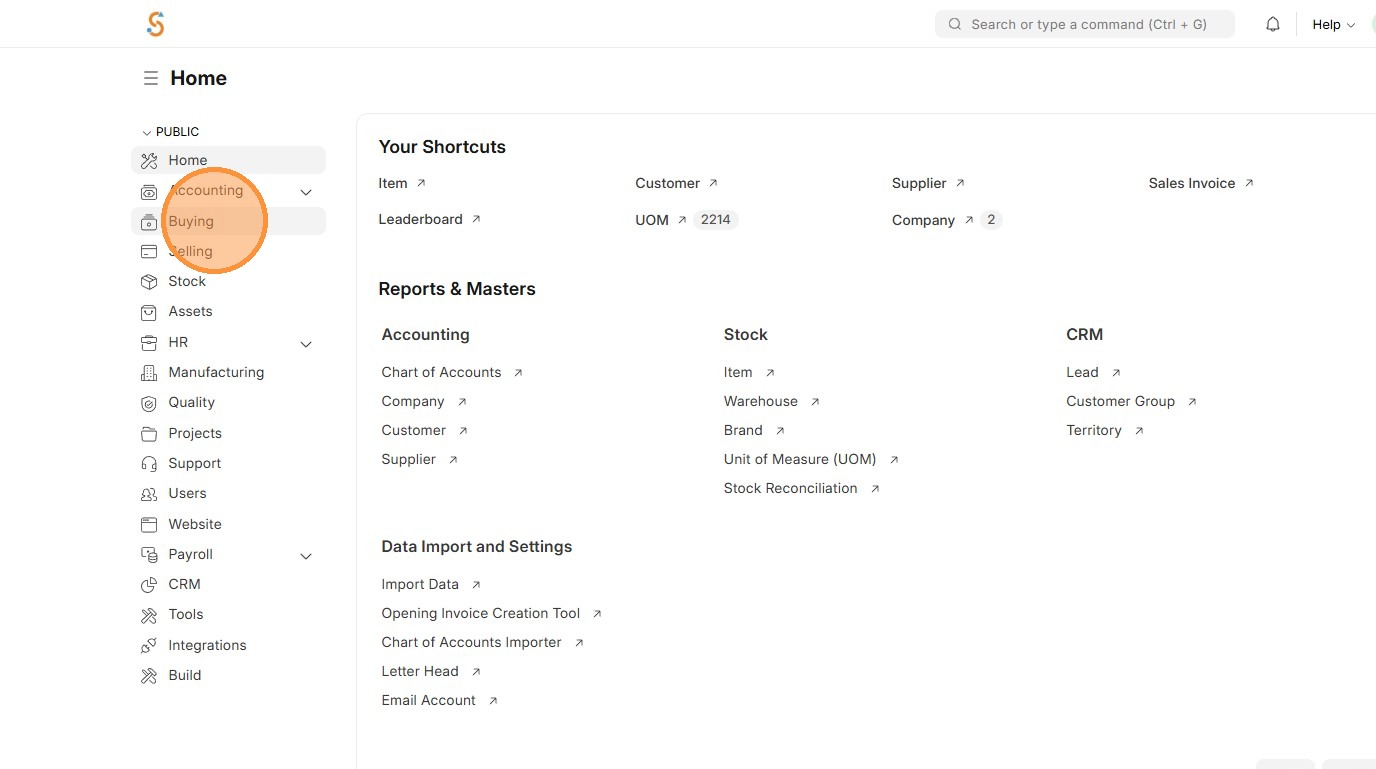
1. Click "Buying"
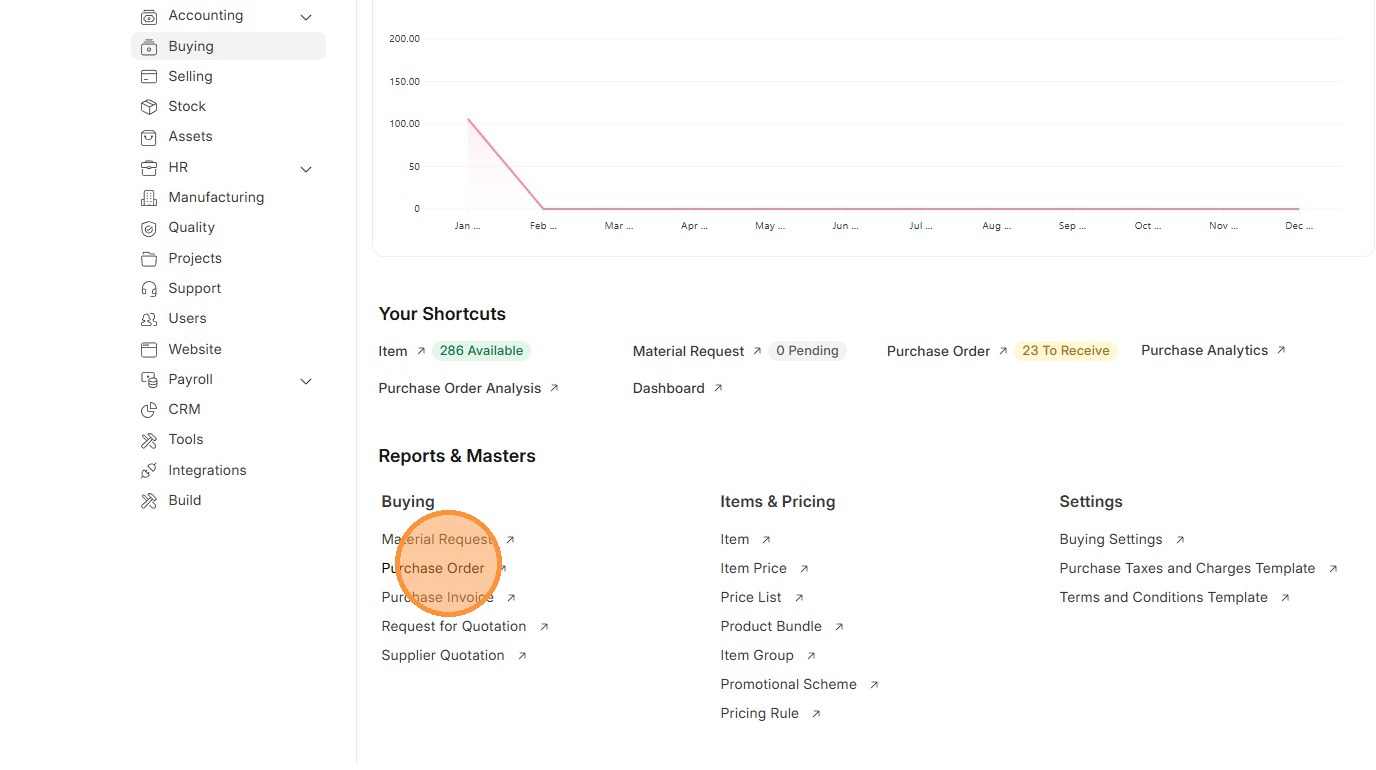
2. Click "Purchase Order"
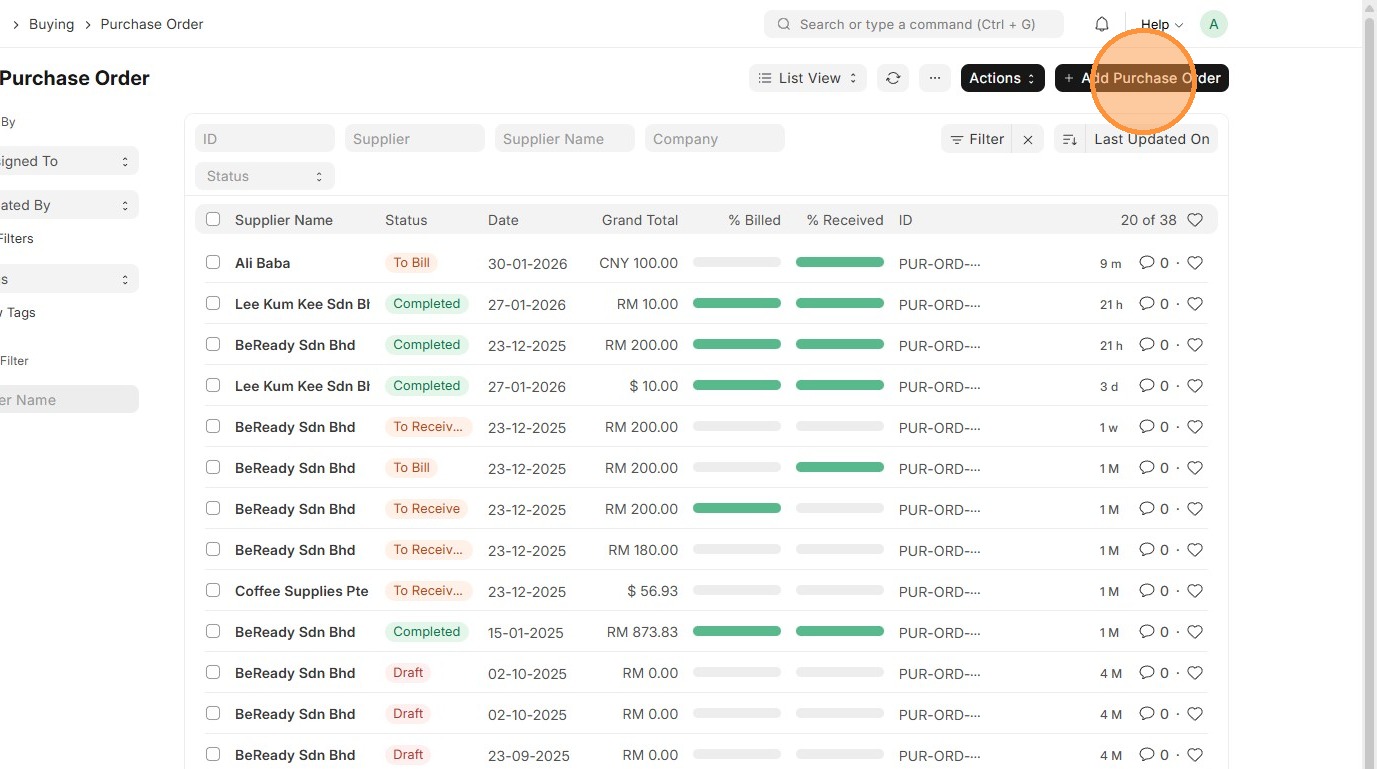
3. Click "Add Purchase Order"
4. Click "Supplier"
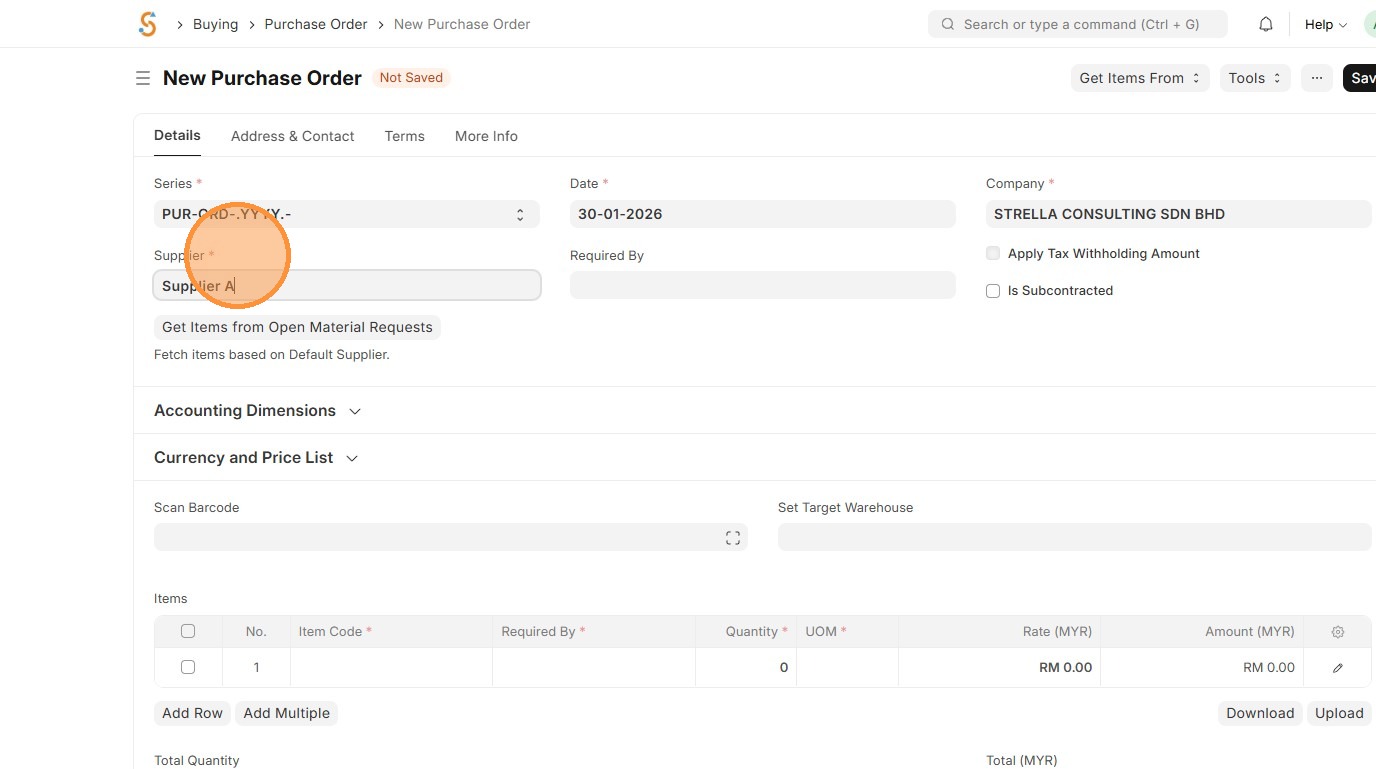
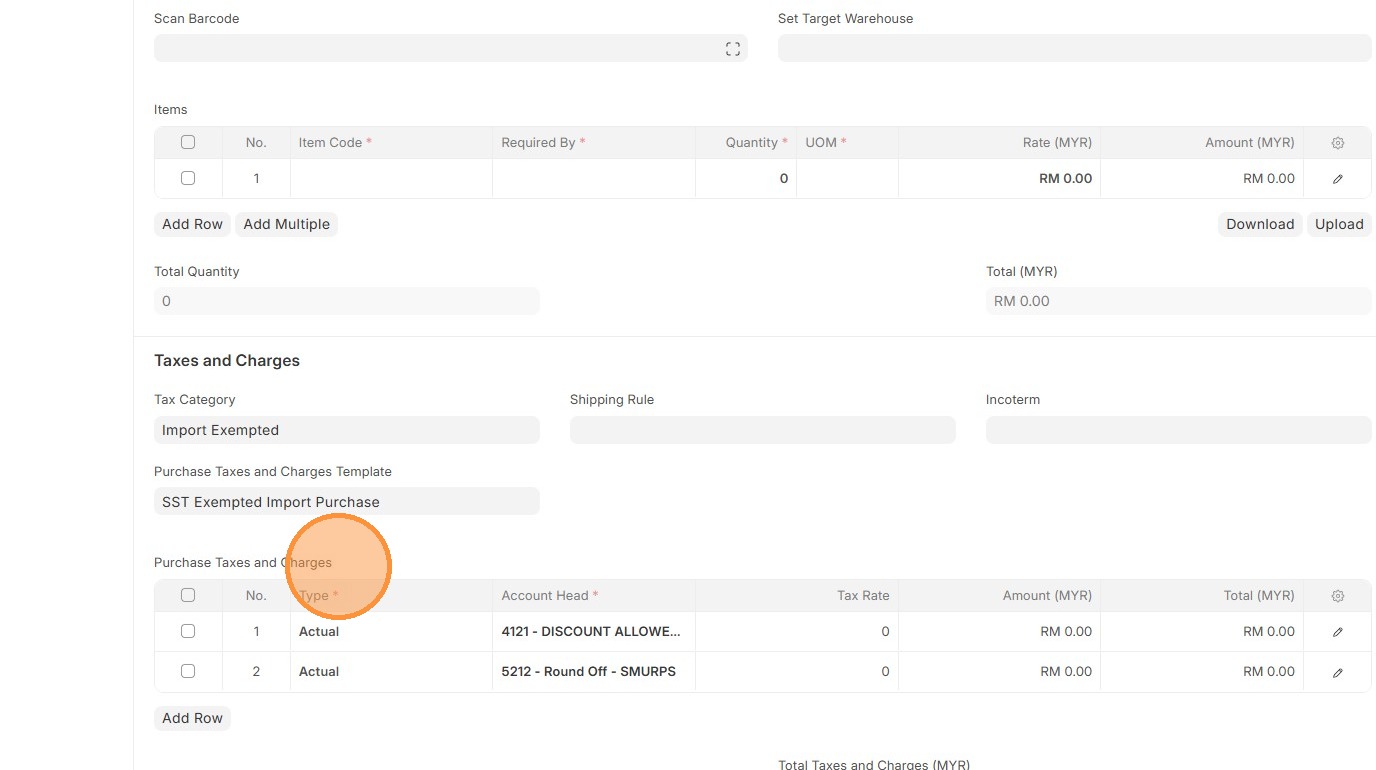
5. Verify that "Tax Category" matches the "Tax Category" in Supplier Master Data and "Purchase Taxes and Charges Template" matches "Tax Rule".
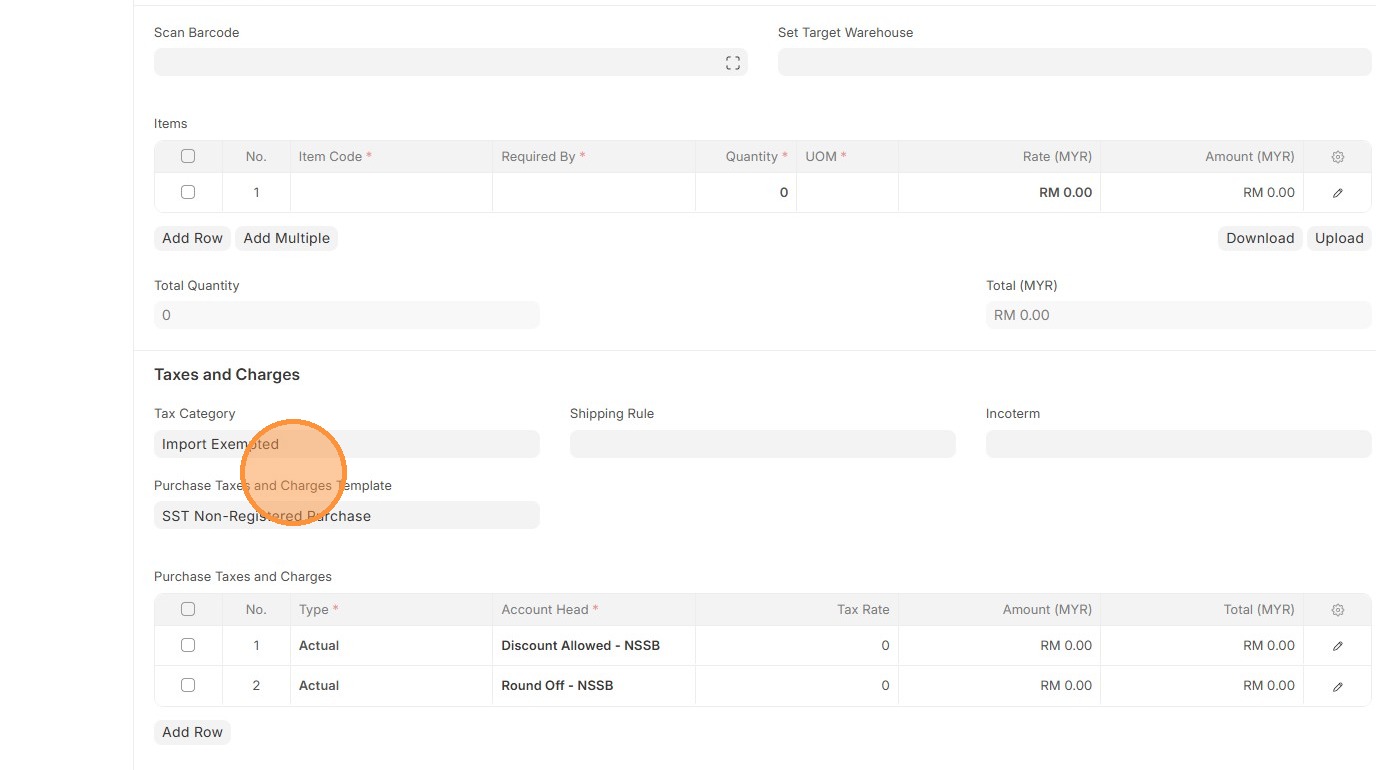
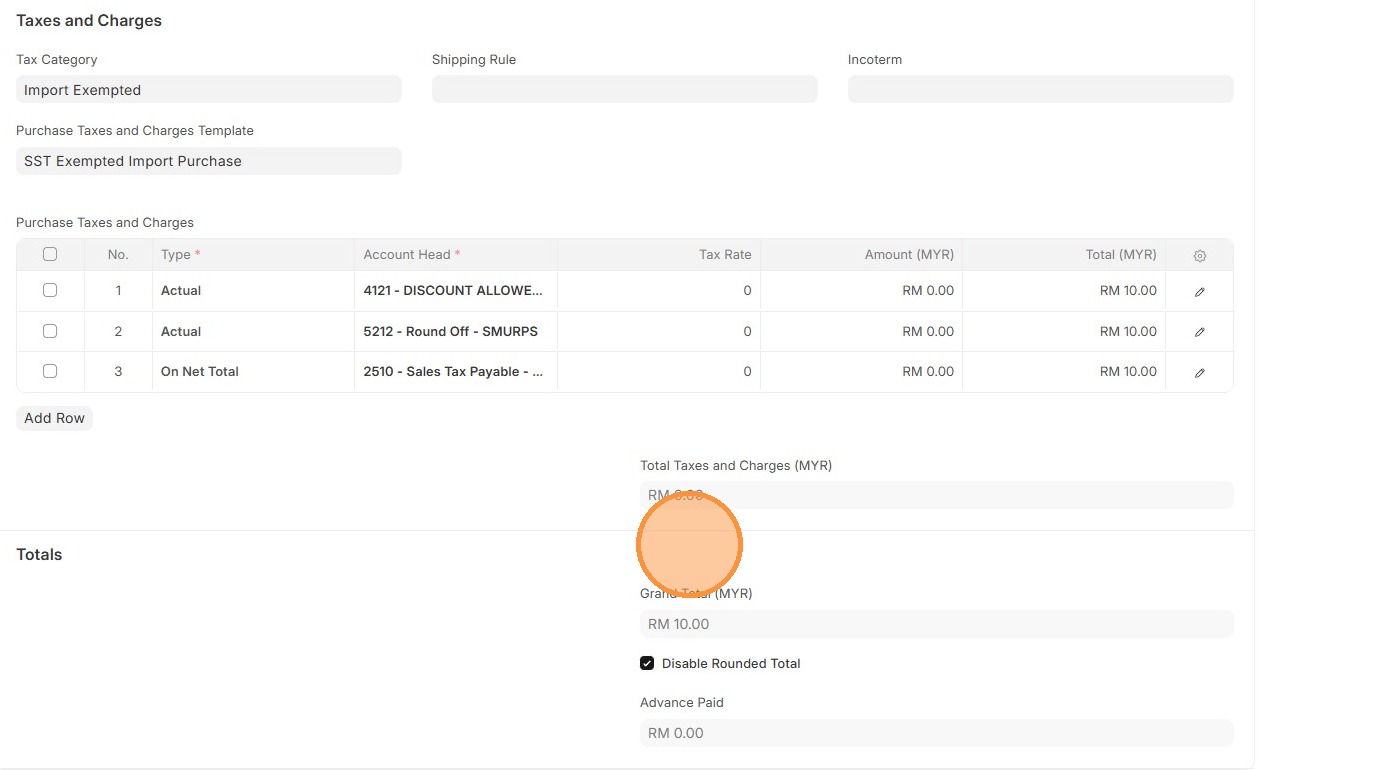
6. Verify "Purchase Taxes and Charges" table matches the newly created/selected one.
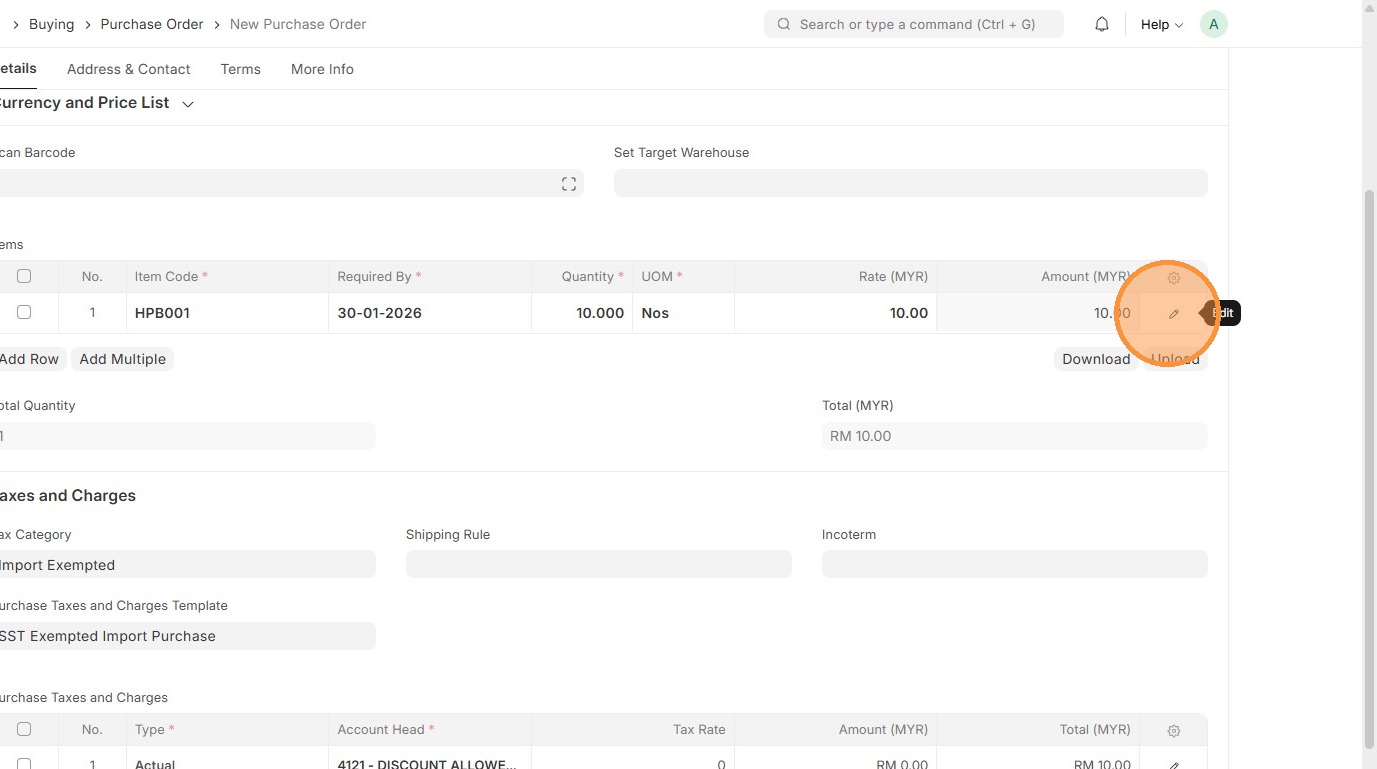
7. Select Item Code

8. Click edit.
9. Verify "Item Tax Template" matches Item Master Data
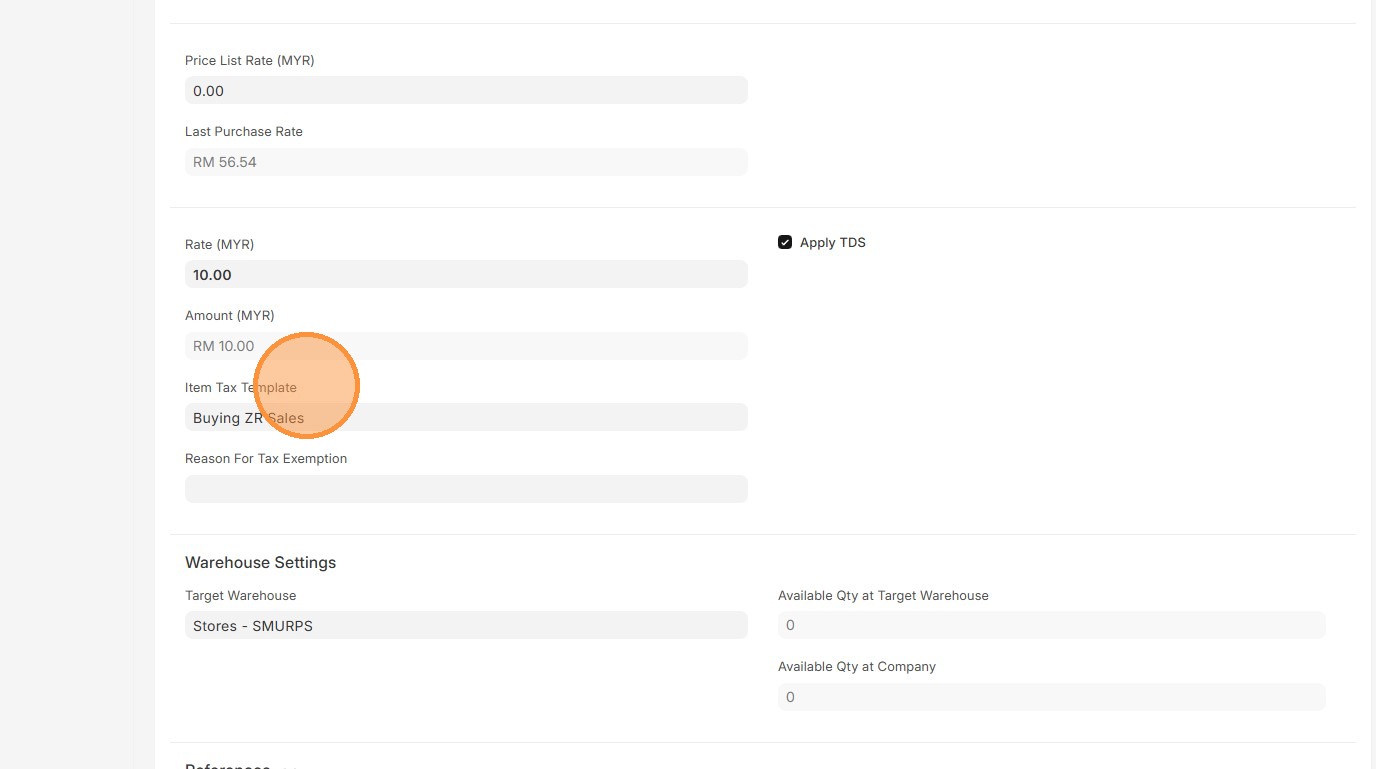
10. Click here to close pop up.
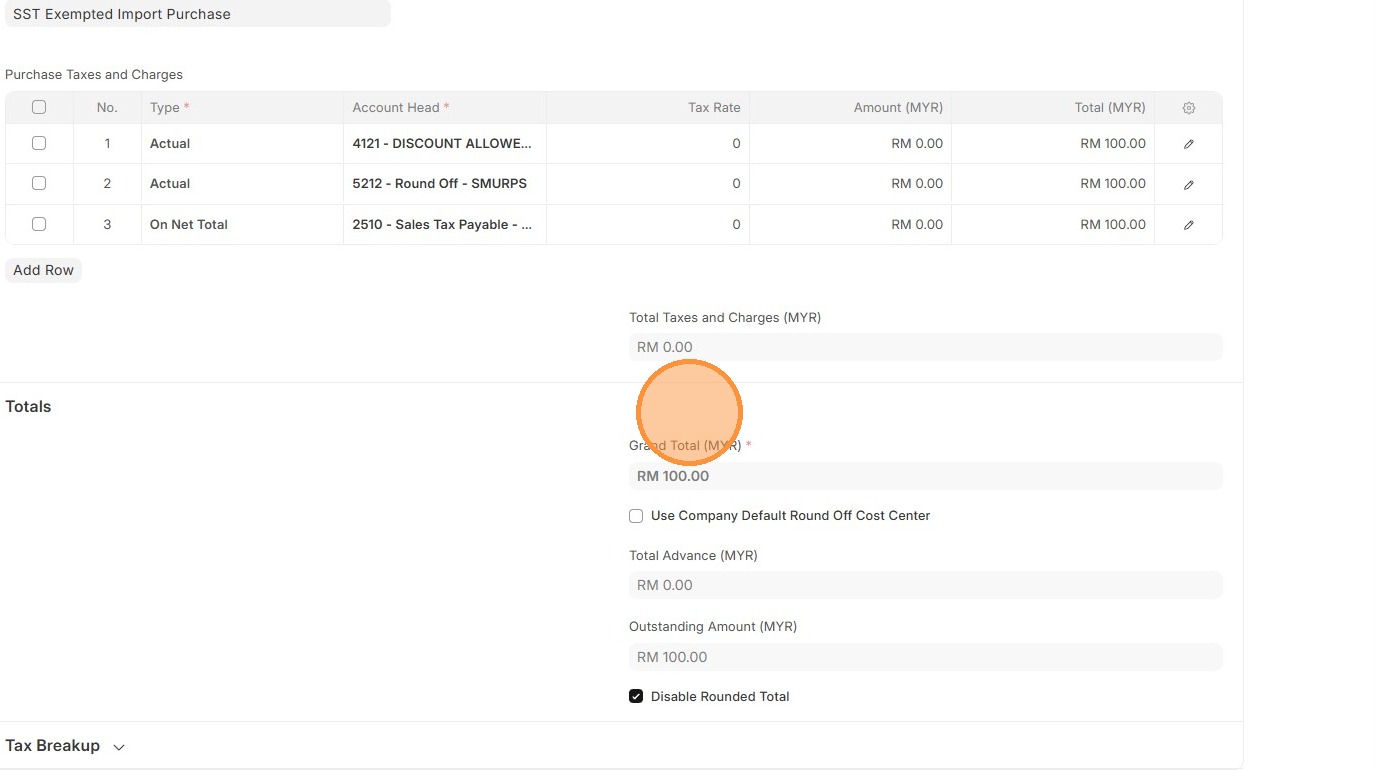
11. Verify "Totals Taxes and Charges (MYR)" and "Grand Total (MYR)"
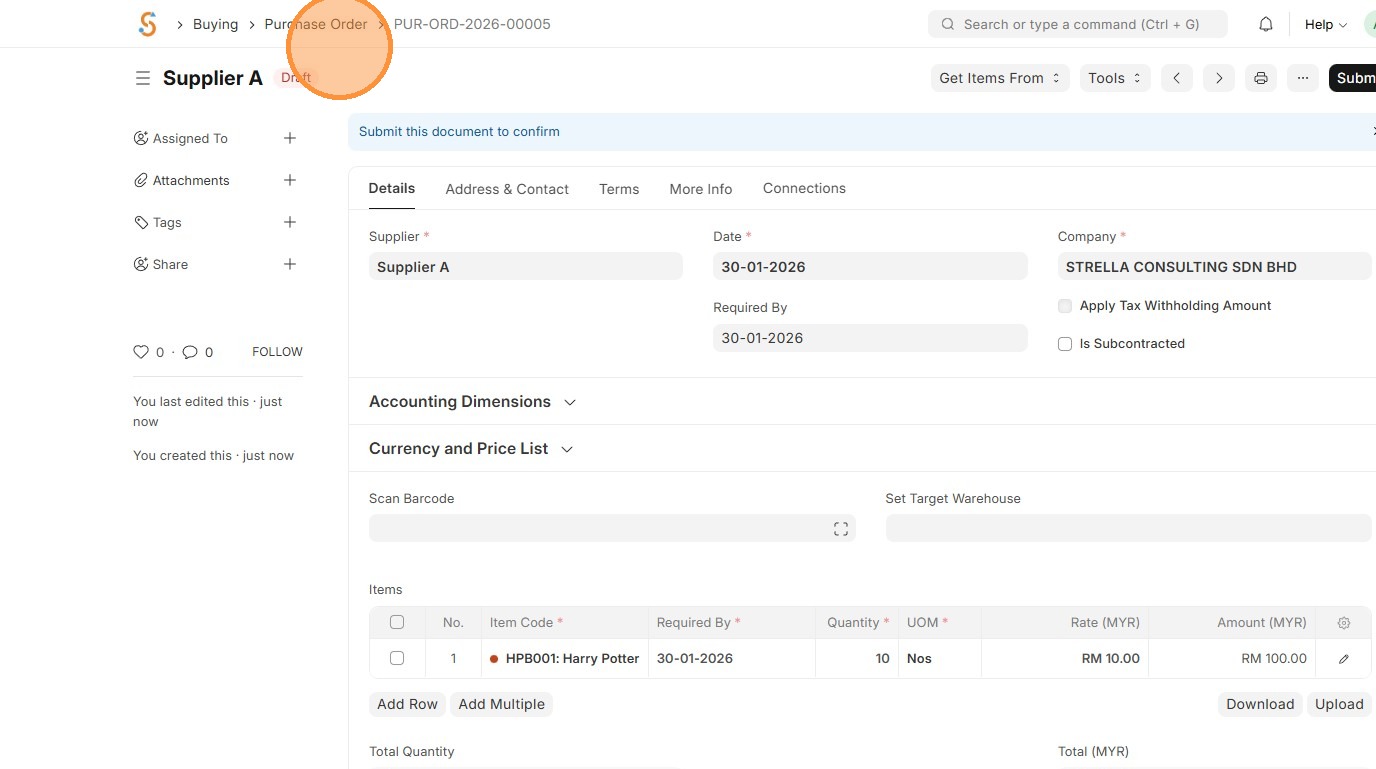
12. Click "Save"

13. Verify Purchase Order ID is created
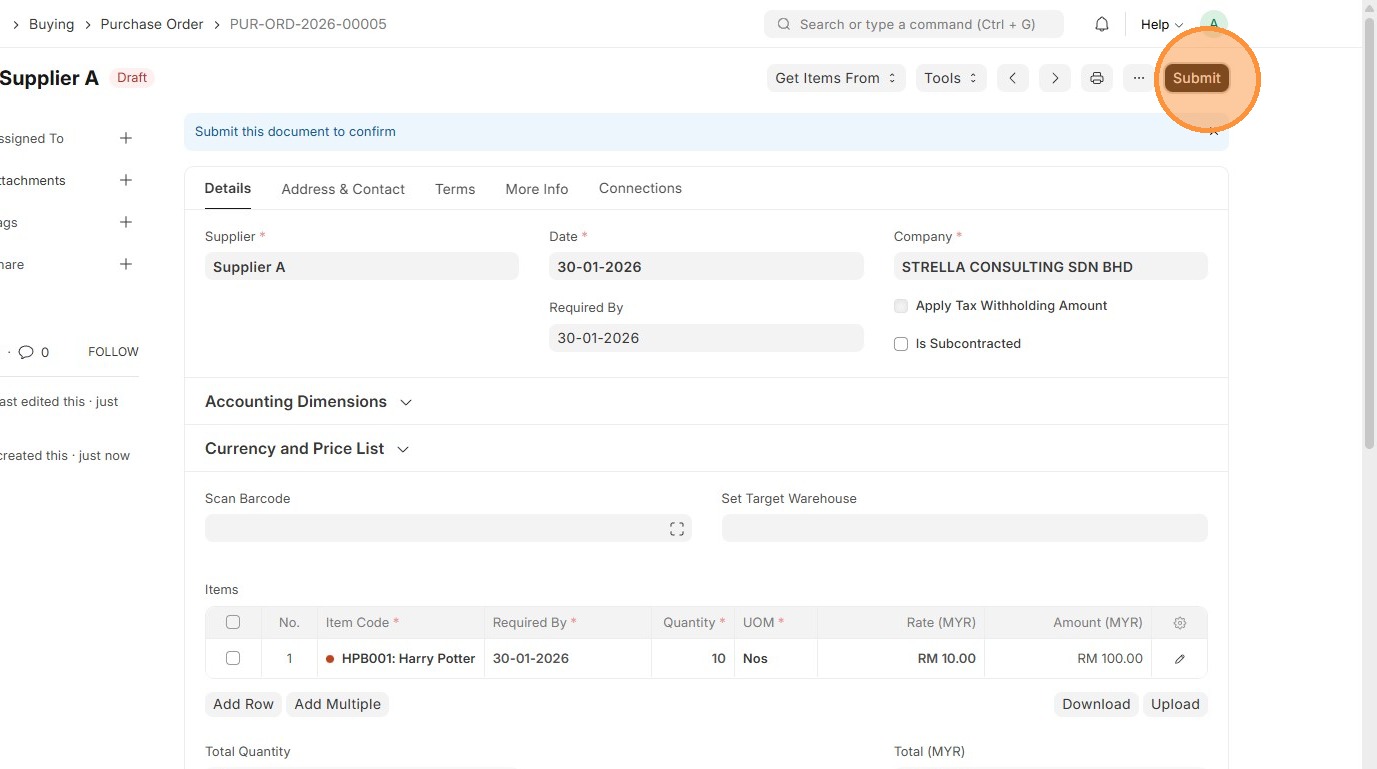
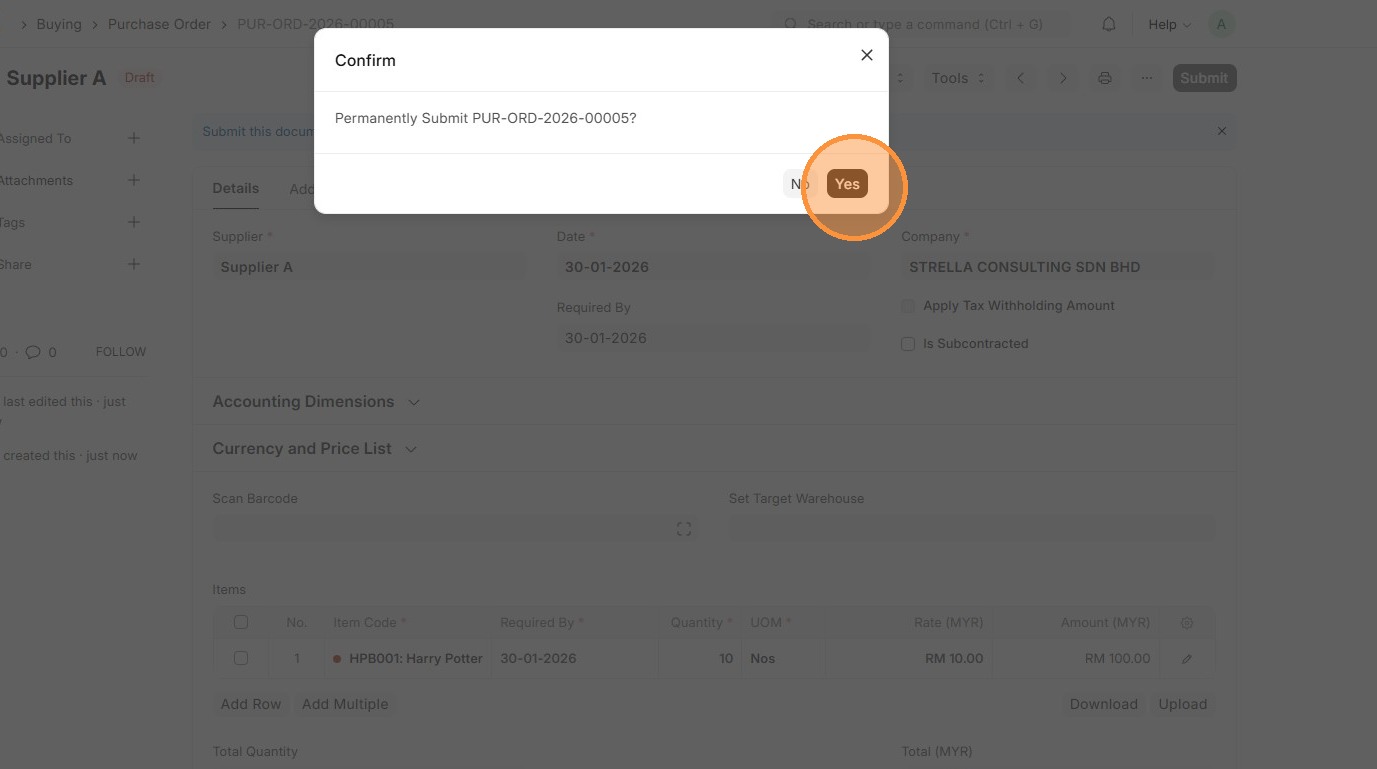
14. Click "Submit"
15. Click "Yes"
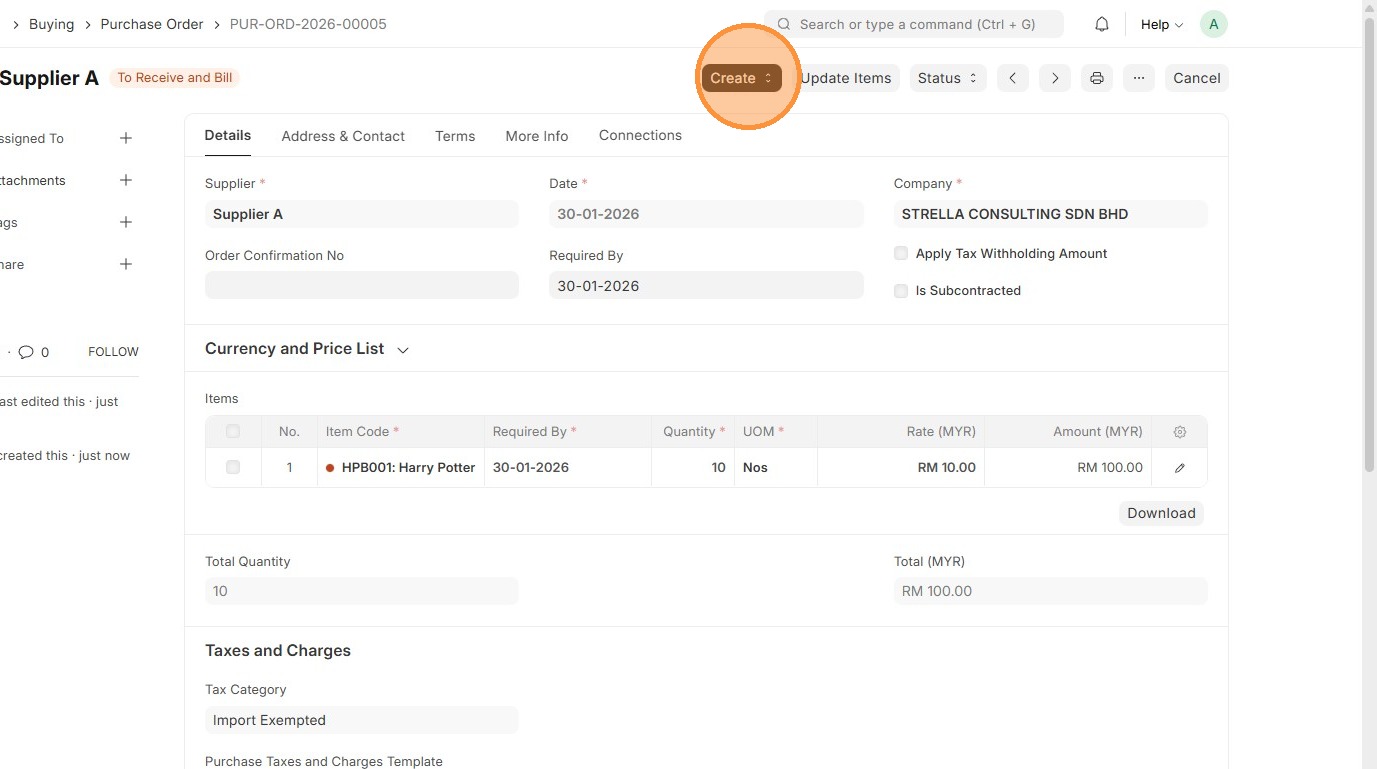
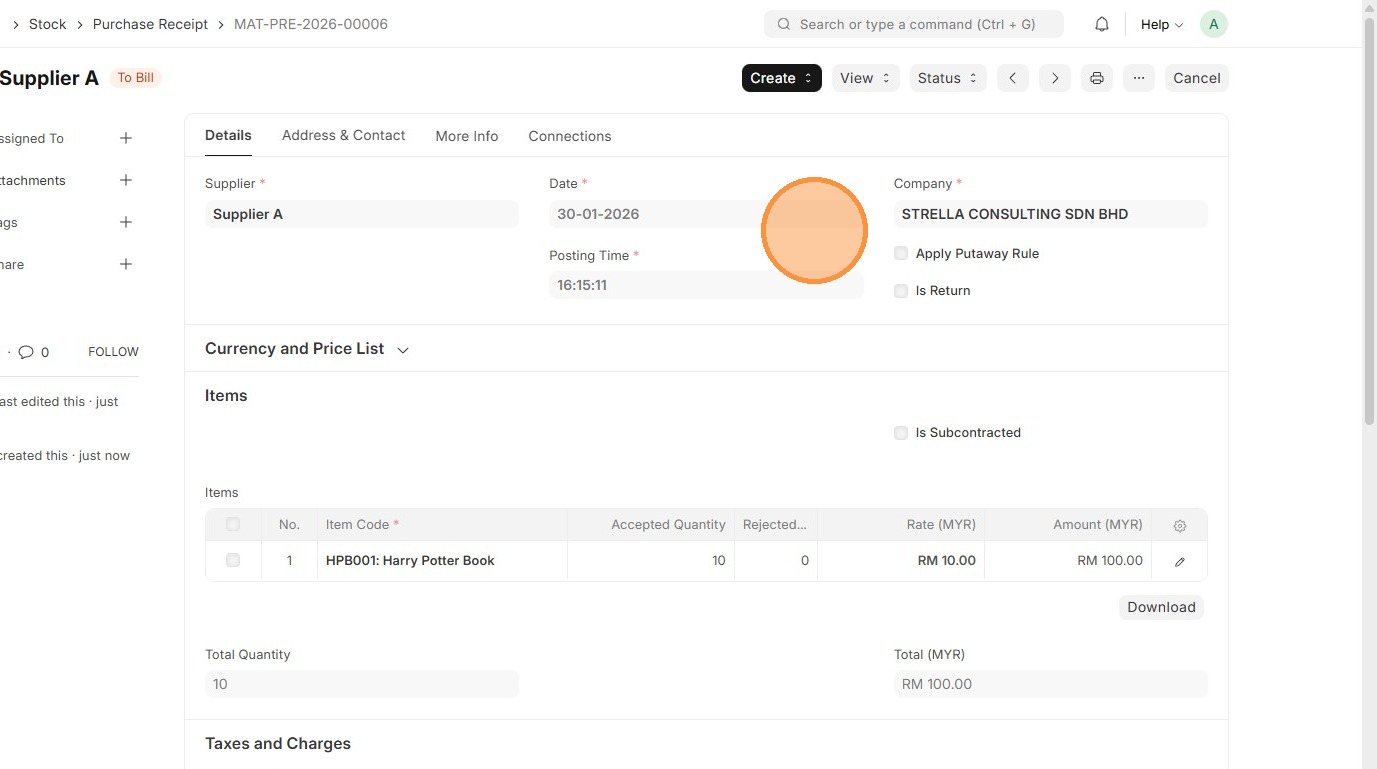
16. Click "Create"
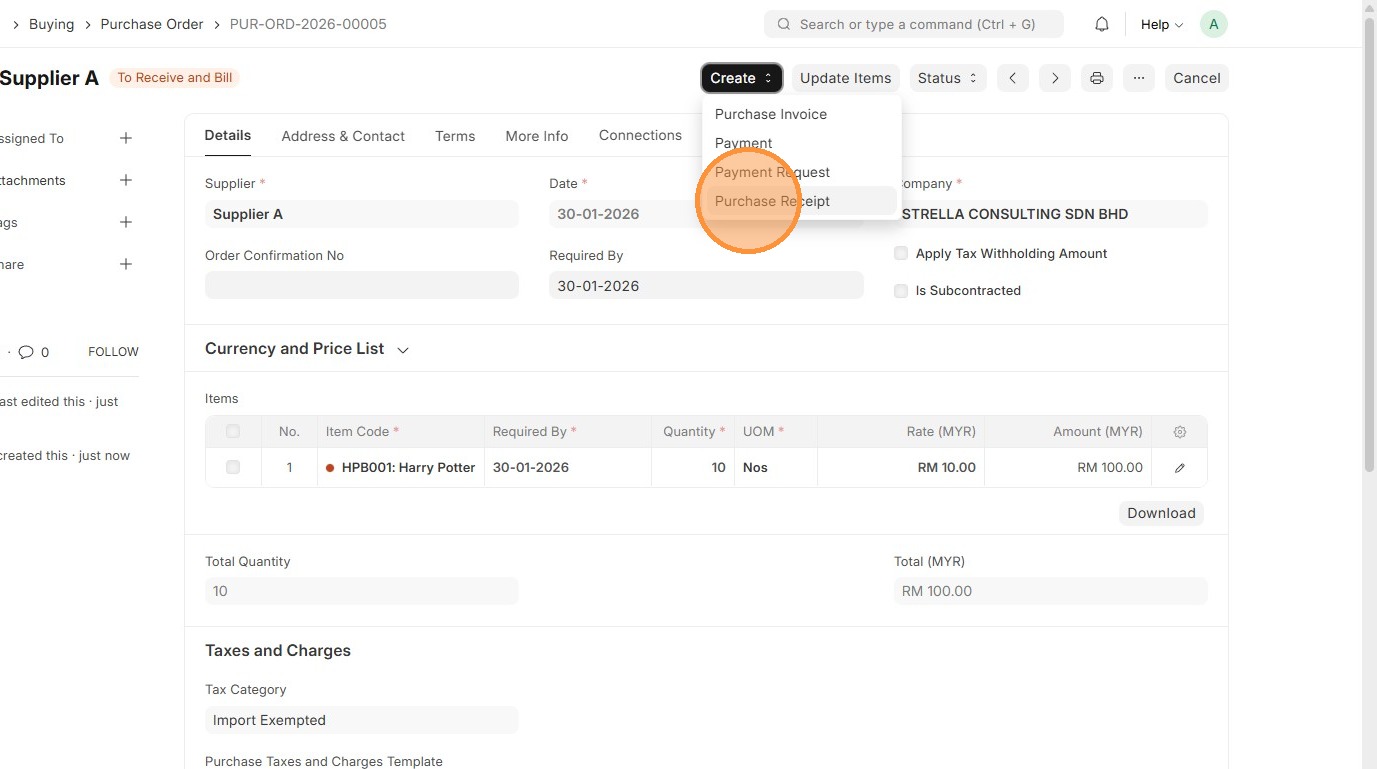
17. Click "Purchase Receipt"
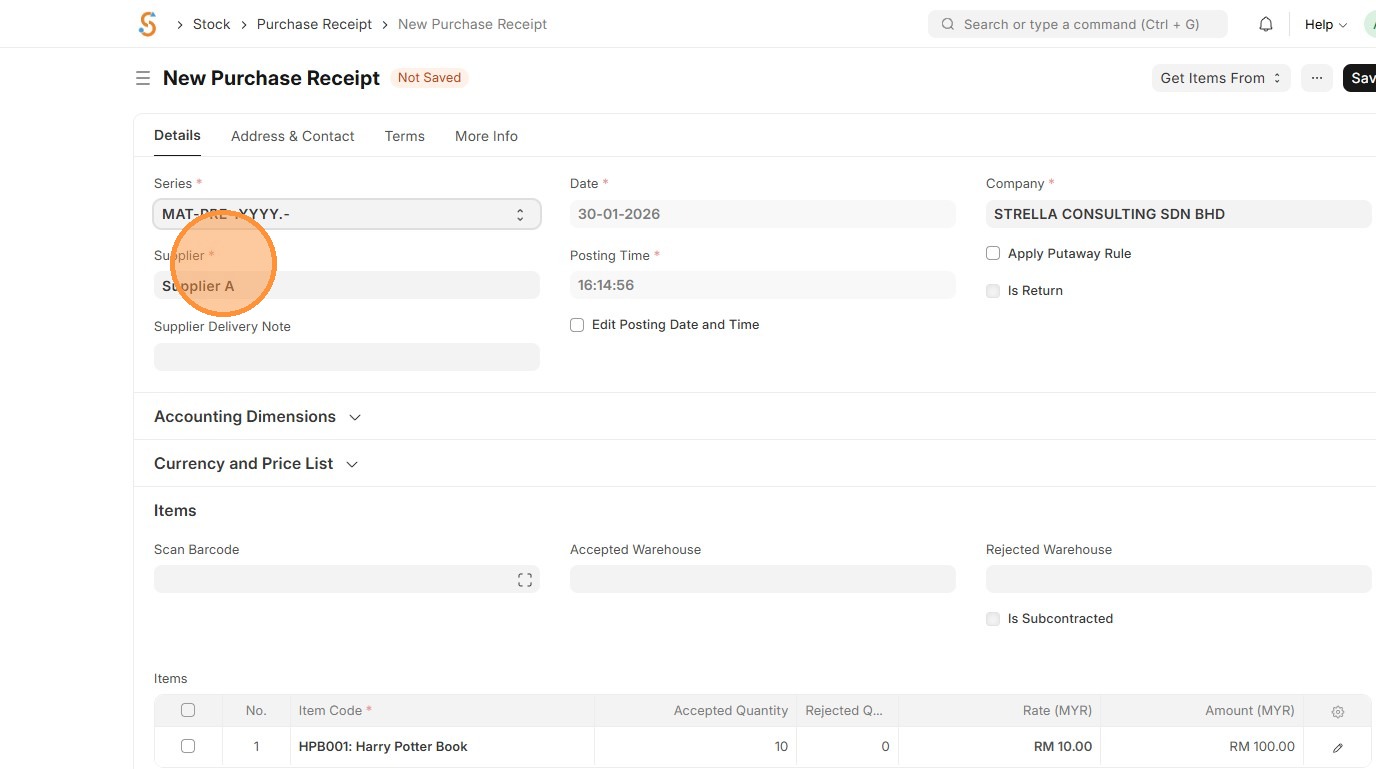
18. Verify "Supplier"
19. Verify "Tax Category" and "Purchase Taxes and Charges Template"
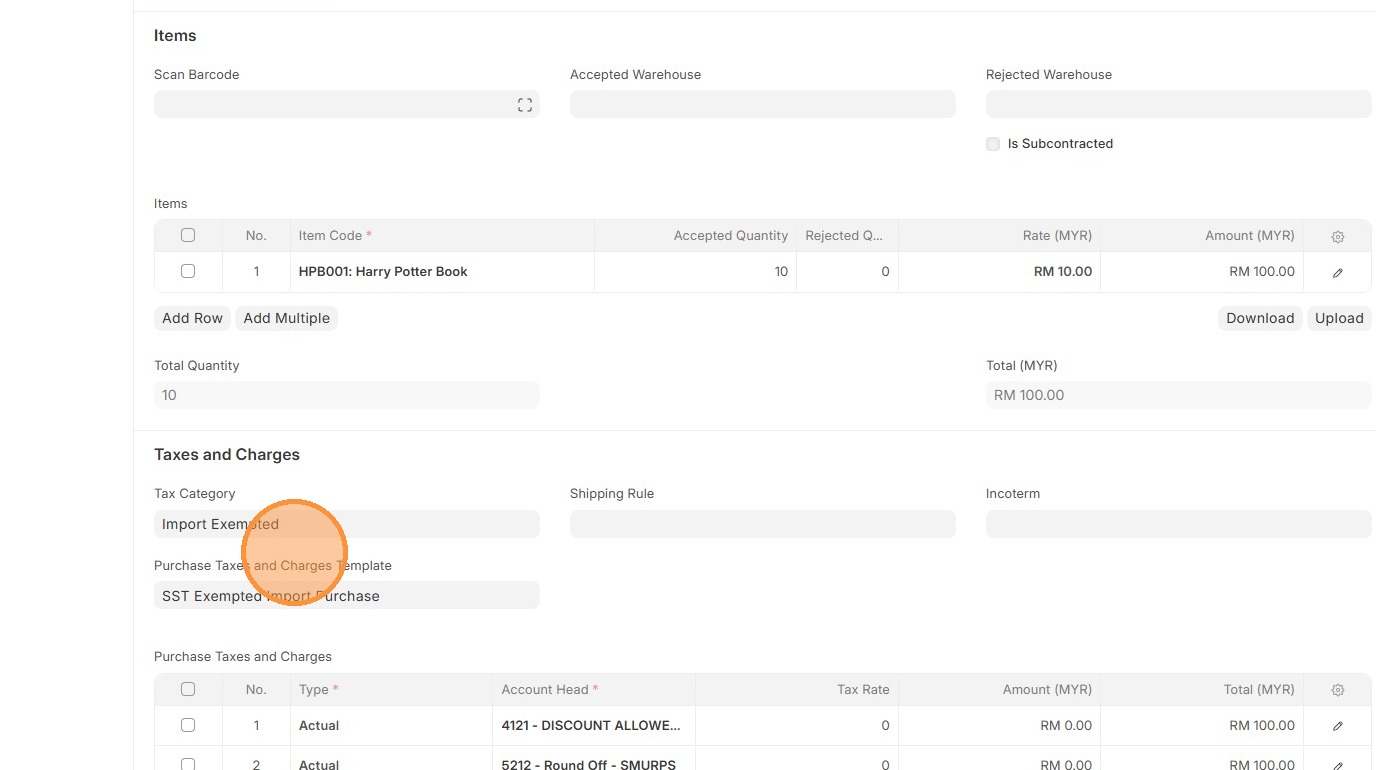
20. Verify "Purchase Taxes and Charges" table matches the Purchase Order.
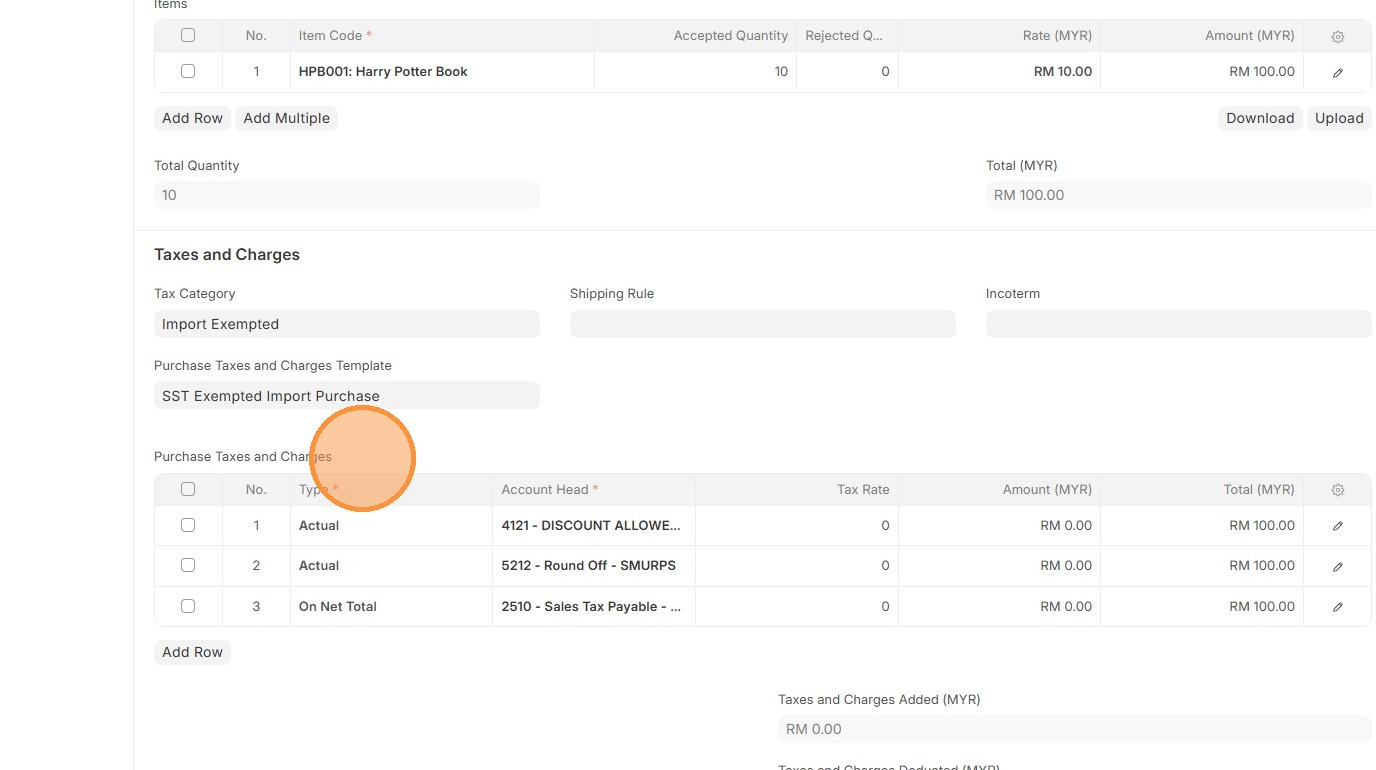
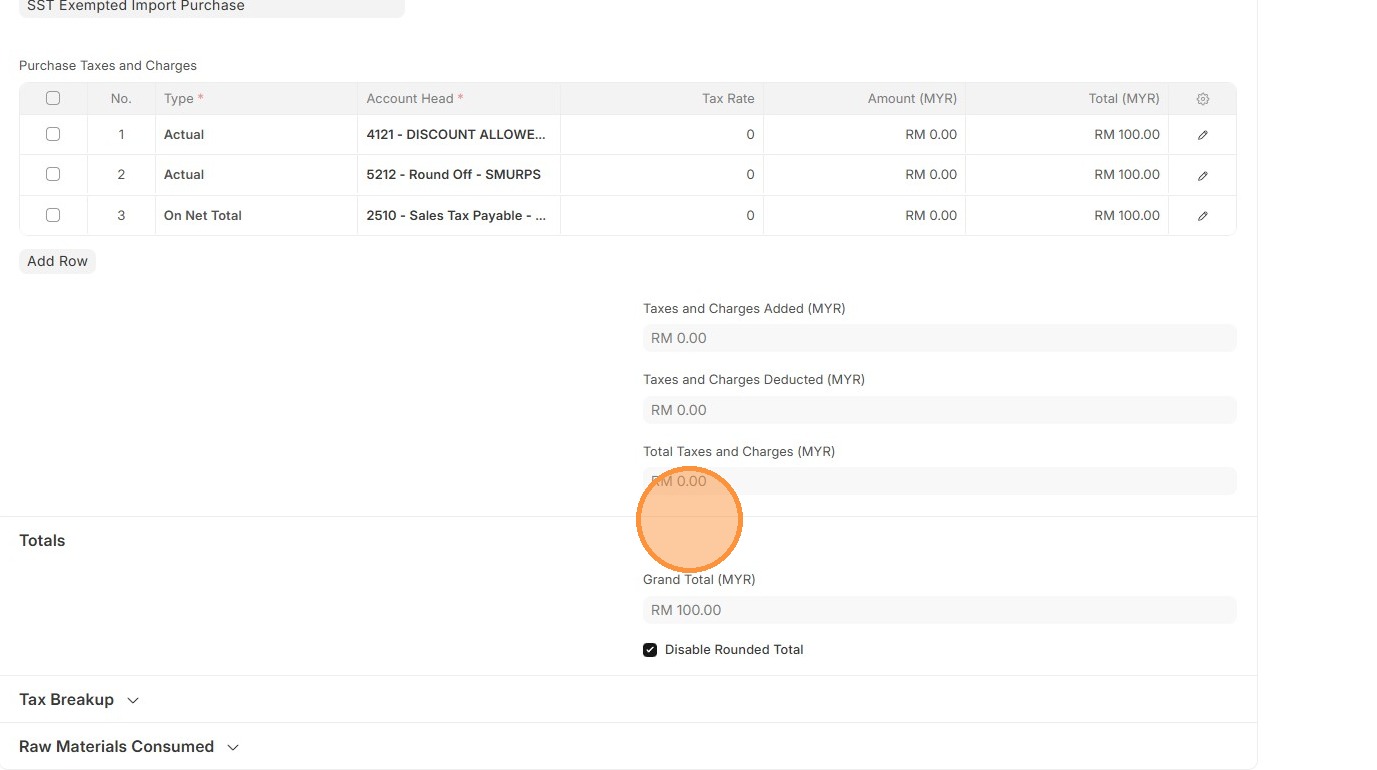
21. Verify that "Total Taxes and Charges (MYR)" and "Grand Total" in Purchase Receipt matches the Purchase Order.
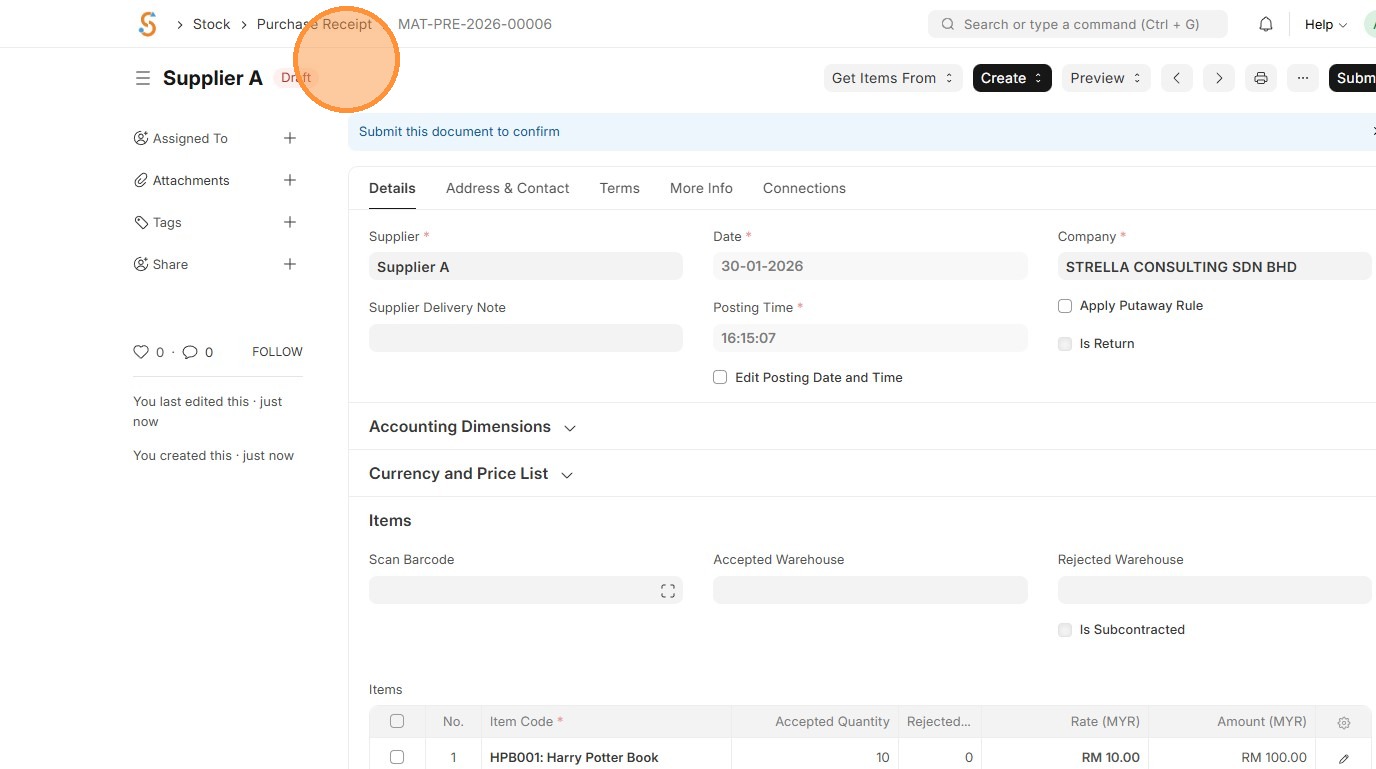
22. Click "Save"
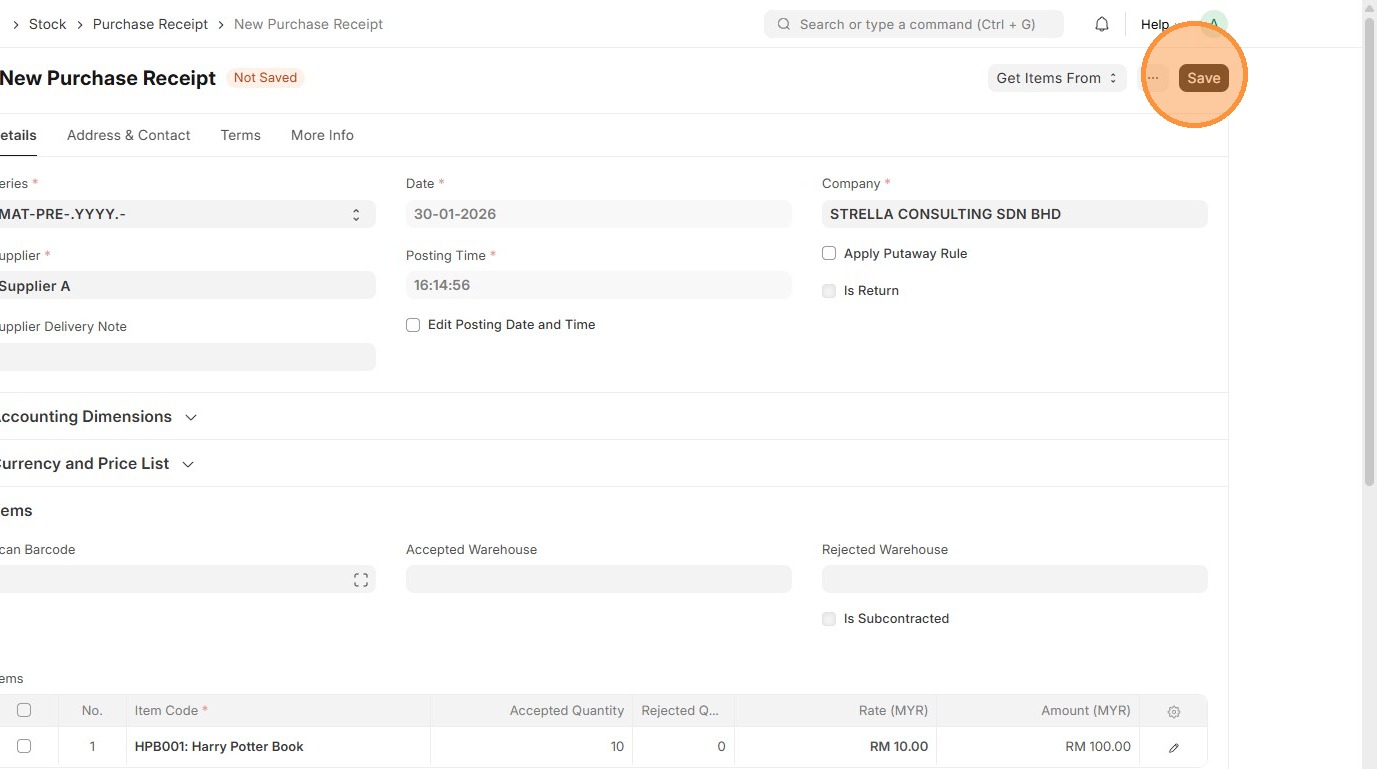
23. Verify Purchase Receipt ID is created
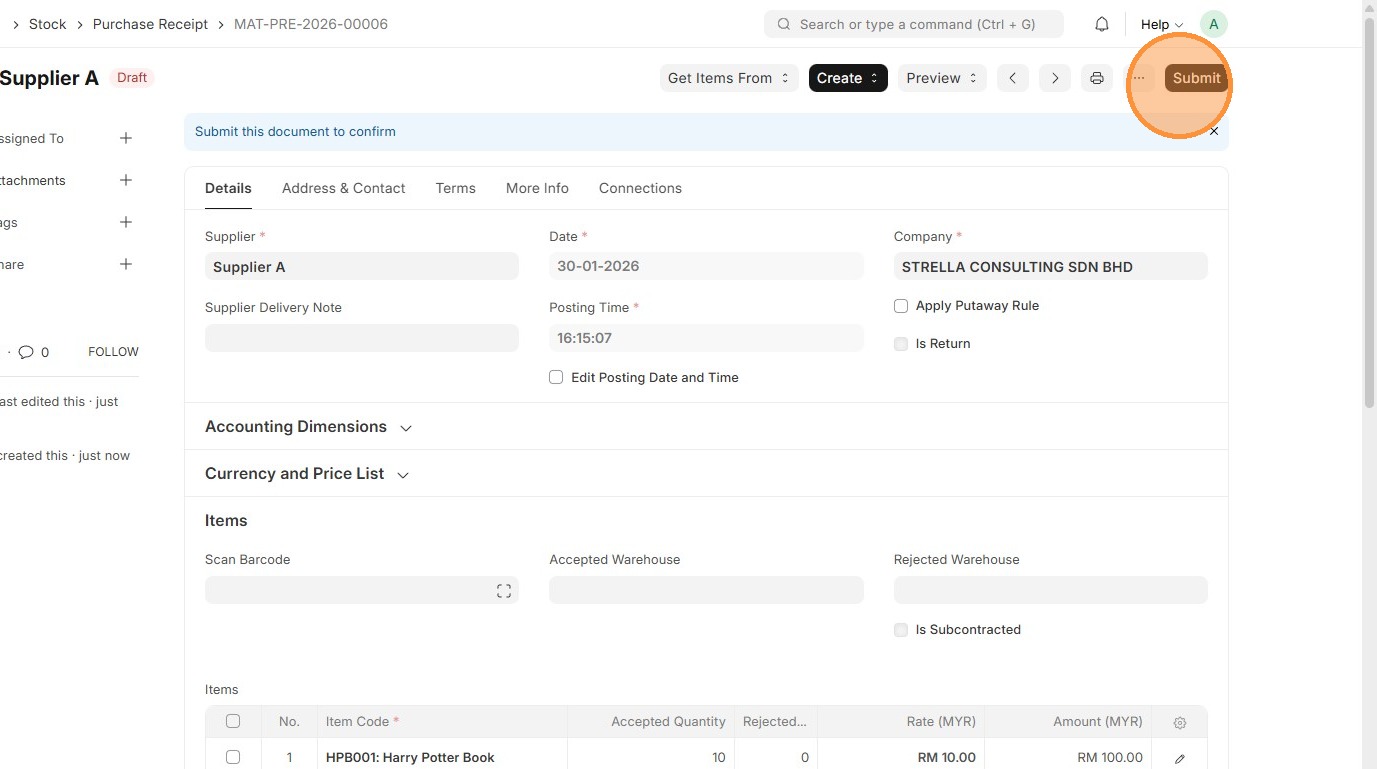
24. Click "Submit"
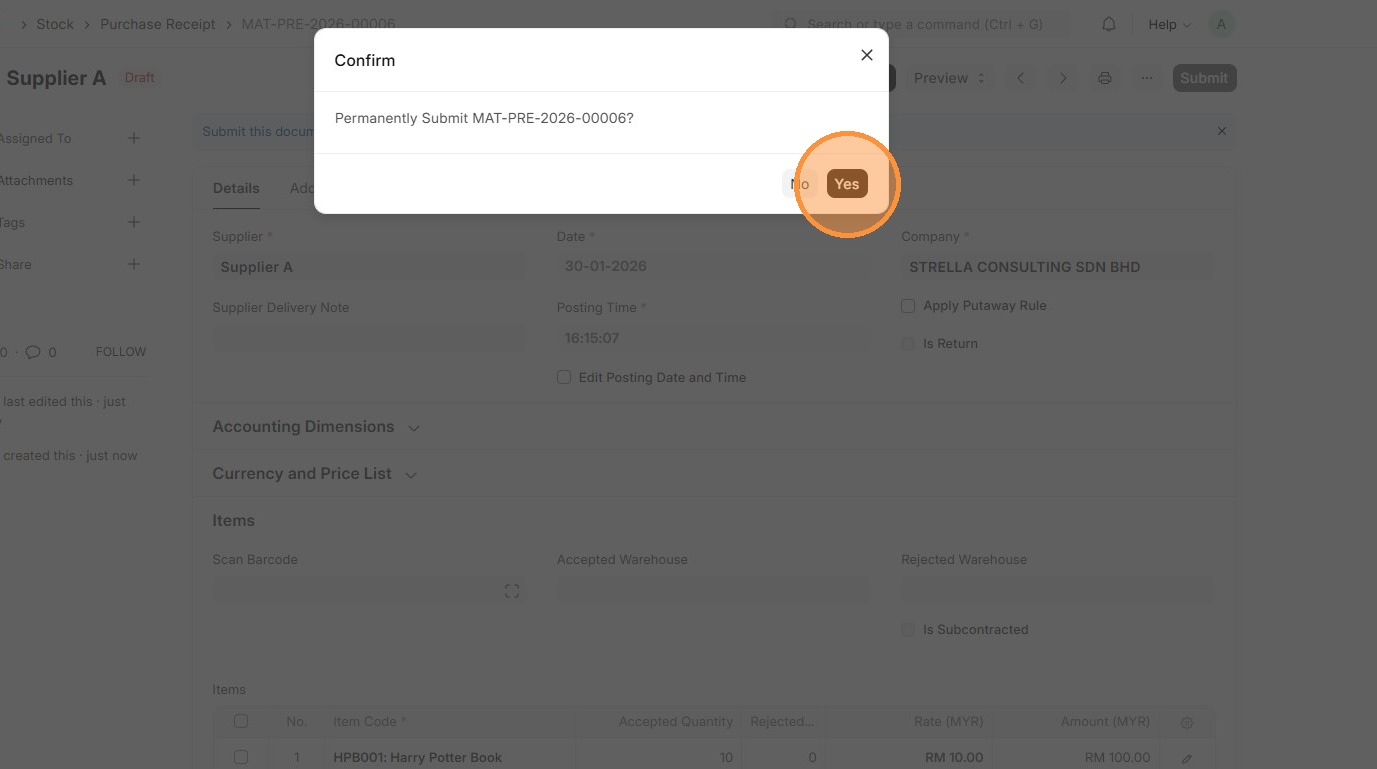
25. Click "Yes"
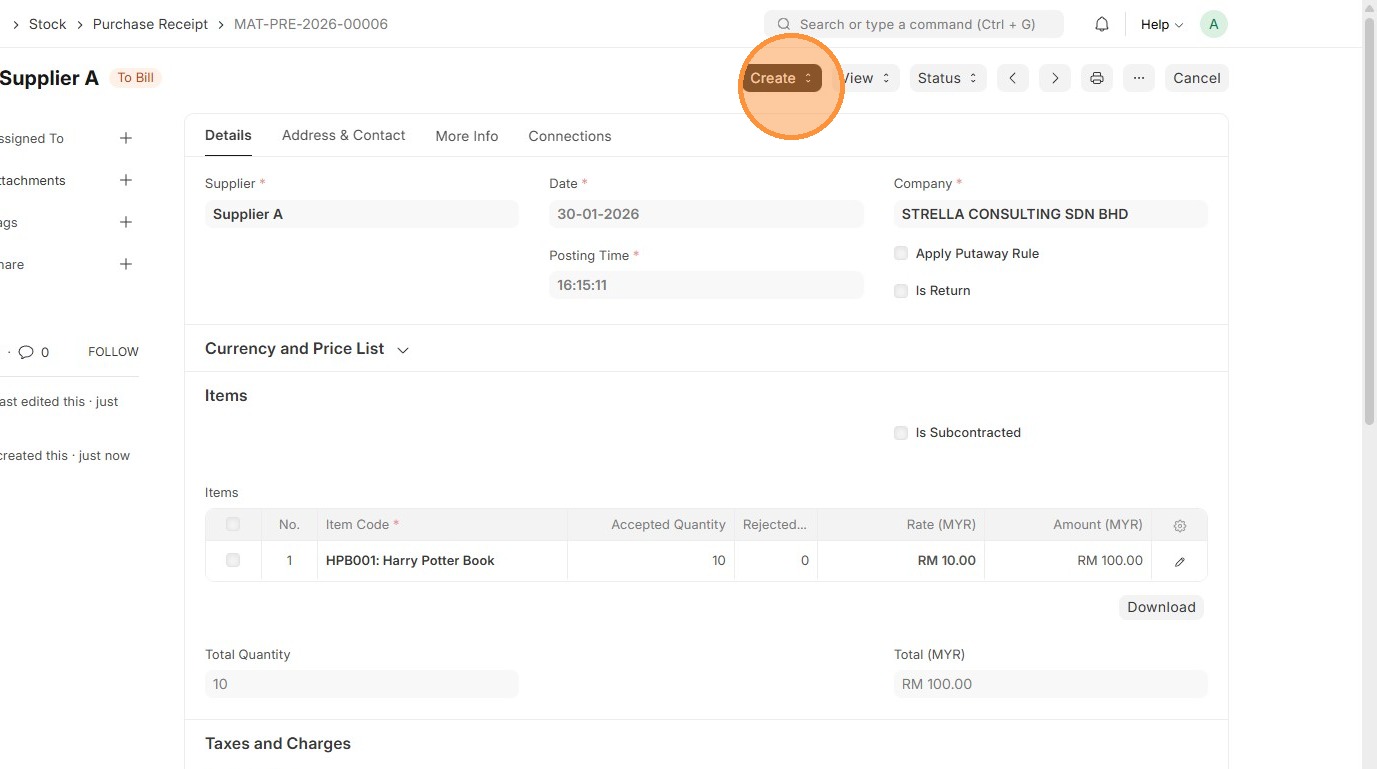
26. Click "Create"
27. Click "Purchase Invoice"
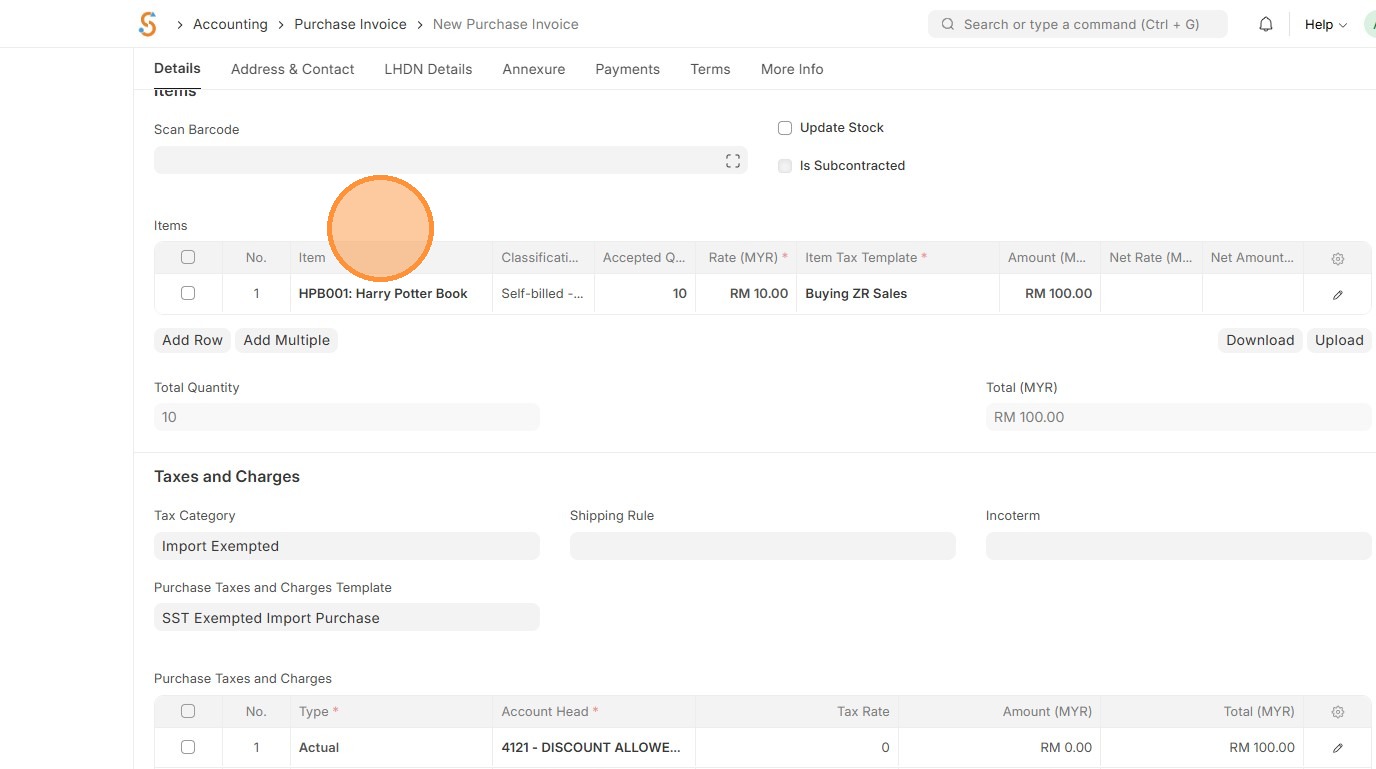
28. Verify "Supplier"
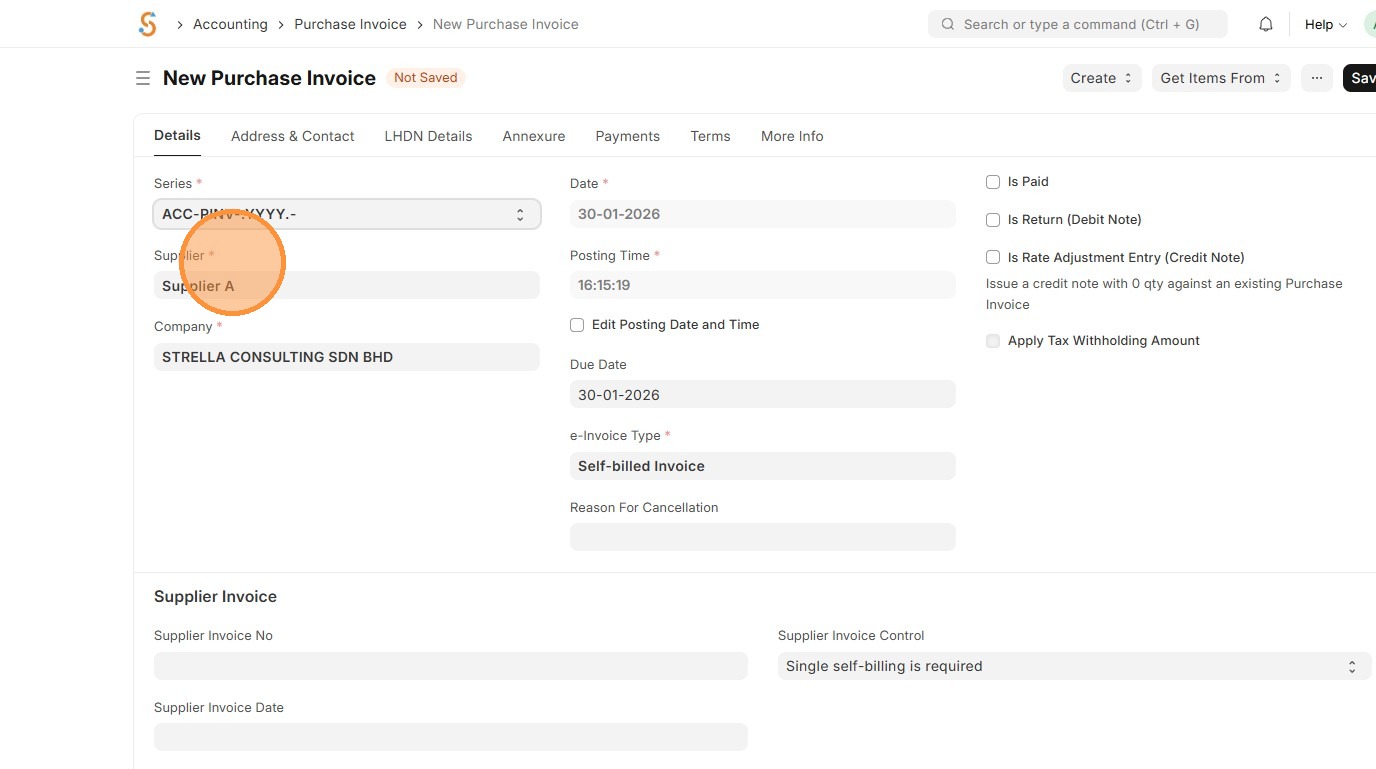
29. Verify that "Tax Category" and "Sales Taxes and Charges" matches Purchase Order.
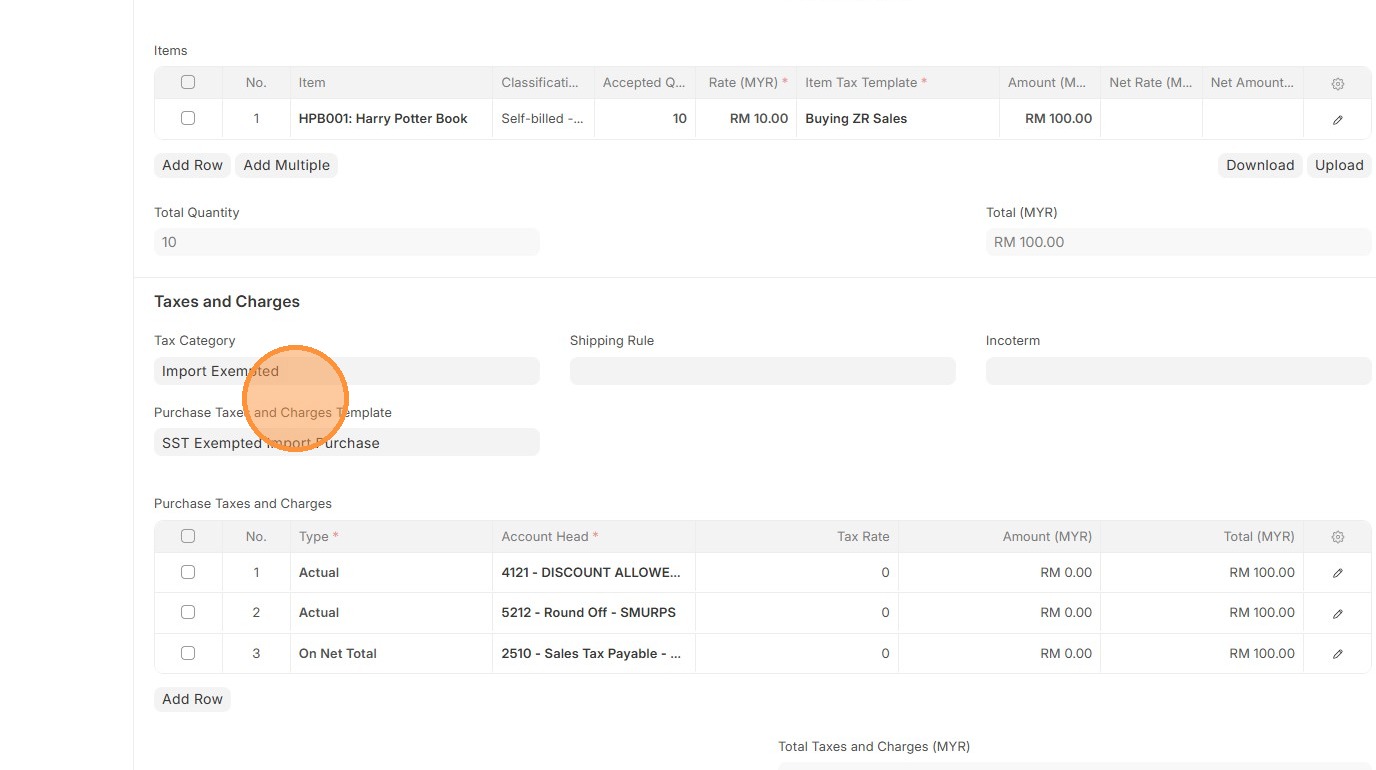
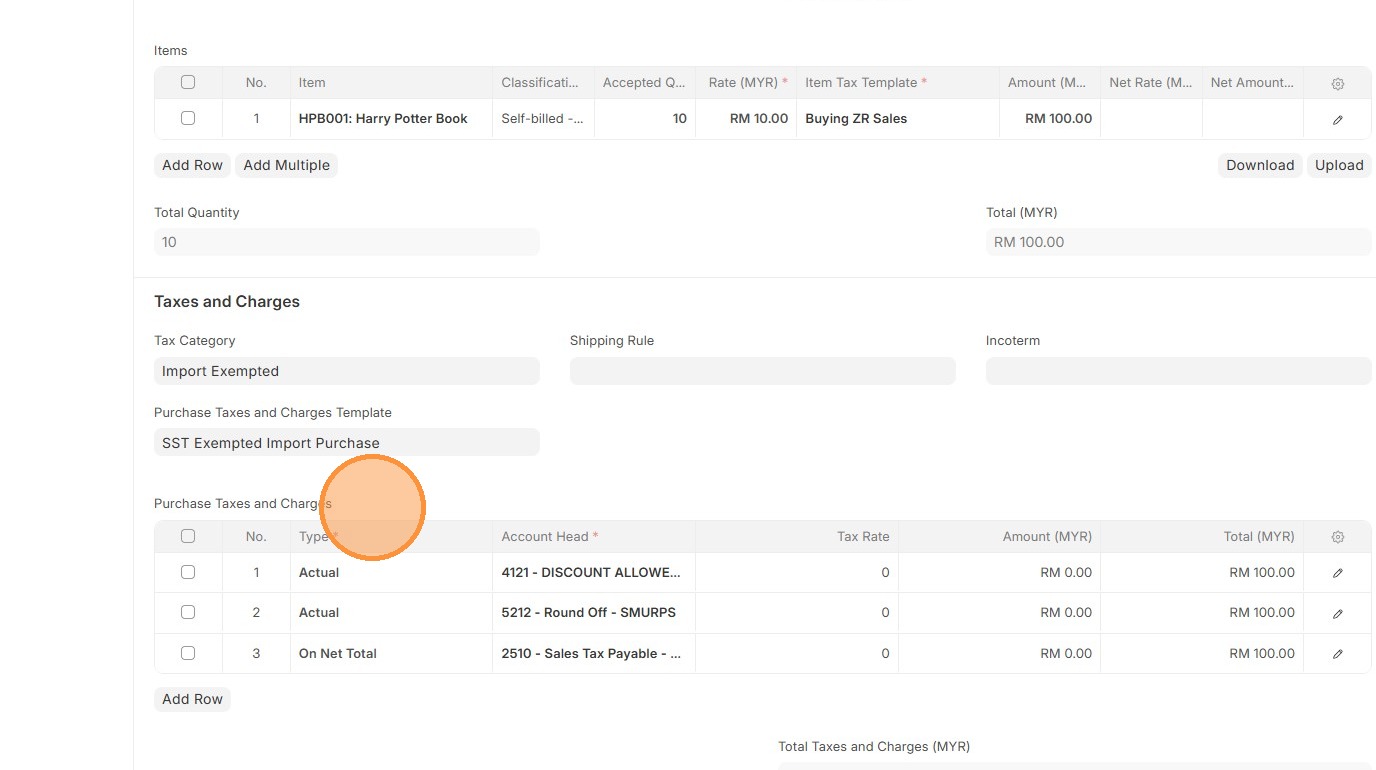
30. Verify that "Purchase Taxes and Charges" table matches the one in Purchase Order.
31. Verify Item Code
32. Click edit.
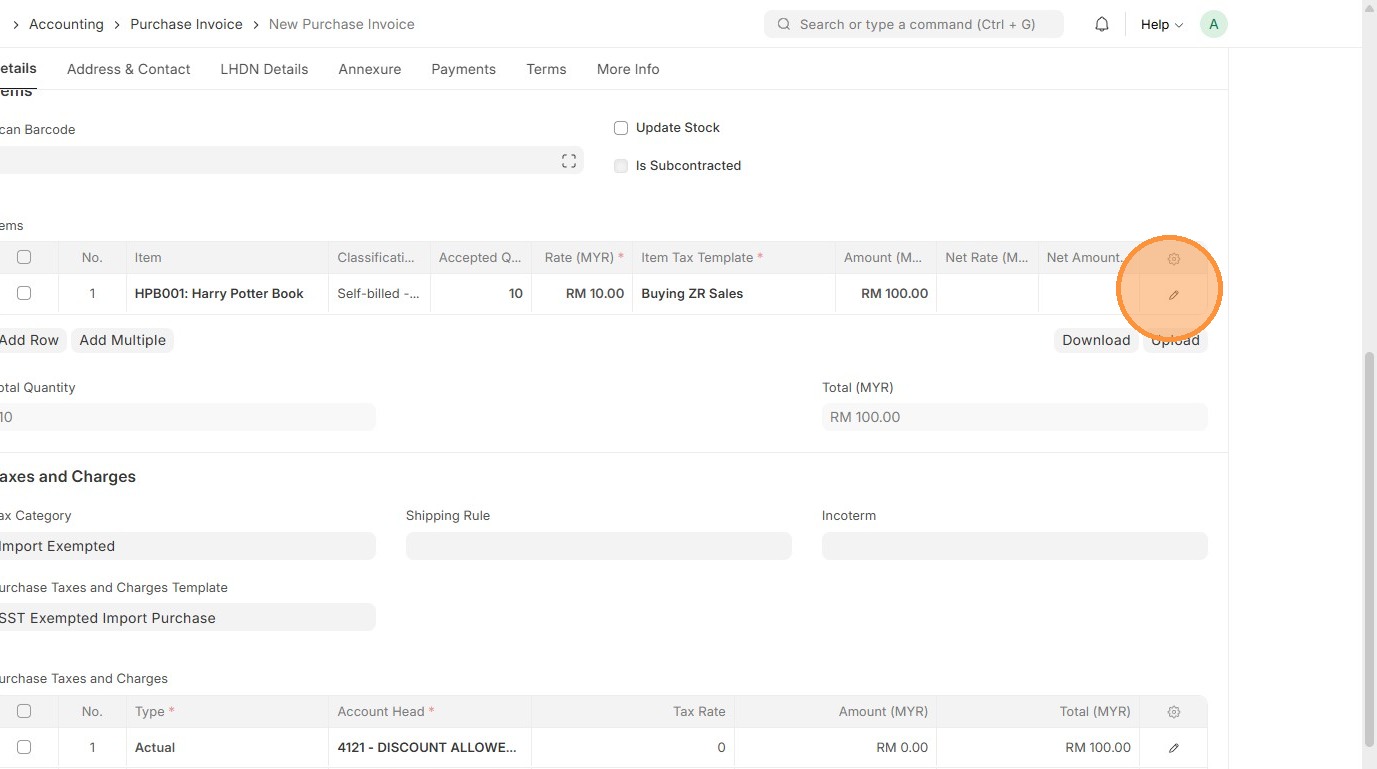
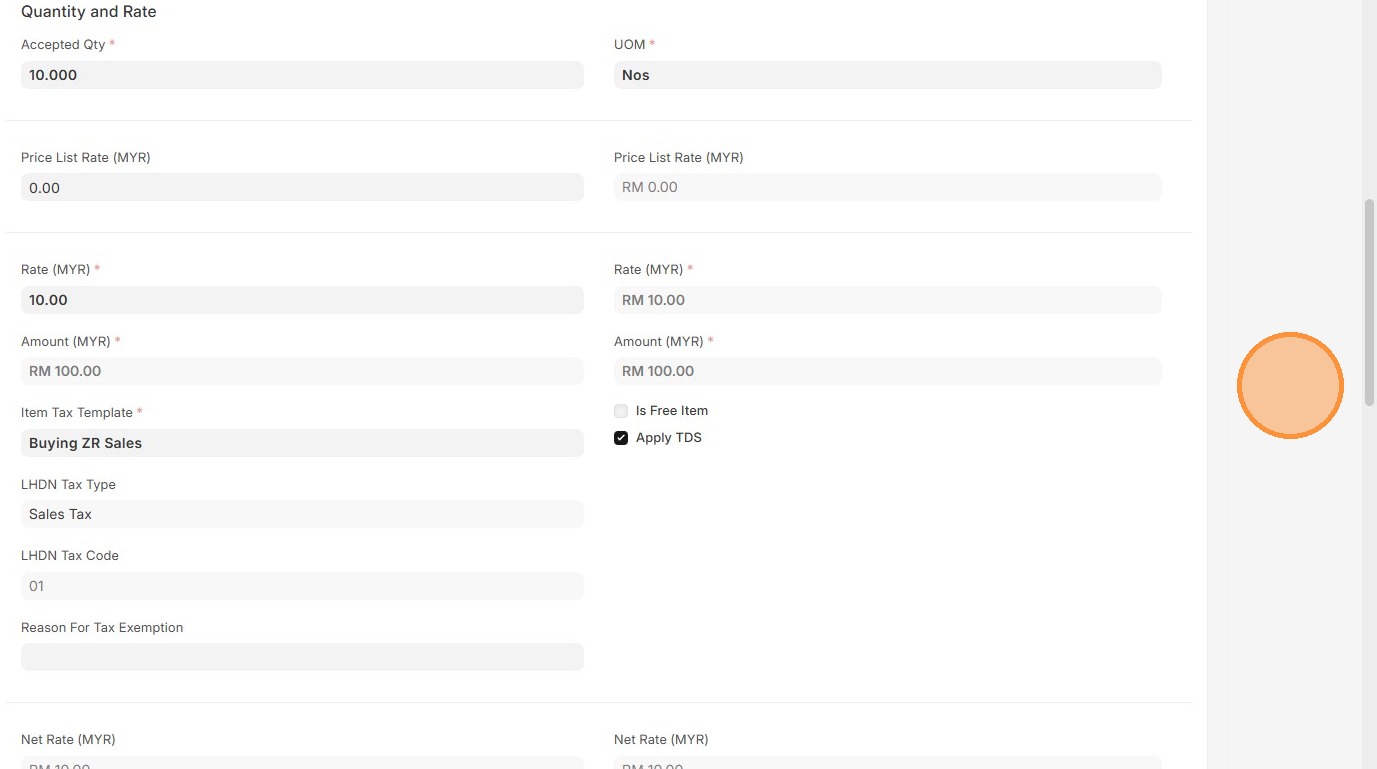
33. Verify "Item Tax Template"
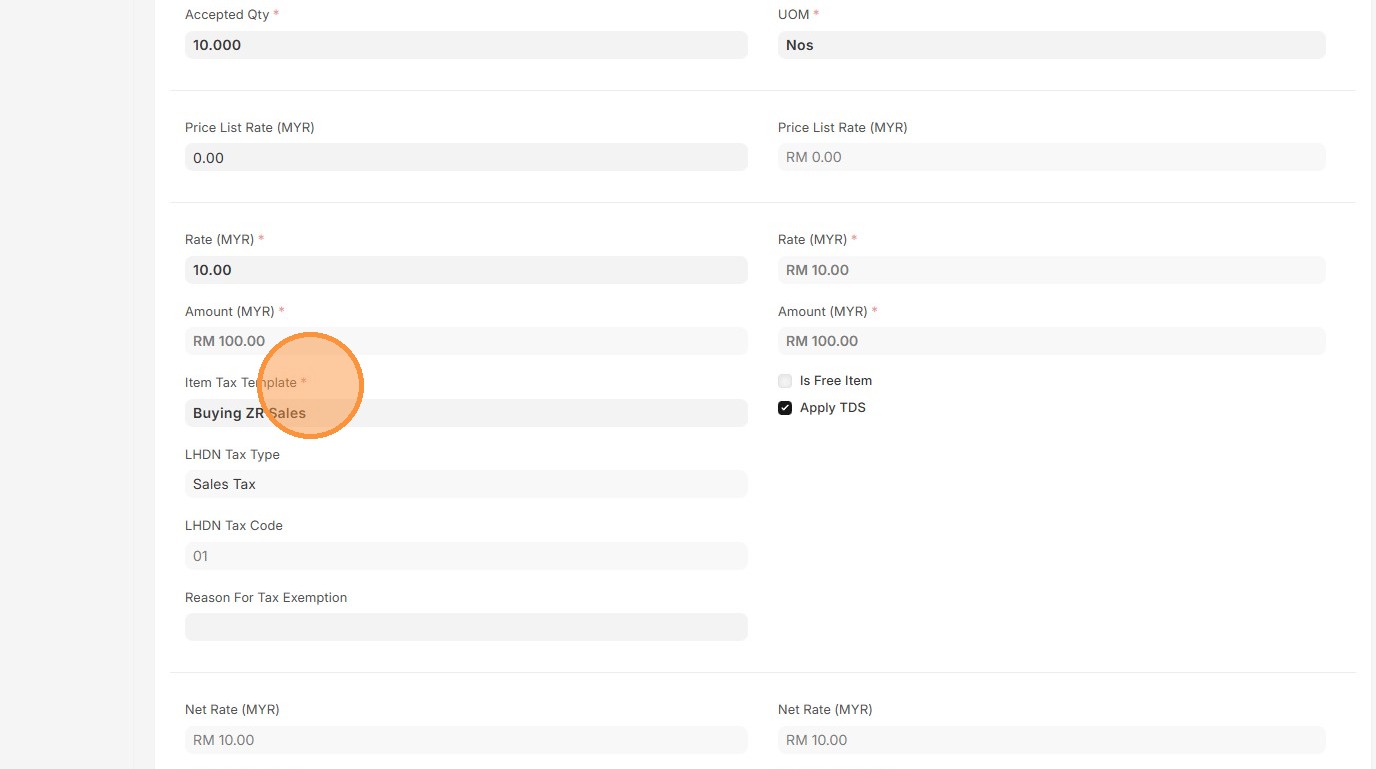
34. Click here to close pop up.
35. Verify "Total Taxes and Charges (MYR)" and "Grand Total (MYR)"
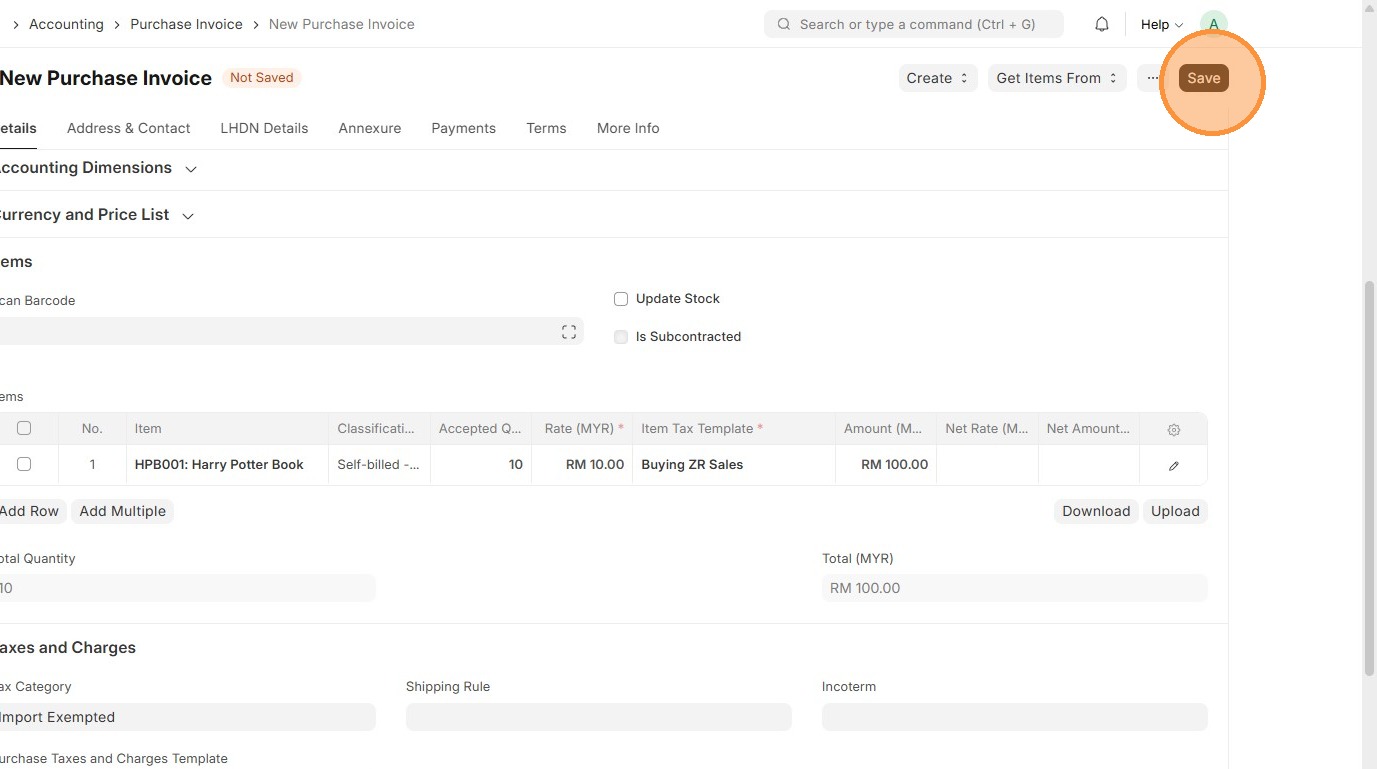
36. Click "Save"
37. Verify that Purchase Invoice ID is created.

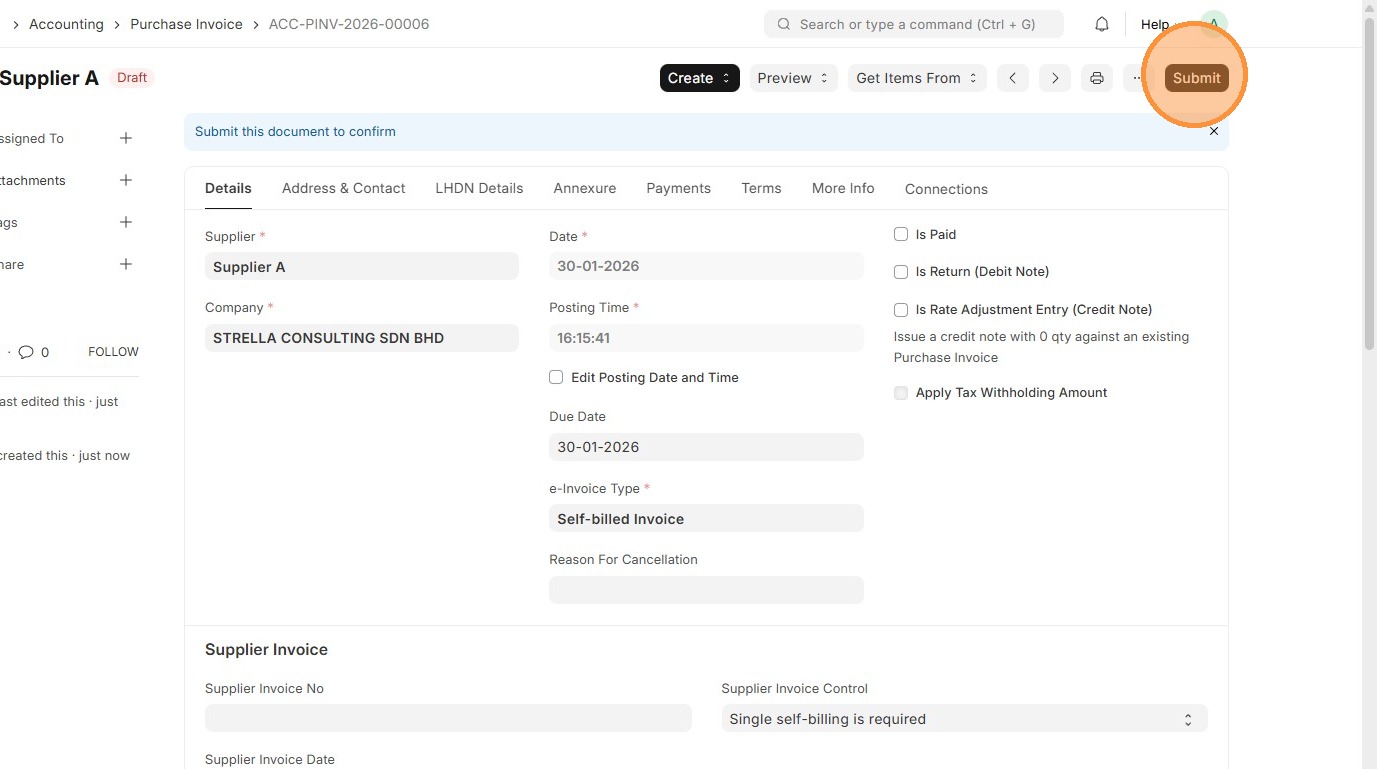
38. Click "Submit"
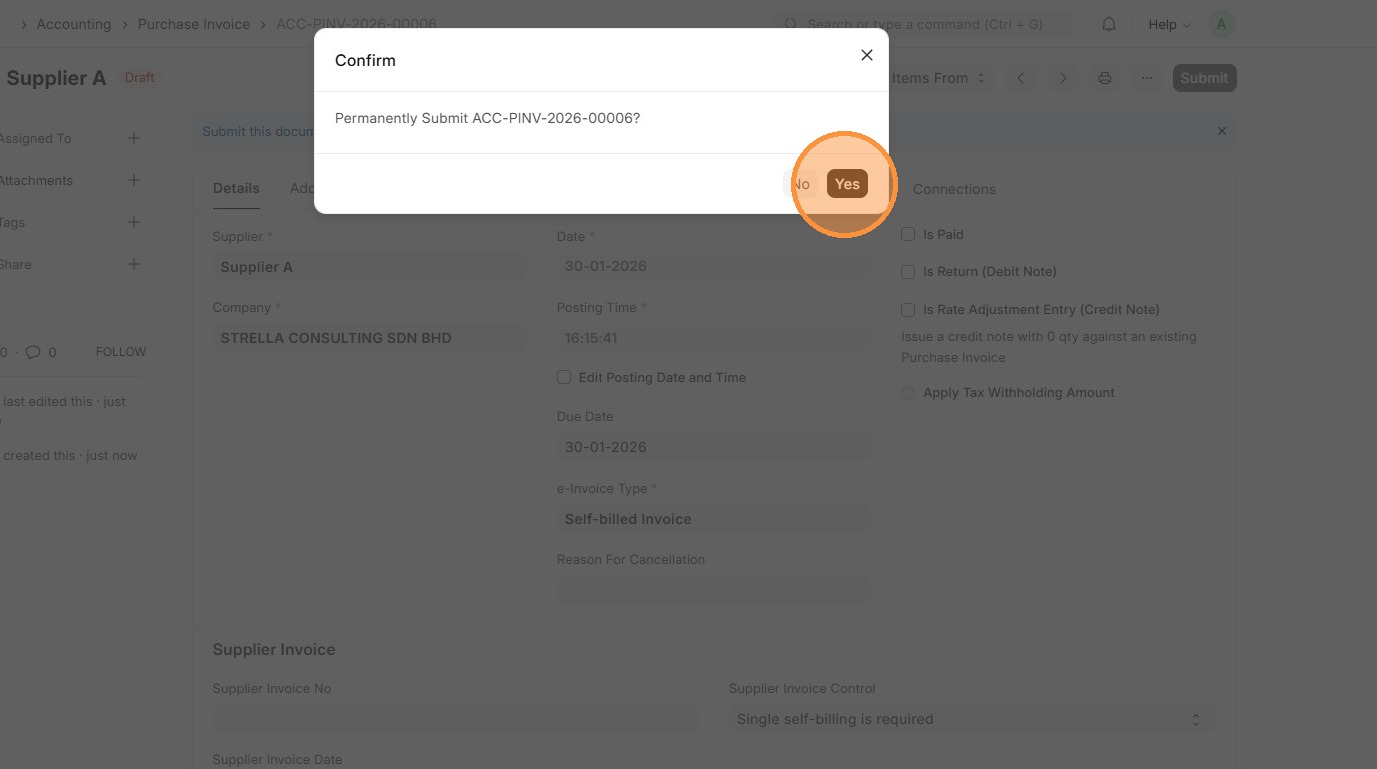
39. Click "Yes"
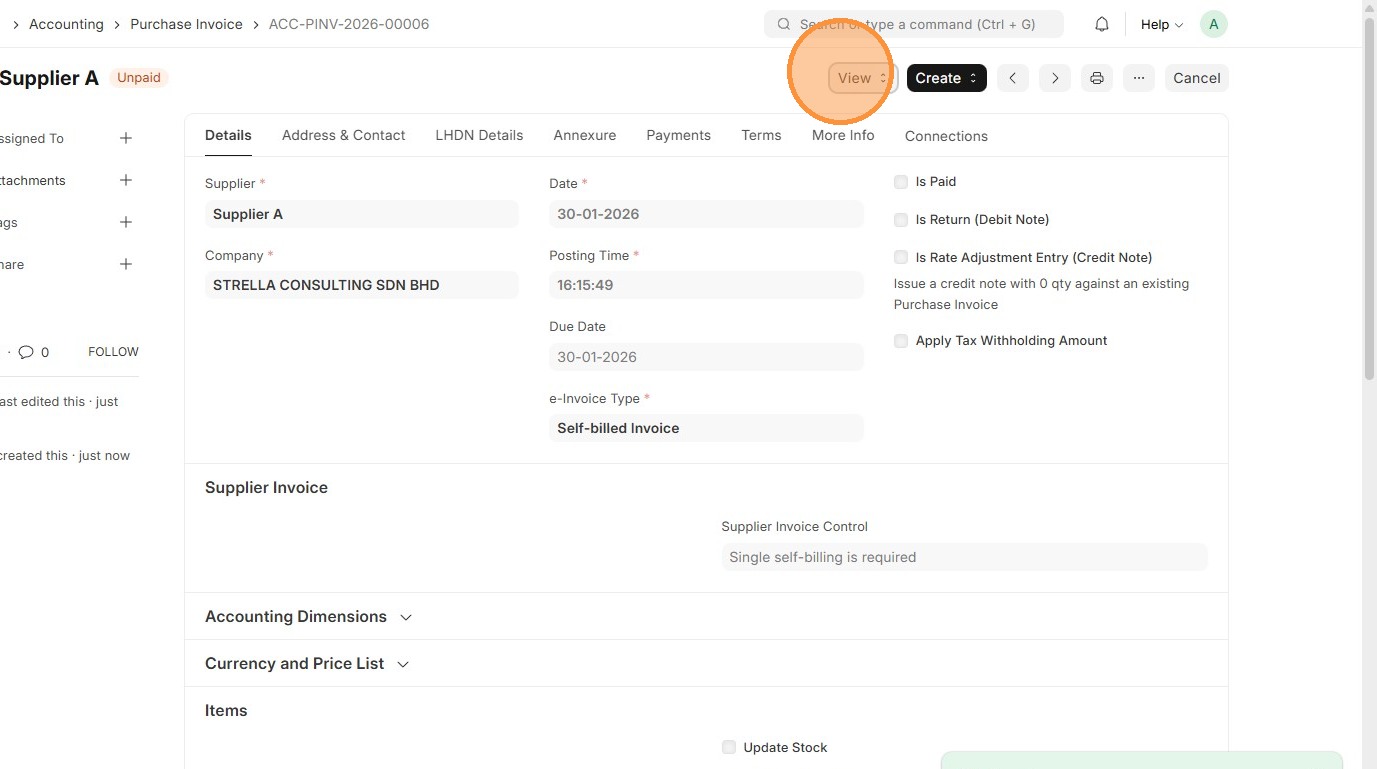
40. Verify Purchase Invoice status updates to "Unpaid"

41. Click "View"
42. Click "Accounting Ledger"
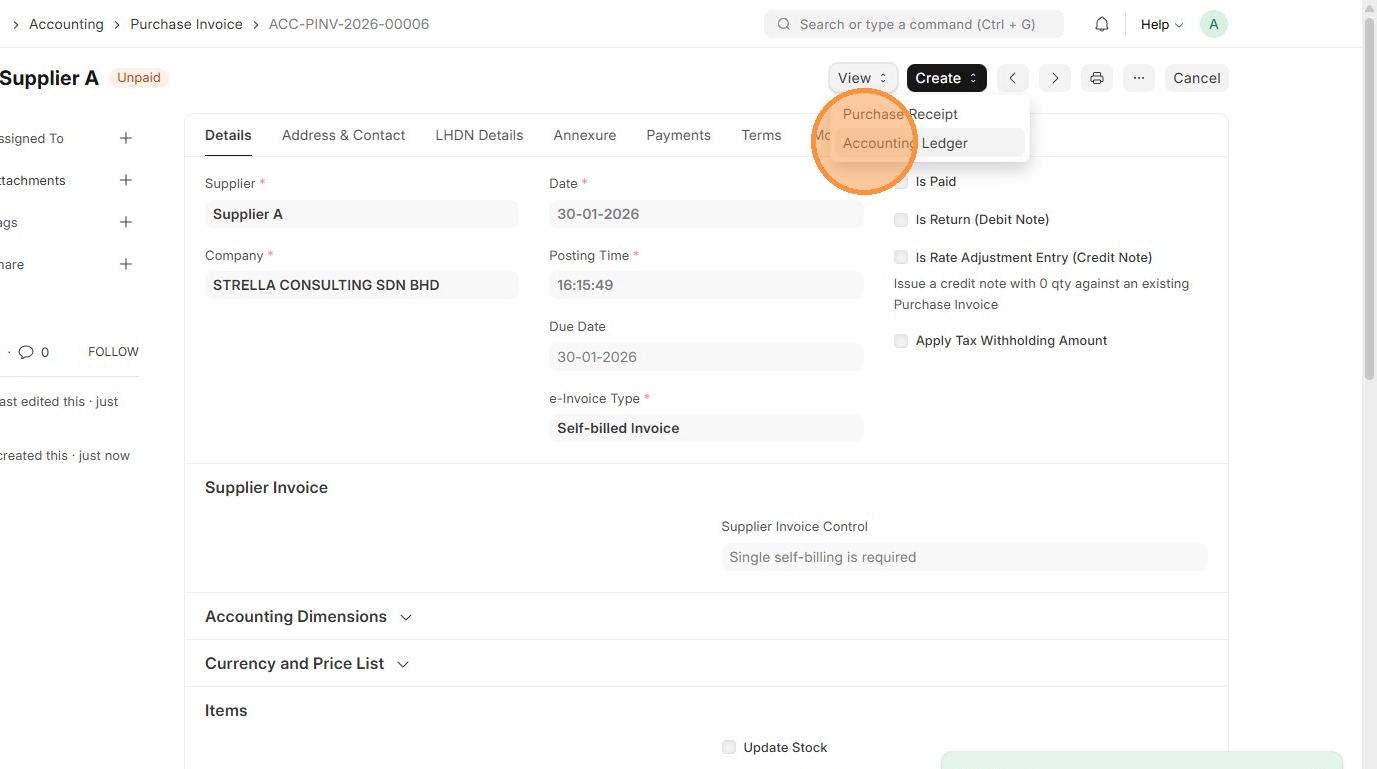
43. Verify General Ledger for transaction.