Cancelling and Amending Stock Entries
ToThis issuesguide out customer provided goods out of Trooper's Warehouse,shows you may do so via the Stock Entry function in SMURPS. Stock Entry Material Issue allows youhow to issue out stock from the system's warehouse. You may also keep track of which Project and Customer it is being issued out to.
Prerequisites: Before creatingcancel a Stock Entry transaction, ensurein the Item,system. Warehouse,Cancellation Project,of CustomerStock and EmployeeEntries are created.
Createdue Newto errors in the submitted Stock Entry
document, i.e. wrong date, Employee or quantity was set
Document Path: Stock > Stock Transactions > Stock Entry
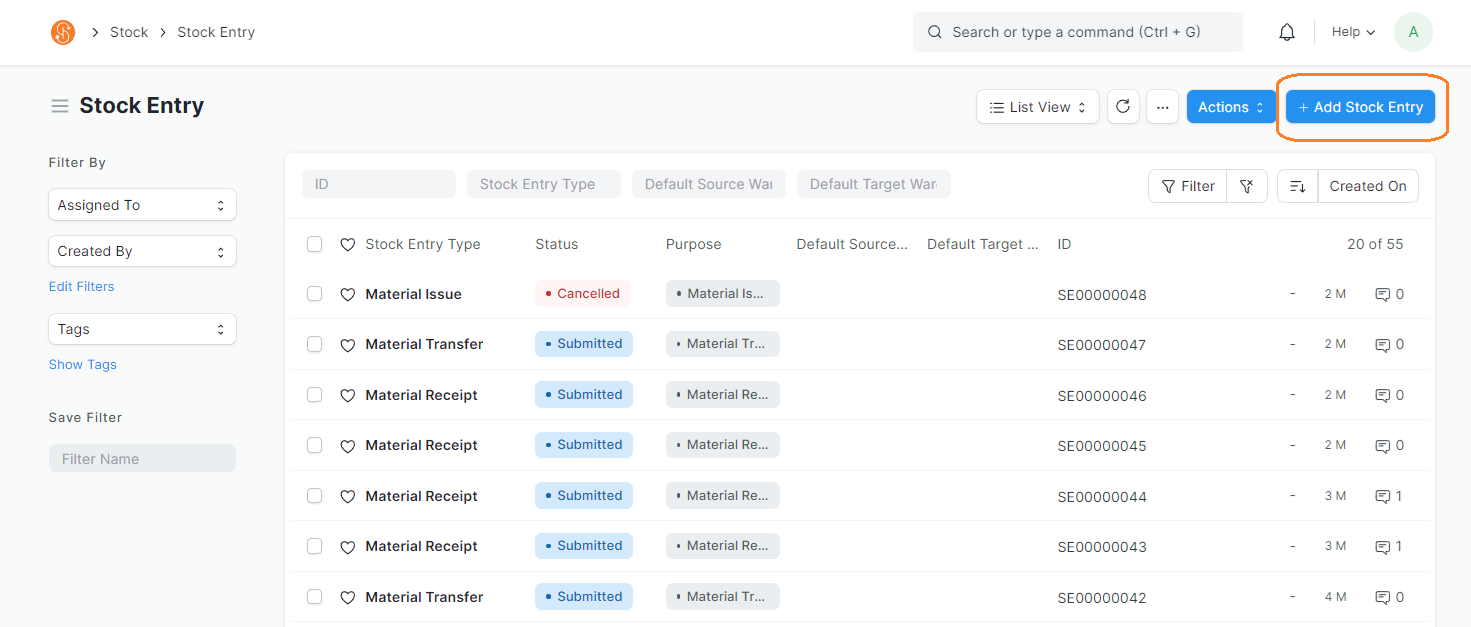
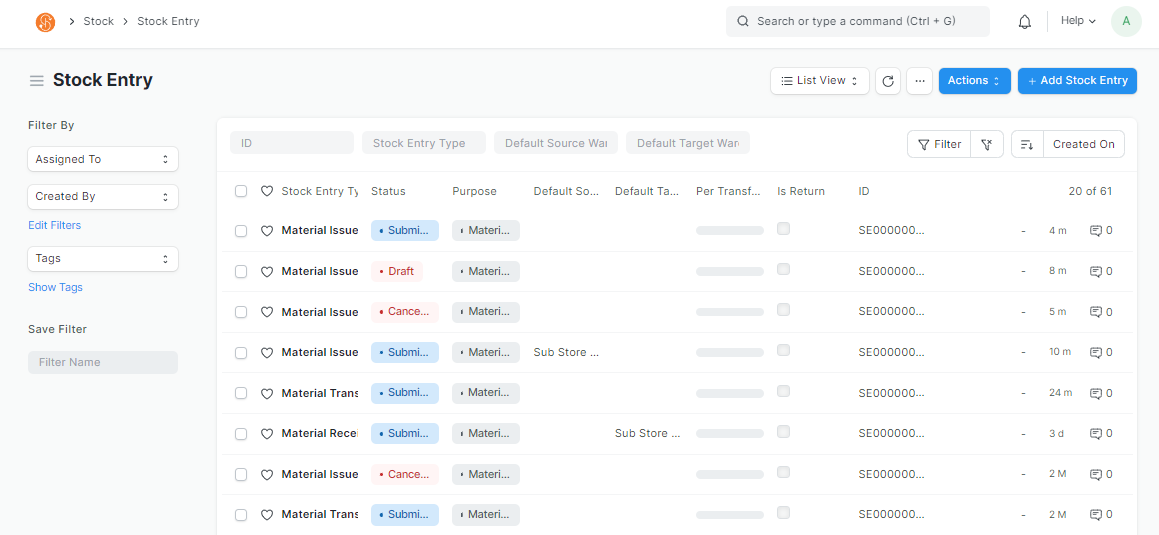
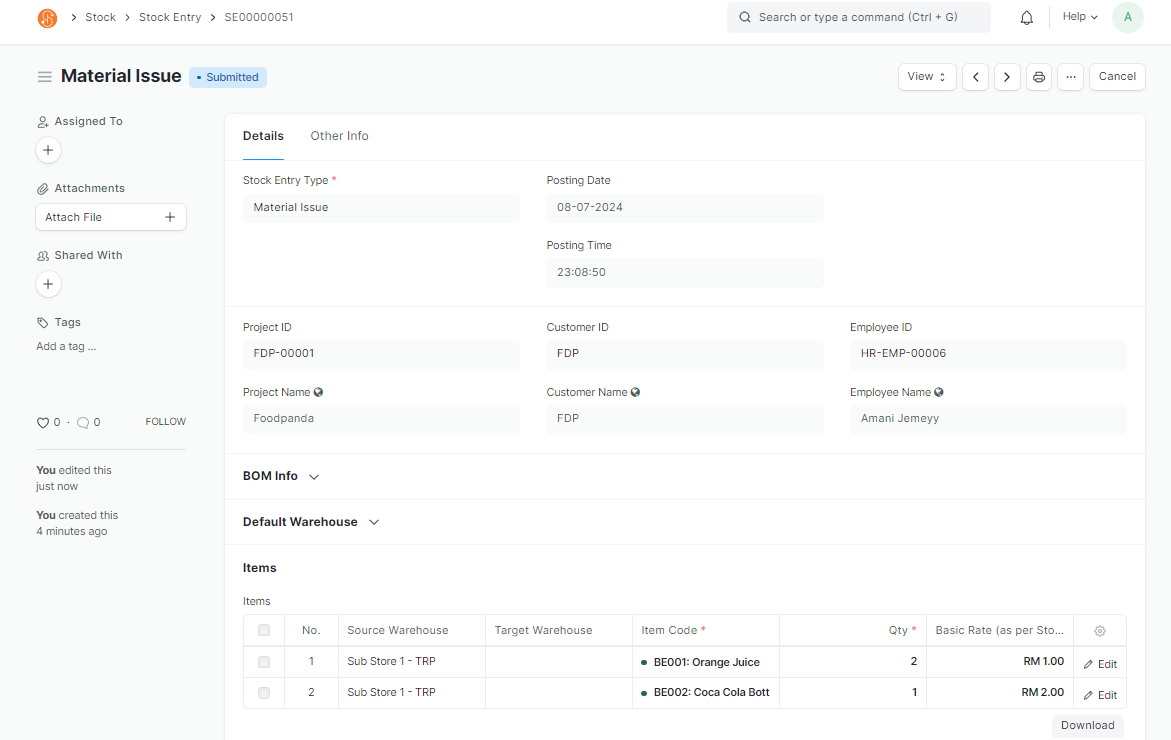
1. Go to Stock Entry List View and clickselect Addthe Submitted Stock Entry that needs to be cancelled. Do note that only Submitted Stock Entries can be cancelled
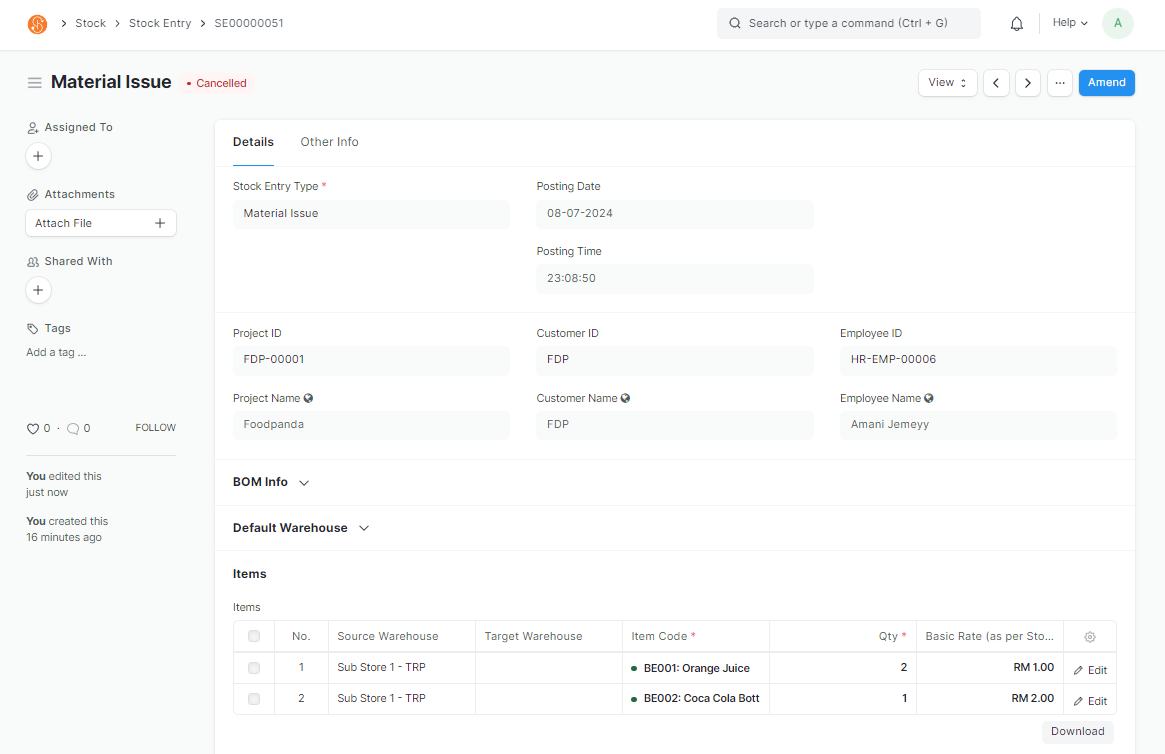
2. In the Stock Entry, chooseclick theon followingCancel
Note: Fields with a red asterisk indicates that it is Mandatory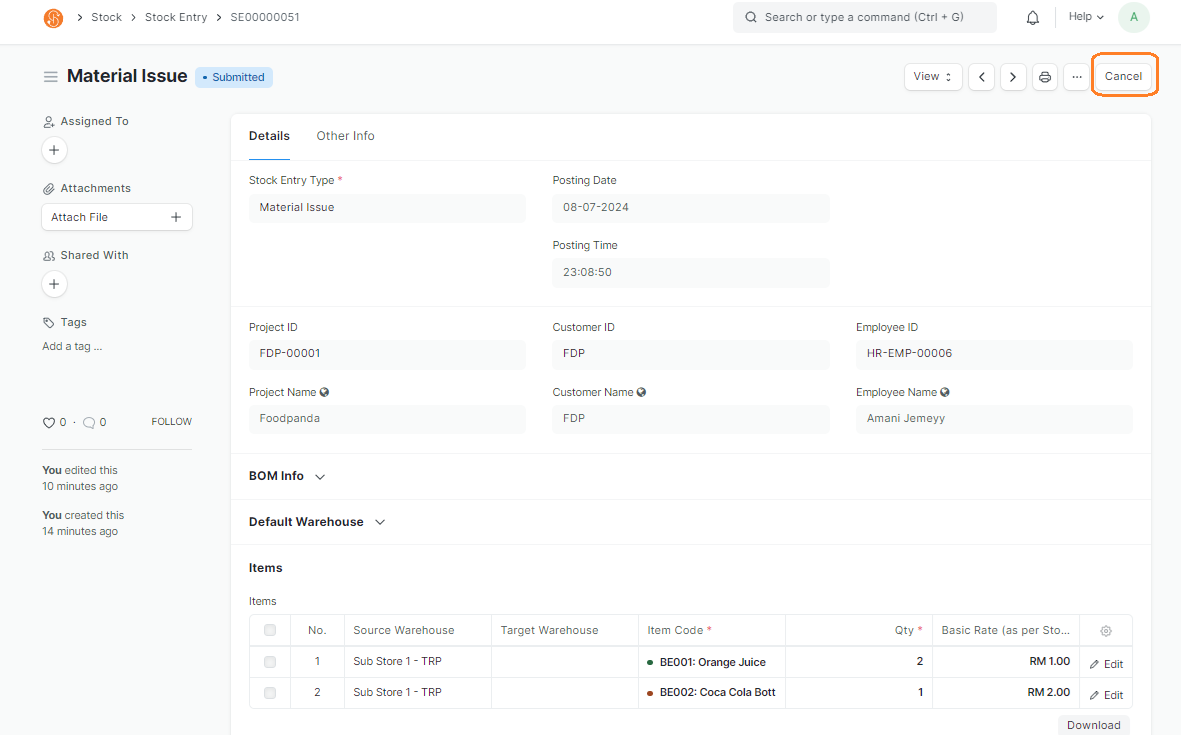
Series:OnceDefaultedCancelled,to SE.########- Stock Entry
Type:statusMaterialwillIssuechange- to
- Cancelled. The
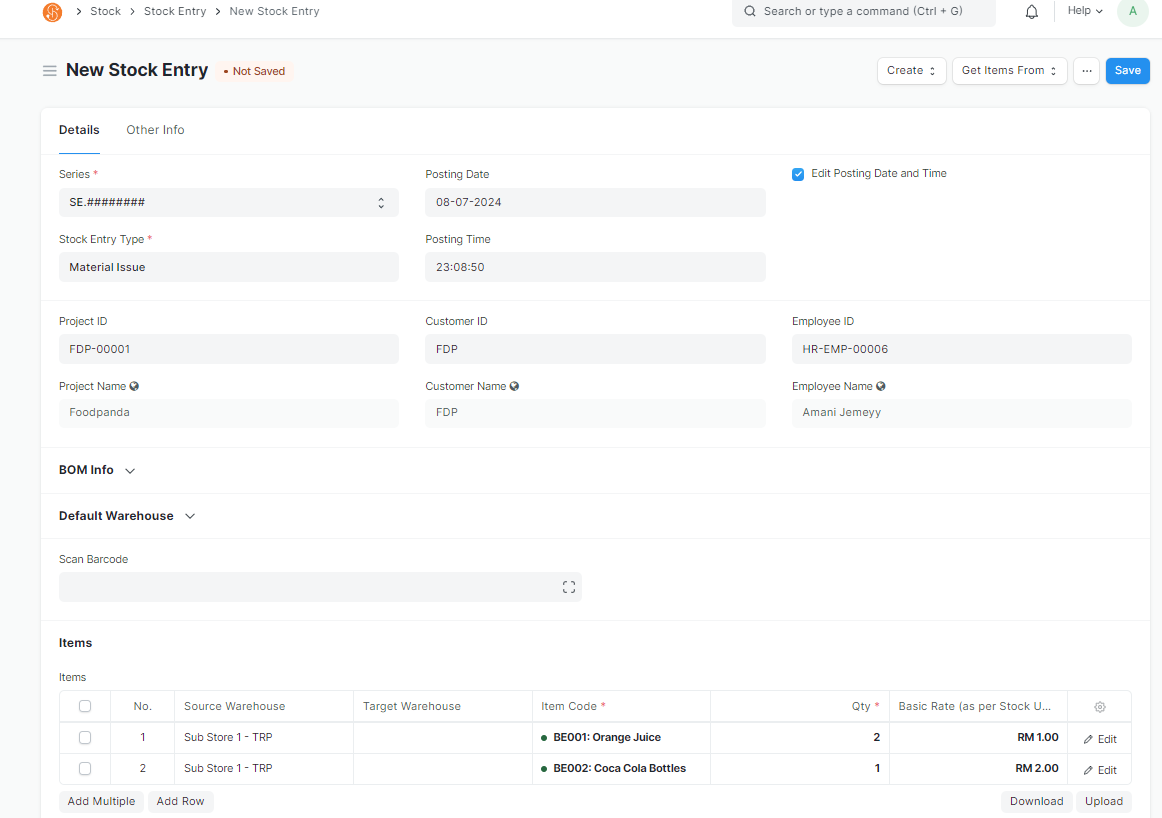
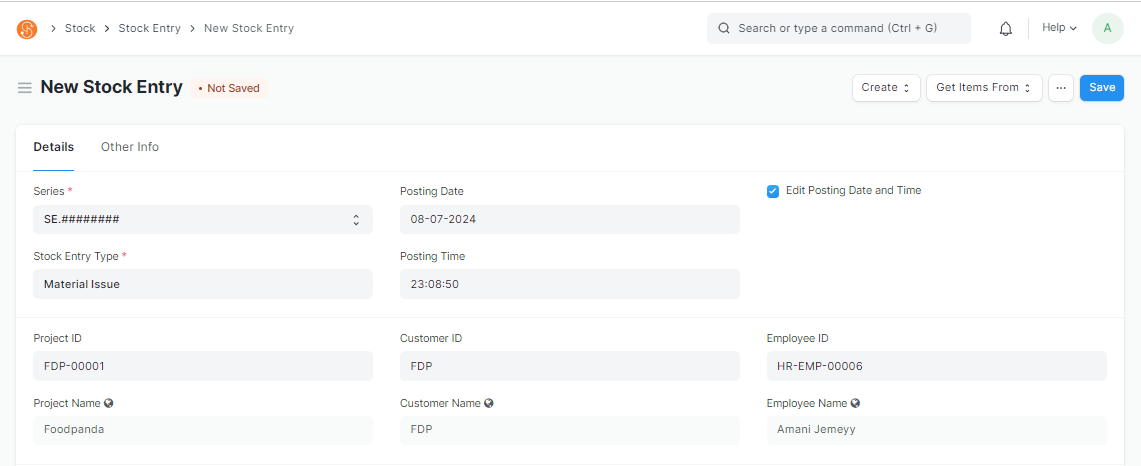
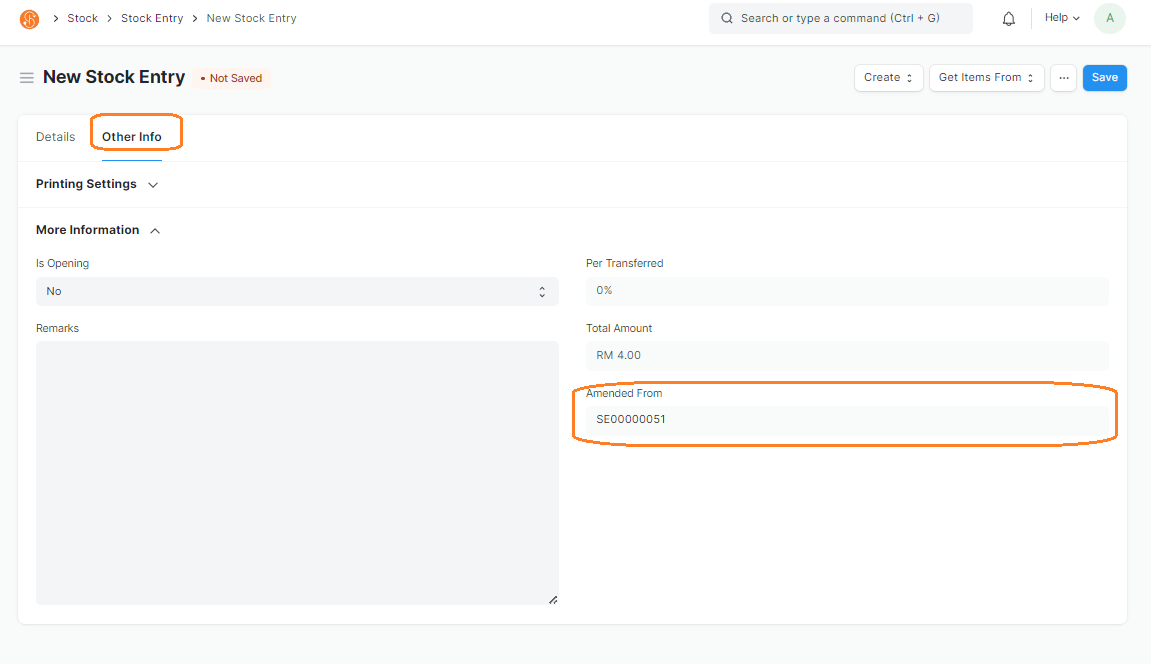
purposestockismovement will also be reverted in the system. For example iftheancustomerItemprovided goods are beingis issued out fromTrooper'saWarehouse.warehouse,TheuponItemscancel the stock of that item will increase accordingly. Upon cancellation, the Amend will also appear, allowing users to amend if needed.4. To amend a cancelled Stock Entry, click on Amend. This will navigate you to a new screen to adjust the Stock Entry. In the screen, information from the cancelled Stock Entry will be
issuedcopiedout from the Warehouse set under Source Warehouse field
- Cancelled. The
Posting Date: Setover tocurrentadateNew PostingStockTime:EntryEdit Posting Date and Time: To edit the Posting Date and Time, tick this checkboxProject ID: Select Project goods are being issued out forThisTheissystemoptional
Customer ID: Select Customer goods are being issued out forThis is optional
Employee ID: Select Employee ID that is in charge of issuing outlinks thegoodsnew- Stock
ThisEntryiswithoptionalthe
3.
Default Source Warehouse: If all Items are being issued out from the same Warehouse (Storage Location), you may use the Default Source Warehouse field. When selecting this, it will auto-select the Source Warehouse in the Items table. If Items are issued out fromdifferentWarehouses, you may select them in the Source Warehouse in the Item table
Scan Barcode: You may select the Items to be brought in, by Scanning The Item Code QR Code
Note: Item's Item Code must be maintained in the Item's Barcode field
Item Code: Items that are issued out can be selected in the Item Code field in the Items tableQty: Enter the quantity received. If Items are scanned via Scan Barcode, the Qty will adjust accordingly as per the no. of scans. However, the Qty can be adjusted manually as wellAdd Row: To add more line items in the Items table.
To delete rows, check the checkbox on the left and aDeletebutton will appear. Click on the button to delete the row
Remarks: You have an option of adding in Remarks in the Stock Entry as well. Go to theOther InfoTab to find the Remarks field
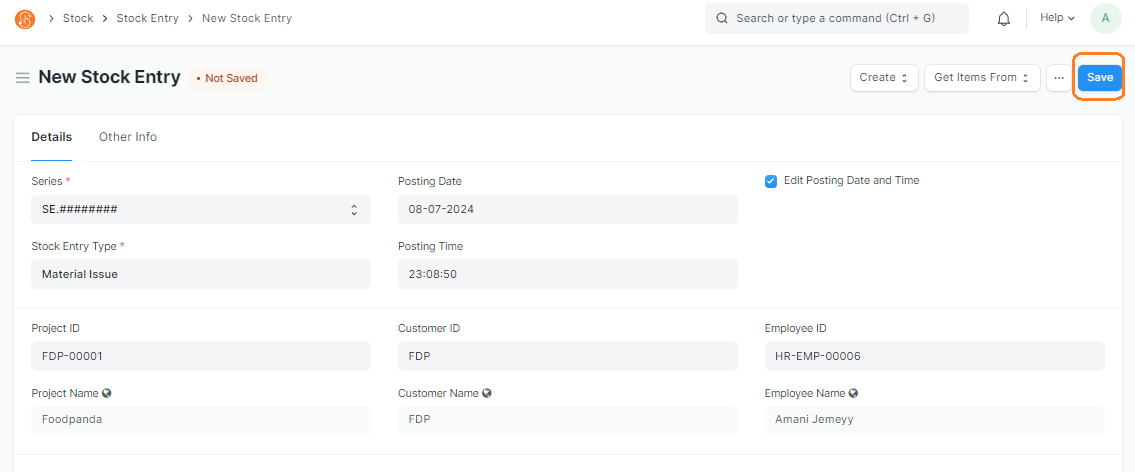
3.5. SaveOnce you've adjusted the necessary information and saved the new Stock Entry by clicking on Save
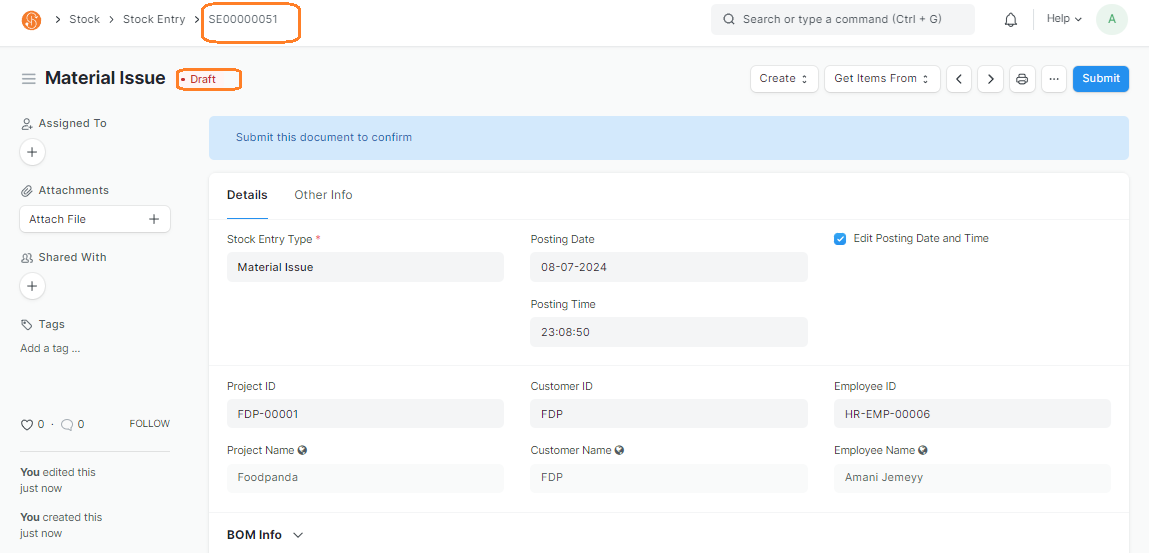
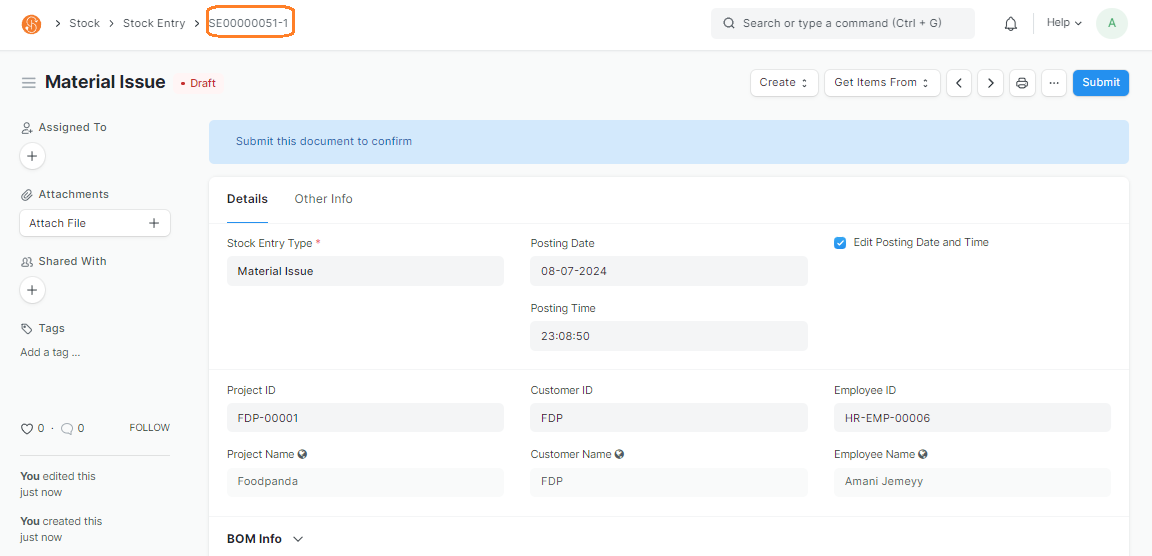
If Stock Entry is successfully saved,, the Stock Entry status will be changedchange to Draft and Stock Entry Document ID is created
4. Submitthe Stock Entry onceID allwill informationbe generated with a revision number. The revision number indicates the number of times the document is confirmed by clicking on Submitrevised
6. StockContinue Entryto is submitted,Submit the Stock Entry statusas will be changed to Submitted
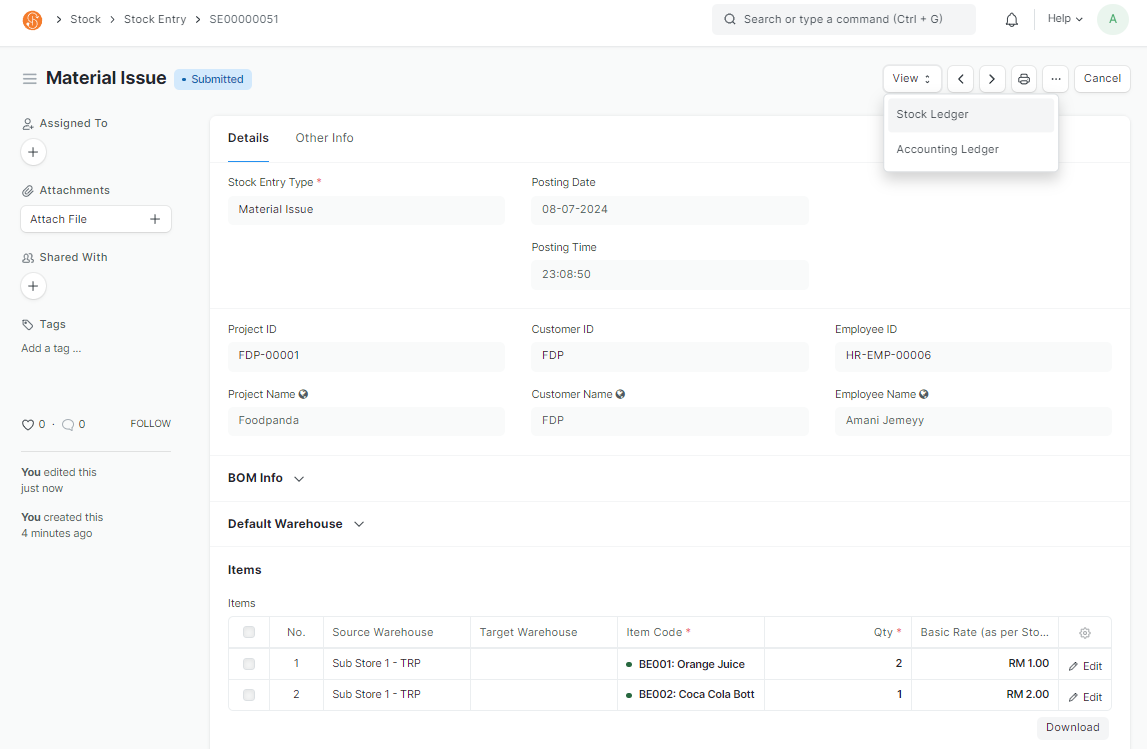
6. View > Stock Ledger to viewper the stock movementsteps in the Targeted Warehouse
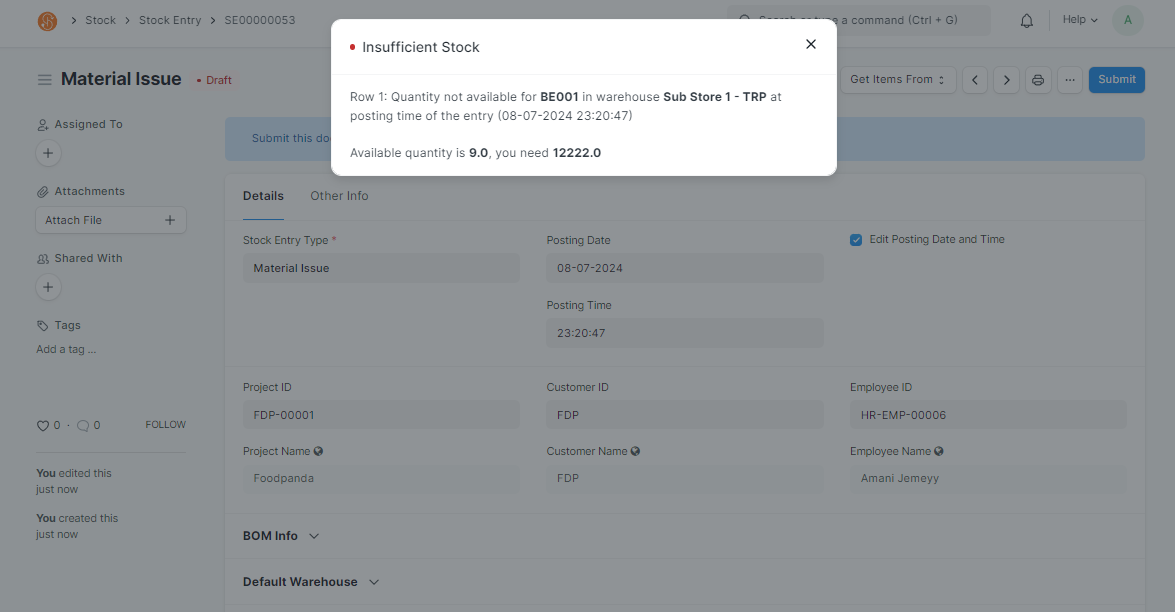
Note: If you faced the error below, it indicates that there is insufficient stock in the Source Warehouse. To by-pass this error, stock must be brought into the Warehouse. This checking in the system also shows control for any insufficient stock in the system
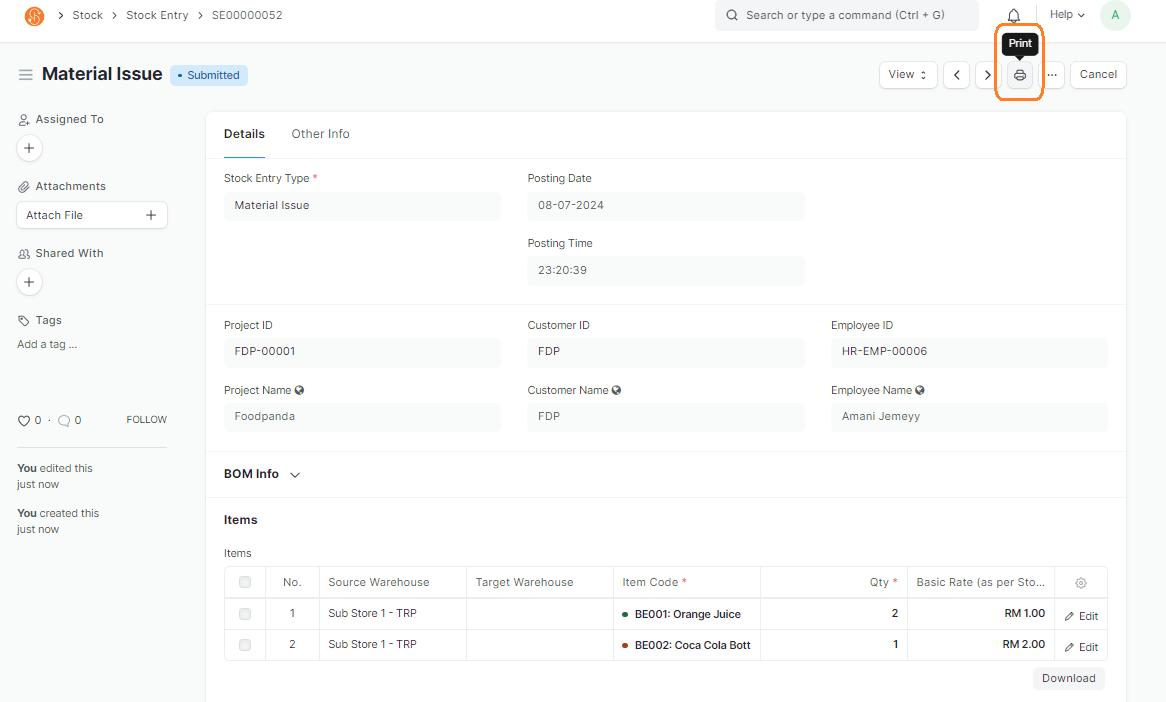
7. Print out QR Code Labels and Issue Form by clicking on Print
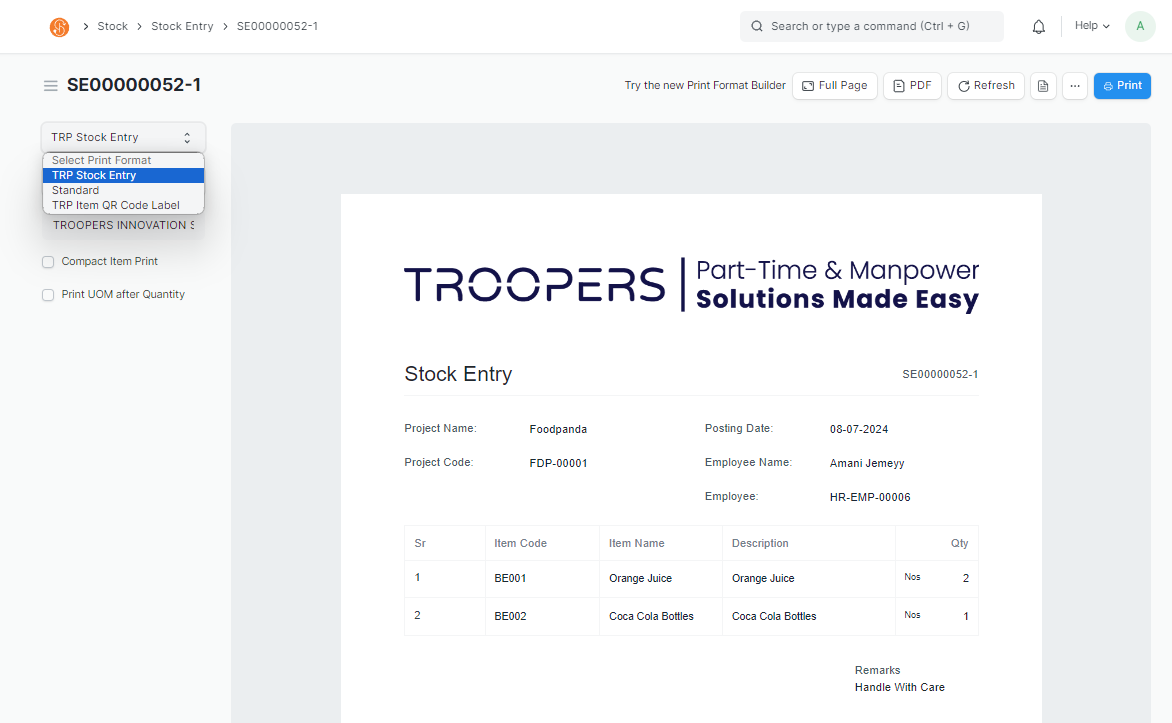
8. In the Print view, you may select the Print Format
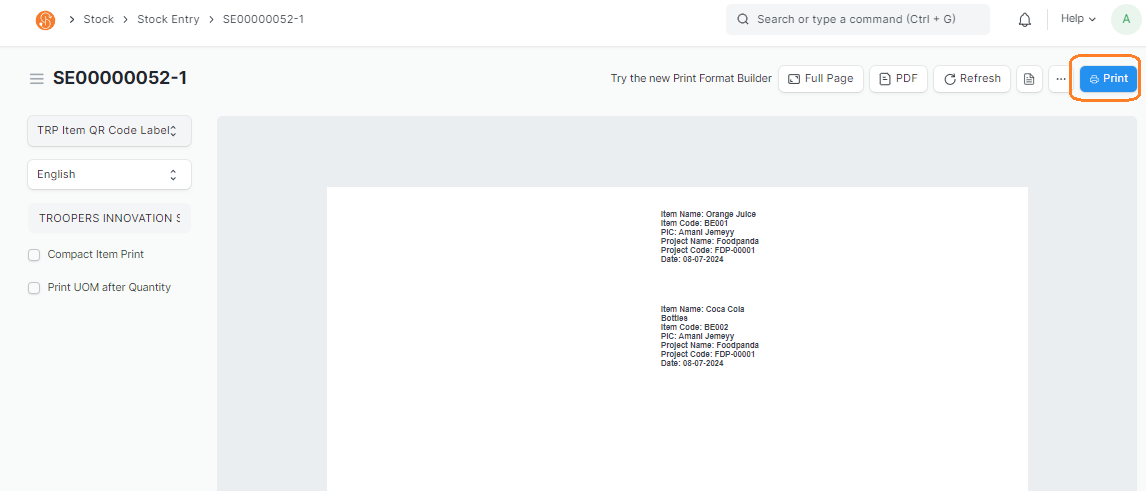
TRPStockEntry:EntryTo print out the issue form, select this Print Format. This is to print out a copy of the issue form, which will indicate the Items, Project, Employee and RemarksTRP Item QR Code Label: To print out labels with QR Codes for each issued item. This can be pasted on the physical issued goods for tracking
To print, click onPrintbutton
