Returning Goods from Warehouse to Customers
To return customer provided goods to Customers out of Trooper's Warehouse, you may do so via the Delivery Note function in SMURPS. Delivery Note allows you to issue out stock form the system's warehouse. Delivery Notes also allow you to link the document with the Customer it is being issued out to.
Prerequisites: Before creating a Delivery Note transaction, ensure the Item, Warehouse and Customer is created.
Create New Delivery Note
Document Path: Stock > Stock Transactions > Delivery Note
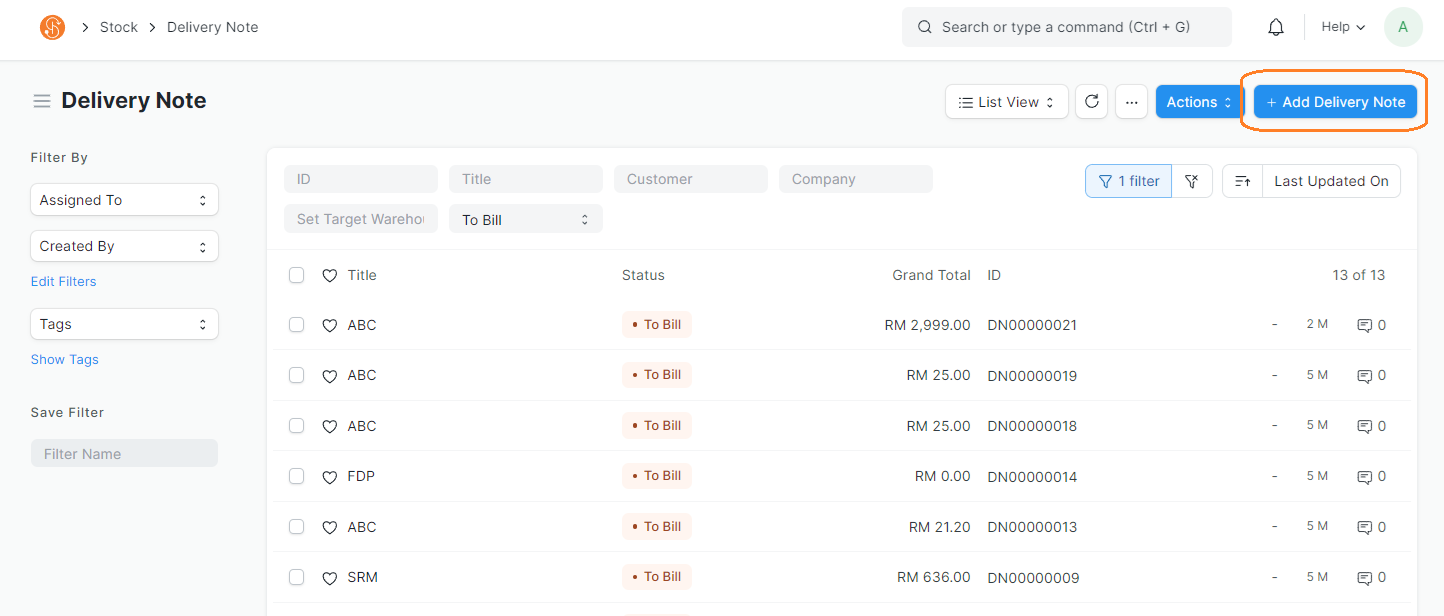
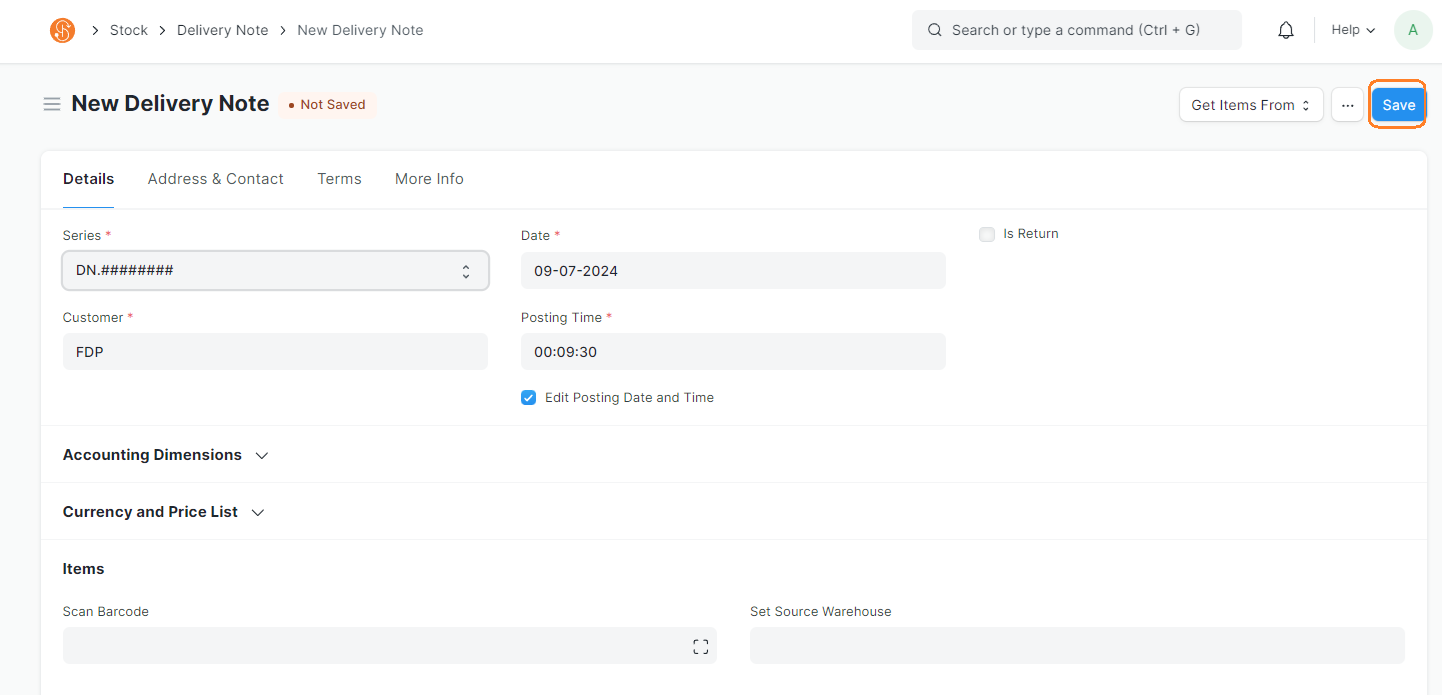
1. Go to Delivery Note List View and click Add Delivery Note
2. In the Delivery Note, choose the following
Note: Fields with a red asterisk indicates that it is Mandatory
- Series: Defaulted to DN.########
- Customer: Select Customer goods are being returned to
- Posting Date: Set to current date
- Posting Time: Set to current time
- Edit Posting Date and Time: To edit the Posting Date and Time, tick this checkbox
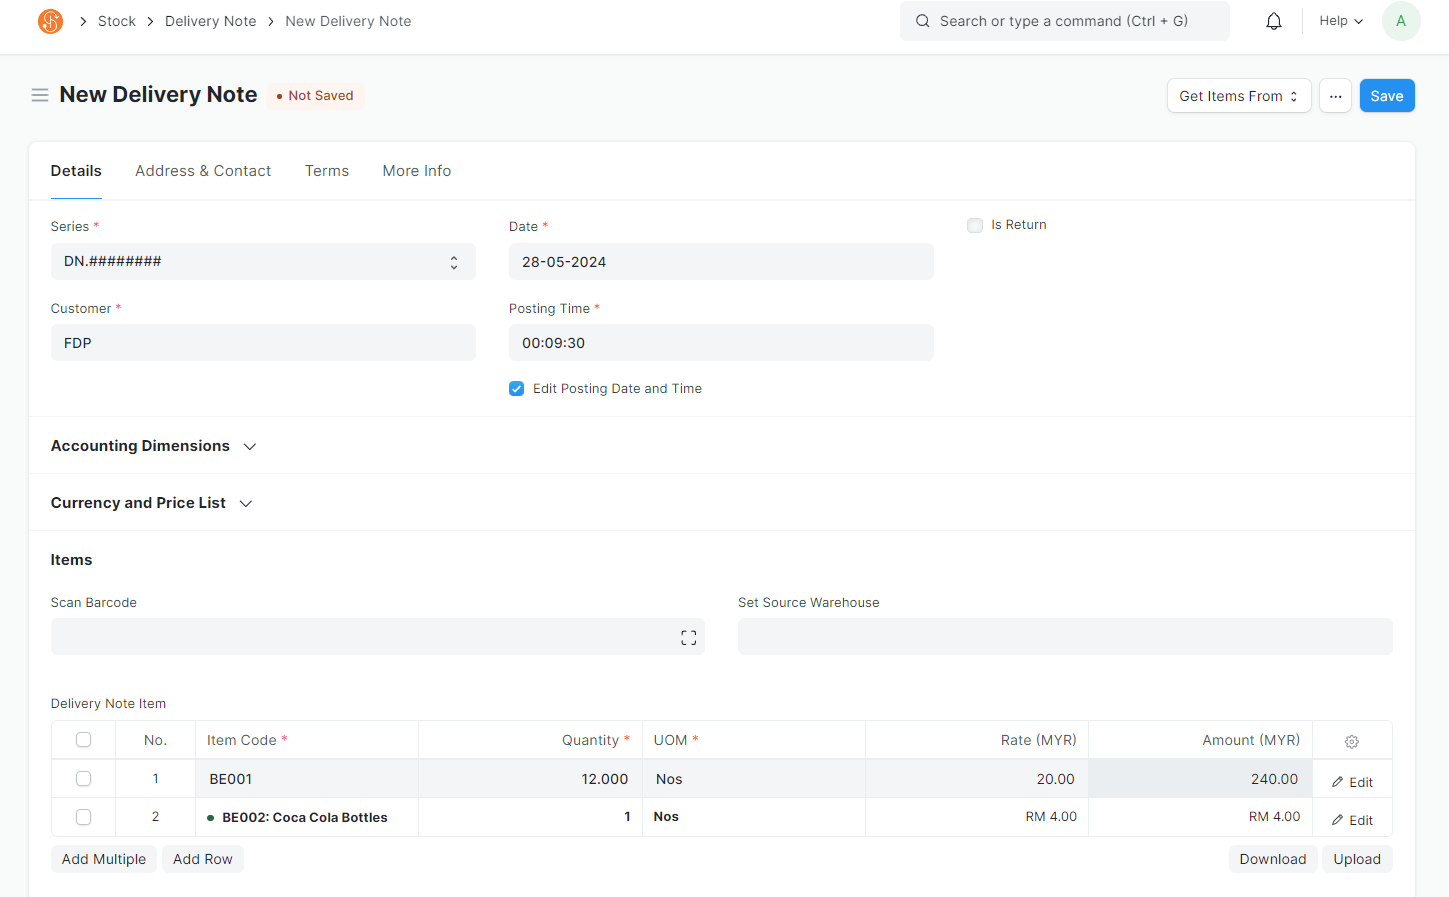
- Set Source Warehouse: If all Items are being issued out from the same Warehouse (Storage Location), you may use the Set Source Warehouse field. When selecting this, it will auto-select the Warehouse in the Items table. If Items are issued out from different Warehouses, you may select them in the Warehouse in the Item table

-
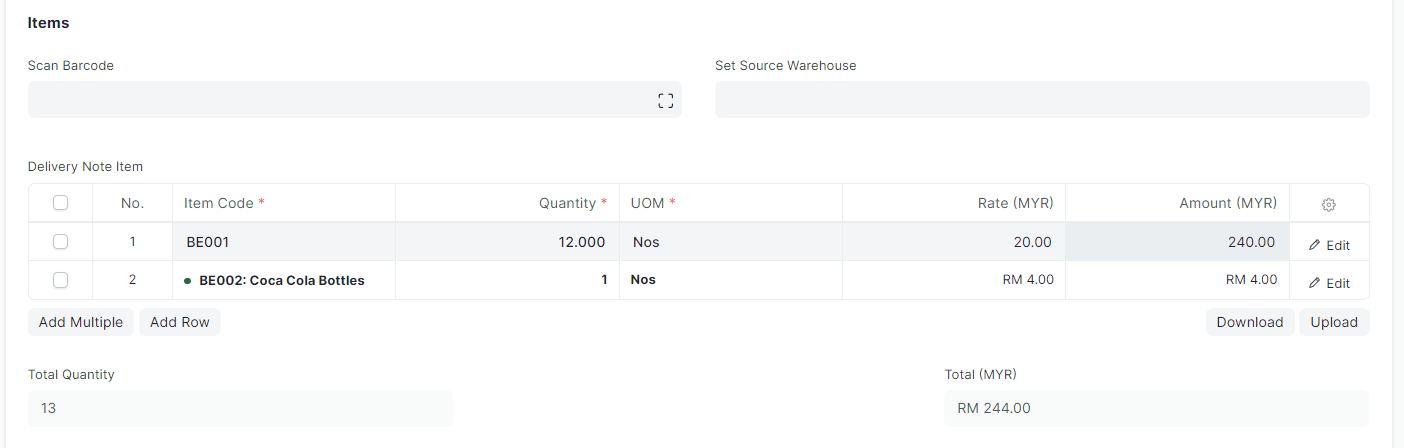
- Scan Barcode: You may select the Items to be brought in, by Scanning The Item Code QR Code
Note: Item's Item Code must be maintained in the Item's Barcode field
- Item Code: Items that are returned to customers can be selected in the Item Code field in the Delivery Note Item table
- Qty: Enter the quantity received. If Items are scanned via Scan Barcode, the Qty will adjust accordingly as per the no. of scans. However, the Qty can be adjusted manually as well
- Add Row: To add more line items in the Delivery Note Item table.
- To delete rows, check the checkbox on the left and a Delete button will appear. Click on the button to delete the row

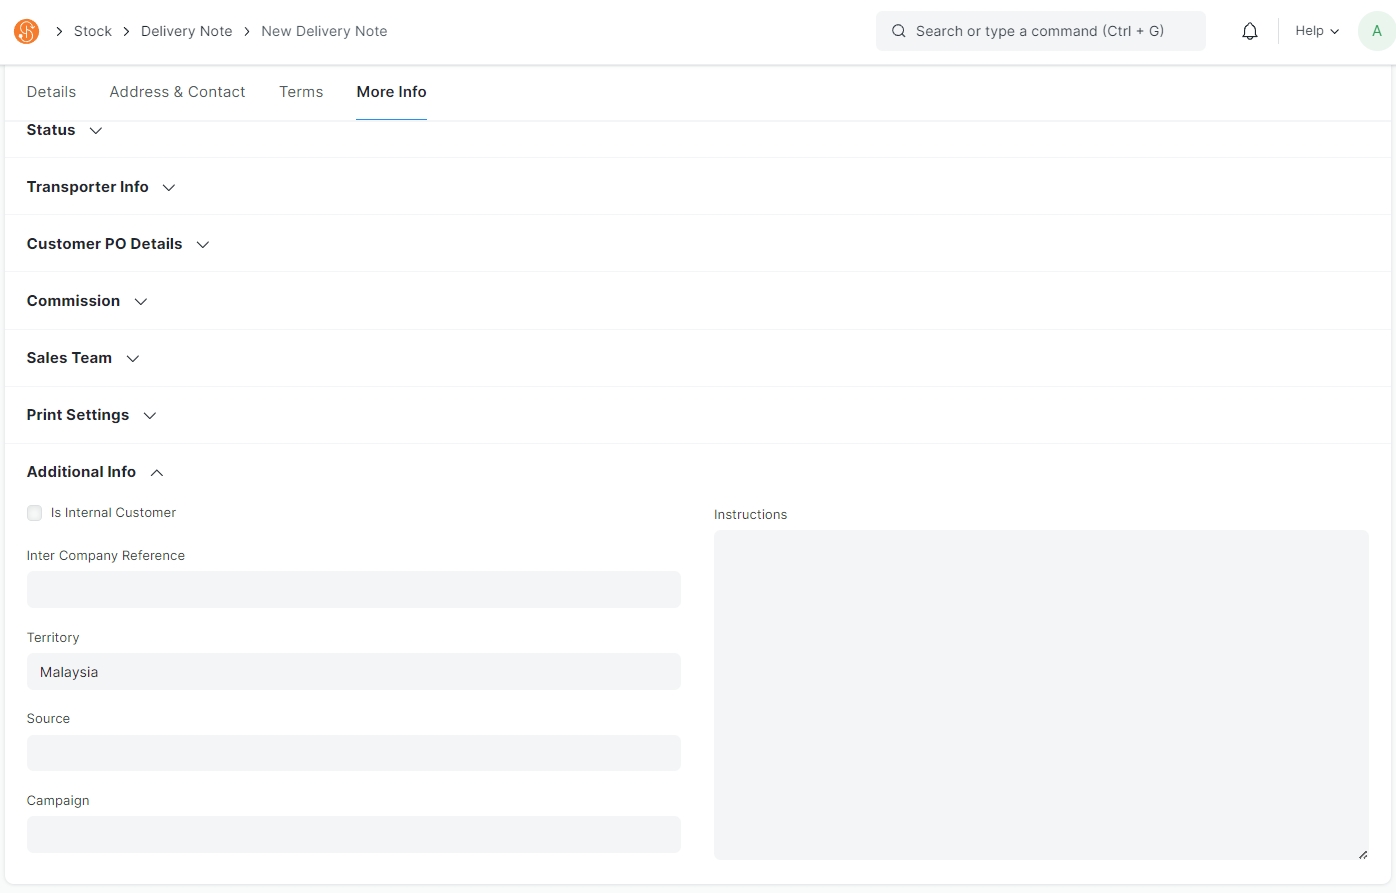
- Instructions: You have an option of adding in Instructions in the Delivery Note as well. Go to the More Info Tab to find the field
3. Save Delivery Note by clicking on Save
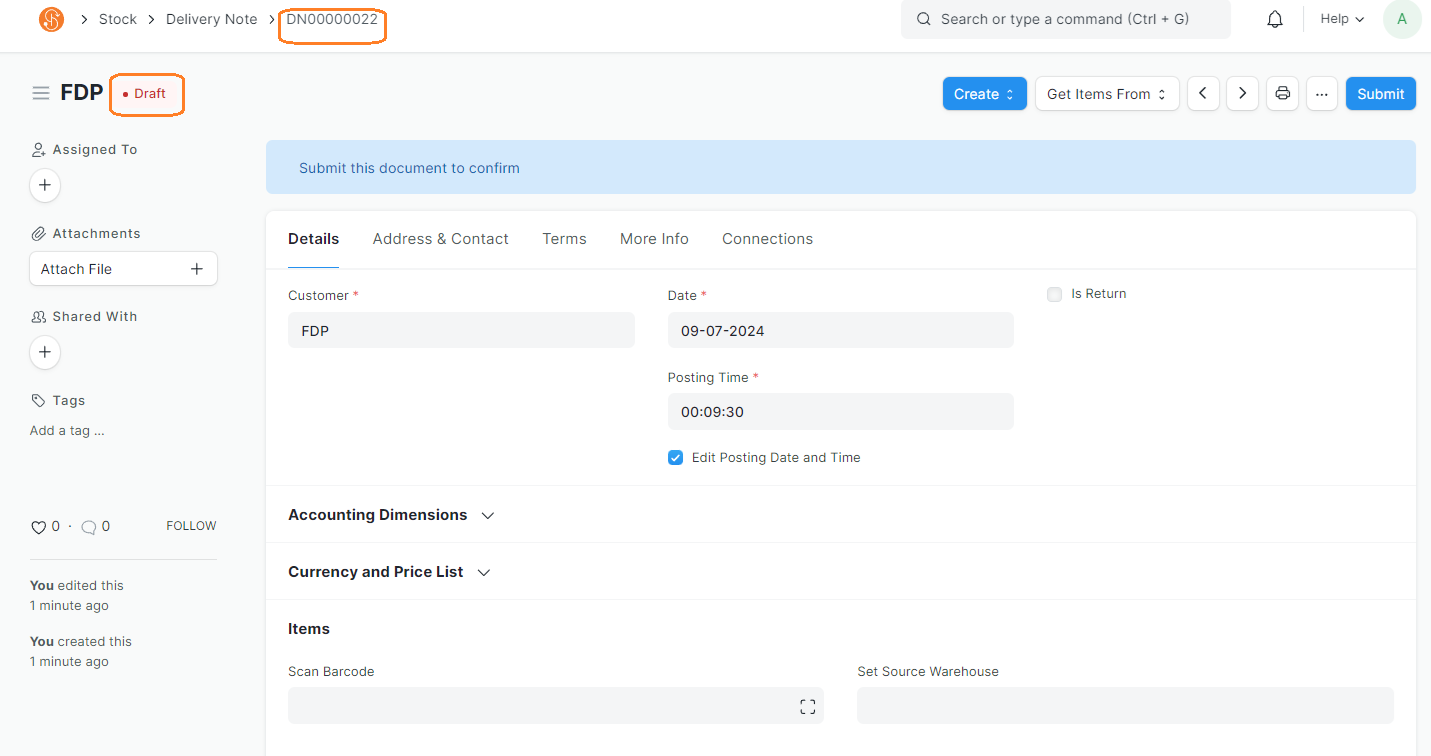
4. If Delivery Note is successfully saved, the Delivery Note status will be changed to Draft and Delivery Note Document ID is created
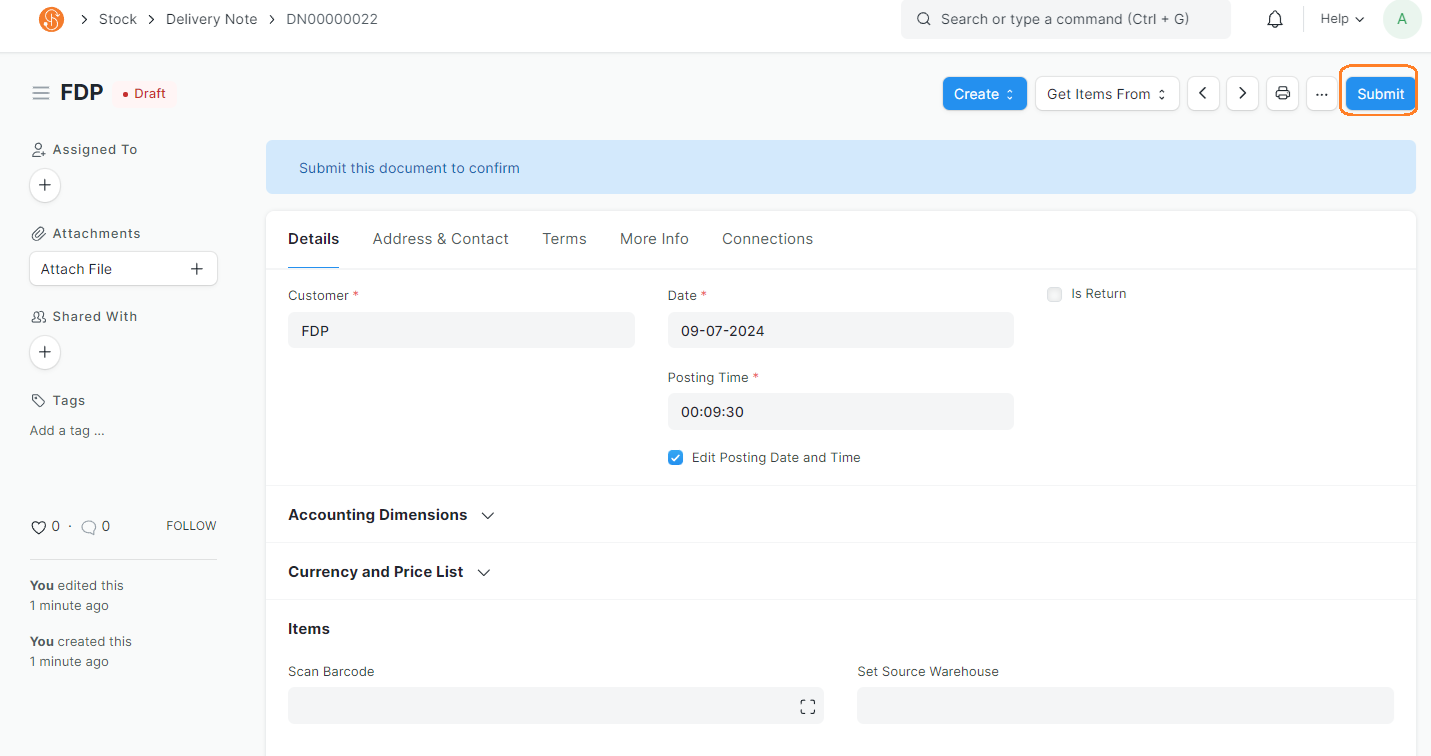
5. Submit Delivery Note once all information is confirmed by clicking on Submit
6. Once Delivery Note is submitted, the Delivery Note status will be changed to To Bill
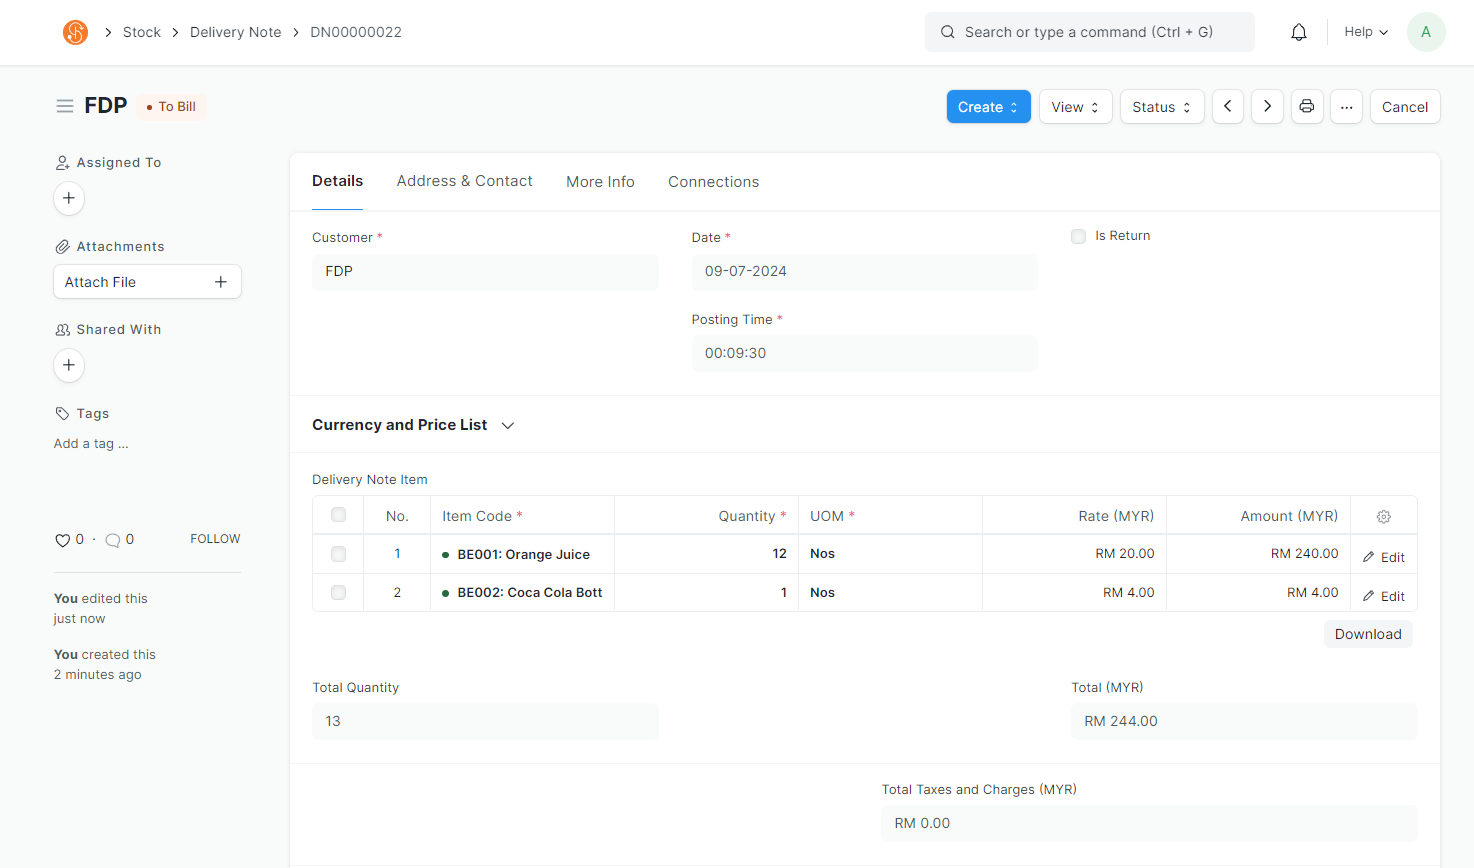
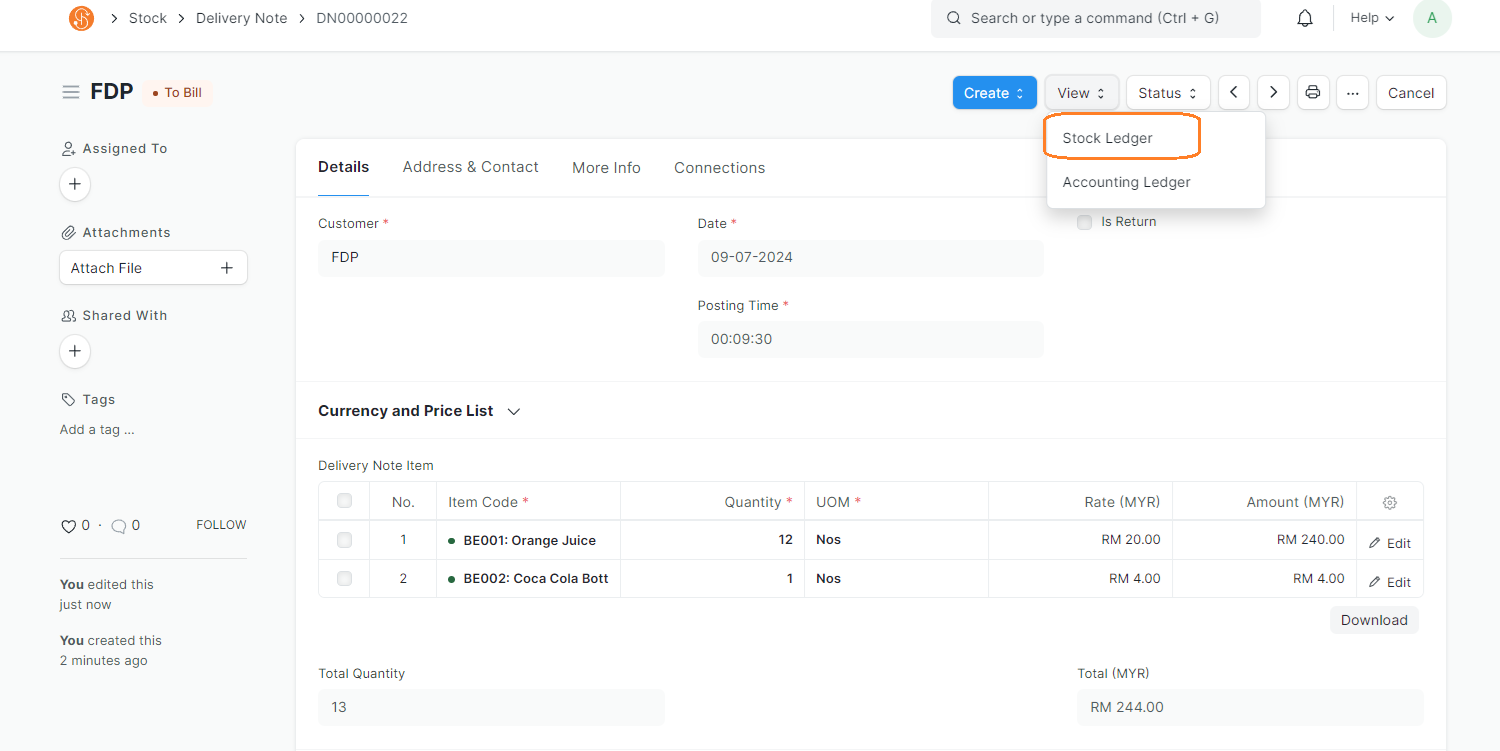
6. View > Stock Ledger to view the stock movement from the Source Warehouse
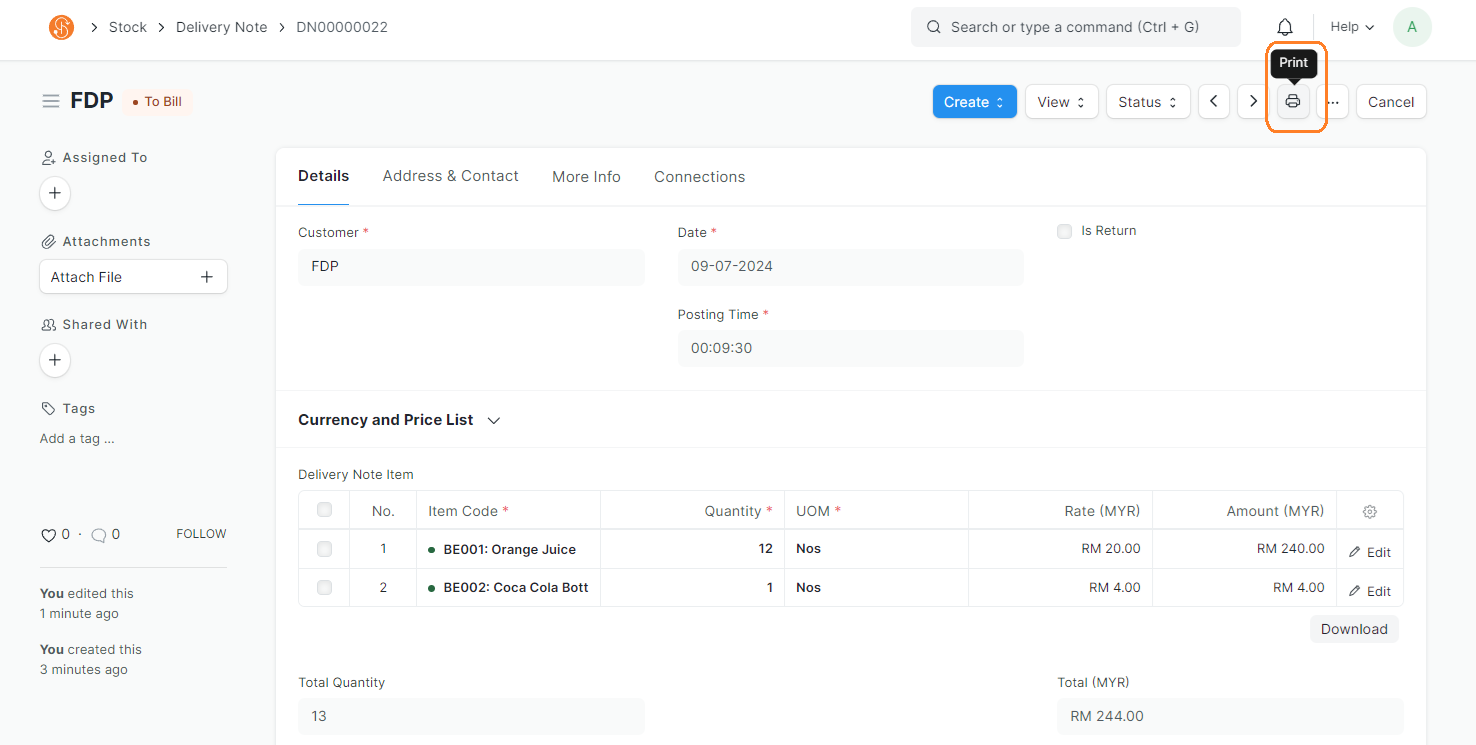
7. Print out Delivery Note Issue Form by clicking on Print
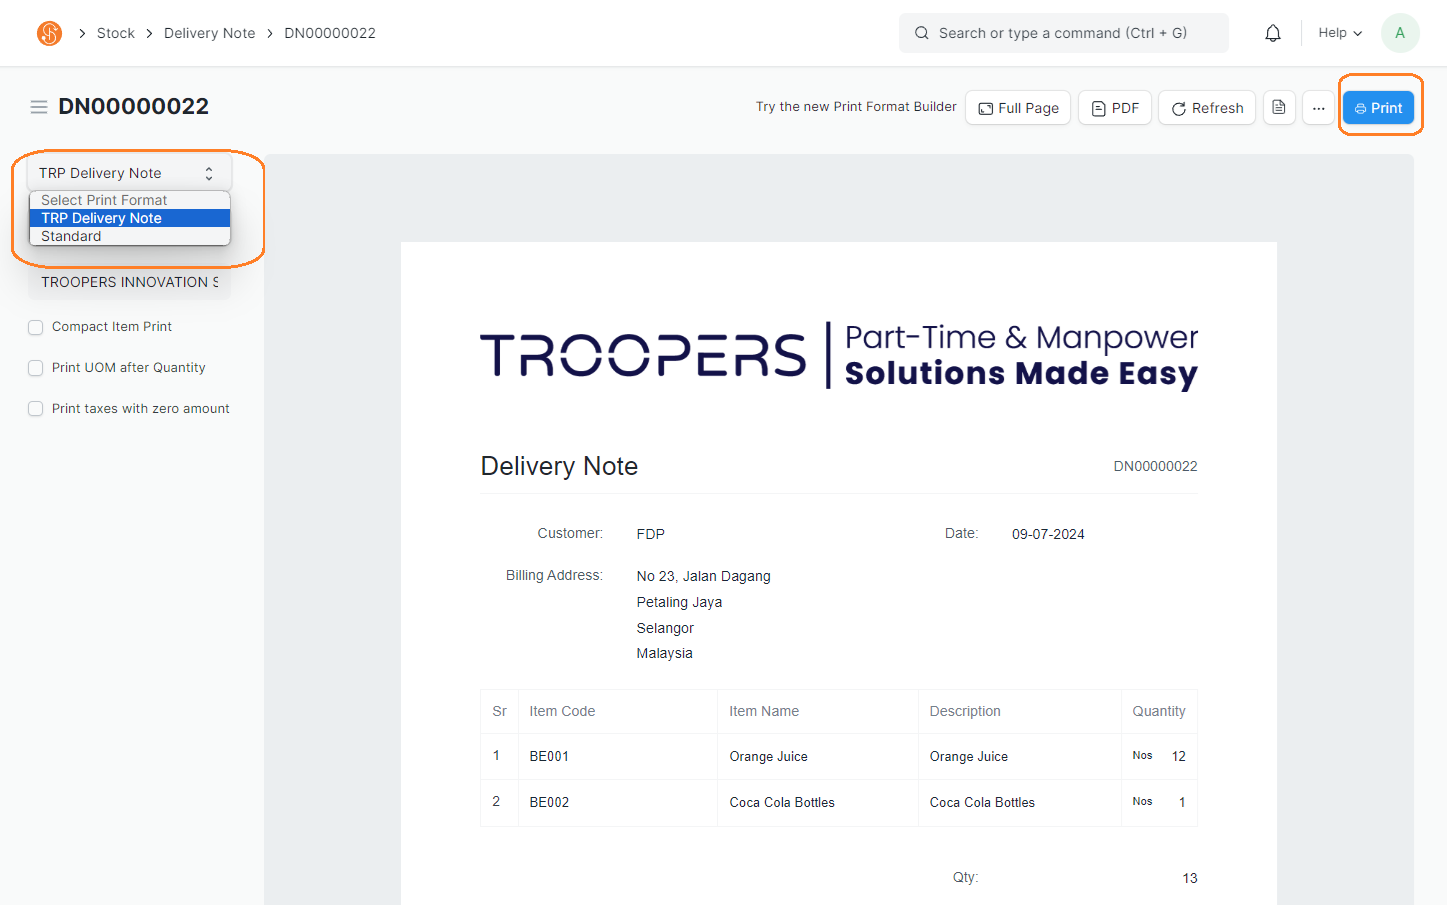
8. In the Print view, you may
- select the Print Format TRP Delivery Note
- To print out the Customer Return form, select this Print Format. This is to print out a copy of the issue form, which will indicate the Customer details and Items returned, including its quantity
- To print out the Customer Return form, select this Print Format. This is to print out a copy of the issue form, which will indicate the Customer details and Items returned, including its quantity
- To print, click on Print button
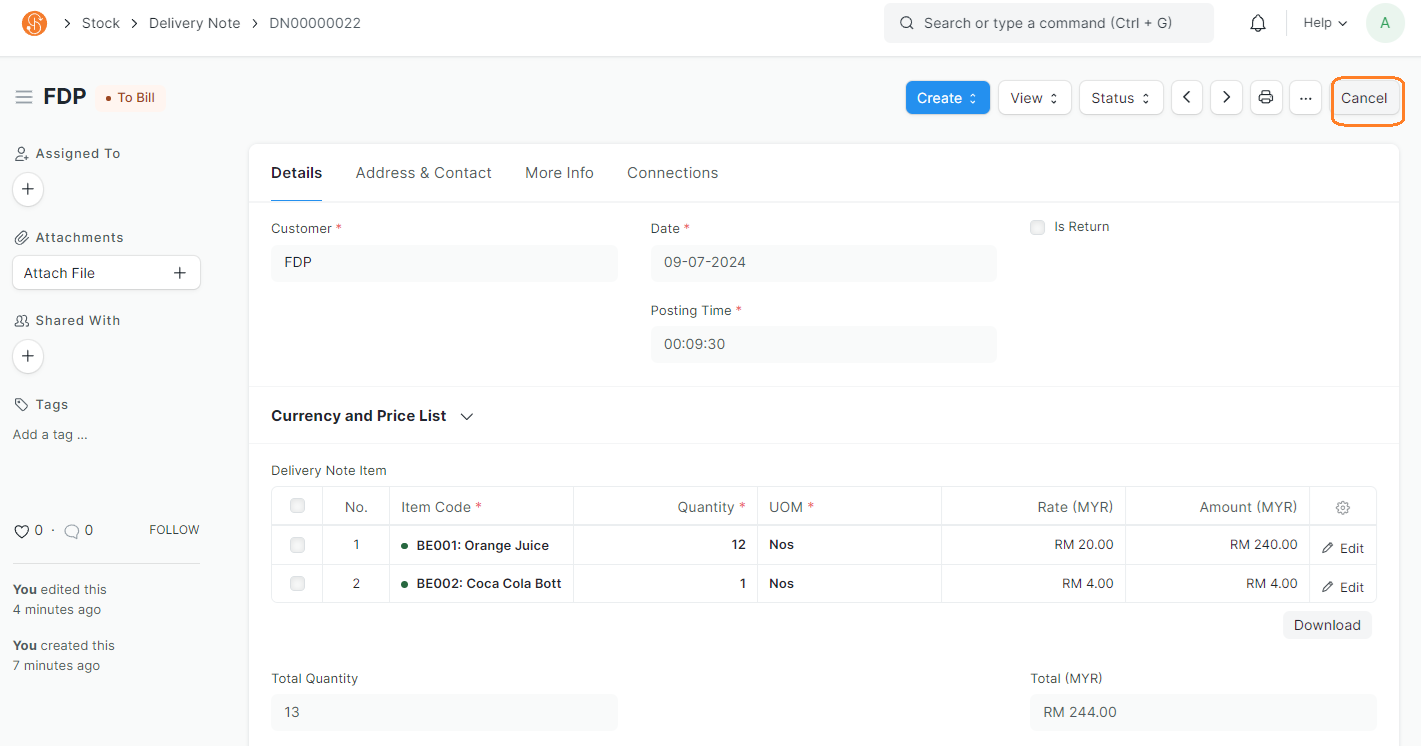
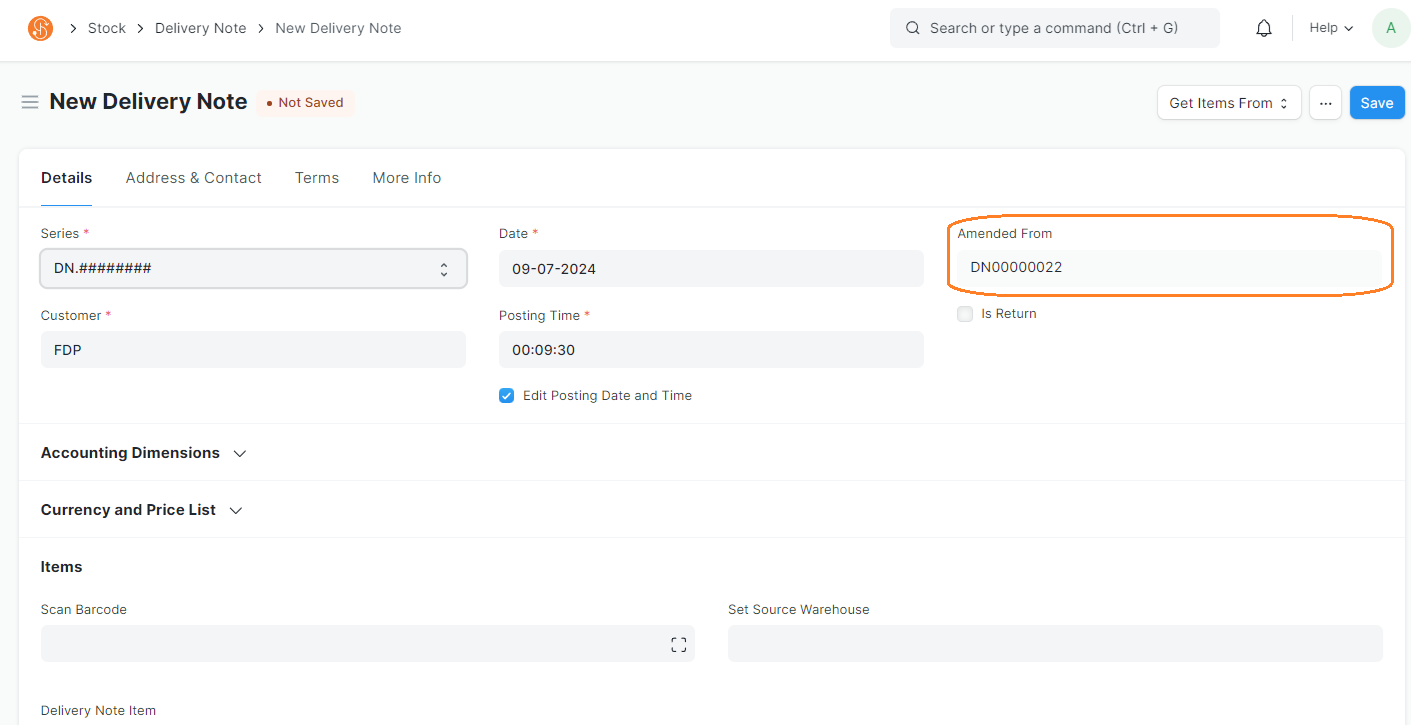
9. To cancel a submitted Delivery Note (Status = To Bill), click on Amend and cancel accordingly. The process of cancelling and amending the Delivery Note is similar to cancelling and amending a Stock Entry, where a revision number will be generated as per the number of revisions made from the original Stock Reconciliation. The original and amended Delivery Note will also be linked to each other for reference.
No comments to display
No comments to display